WordPress comes with an easy-to-use menu functionality, letting you quickly create custom menus and place them in your theme’s menu areas or even in a widgetized area with the menus widget. WooCommerce has a number of things that you can include in your menu, such as product categories and product tags. You can do this using the standard WordPress options after Migration to WooCommerce.
The WordPress menu’s functionality is well documented on the WordPress codex, but we’ve set up a summary here to get you started.
Note: This doc covers standard WordPress menus. We offer the Storefront Mega Menu and Storefront Hamburger Menu plugins if you’d like to have different menus with Storefront or one of Storefront’s child themes.
1. Finding the Menu Settings
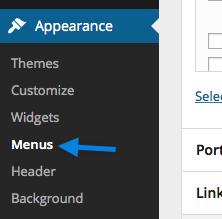
You can customize your menu by going to Appearance > Menus.
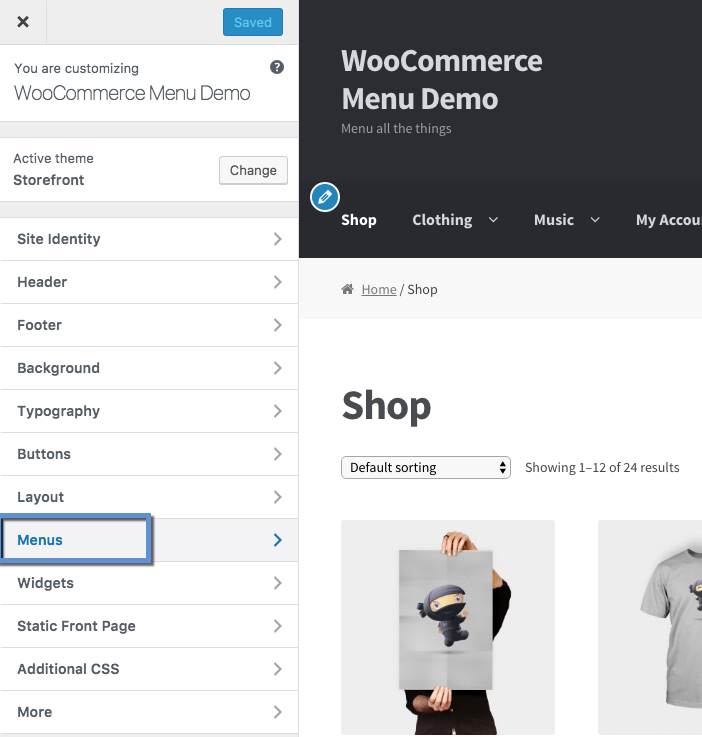
Alternatively, you can use the Customizer and choose Menus
2. Adding Links
By default, WordPress will start by adding all of your pages to the default navigation menu.
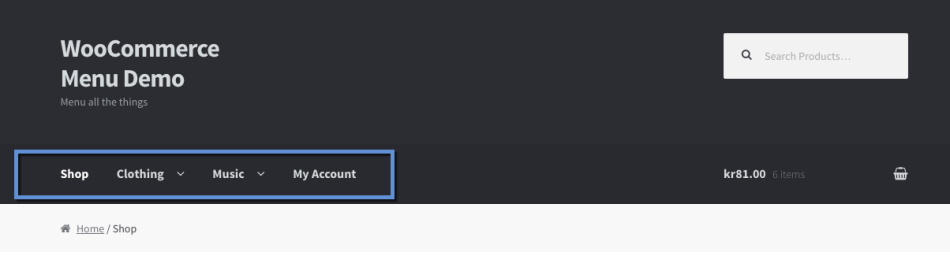
Here’s a menu created for a sample WooCommerce shop, using Storefront theme.

Your first step will be to create a menu (if you haven’t already) and then add things to it. You can create as many menus as you’d like, but you’ll only be able to assign them to existing locations.
Here’s what the same menu looks like via Appearances > Menus.
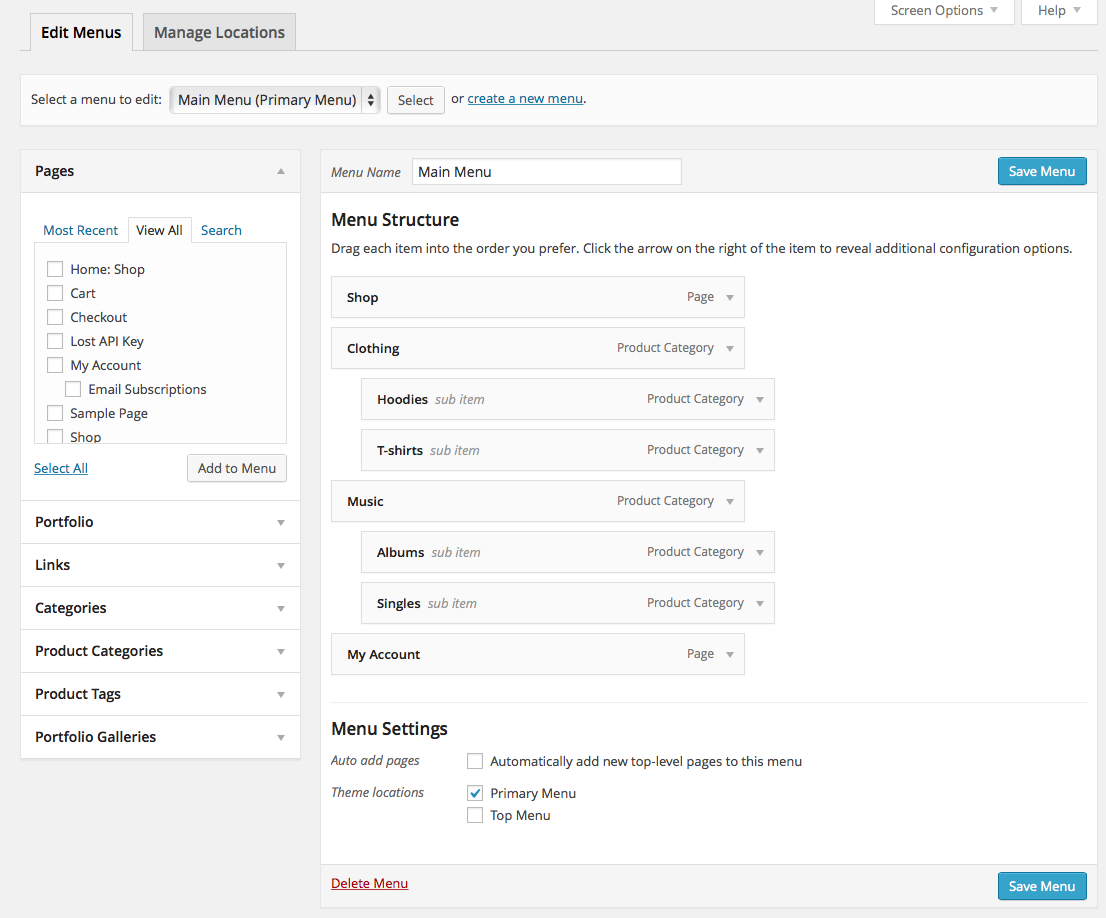
In the left hand column is a list of all your pages, as well as custom post types, categories, tags, etc… You can then select certain pages, or products, or categories and add them to the menu you are creating. For example, if you are using WooCommerce adding categories to your menu is common.
3. Creating Drop Down Menus
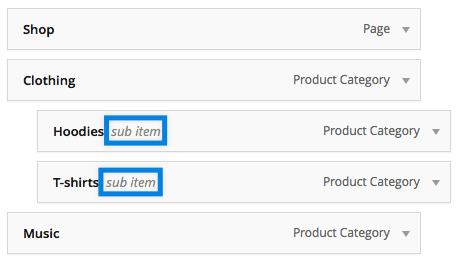
Once an item is added to a menu, those menu items can be rearranged to create sub menu items. There is an easy drag and drop method you can use to create these, shown in the gif below. To create a drop down menu drag a menu item slightly to the right of the menu item above it to create a sub item (parent/child) relationship in the menu.
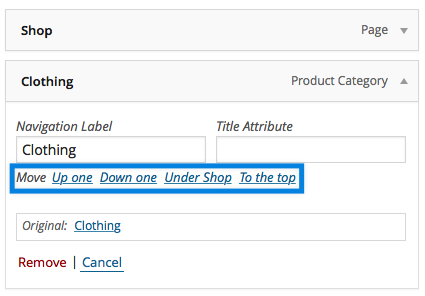
You can also click the down arrow to reveal more information and there click the Up one, Down one, Under [item above it], and To the top.
WordPress adds text to let you know when when a menu item has become a sub item:
4. Adding a Home Link
Adding a “Home” link to your menu is useful if you want to give users quick access back to your front page, or if you have set a static page as your front page, and want a “Home” item in your menu. The logos in our themes are also links to your home page, but this helps some users with a specific link saying home.
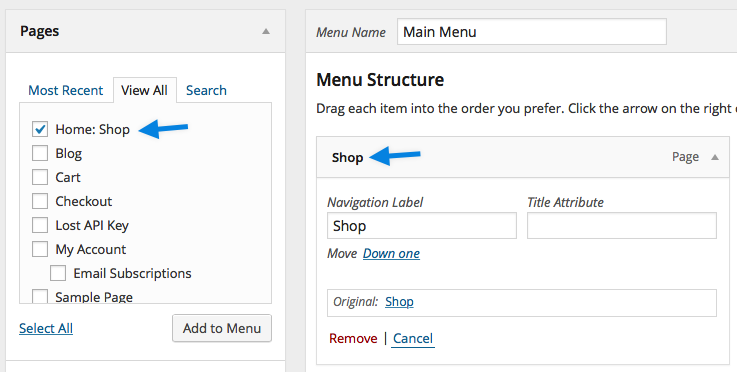
To add a “Home” link, click View All under the Pages panel. If you have a page set as your home page in your Settings > Reading settings then it shows up under all pages with the Home: [Page Title] text.
5. Managing Locations
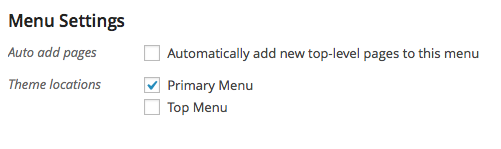
It’s up to the theme developer to decide how many menu locations a theme should have. Regardless, there are two easy ways to assign a menu you just created to a menu location.
While creating or editing your menu, you can assign it’s location at the bottom of the menu. There is also a Manage Locations tab where you can assign all locations a menu from one screen. Helpful if your theme has many menu locations.
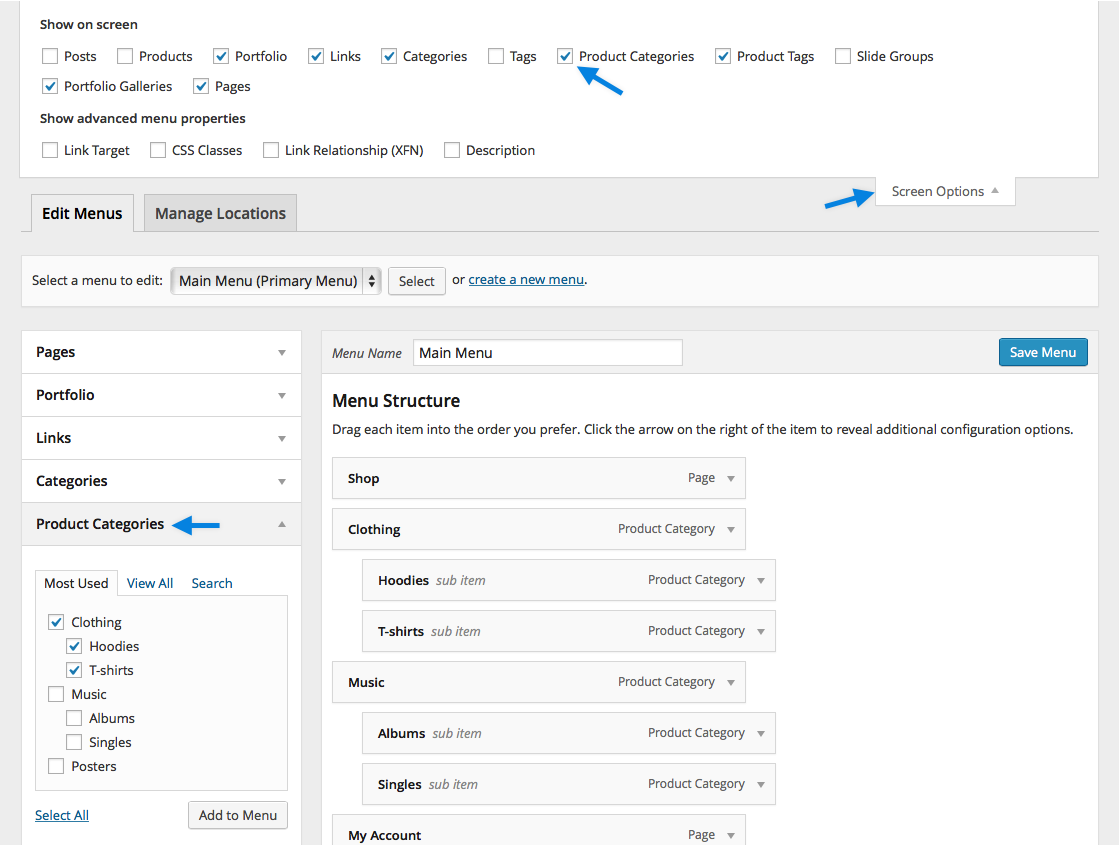
6. Adding Product Categories
To add Product Categories to your menu, you might need to enable them first in the Screen Options. Then add and organize your product categories as you would any other menu item.
In case you have any other questions, please reach out to us via:
- Ticket system (highly recommended)
- Email us at [email protected]
