OpenCart supports multilingual stores, but adding a new language usually involves more than just clicking a button. Depending on the language package you use, the setup process may vary slightly. In most cases, you can add multiple languages in OpenCart with these 3 methods:
Method 1: Use Extension Installer
For OpenCart version 3, you can install a new language pack directly through the built-in Extension Installer. This feature allows you to upload a compatible .ocmod.zip package from the admin dashboard without manually accessing your store files.
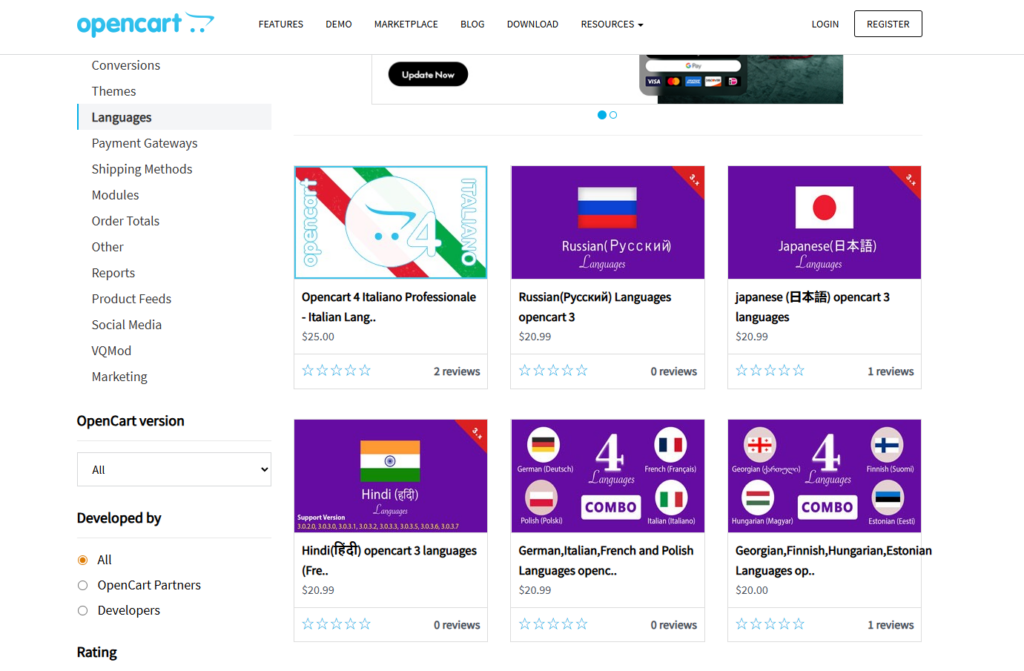
Step 1: First, you need to download a language pack that is compatible with your OpenCart version. You can usually find one from the OpenCart Marketplace or a trusted third-party provider.
Step 2: Once the file is ready, you can log in to your OpenCart admin panel and go to Extensions > Extension Installer. This section allows you to upload compatible extension packages, including language packs.
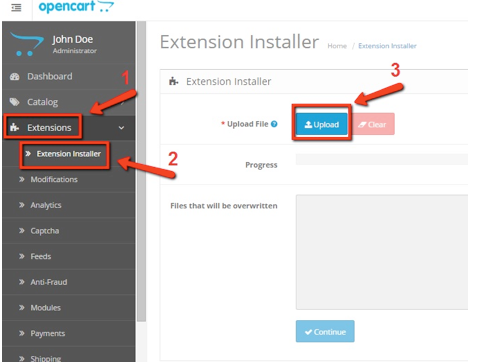
Step 3: From here, you can click the Upload button and select the .ocmod.zip file from your computer.
Step 4: After the upload is completed, OpenCart will automatically install the language files for you. For further assurance, you should navigate to Extensions > Modifications and refresh the modification cache.
Method 2: Configure manually via FTP
Some OpenCart language packs are not packaged for the Extension Installer. Instead, they come as regular folders that need to be uploaded manually to your store files. In this situation, FTP access becomes necessary.
Although this method takes a few extra steps, it gives you more flexibility and works well for older or custom language packs that do not support automatic installation.
Step 1: To get started, you should extract the downloaded language package on your computer so you can access its folders and files.
Step 2: Next, you can connect to your OpenCart store using an FTP client such as FileZilla. At this stage, you will need your hosting FTP credentials to access the store directory.
Step 3: Once connected, you can upload the extracted language folders to the appropriate OpenCart directories. In most cases, the storefront language files belong in /catalog/language/, while the admin language files should go into /admin/language/.
Step 4: After the upload is complete, you can return to your OpenCart admin dashboard and clear the cache if needed. This helps ensure OpenCart recognizes the newly uploaded files correctly.
Method 3: Register the language in Admin
Even after the language files are successfully installed, the new language will not appear on your storefront immediately. OpenCart still requires you to register that language manually in the admin panel.
This final setup step allows your store to recognize the language properly and make it available for both administrators and customers.
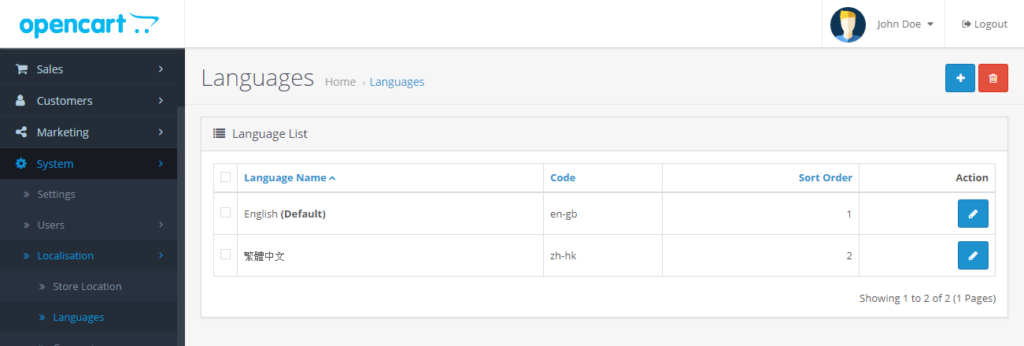
Step 1: First, you can go to System > Localization > Languages from your OpenCart admin dashboard.
Step 2: On the Languages page, you should click the Add New (+) button to create a new language entry for your store.
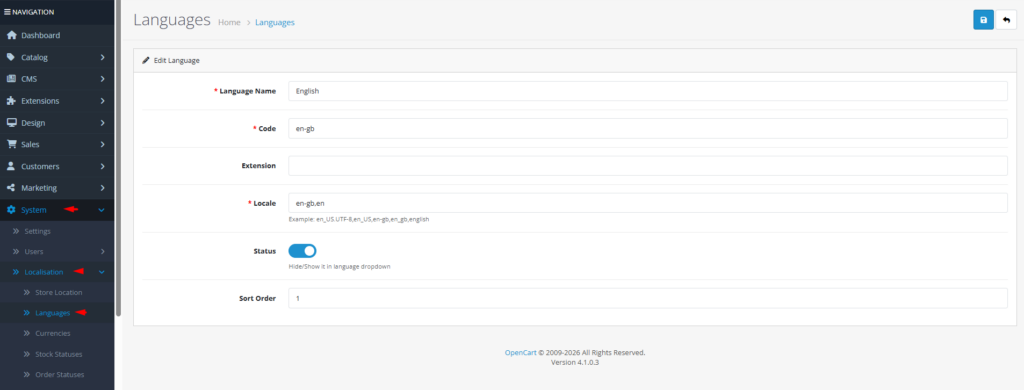
Step 3: From here, you need to enter the required details, including the language name, code, locale, status, and sort order. In most cases, the language pack documentation will provide the correct values for these fields.
Step 4: Once everything is filled in, you can save the settings and enable the language. If your theme supports language selection, customers should now be able to switch languages directly from your storefront.
In case you have any other questions, please reach out to us via:
- Ticket system (highly recommended)
- Email us at [email protected]
