The maintenance mode on your store allows you to deploy changes on the live version of your website, however, there are no option for any orders or websites access to be generated. This is compulsory so that no orders or user registration can be lost while you’re making any changes to the live version of your website. In the next few lines of this tutorial we will show you how to enable the maintenance mode of your store using an additional plugin.
Step 1: Install the maintenance plugin
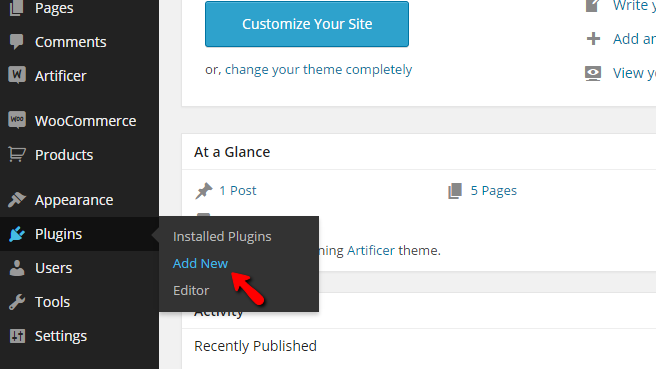
By default, neither WordPress nor WooCommerce has the maintenance functionality integrated so you will need to add it. In order for this to be achieved, you will need to login into the admin area of your website and then navigate to Plugins > Add new.
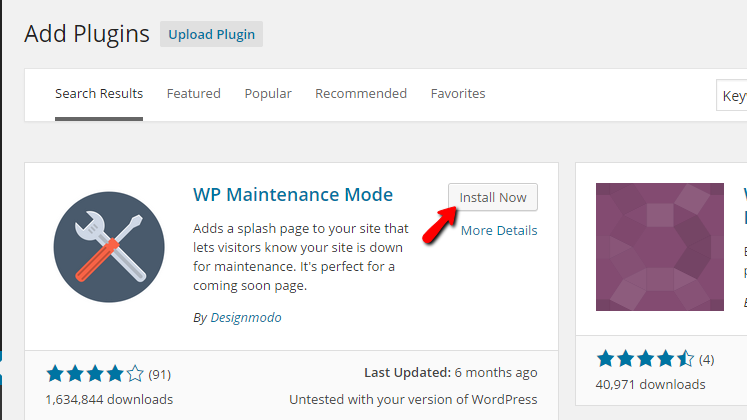
Search for “WP Maintenance Mode” and you’ll see the plugin. Pressing the Install button, wait for the installation, then click “Activate“.
Step 2: Configuring the maintenance plugin
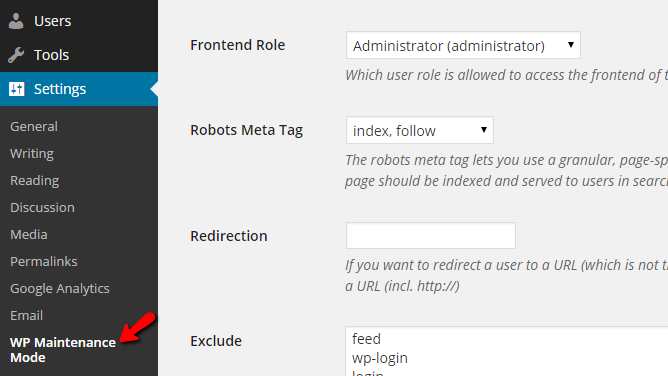
Once the plugin is installed and activated, go to the Settings menu and then click “WP Maintenance Mode”.
The plugin offers you a lot of useful settings. You will be able to configure the plugin using the three tabs located at the top of the page: General, Design, and Modules.
To activate the maintenance mode, simply choose “Activated” at the General tab.
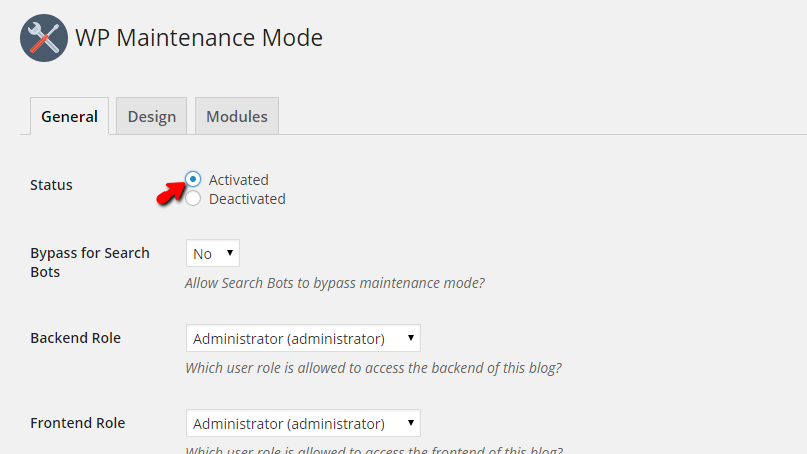
Continue with some settings be low. Once you are done, click on the “Save Settings” button.
Congratulations! You have successully activated the Maintenance Mode of your WooCommerce online store!
In case you have any other questions, please reach out to us via:
- Ticket system (highly recommended)
- Email us at [email protected]
