

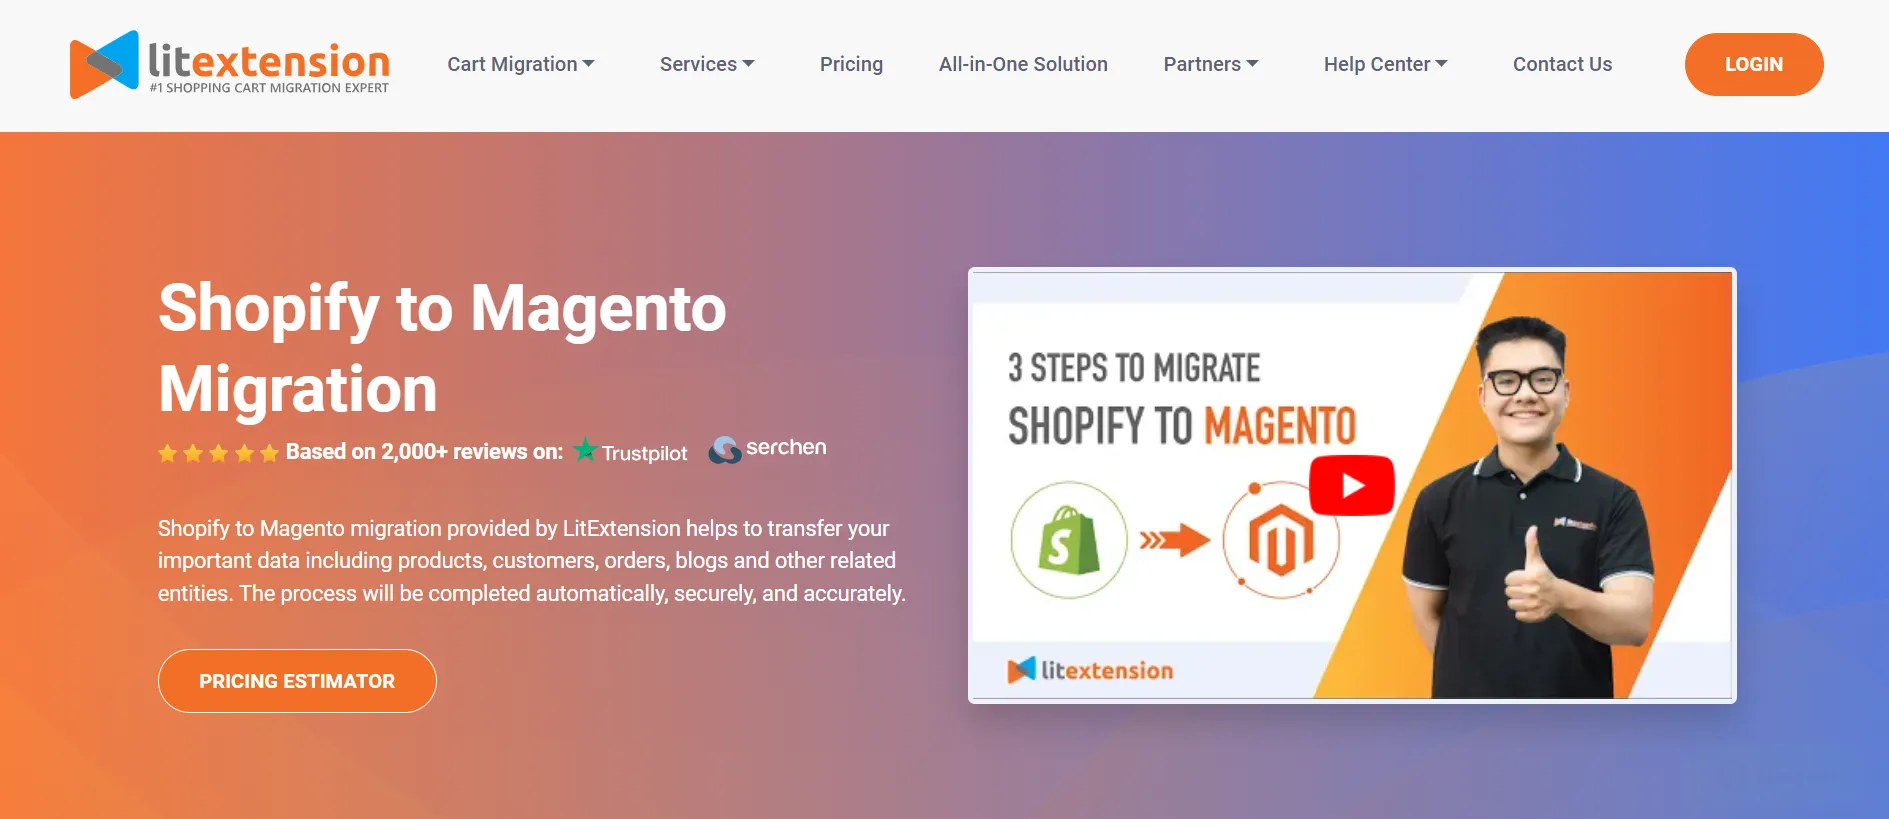
Shopify and Magento are two of the best eCommerce platforms for selling online. Both have a substantial market with a highly advanced set of features and large extensions marketplace. Still, there's an increasing trend of merchants want to migrate Shopify to Magento.
Fortunately, that's our expertise. In today's article, LitExtension – #1 eCommerce Migration Service will guide you through the easiest steps to migrate Shopify to Magento with the following key points:
- Methods to perform Shopify to Magento migration;
- Steps to migrate from Shopify to Magento with LitExtension;
- Reasons for your Shopify to Magento migration.
Let’s begin the process!
Seamlessly Migrate Shopify to Magento With LitExtension
Our team of experts can safely transfer your business data, products, customers, and orders to unlock more growth in this promising eCommerce platform. Let us provide a customized migration for you!
Best Practices for Shopify to Magento Migration
There are a few methods that you can choose from when moving your Shopify store to Magento. Each has its pros and cons, and the best choice depends on factors such as your technical expertise, budget, timeline, and the complexity of your store. Here are our thoughts on all the Shopify to Magento migration practices:
Migration Methods | Pros | Cons |
Perform manually | Cost-effective and provides complete customization control. | Time-consuming and error-prone due to manual handling of data. |
Hire an expert | Expertise and experience ensure a smooth migration process and customization support. | Expensive, dependency on external expertise, and finding reliable professionals can be challenging. |
Utilize migration service | Automation streamlines the process, ensuring accuracy, and most services offer user-friendly interfaces. | Involves a cost, and dependency on the service provider for support. |
How to Migrate from Shopify to Magento with LitExtension?
LitExtension provides a streamlined and automated migration experience from Shopify to Magento, eliminating the need for manual input. By linking the LitExtension connector to your WooCommerce store, it acts as a bridge to migrate your data seamlessly while maintaining the store's privacy. We guarantee the precision and completeness of your data throughout the transfer process and offer continuous support.
Not only from Shopify, you can freely migrate from OpenCart to Magento, WooCommerce to Magento, etc.
1. Back-Up Data From Your Shopify Store
First and foremost, exporting products is useful, and here are a few reasons why you have to back up data from your Shopify store:
- Prevent losing data if your old store had to collapse
- Make any changes to your products or inventory
- Avoid other parties intervening in your site for data security reasons
- The new platform is unsupported and you cannot migrate data directly
A CSV is a comma-separated values file, which allows data to be saved in a table structured format. In eCommerce, CSVs are used primarily for importing and exporting products, customers, and order information to and from your store.
So, how to back up data from your Shopify store?
- Log into your Shopify admin panel and go-to products or customers (and so forth)
- Press the export button on the right
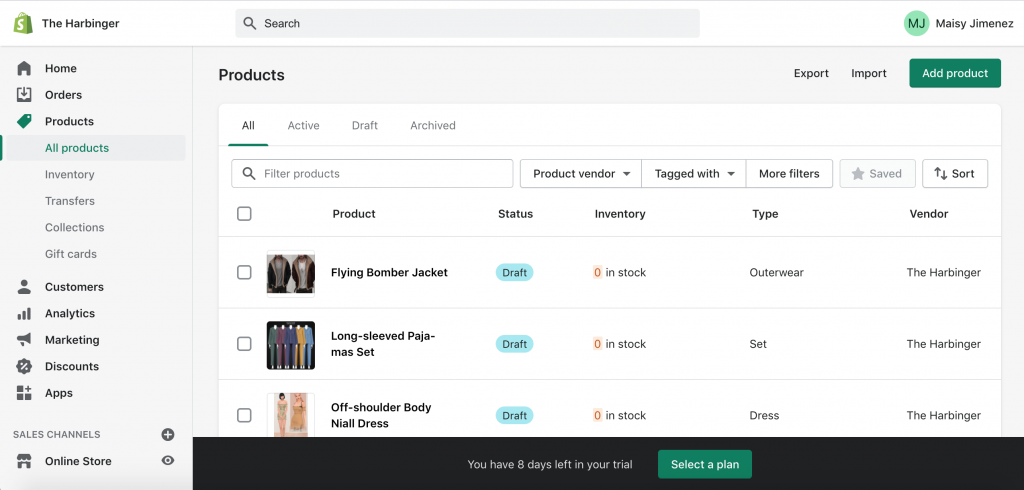
- In the dialog box, in the first section choose the data which you want to export
- In the next section select the desired file format

- Press Export button
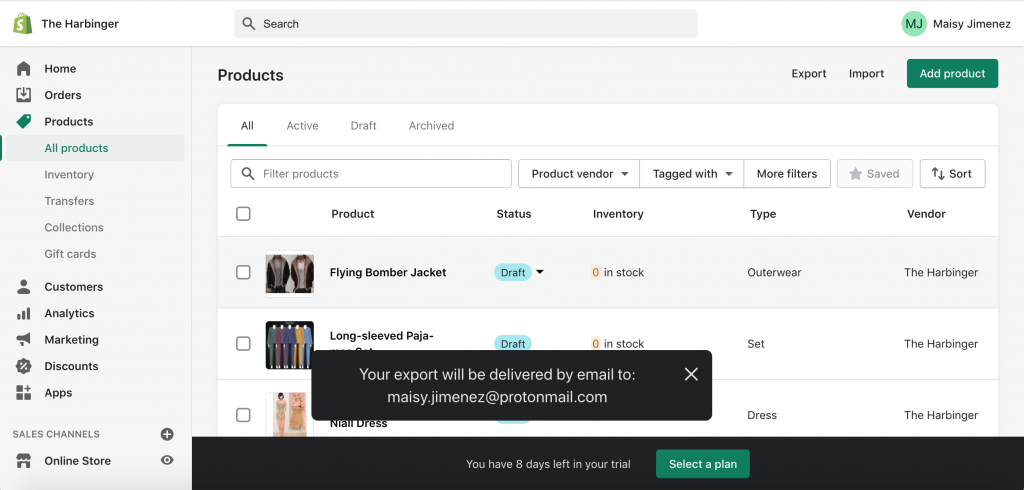
Note: When you save a CSV file, it doesn’t make a copy of your product images. If you want to back up your images, then you have to save them separately.
2. Set Up Your New Magento Store
Magento 2 provides improved performance along with security and maintenance as well as features of scalability. Check our detailed guidelines to successfully build up your new store on this platform by following these steps:
- Download Magento Software Market
- Set up FTP
- Transfer Magento Archive to Your Hosted System with FileZilla
- Running Setup Wizard
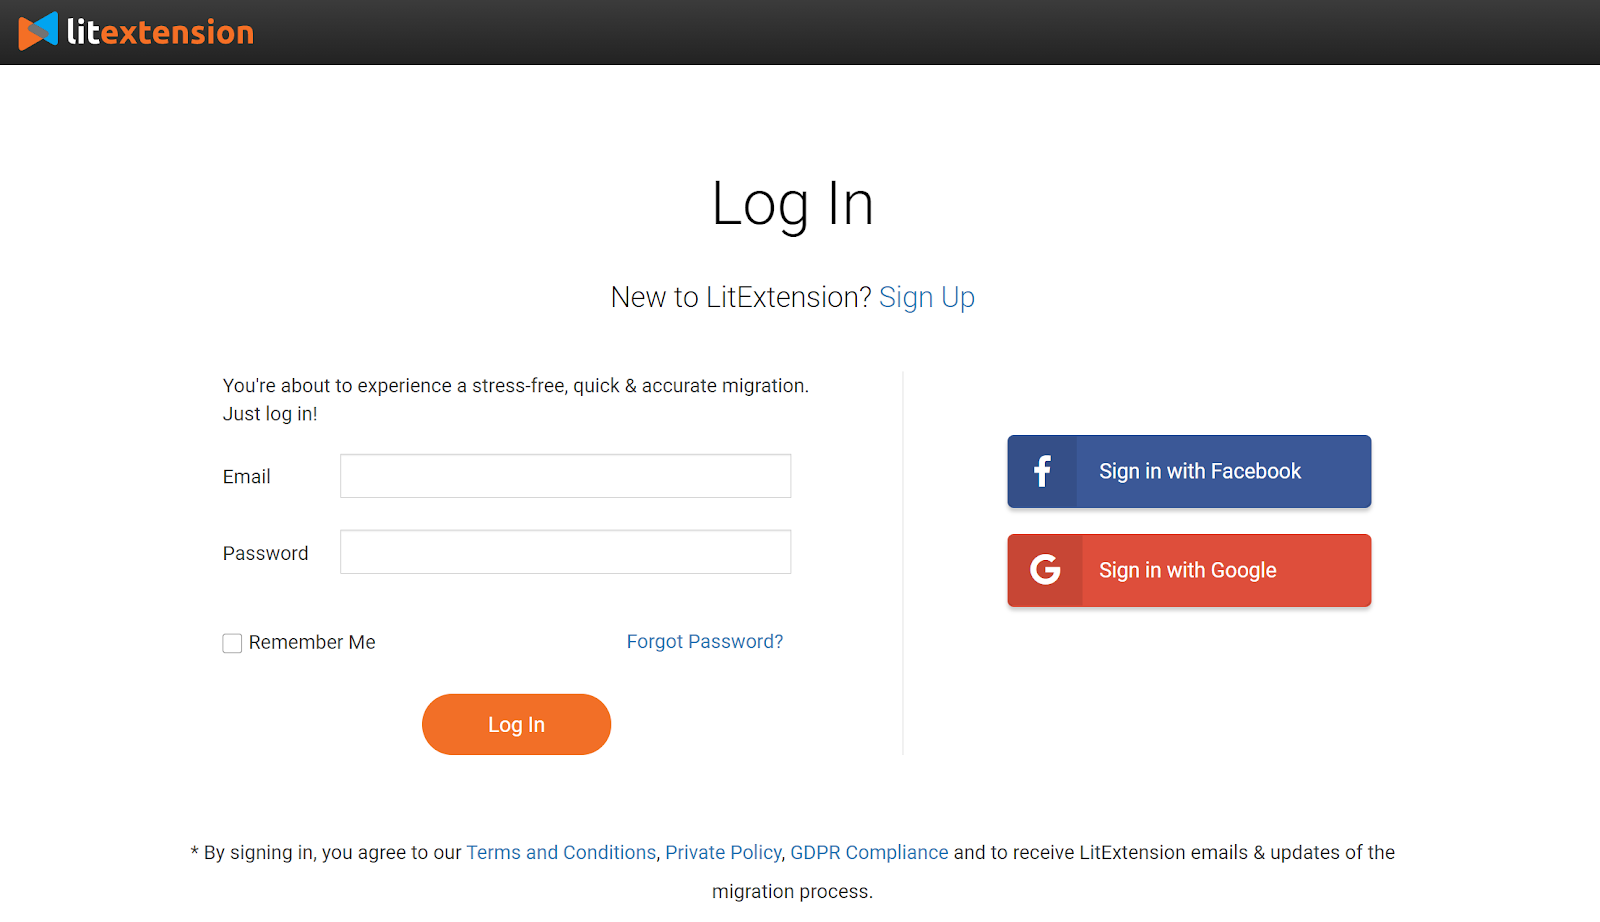
3. Migrate Shopify to Magento With LitExtension
To start with, please register an account or sign in on the LitExtension site. You can also log in easily with your existing Google or Facebook account.
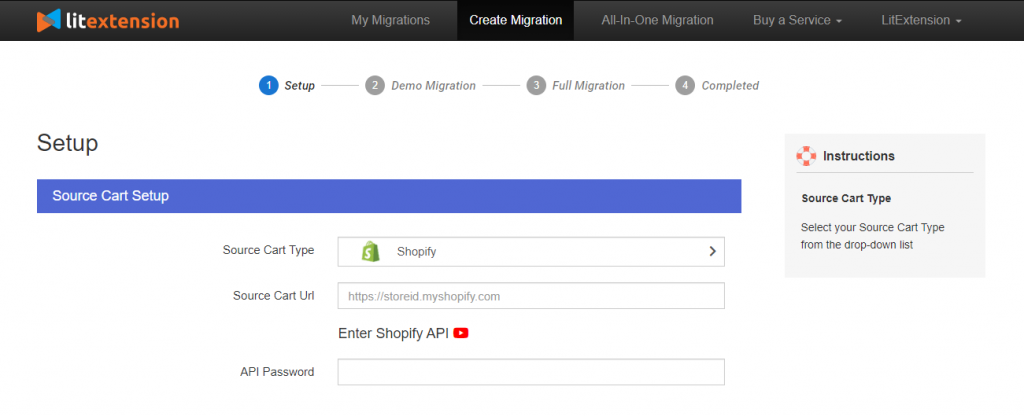
Step 1. Set up Source and Target Cart
Below you will find a few pieces of information you are required to fill out in order to start migrating Shopify to Magento:
Firstly, click on “Create New Migration” in the top right corner to begin the process. Then, select Shopify as Source Store type, enter your Source Store URL, and enter your Shopify API key in order to proceed.
After that, select Magento as your Target Store type. Fill in the required information necessary such as the Target Store URL and install the connector to Magento 2.
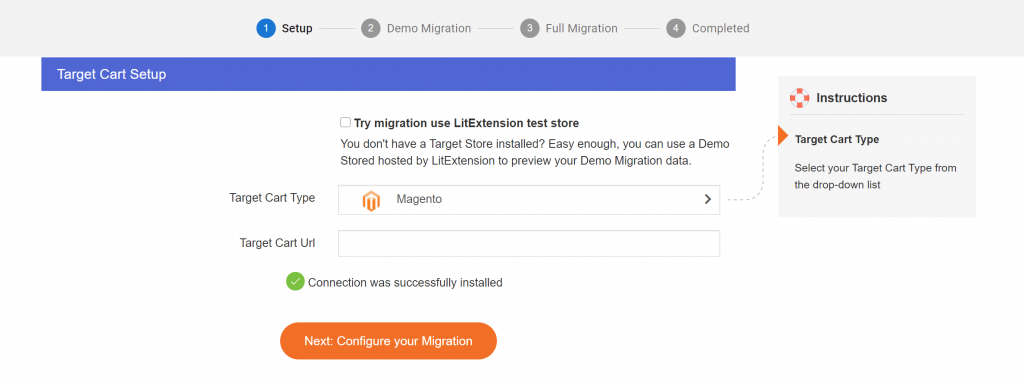
- Download LitExtension Connector and receive a zip file
- Upload the “le_connector” folder into your target store through FTP
- Enter the root folder of your store and paste the “le_connector” folder from the zip
- Go back to your migration page and if you receive a green tick, your connector is successfully installed.
Step 2. Select Entities To Migrate Shopify to Magento
For the next step in your eCommerce migration process, select the different entities you wish to migrate to your new store. You can choose to migrate all of the entities listed or pick out specific ones you would want in your new store.
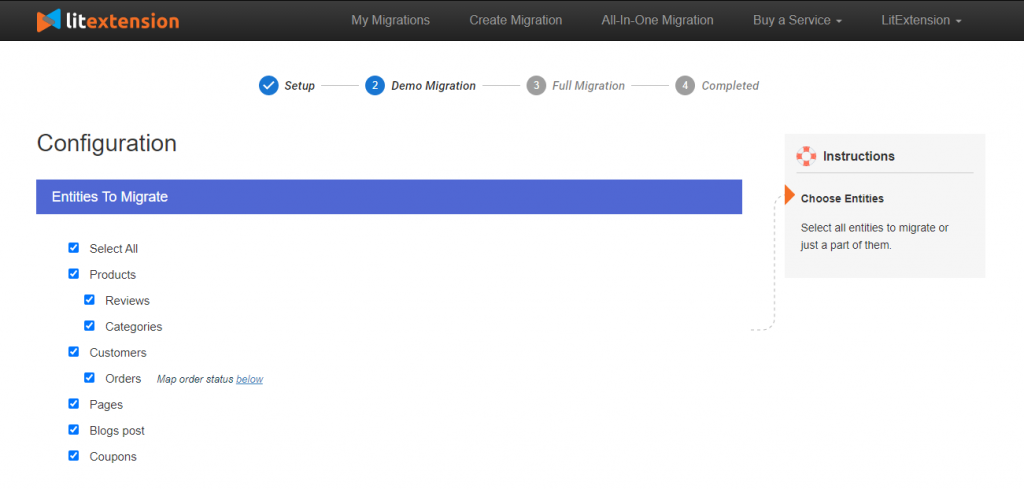
Moreover, LitExtension offers a wide range of Additional Options for you to select from to extend your Shopify to Magento migration possibilities.

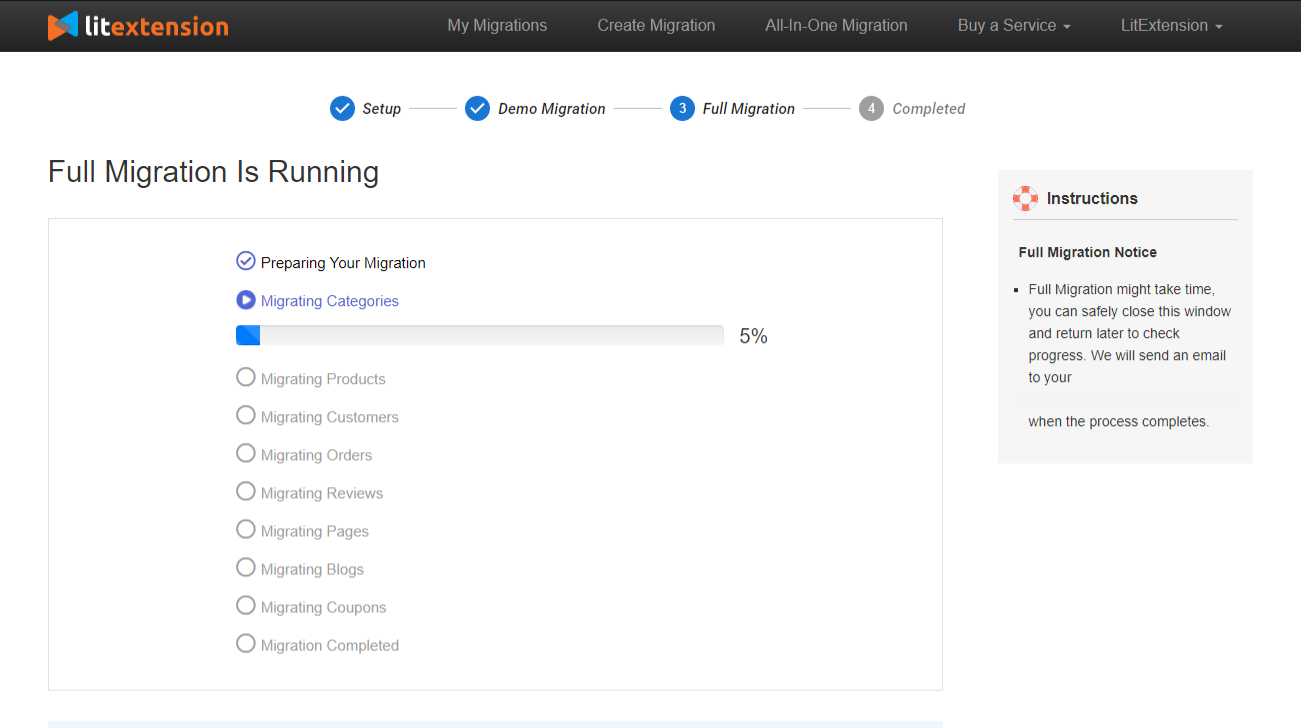
Step 3. Perform Full Migration
Immediately after the migration has started, you can turn your computer off and let LitExtension take care of your data transfer. There is no need to worry as it will run smoothly on the server. In the meantime, you are free to do anything and you will receive an email once the Shopify to Magento migration is complete.
If you miss any steps, this video tutorial will show you how to migrate Shopify to Magento in minutes!
4. Complete Post-migration Activities
Here is a valuable list of post-migration activities you would want to take into account in order to make sure the end result meets all your expected needs:
4.1. Check If Your Data Has Been Migrated Accurately
After the full migration process, verify that all data has been migrated accurately to your new store. Compare the data in your Magento store backend to your source store to make sure the migration is performed successfully.
Afterward, don’t forget to check your target store front as well to make sure the data appears correctly without an issue in your theme or configuration.
4.2. Set up A New Theme For The New Store
Magento does not allow the Shopify to Magento migration of themes, set up a theme by installing a third-party theme or design one yourself. In order to install a theme, you will need a code in your Magento 2 instance code base and register it on the database.
4.3. Install Necessary Extensions
Magento Marketplace provides 3,700+ extensions that can strengthen your online store. To facilitate your search, categories divide all the different applications. In addition, Mageplaza is one of the top Magento Extension Providers, if you’re looking for more excellent extensions.
4.4. Development
Make use of an expert developer to consult you on development services. It is practical whenever you need assistance to fulfill your needs. Besides that, one of our partners Magenest will provide you with top-quality service regarding Magento development.
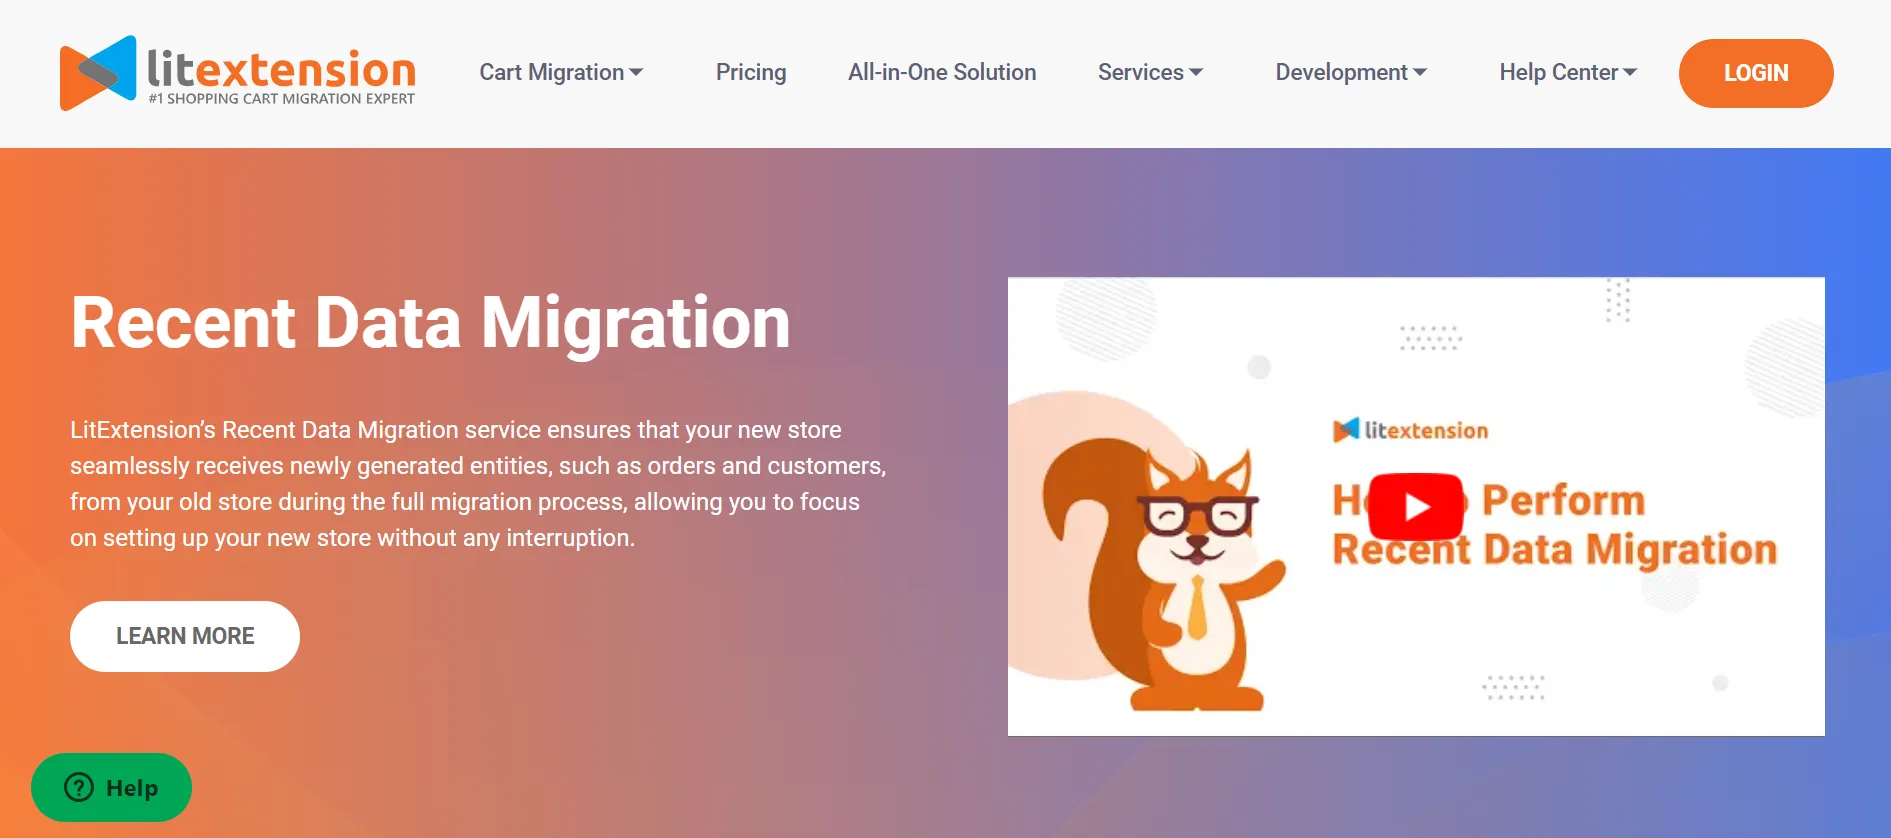
4.5. Run Recent Data Migration
Make use of the recent data migration to ensure that the new data from your source store after the migration process to your target store is complete. Our system will keep your source store active during the process and the migration won’t affect your sales performance.
The Recent Data Migration with LitExtension is free and unlimited within 3 months after your first migration.
4.6. Change DNS and Switch Domain
Once the migration is complete, there are some situations you might encounter that will ask you to change DNS and switch domains. For example, sharing the same provider with both stores under the same domain, or both stores sharing the same provider and having a different domain name.
For further details, follow this article to help you check out the post-migration activities checklist after setting up your Magento Store.

Save Time Import Store Data to Magento
Trusted specialists streamline migrations that actualize ambitions.
- Personal Assistant
- Unlimited free demo
- Personalized migration
- Free additional options
Why Should You Migrate from Shopify to Magento?
Shopify is an excellent choice for launching online ventures due to its user-friendly interface and swift setup. However, as your business expands, you may desire greater customization and scalability. In such instances, Magento emerges as the ideal solution, boasting exceptional customization, scalability, and advanced functionalities, perfect for elevating your online presence to new heights.
More specifically, here are the key advantages that we have noted when comparing Shopify vs Magento:
1. Design flexibility
With Magento, developers have access to modify core code, templates, and functionality, unlike Shopify's approach. This allows fully customized themes, designs, features, and experiences. Custom programming languages like PHP can be used to build complex features instead of relying solely on Shopify's app and plugin ecosystem.
Almost any capability can be coded directly into Magento rather than having to use third party apps, which gives you more control and responsiveness.
2. Upgraded Performance
Magento is built for high-traffic eCommerce and optimized to handle thousands of concurrent users, whereas Shopify can begin slowing down at higher volumes.
From our experience, caching, indexing, and other optimization tools in Magento allow it to serve pages much faster than Shopify at enterprise traffic levels. In addition, infrastructure like dedicated servers, CDNs, and auto-scaling provide stronger performance foundations than Shopify's cloud hosting.
3. eCommerce Features
In our view, Magento surpasses Shopify in functionalities like multilingual capabilities and sales tools. For larger businesses or enterprises, these are all the must-have guiding towards success. Not to mention, it will save you tons of cost since you do not have to integrate third-party apps to maximize the website function.
Shopify to Magento: FAQs
How do I migrate from Shopify to Magento 2?
You can migrate from Shopify to Magento 2 using methods such as manual migration, hiring an expert, or using a migration service. With LitExtension, you can choose between working on your own (which only requires 3 simple steps) or with our expert (who will take care of your project from start to end).
Is Magento better than Shopify?
The suitability of Magento or Shopify depends on your specific business requirements. Magento offers more customization options and scalability, making it suitable for larger businesses with complex needs, while Shopify provides ease of use and simplicity, ideal for smaller businesses or those starting out.
Is Shopify cheaper than Magento?
Shopify generally has lower upfront costs and is easier to set up, making it appear cheaper for small businesses or startups. However, Magento is free to use, although it may require more investment in development and hosting.
How much does it cost to migrate to Magento 2?
The cost of migrating to Magento 2 varies depending on factors such as the size and complexity of your store, the method of migration chosen (manual, expert, or migration service), and any additional customizations or integrations required. Costs can range from a few hundred to several thousand dollars.
It's advisable to get quotes from migration experts or services to get a more accurate estimate based on your specific needs. If you are working with LitExtension, pick up the phone and contact us for more details.
Final Words
Magento is considered one of the best alternatives for Shopify. If your Shopify store isn't able to cater to your business as you wish, Magento offers customization ability and wide app and extensions available.
To conclude, here is a full step-by-step guide for you to migrate from Shopify to Magento using LitExtension. Hope this article helps you with your migration. If you have any difficulties or any questions do not hesitate to contact our technical support team, we’re available 24/7, or contact us through ticket, phone, live chat, or email.
Otherwise, take a look at the LitExtension blog or join our community to get more eCommerce knowledge.

