Overview
The LitExtension Connector is a specialized access gateway that establishes a secure connection between your Source and Target stores, enabling seamless data migration.
Each Connector is secured by a unique Security Token tied to your personal LitExtension account. For the migration tool to operate correctly, the le_connector folder must be placed in your store’s root folder.
Before you start
Please note: The LitExtension Connector is used solely for migration purposes. It allows the tool to read and copy data without modifying your store’s database. Once the migration is complete, you can safely remove the Connector file from your server.
If you prefer learning visually, we’ve included a quick video tutorial below. It walks you through each step of installing the LitExtension Connector:
How to install the LitExtension connector
To install the LitExtension connector, you need to go through 3 steps:
- Login to your LitExtension account and download the Connector.
- Upload the folder “le_connector” to your store’s root folder.
- Check the Connector file’s installation status.
Step 1: Download the Connector File
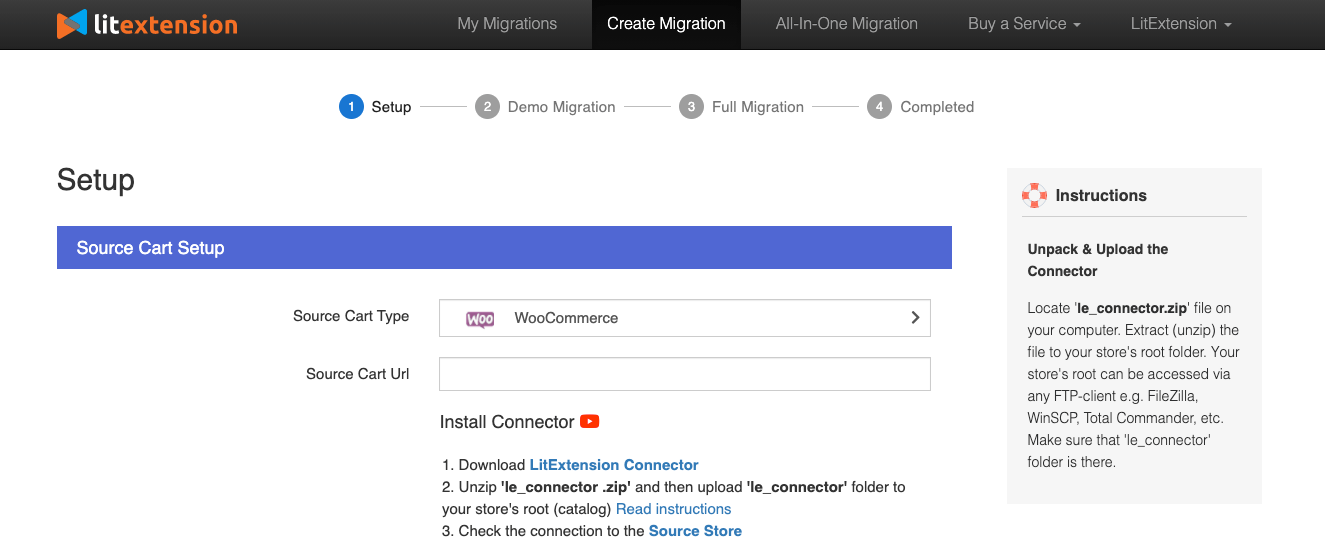
At your shopping cart migration setup page, navigate to “I want to manually upload the connector!” and then click on the LitExtension Connector link.
Next, save the “le_connector” file to your computer.
Step 2: Extract and upload Connector
It’s time to upload the le_connector folder to your store’s root directory. You can use either File Manager (via cPanel) or an FTP client like FileZilla.
In this tutorial, we will explain how to upload a file using File Manager and FileZilla.
- File Manager (browser-based):
The File Manager is good to use when you are away from your computer, and you can access a browser. The File Manager can be accessed from any location. This eliminates the need to install a program like FileZilla.
- Log in to your cPanel and navigate to File Manager under the Files section.
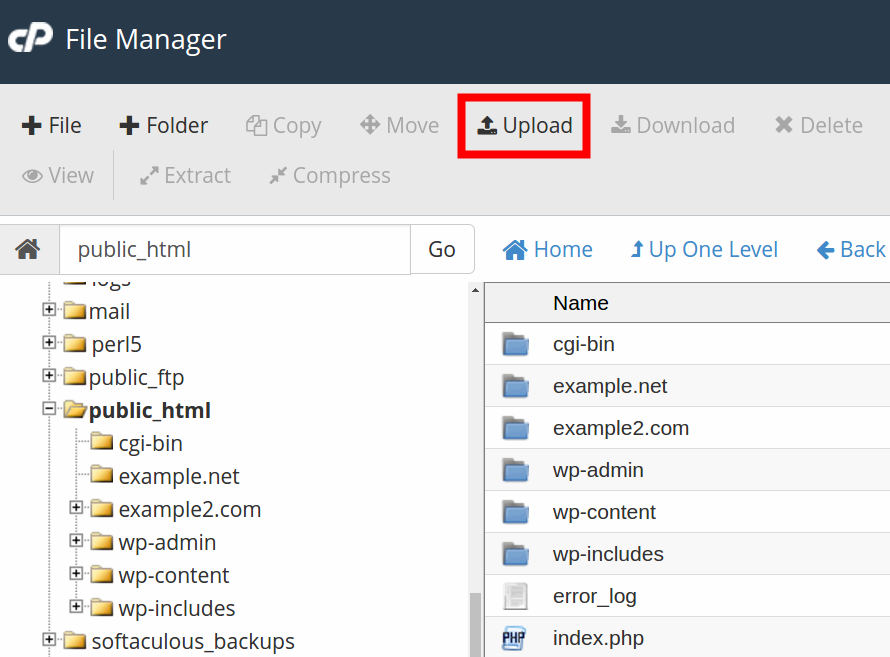
- Next, go to your store’s root directory (commonly named public_html or www), click Upload at the top of the page.
- Then, drag and drop the le_connector.zip file or click Select File to browse and upload.
- Once the upload completes (100%), click Go Back.
- Refresh the File Manager by clicking the Reload link at the top middle of the File Manager to confirm the file is uploaded.
- At this stage, extract the le_connector.zip file within the root directory, and you’re good to perform your migration.
- FileZilla (FTP):
On the other hand, FileZilla is also a good option for uploading files. It works over port 22 and can upload mass amounts of all files at once.
- Connect to your server using FileZilla.
- Navigate to your store’s root directory on the Remote Site panel.
- Locate the le_connector folder in your Local Site, then drag and drop it to the to the Remote Site.
- Wait until the upload completes and confirm the folder appears in the directory list.
Step 3: Verify the installation
Once uploaded, you can verify the Connector installation in two ways:
1. Automatic check in LitExtension setup
- Enter your store’s URL in the migration setup.
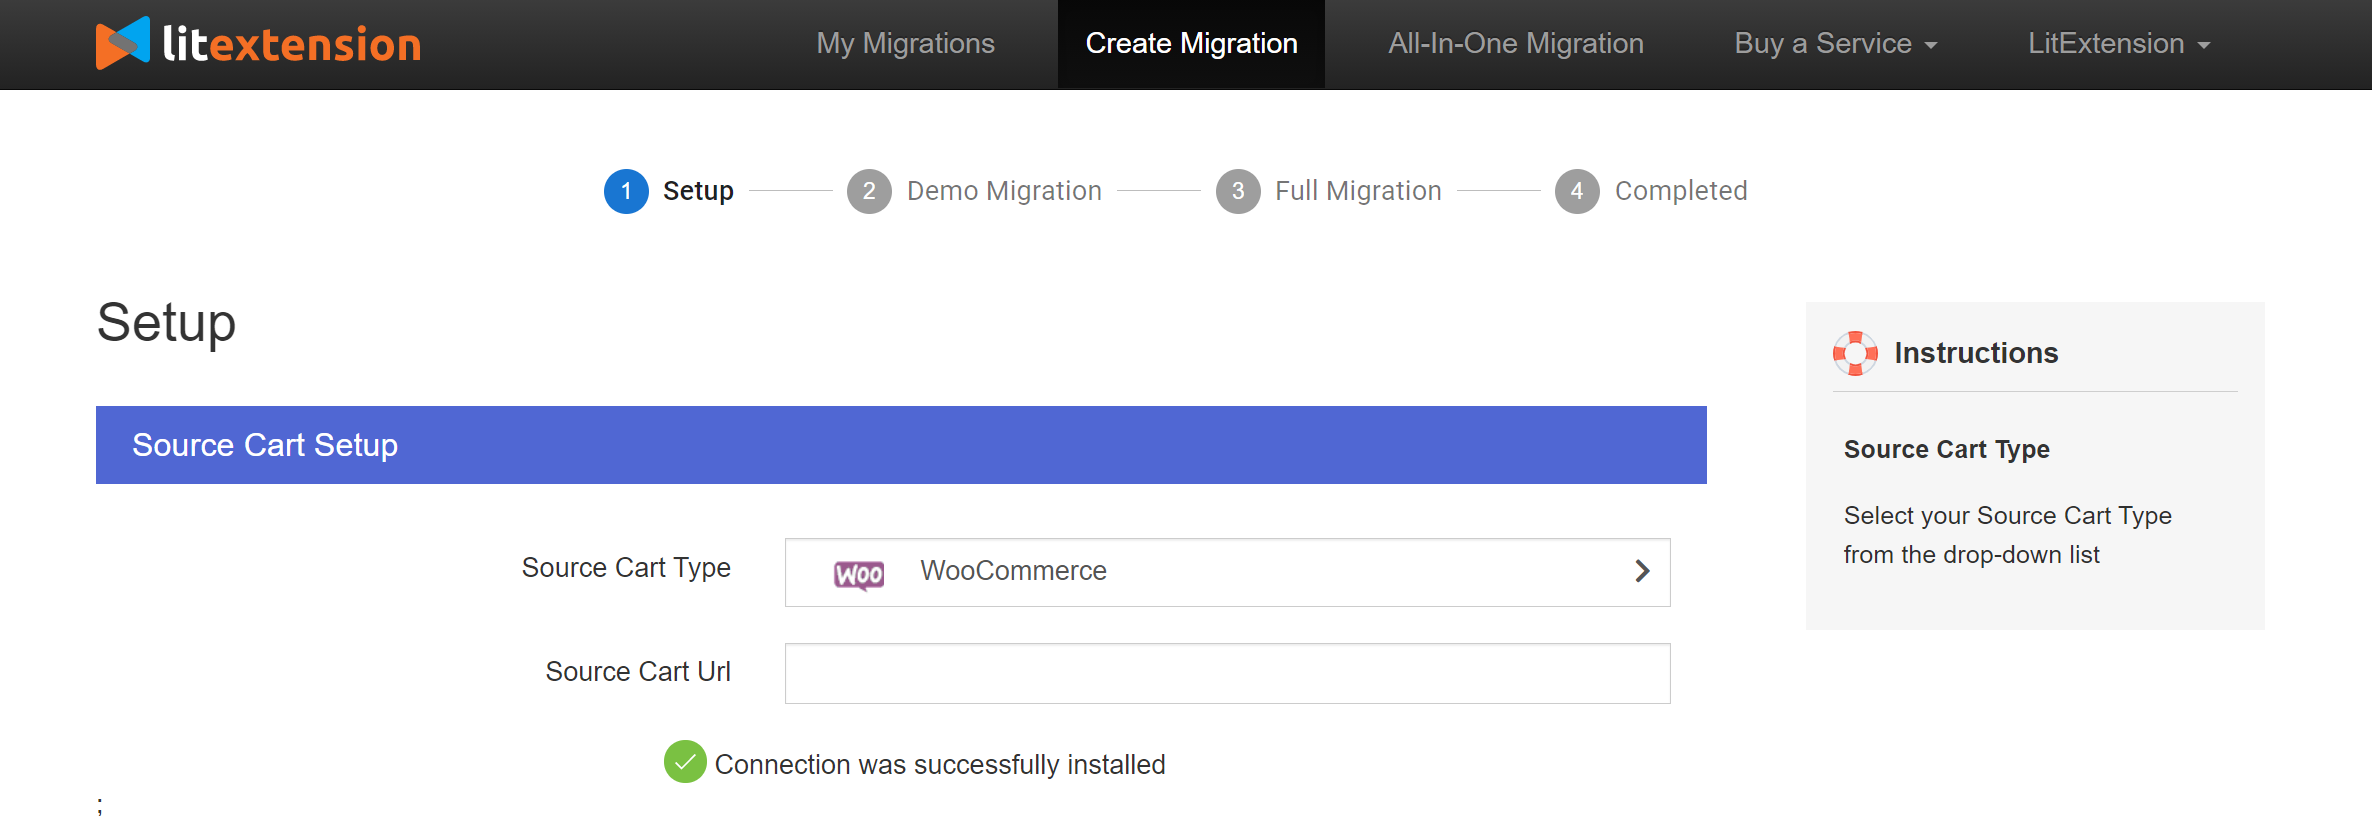
- Our system will auto-check the connection and display a success message if the Connector is properly installed.
2. Manual check via Browser
- Open your browser and visit: http://yourstore.com/le_connector/connector.php
- If you see the message “Connector Installed”, your Connector is working correctly, and you’re ready to proceed with the migration.


