Re-migration Service lets you transfer all your data from the Source Cart to the Target Cart again. This function will be an optimal solution to some of the problems you might encounter after the migration:
- Improper setup of the Source/Target Cart during the initial migration creates problems like data display errors or data loss before, during, or after the process.
- Corruption of migrated entities caused by additional configurations made during the migration.
- Negative impacts on your new store, such as slow loading times, damaged customer experience, or lost sales due to certain modifications.
Please note that there are differences in LitExtension’s Re-migration Service terms depending on the migration service package you choose:
- Automated Migration Service: 1 free re-migration within 60 days after the initial migration begins, covering up to 500 entities.
- All-in-One Migration Service: Unlimited free re-migrations within 30 days after the migration is completed.
How to perform Re-migration service?
Now that you know what the re-migration service can do, let us walk you through the simple process to get started. It’s a straightforward process, and we’ll guide you every step of the way:
- Step 1: Open your migration
- Step 2: Set up the Source and Target cart
- Step 3: Configure migration settings
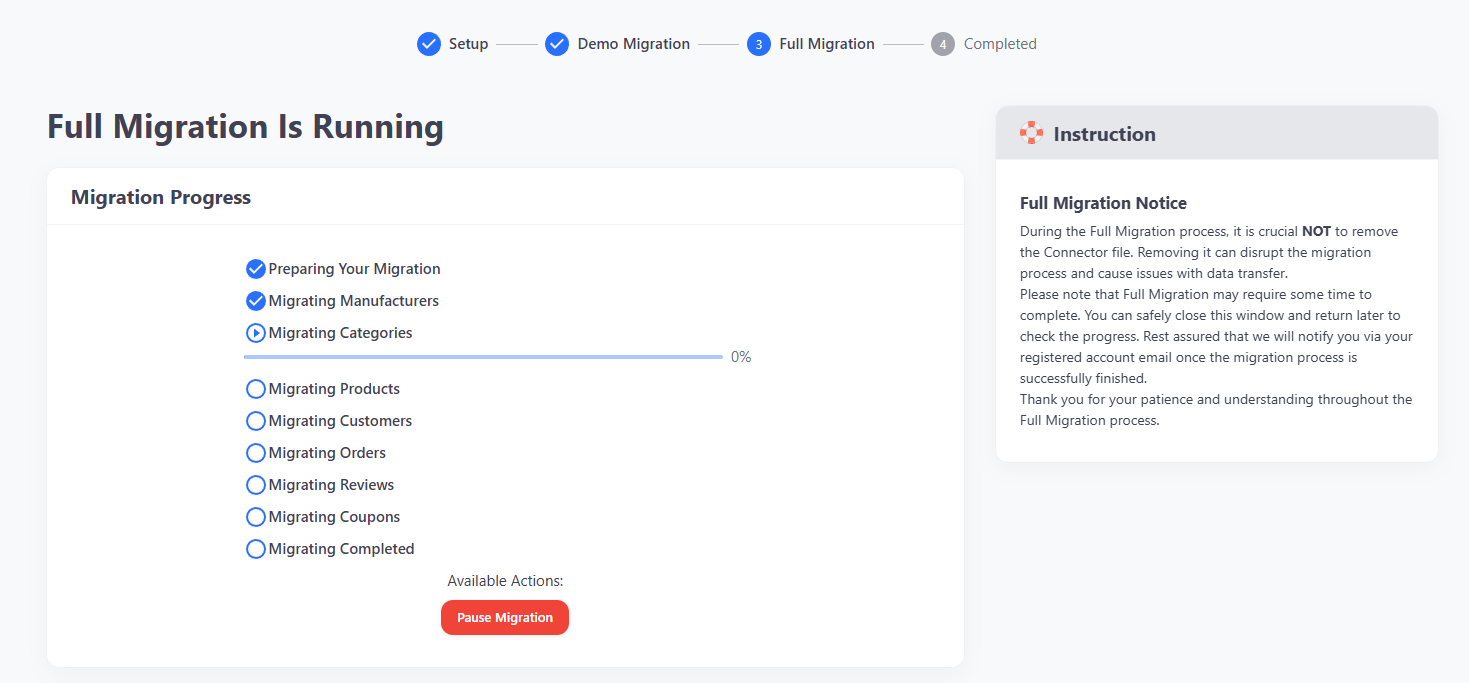
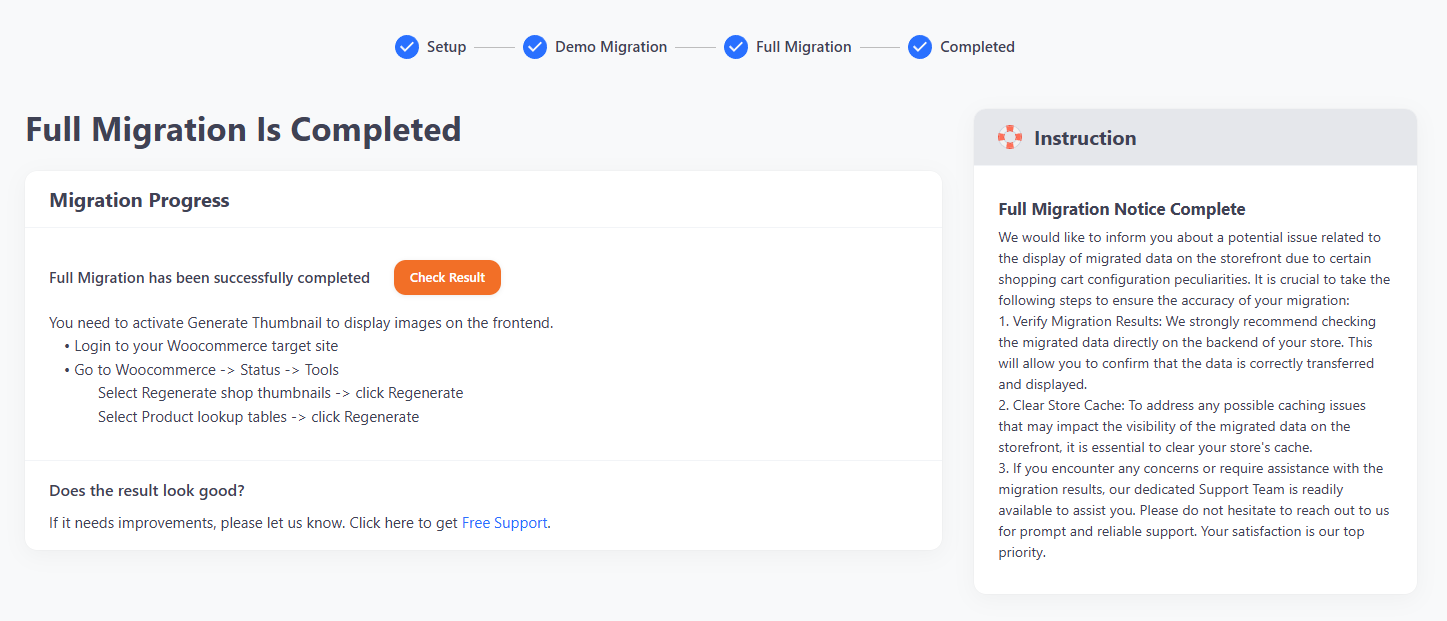
- Step 4: Run your Re-migration
Step 1: Open your migration
After logging into your account on the LitExtension app, open the “My Migrations” tab. This section will display all of your migration projects. Then, simply click “Remigrate” on the right-hand side of the migration you want to re-migrate.
Step 2: Set up the Source and Target cart
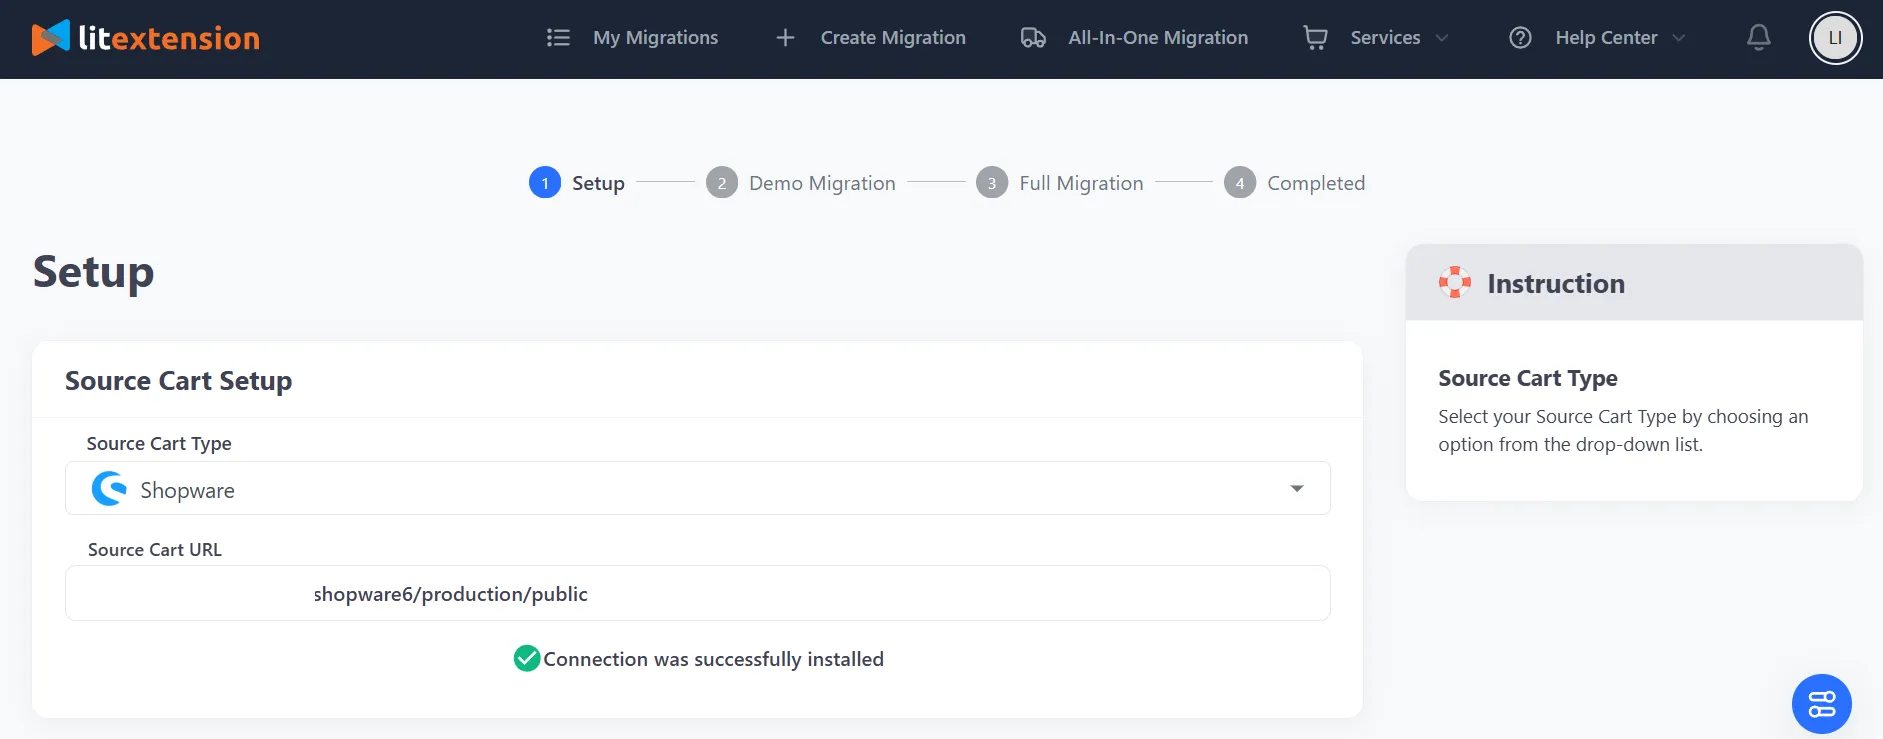
At this step, you can set up your Source and Target carts as usual. First, the Source Cart type and Source Cart URL will be automatically populated, as this information was previously provided during your full migration.
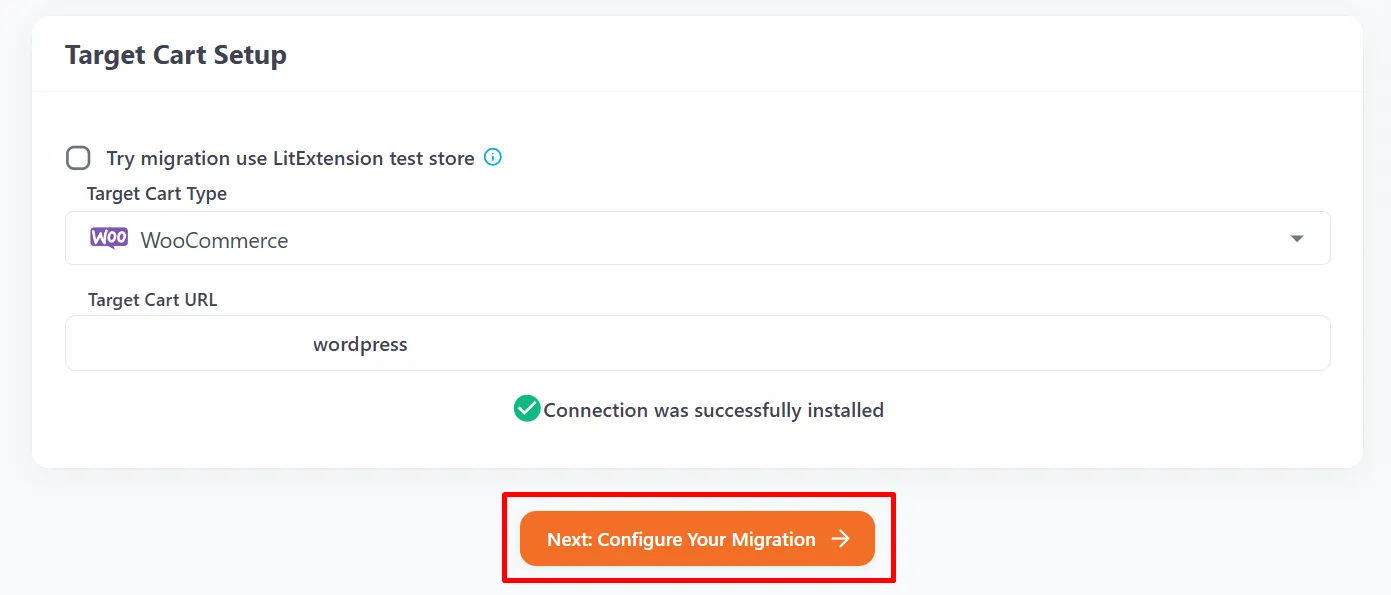
Next, proceed to set up your Target Cart. Similarly, your Target Cart type and URL will also be automatically filled in. Once you’ve completed this, click “Next: Configure Your Migration” to continue to the next section.
Step 3: Configure migration settings
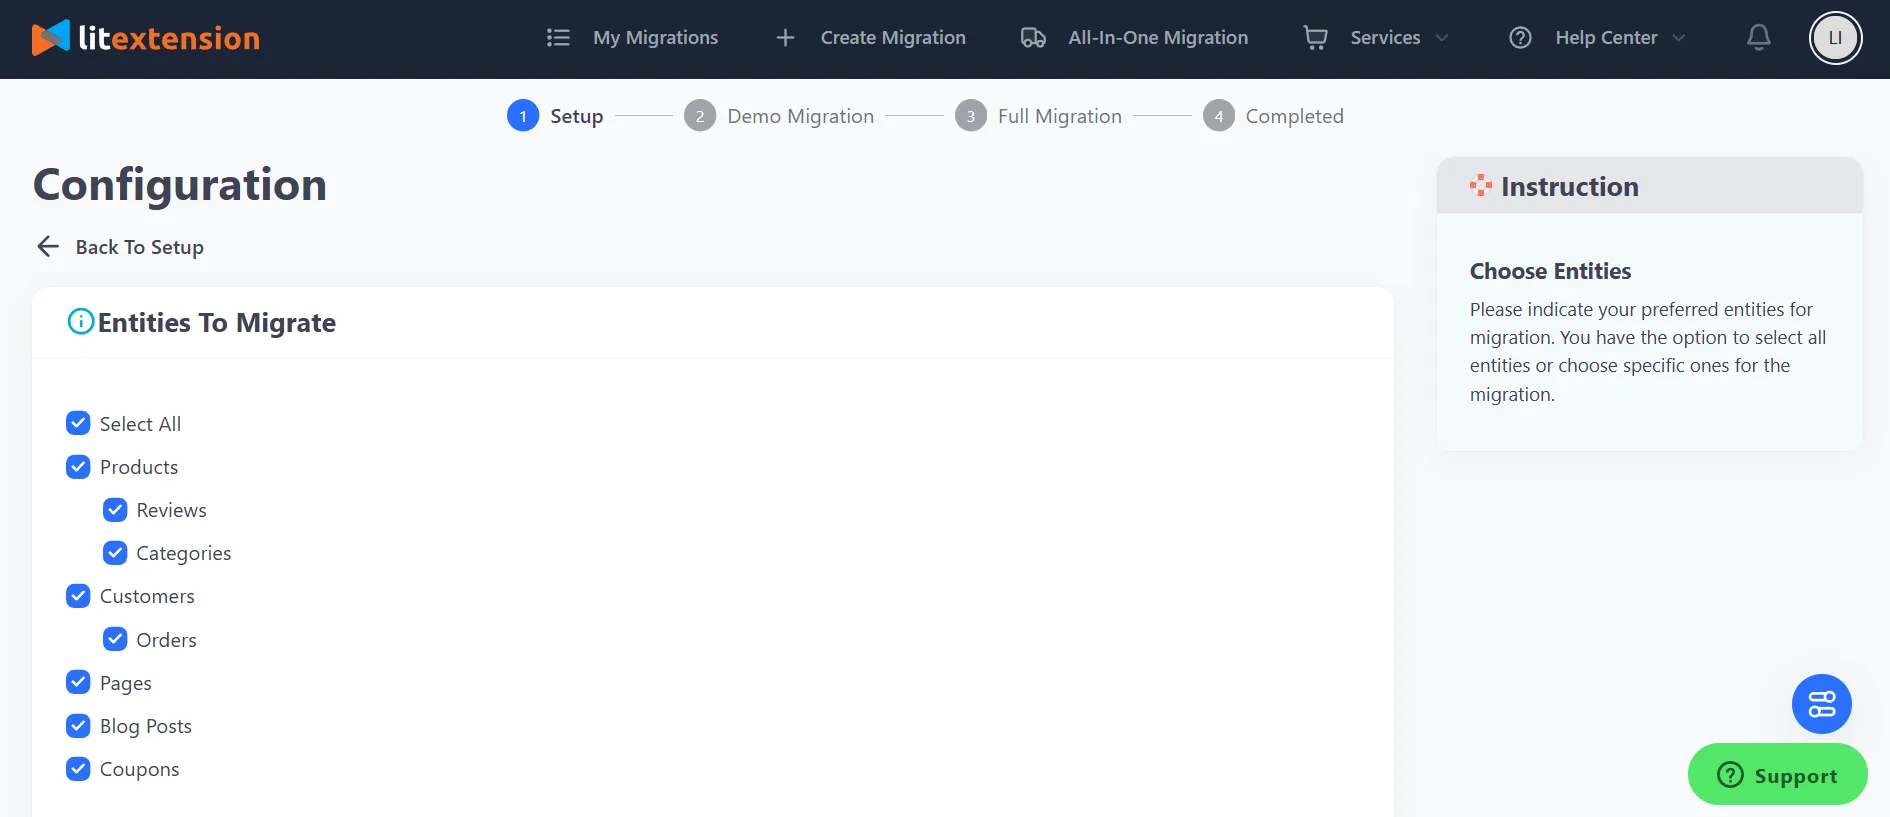
Now, you can select the entities you wish to re-migrate. You can choose all the important data here. If you are re-migrating with our Automated Migration Service, please ensure that the amount of data does not exceed 500 entities.
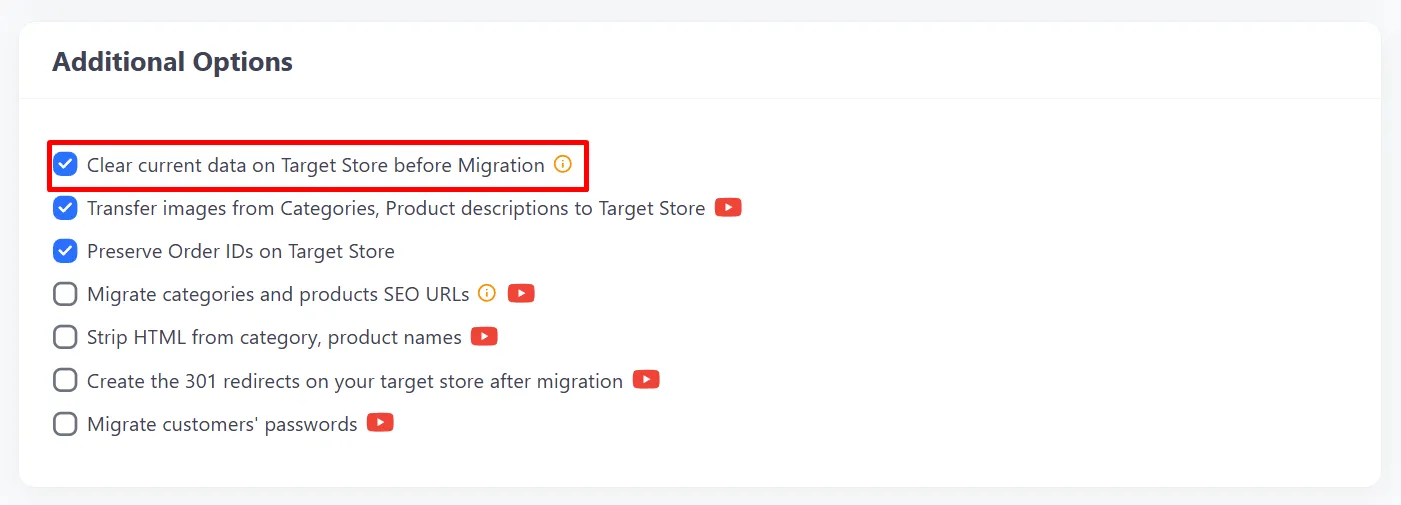
Moving on to the Additional Options, you must select the option “Clear current data on Target Store before Migration” on the target site. This step is necessary because we’re running the migration again, and clearing the data ensures that there won’t be any duplicated information in your new store.
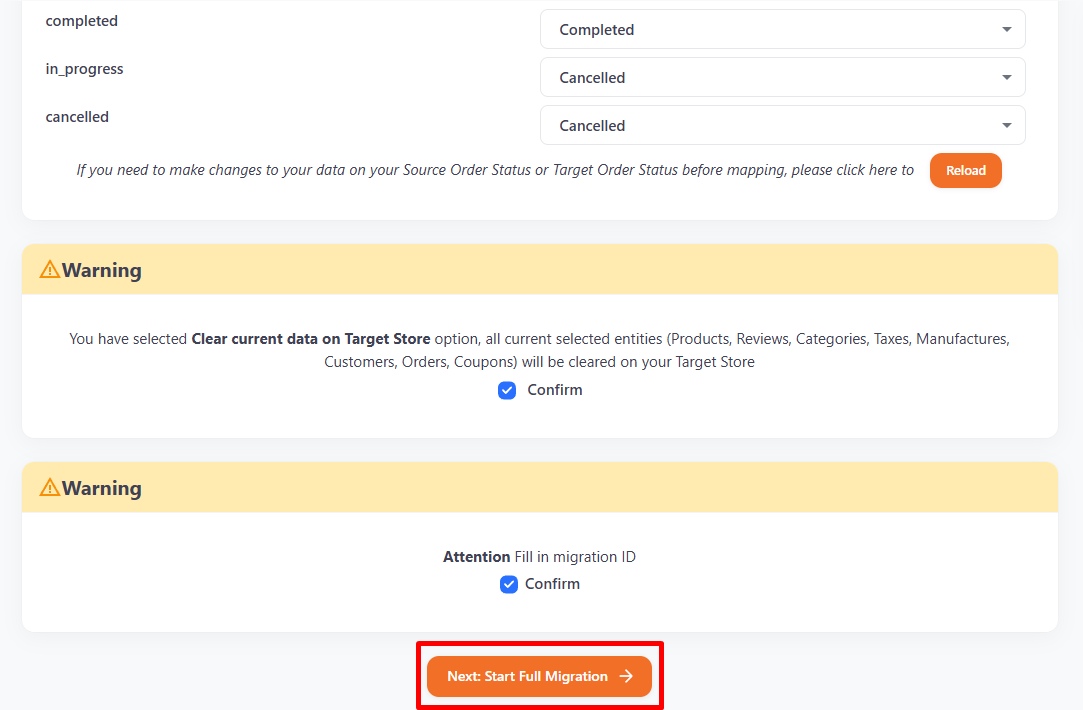
After configuring the language and order status mapping, you will be prompted to confirm the migration settings you have selected. Once confirmed, select “Start Full Migration” to begin the re-migration process.
