Webflow is well-known as one of the most versatile website builders in the market. However, to unleash the platform’s full potential, you need to know how to use it properly. In this Webflow tutorial, we will guide you through the detailed steps of using Webflow so you can start building your first website simply and effectively.
Here is a sneak peek of the 8 main steps to launch your first Webflow site:
- Step 1: Create an account
- Step 2: Choose the site foundation
- Step 3: Understand Webflow concepts
- Step 4: Customize your template
- Step 5: Add interactions and animations
- Step 6: Build a scalable CMS
- Step 7: Optimize for SEO & AEO
- Step 8: Test and launch your website
Let’s dive right in!
Define Strategy & Set Up Workflow (2026 Upgrade)
Even in 2026, strong websites still start with clear structure, not animations or fancy layouts. Decide your site’s main goal, target audience, and core pages first. A simple sitemap draft in a document is enough to keep your build focused and avoid redesign later.
At this stage, also prepare your content structure and brand assets so you are not designing blindly. Instead of writing everything inside Webflow, outline your headings and key sections in advance. Keep it structured and scannable.
Before moving to Step 1, make sure you have:
- A defined primary goal and CTA;
- A basic sitemap (Home, About, Services, etc.);
- Draft H1 and main H2 structure;
- Logo, brand colors, and typography;
- Key images or visual assets ready.
This quick preparation keeps your workflow clean and makes the actual Webflow build much smoother.
Step 1: Create Your Webflow Account
To get started with Webflow, the first thing you need to do is create an account. This process is quick and only takes a few minutes.
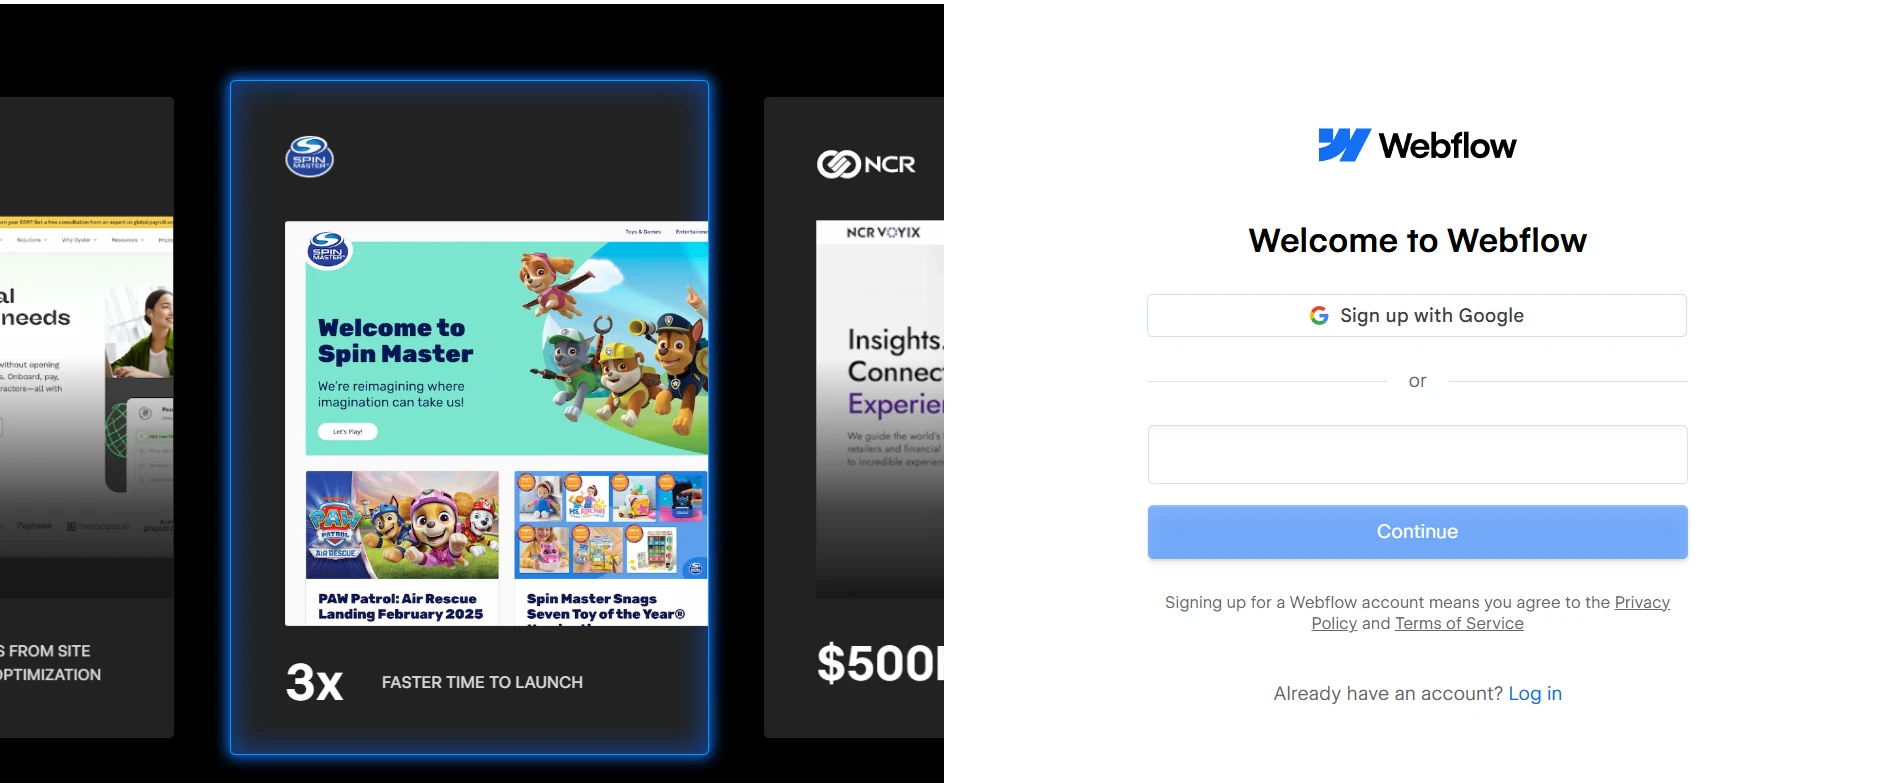
Begin by visiting the official Webflow website, then click Start for free to access the registration form.
Webflow allows you to sign up using your email address or continue with Google. If you choose to sign up with email, enter your email address and click Continue.
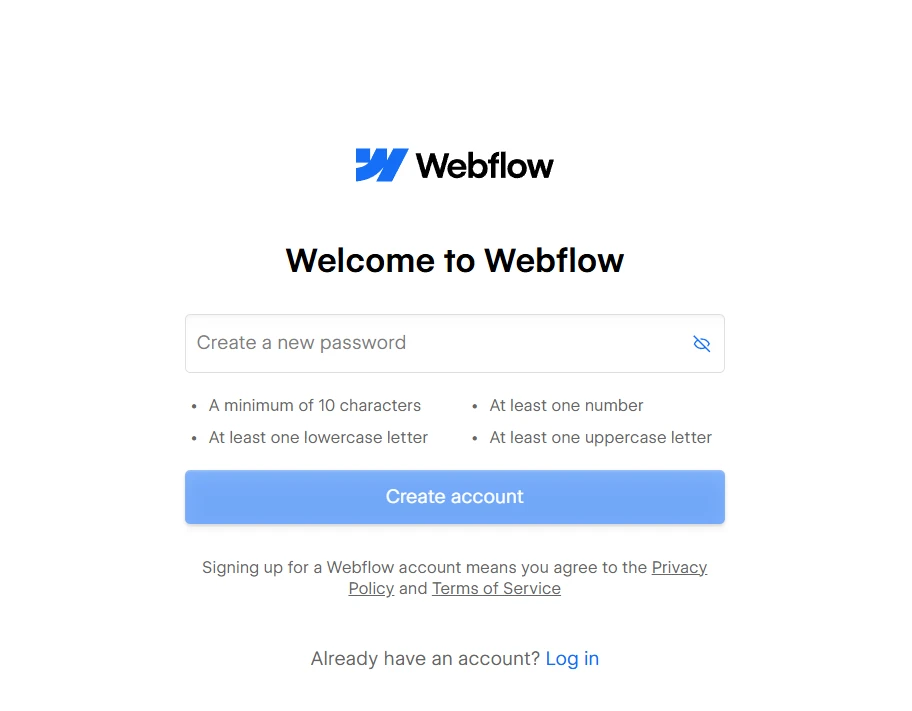
You’ll then be prompted to create a password for your account. Set a secure password that meets Webflow’s requirements and proceed. Once everything is completed, click Create account to finish the core signup process.
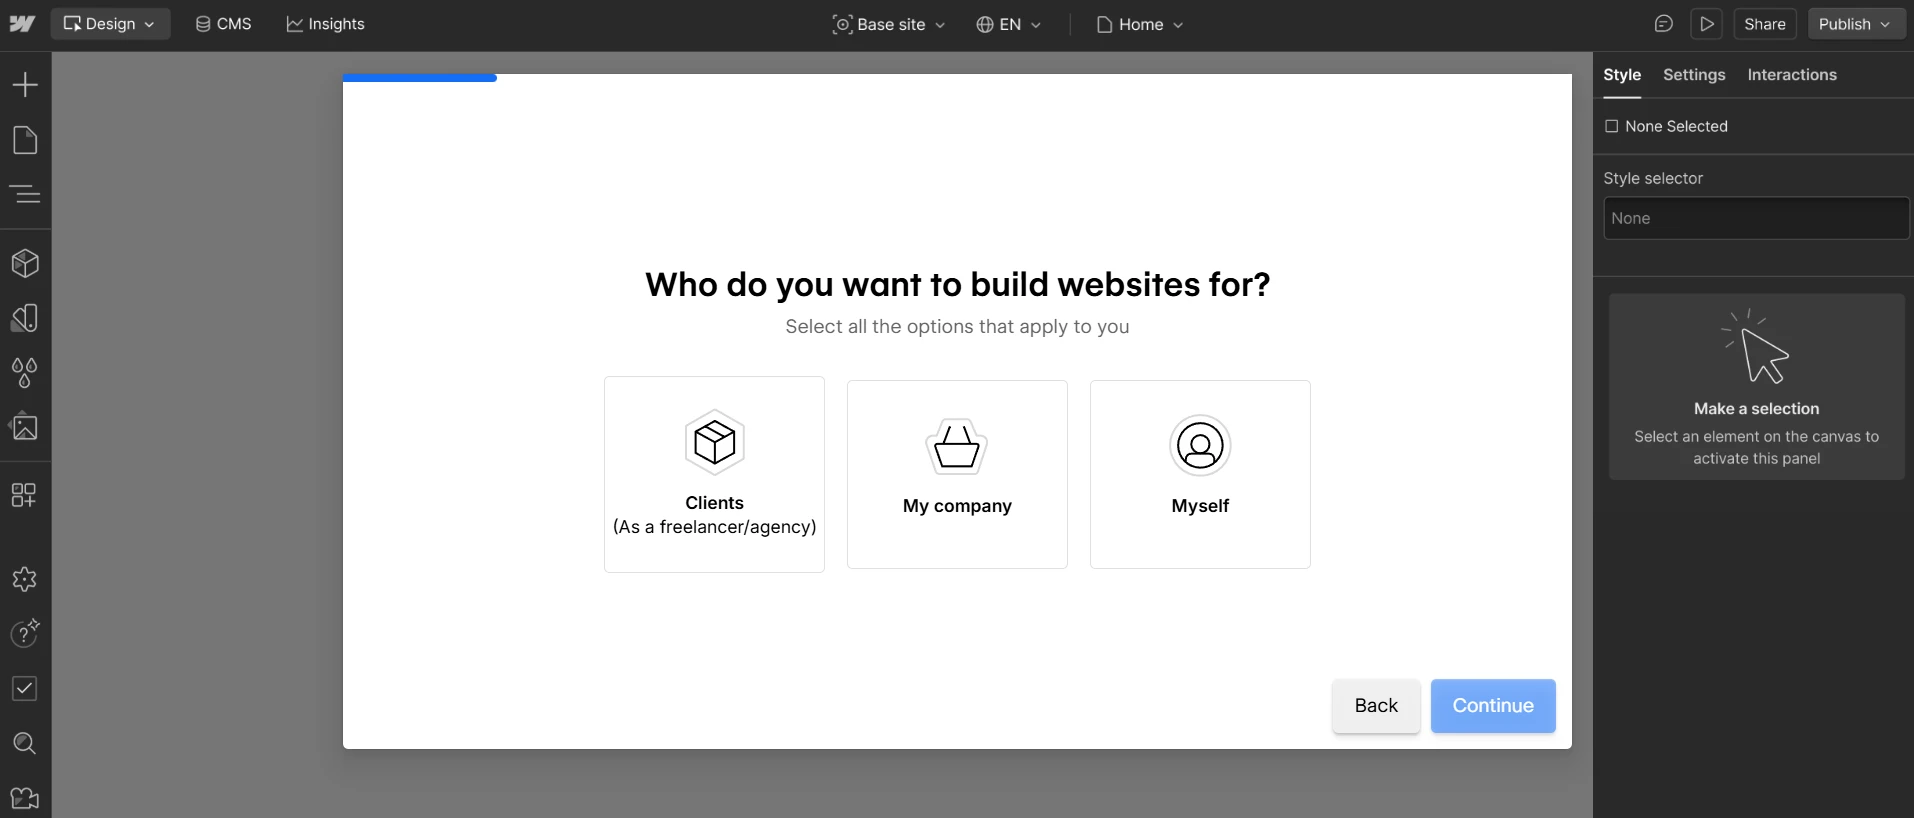
After your account is created, Webflow will guide you through a short onboarding questionnaire. You’ll be asked about your name, role, experience level, and what you plan to build. After answering them all, you can choose whether to receive email updates before clicking Finish.
Once completed, you’ll be redirected to your Webflow dashboard and can move on to creating your first project.
Step 2: Choose Your Webflow Site Foundation
You can build your Webflow website from scratch by starting with a blank project. However, in 2026, you can also begin with a pre-built template or an AI-generated layout.
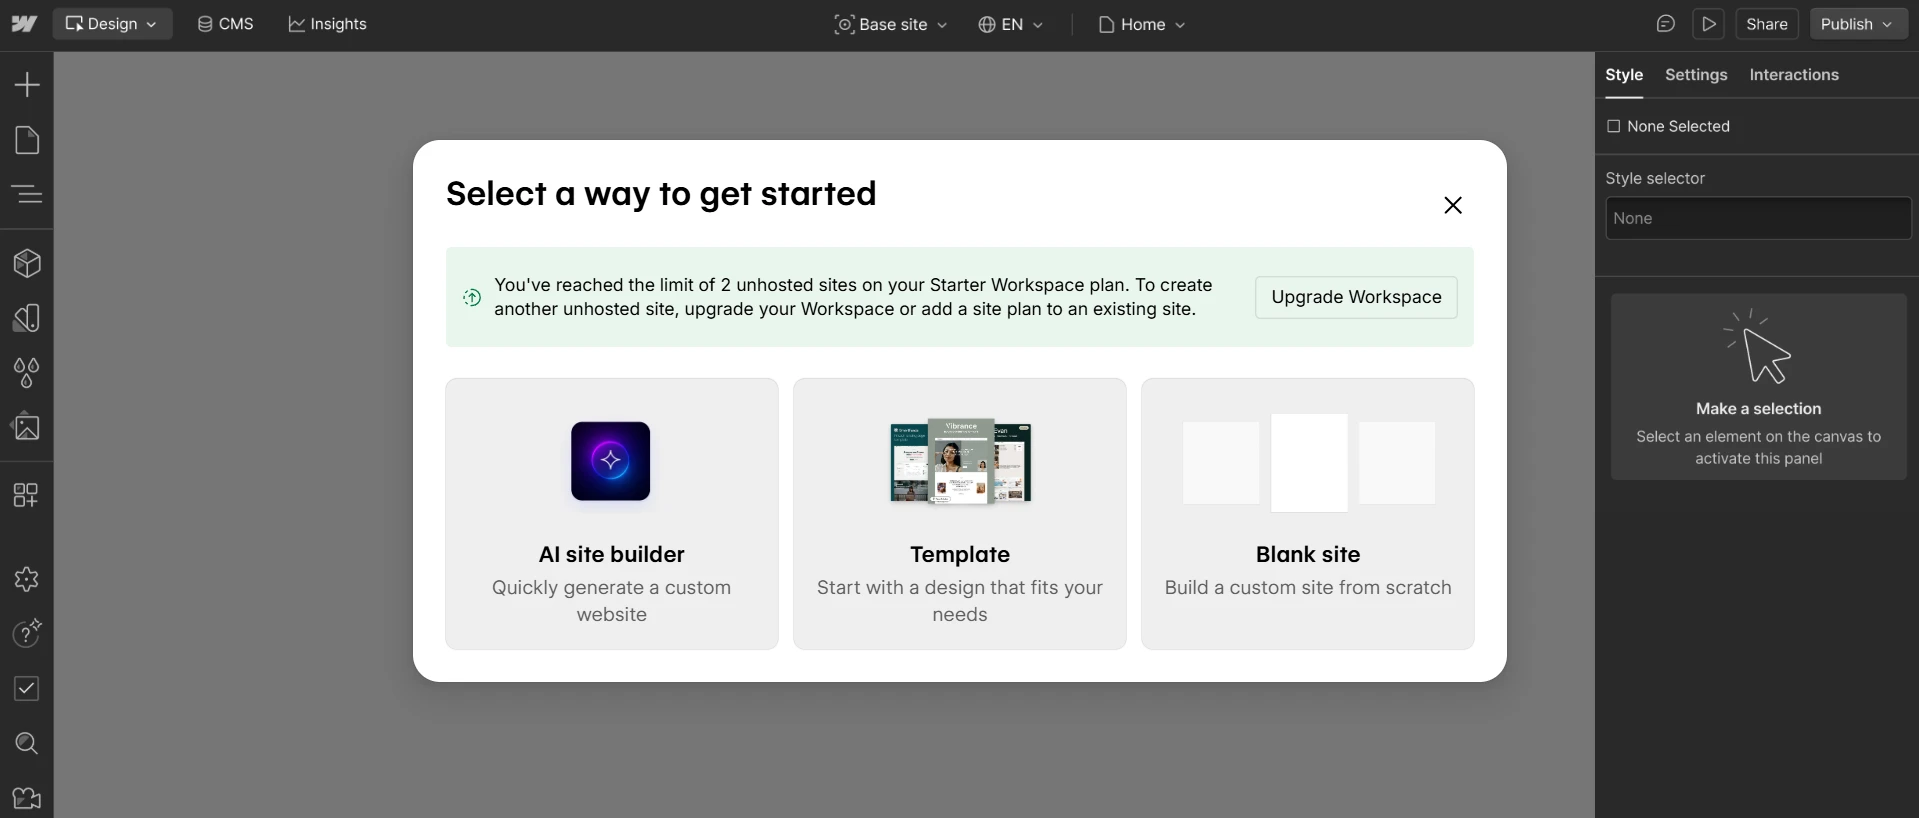
Choosing a template or AI-generated foundation is often faster and more practical than building everything from zero – especially if you don’t have a technical background. These options provide a structured starting point, allowing you to focus on customization, branding, and content rather than basic layout setup.
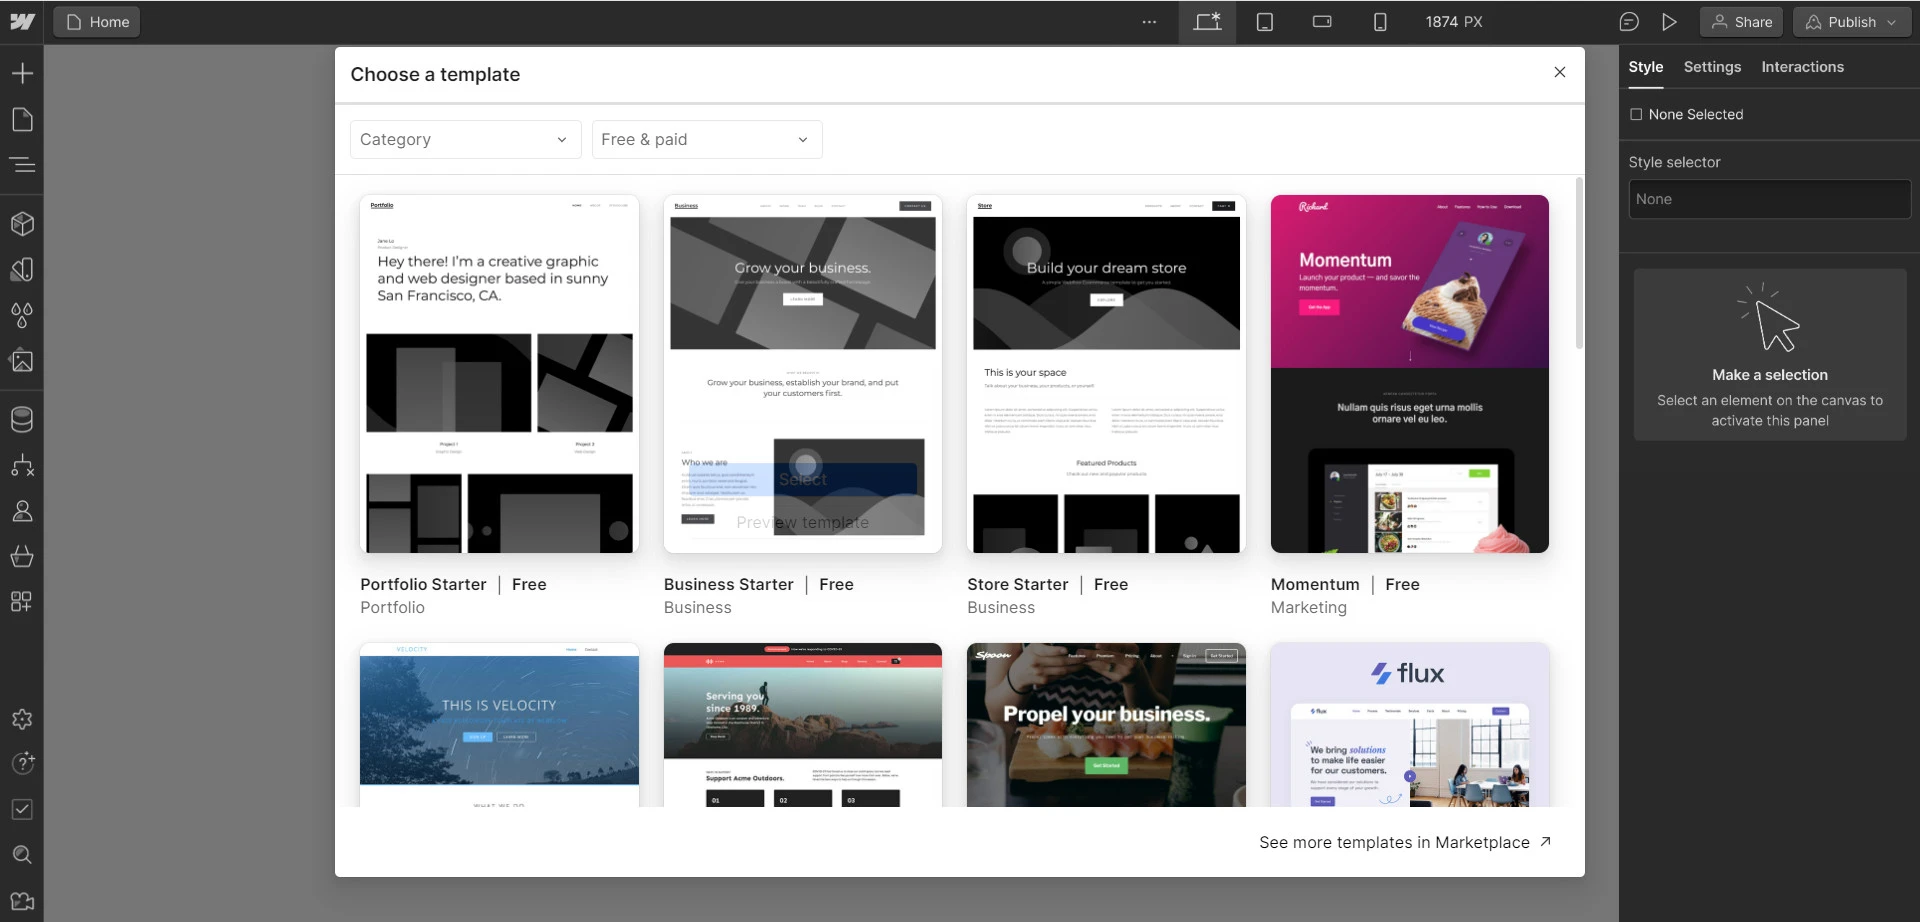
In this tutorial, we will pick a template to get started. Here are five key steps to help you pick the most suitable one:
- Determine the primary purpose of your website, such as a blog, portfolio, eCommerce site, or business landing page, to narrow down your template options.
- Look for templates that align with your brand’s aesthetic and voice.
- Ensure the template includes the essential features you need, such as galleries, forms, eCommerce capabilities, or blog functionality.
- Make sure the template is fully responsive and looks great on all devices.
- Explore live demos of the templates to see them in action and get a better sense of their look and feel for your content.
Step 3: Understand the Core Concepts of Webflow
At this stage, it’s important to understand how Webflow actually works. Unlike traditional drag-and-drop builders, Webflow is built around real web development principles – presented visually. Knowing these core concepts will help you design more efficiently and avoid common structural mistakes.
1. Designer vs Editor
In Webflow, there are two main working environments. The Designer is where you build layouts, structure sections, apply classes, and control styling. The Editor is used for updating content only. It allows text, images, and CMS content to be changed without affecting the overall design structure.
2. Box model & CSS logic
Webflow follows standard CSS rules. Every element sits inside a box and is affected by margin, padding, border, and width. Understanding how spacing works – especially the difference between margin and padding – is crucial for building clean layouts. If something looks misaligned, it’s usually related to spacing within the box model.
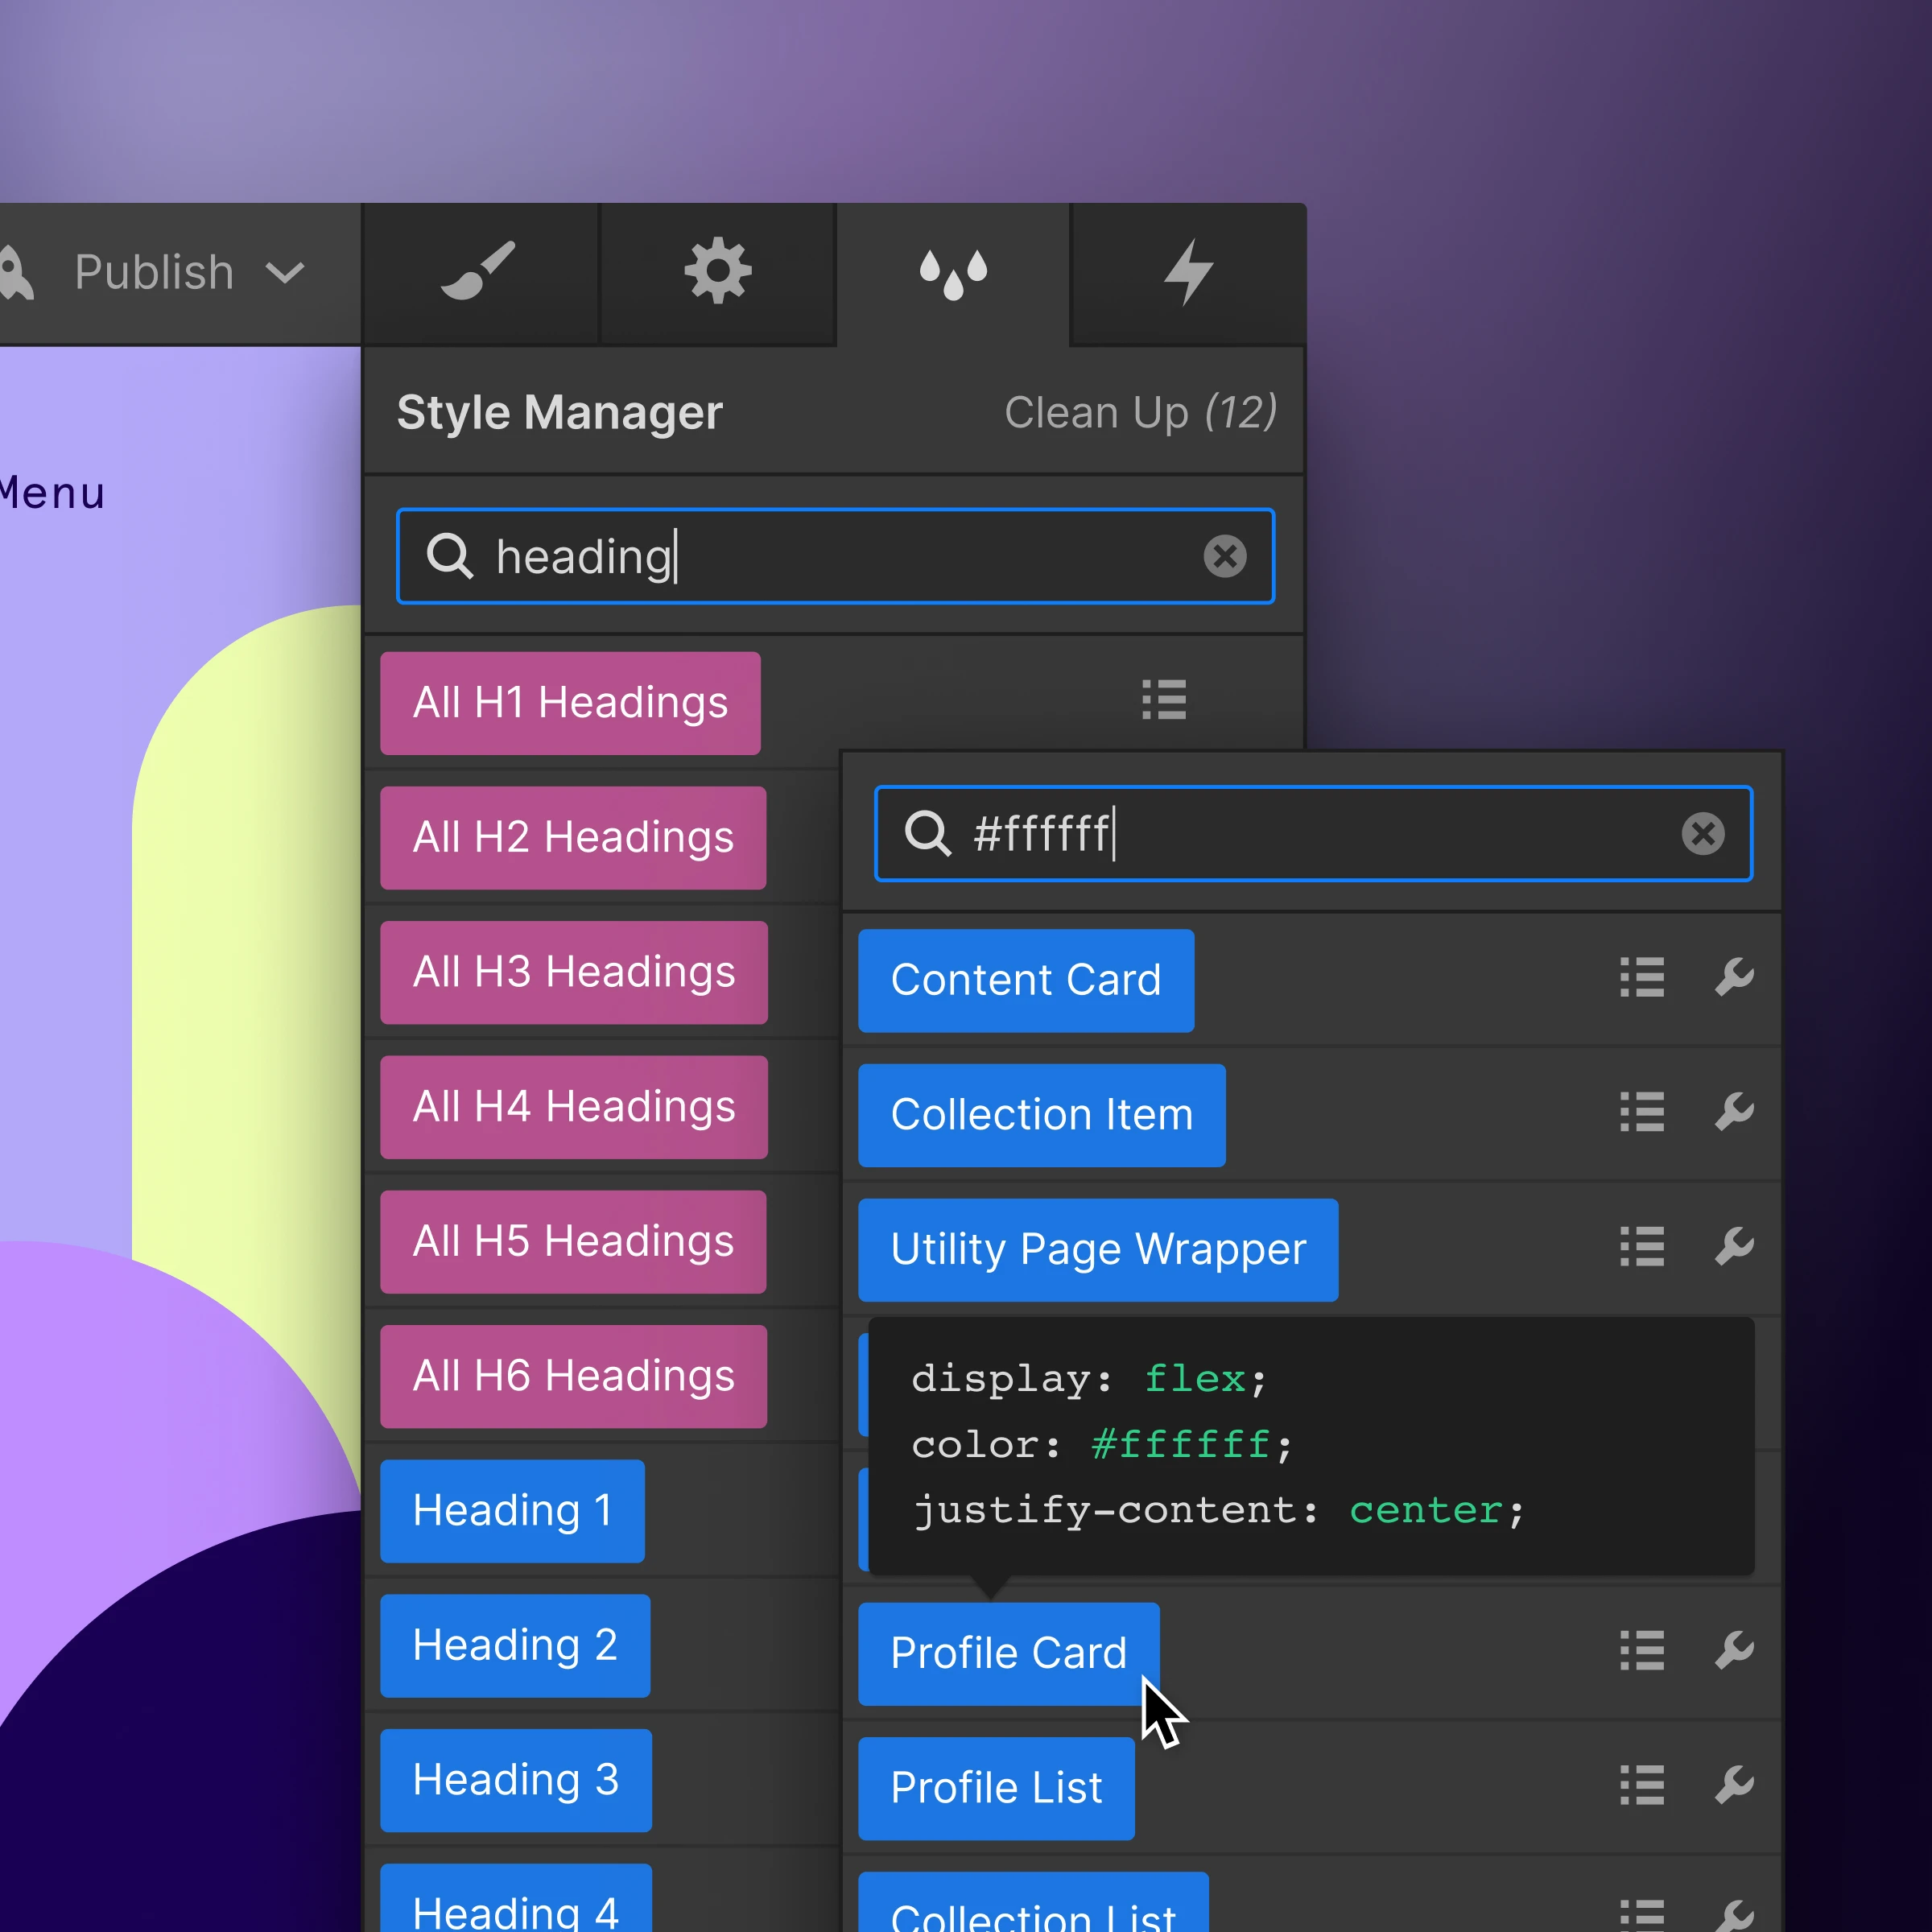
3. Classes & combo classes
Styling in Webflow is controlled through classes. When you apply a class to multiple elements, they share the same styling rules. Editing that class updates all related elements at once. Combo classes allow you to create variations without modifying the original base style, helping maintain design consistency.
4. Variables (colors, typography, spacing)
Webflow allows you to define reusable variables for colors, fonts, and spacing. Instead of manually updating styles across multiple elements, you can change a variable once and apply updates site-wide. This helps maintain brand consistency and improves efficiency.
5. CMS collections
Webflow CMS enables you to create dynamic content structures such as blog posts, team members, or products. You define fields like title, image, and description, and Webflow generates dynamic pages based on that data. This keeps content and design structured and manageable.
6. Hosting & performance layer
Webflow includes built-in hosting powered by global infrastructure. When you publish your site, Webflow handles performance optimization, SSL security, and content delivery. There is no need for separate hosting setup or manual server configuration.
These concepts form the foundation of how everything works inside Webflow – layout, styling, and dynamic content are all built on this logic.
Step 4: Build Your Website Using a System-First Approach
If you’re starting with a template, this is the stage where you begin customizing it to match your own brand and content.
Below are the essential steps to edit your template inside Webflow. Follow each section in order to ensure your site remains consistent and well-structured as you make changes.
1. Change color, fonts and classes
If you’re starting from a template, it may already have preset fonts and colors. However, you should still review them to ensure they match your brand.
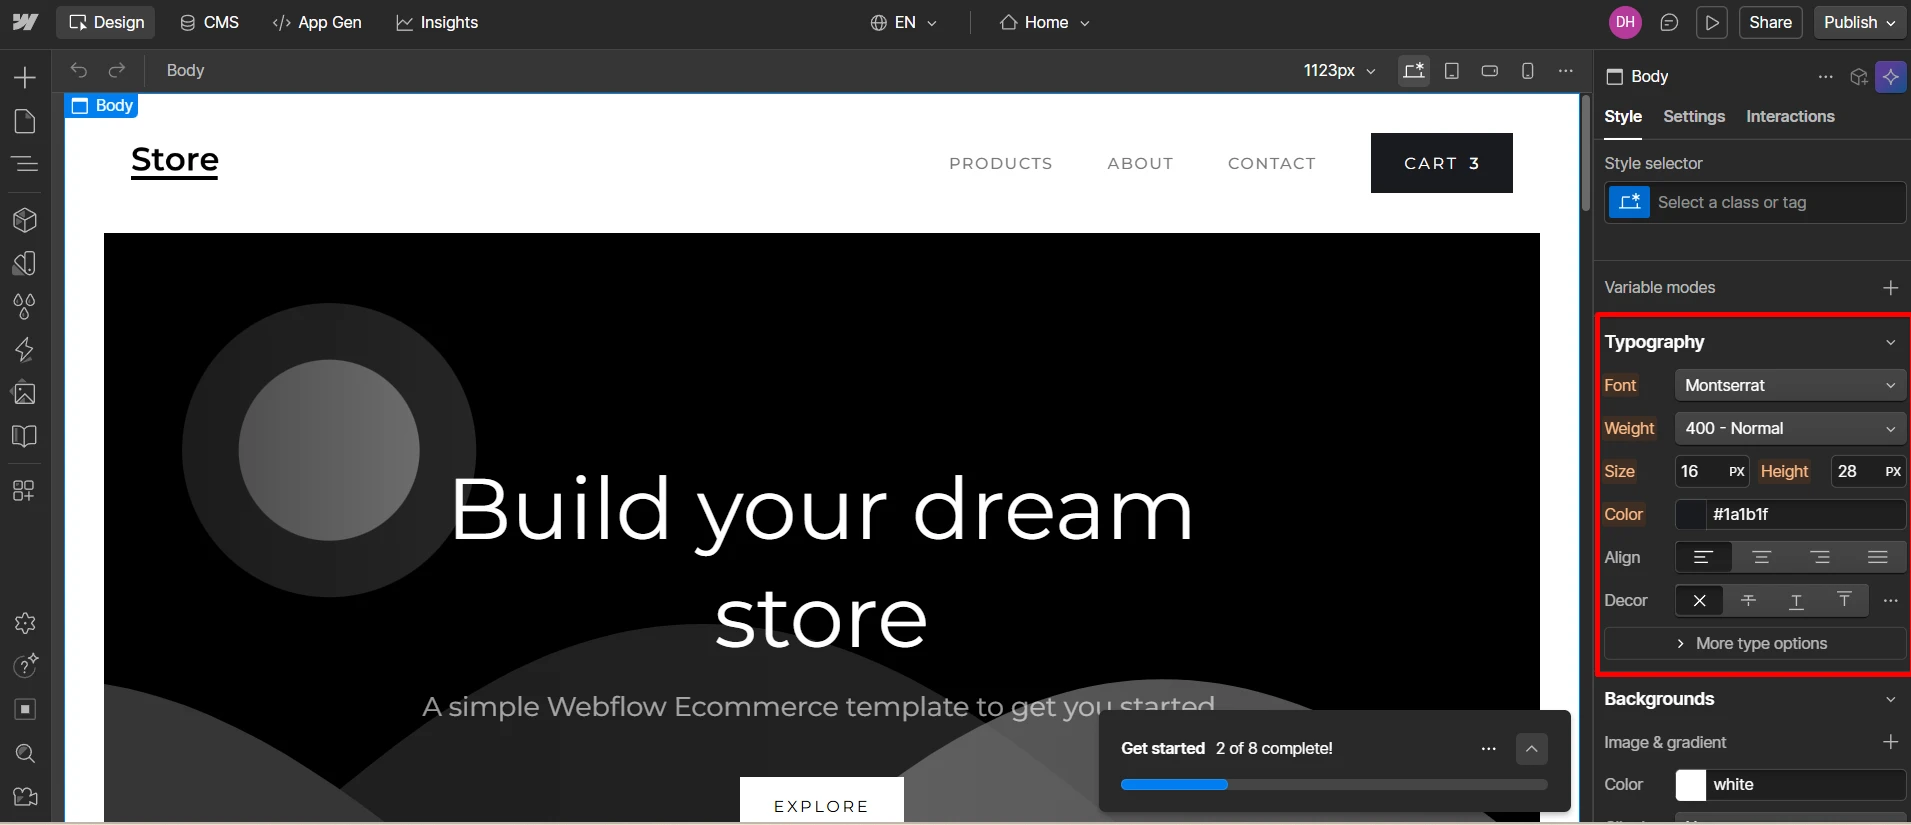
To adjust typography in Webflow, select any text element and navigate to the Style > Typography settings. From here, you can change the font family, size, weight, and line height. For body text, we recommend keeping font size between 16px and 18px for optimal readability.
Instead of styling each element individually, create and assign classes. For example, when styling your main heading, add a class such as hero-heading.
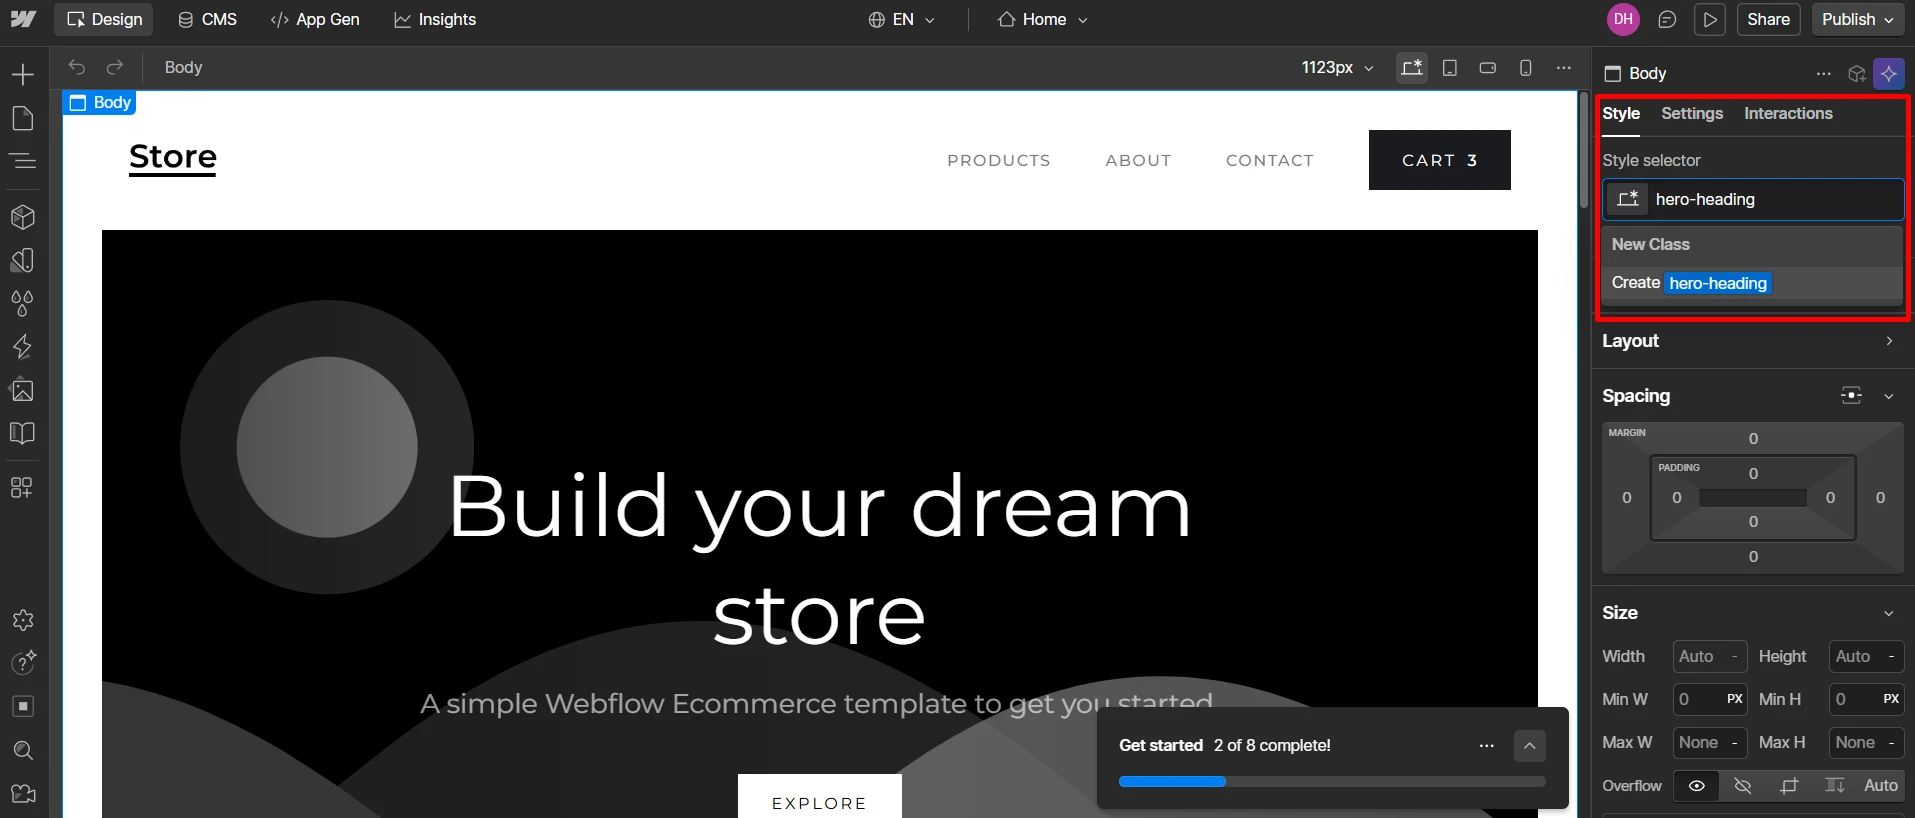
This ensures consistency across your site. If you need a variation, add a combo class rather than creating a completely new style from scratch.
2. Replace images
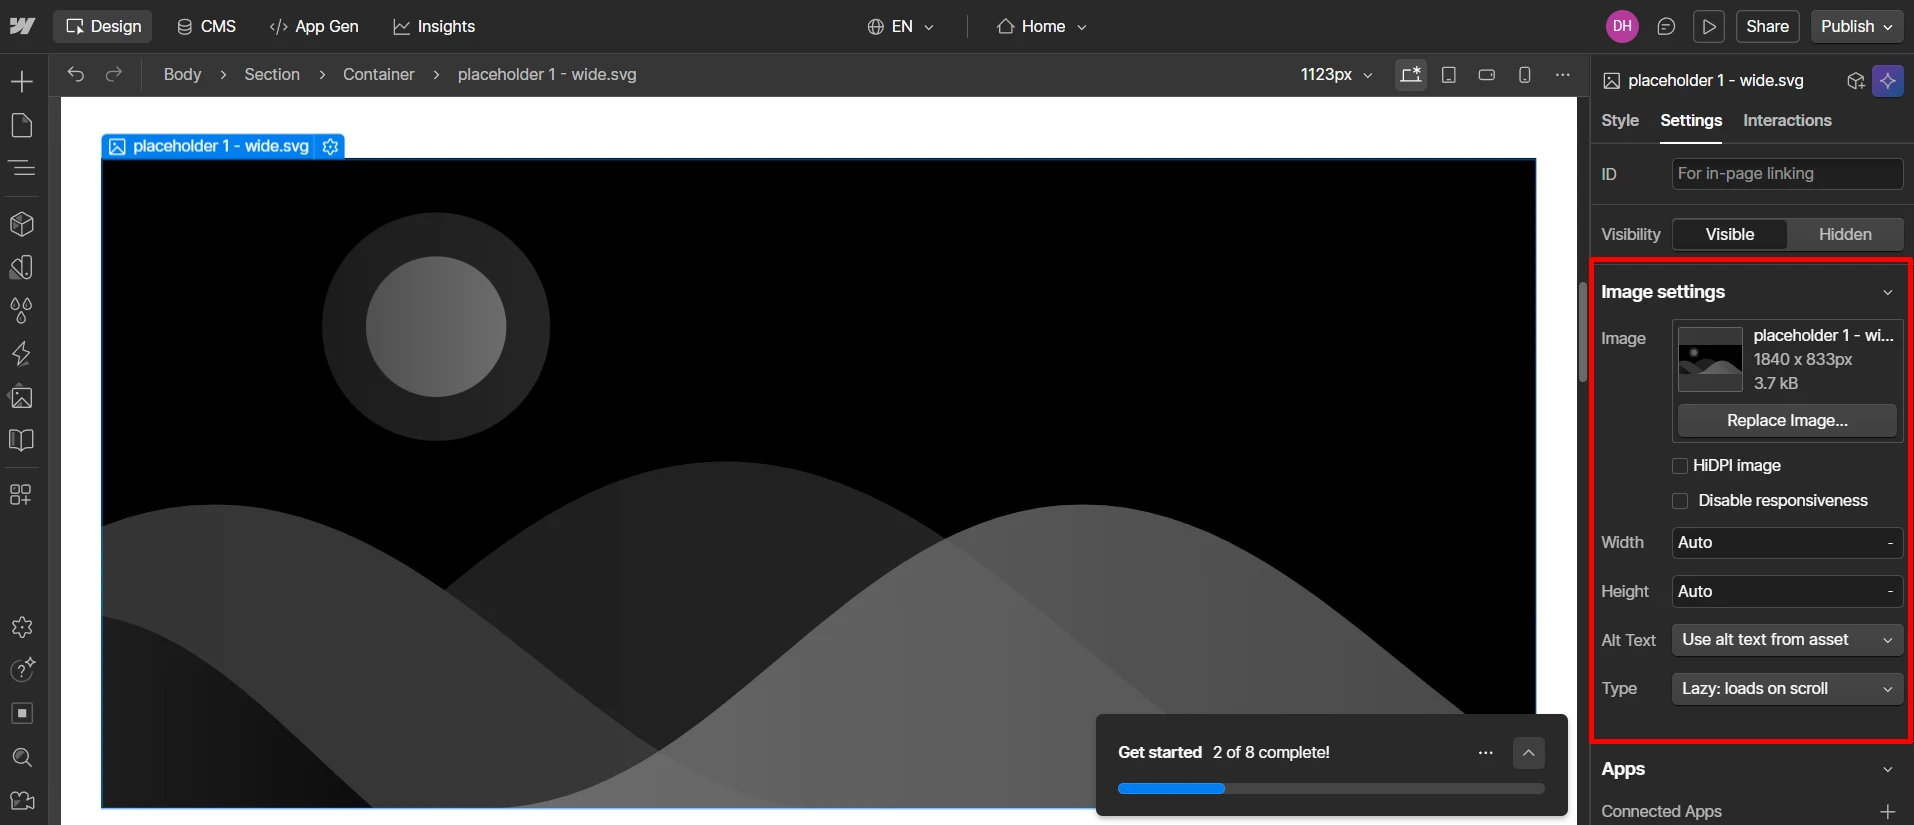
To replace images in Webflow, open the Assets panel, upload your files (PNG, JPG, or SVG), and drag them directly onto the canvas. If you’re replacing an existing image, simply select it and click Replace Image in the Settings panel.
For responsiveness, avoid fixed pixel widths when possible. Instead, set image width to 100% so it scales naturally within its container.
When aligning images inside a Grid or Flex layout, use alignment controls in the Style panel rather than adjusting margins randomly. This ensures your layout stays clean and flexible across screen sizes.
3. Adjust the layout
In the Navigator, check that your hierarchy follows a logical structure such as: Section > Container > Grid/Flex > Content.
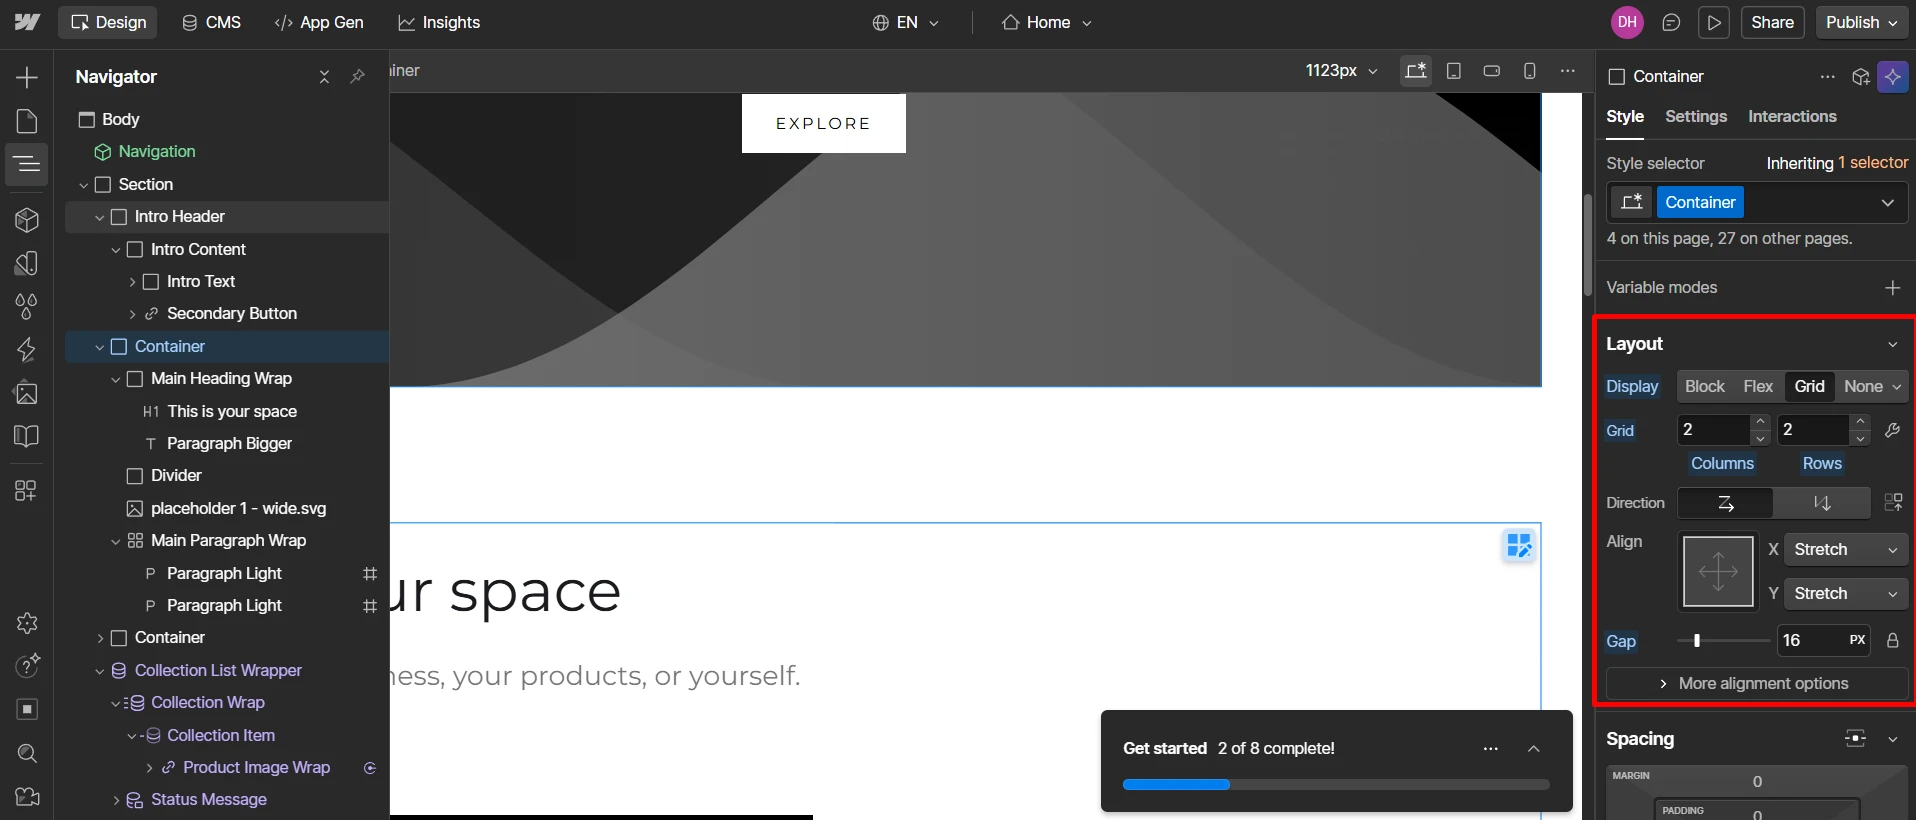
If you’re using a Grid, click on it and adjust the number of rows and columns in the Layout settings. Remove unnecessary rows early so your layout stays simple.
To create space between sections, add padding to the Section, not empty div blocks. For spacing between elements like headings and buttons, use margin. This keeps your layout clean and aligned with proper CSS logic.
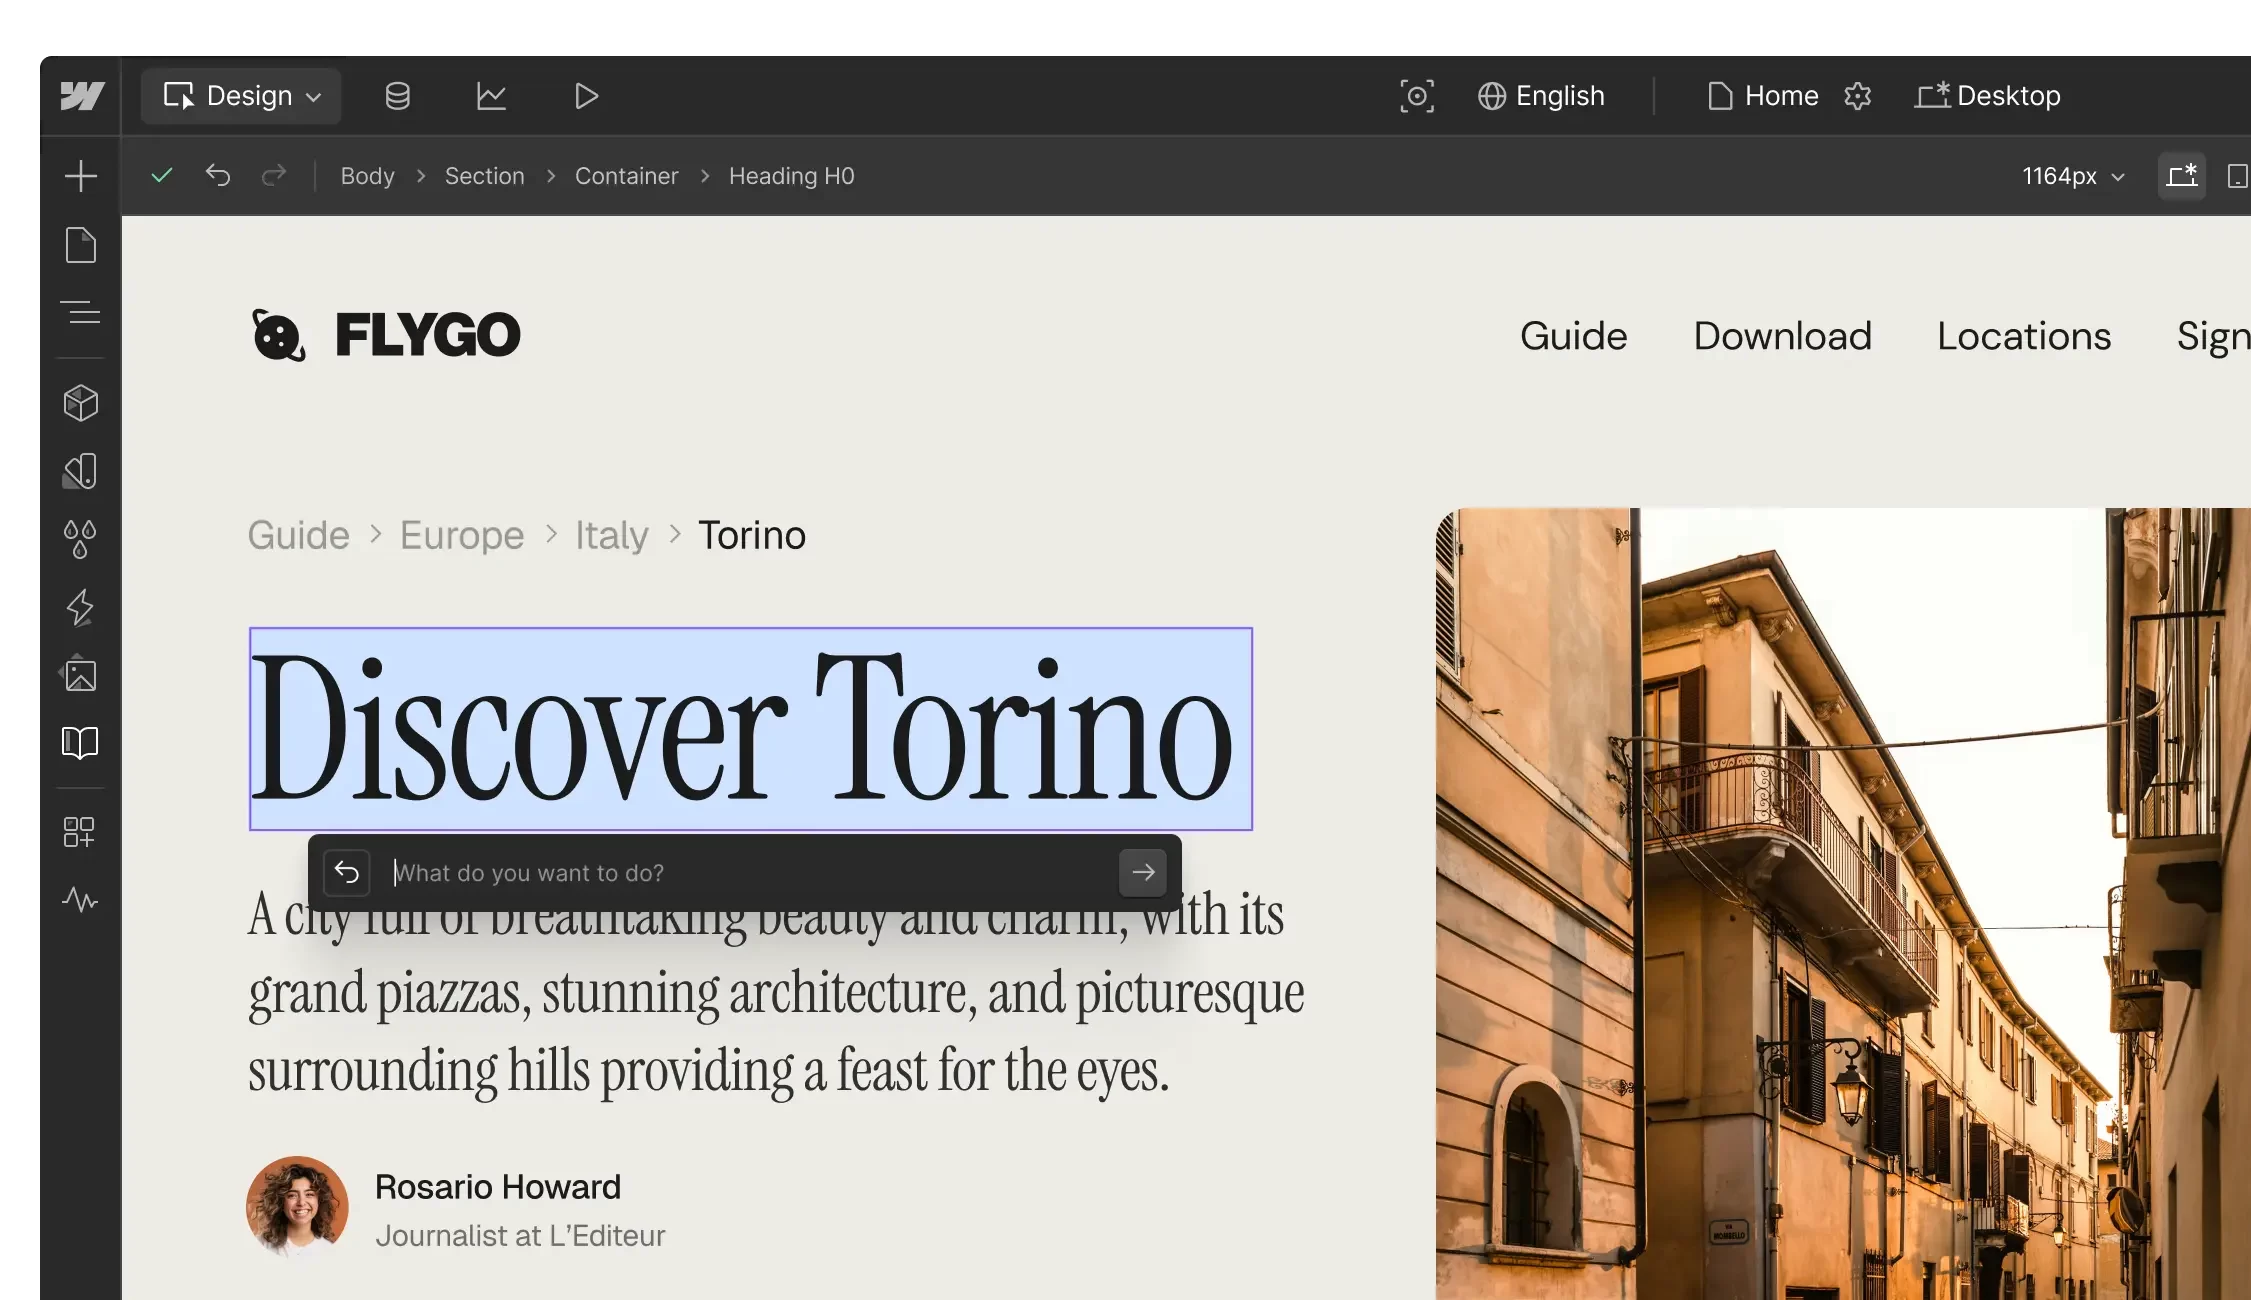
4. Edit content
Next, populate your template with your own content. Click on each text block within your template and replace the placeholder text with your copy. To edit text, simply double-click the text element you want to change and type in your new content.
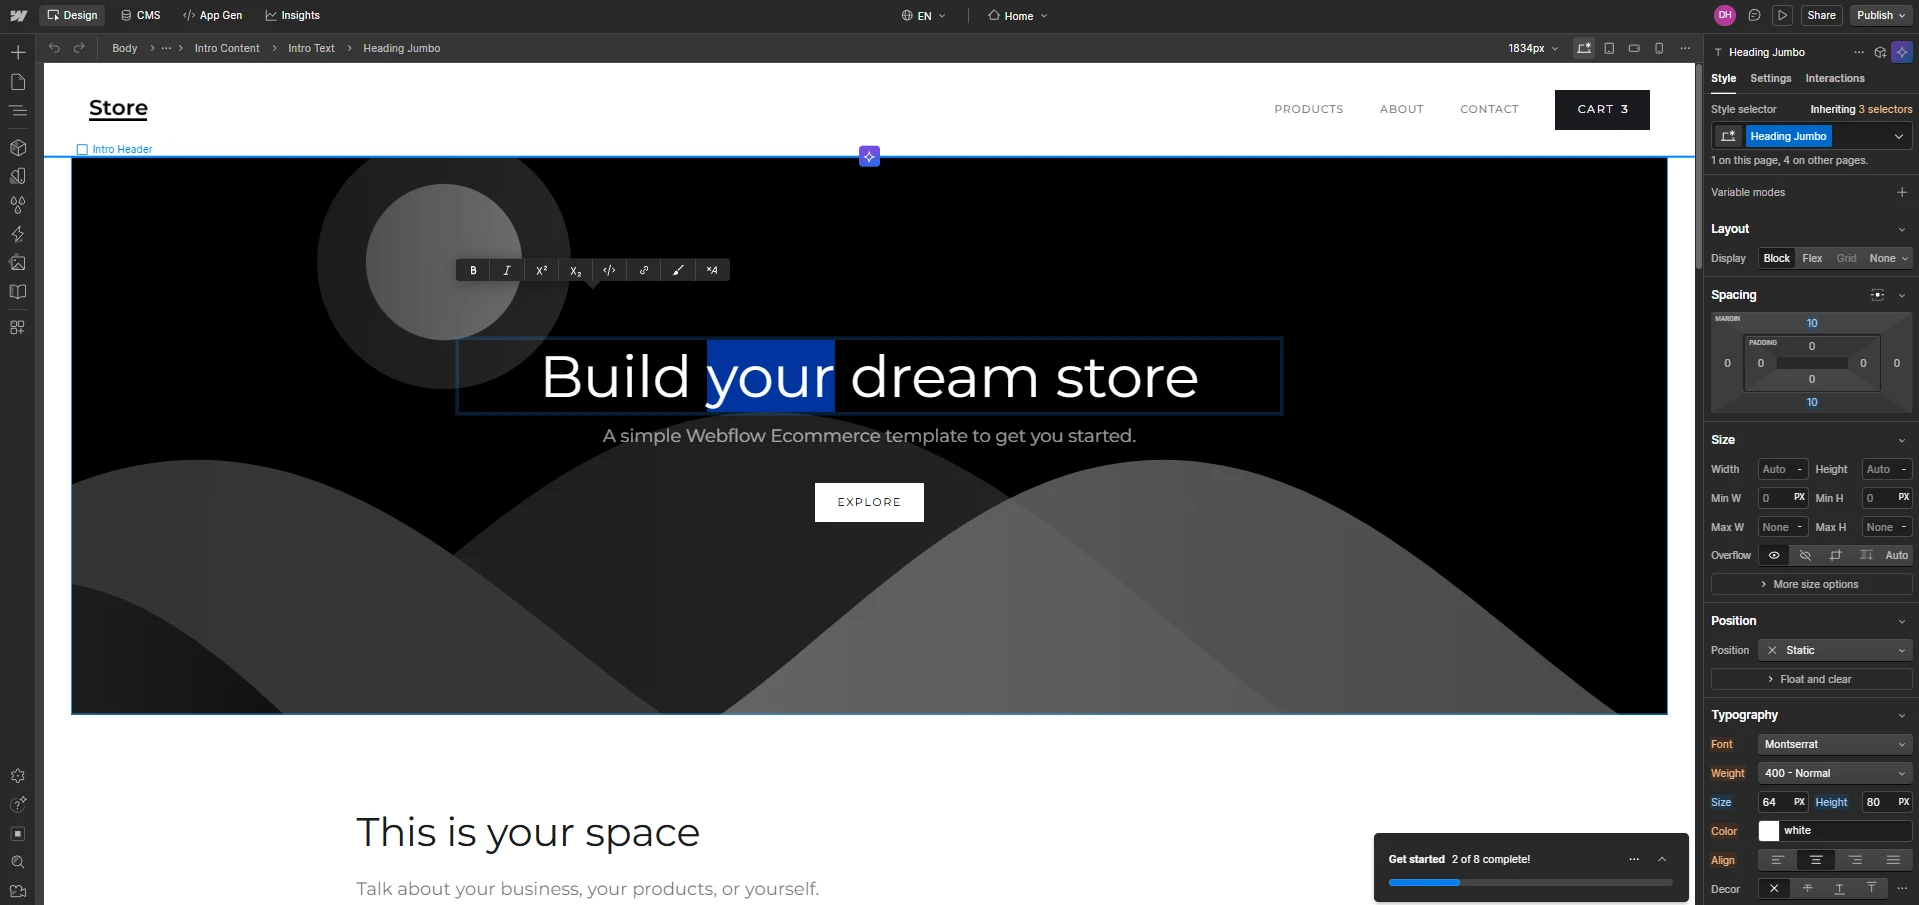
Make sure to use the text editor toolbar to format your text. This includes options for bold, italics, and creating lists. You can also link text to other pages or external URLs by using the link button in the toolbar.
5. Make it responsive
Most Webflow templates are responsive by default. However, adding content and changing layouts might impact your site’s responsiveness.
Therefore, after you’ve done the basic design, it’s important to make sure that your Webflow website is still responsive.
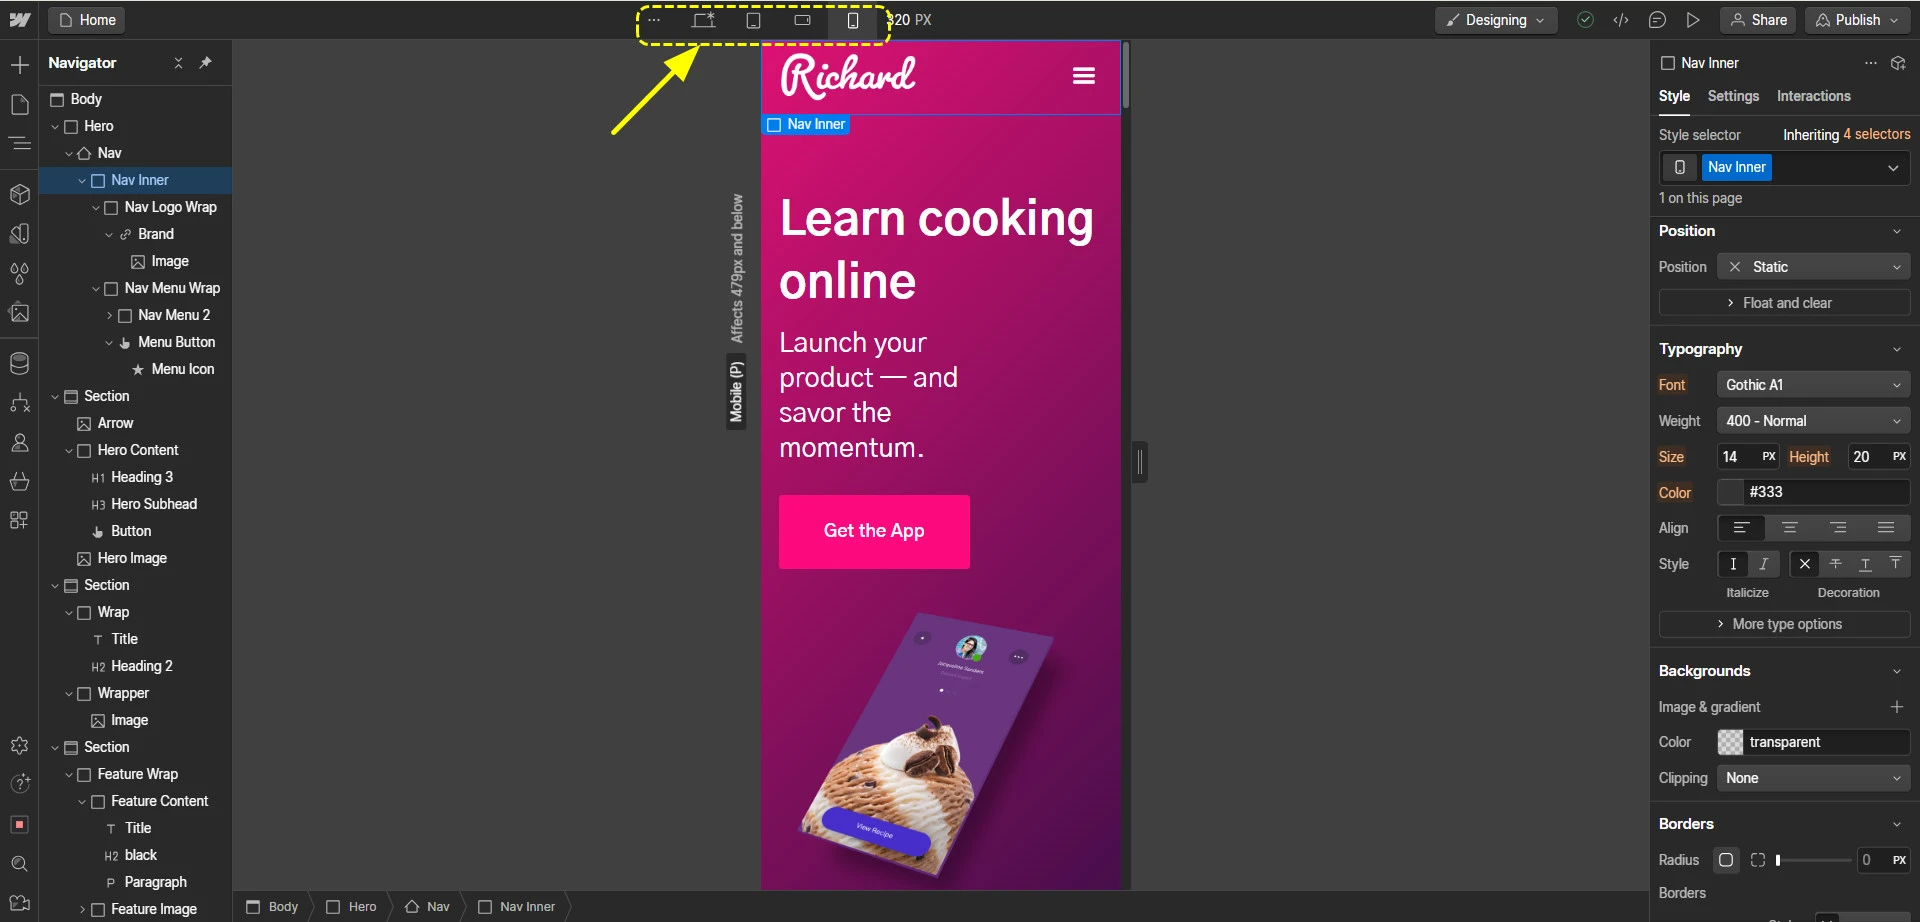
First, use Webflow’s device preview options. Click on the device icons at the top of the Designer to switch between desktop, tablet, and mobile views. This helps you spot and fix any issues that might arise on different screens.
Next, adjust your layouts for smaller screens. You can also learn to use Flexbox and Grid settings to create adaptable layouts. Rearrange elements, adjust column structures, and modify spacing to ensure everything fits well on tablet and mobile screens.
Step 5: Add interactions and animations
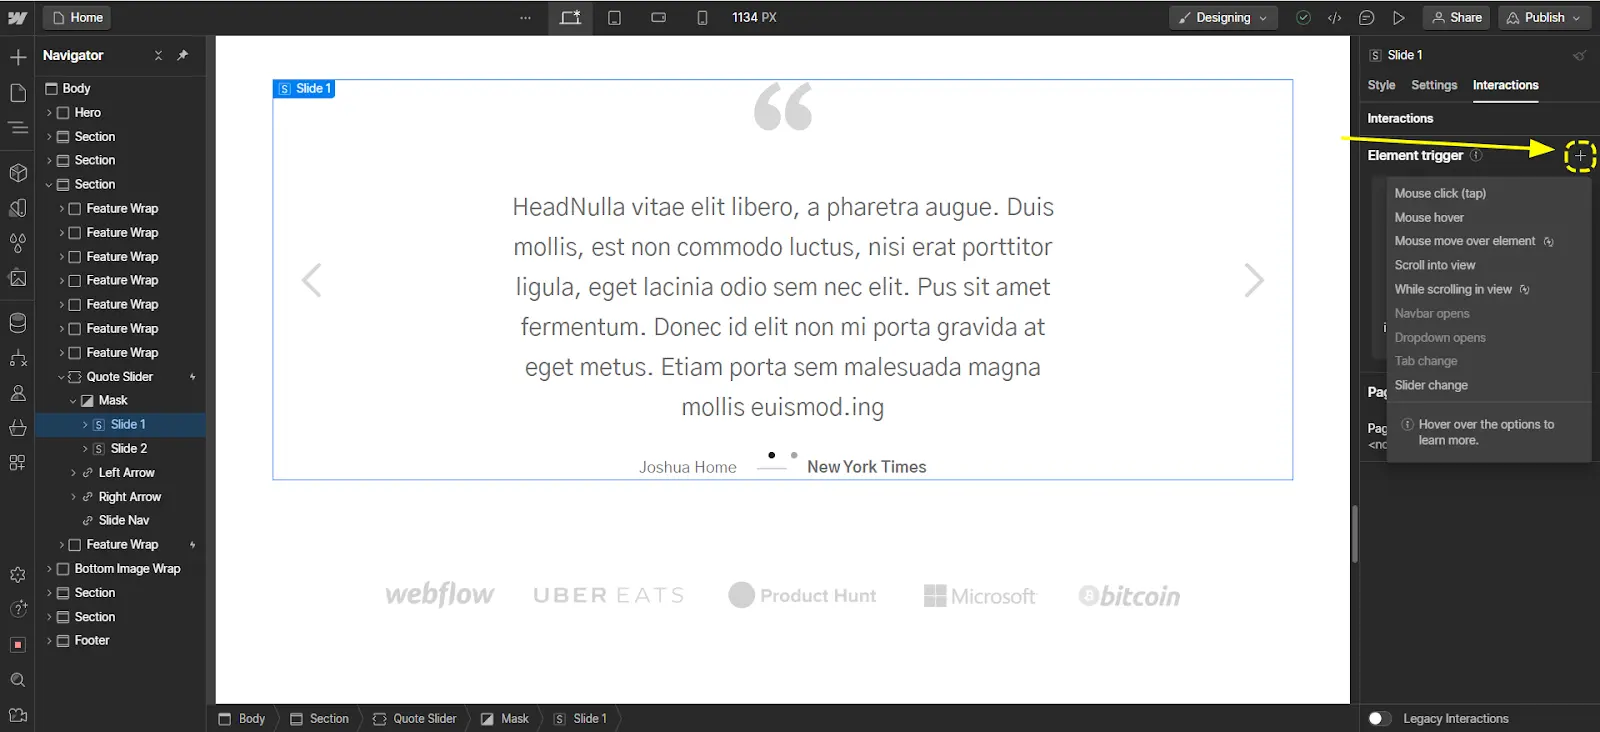
Now it’s time to add interactions and animations to make your Webflow site more dynamic and engaging. Simply select the element you want to animate and navigate to the “Interactions” panel.
In this step, you can create triggers like clicks, hovers, and scrolls to initiate your animations.
For instance, for the testimonial slider of this theme, we choose to add the Slider Change effect that triggers when someone views the slider.
To make your animations smooth and engaging, customize the timing, easing, and delay. Also, consider the user journey when adding animations since adding too many unnecessary animations might be counterproductive.
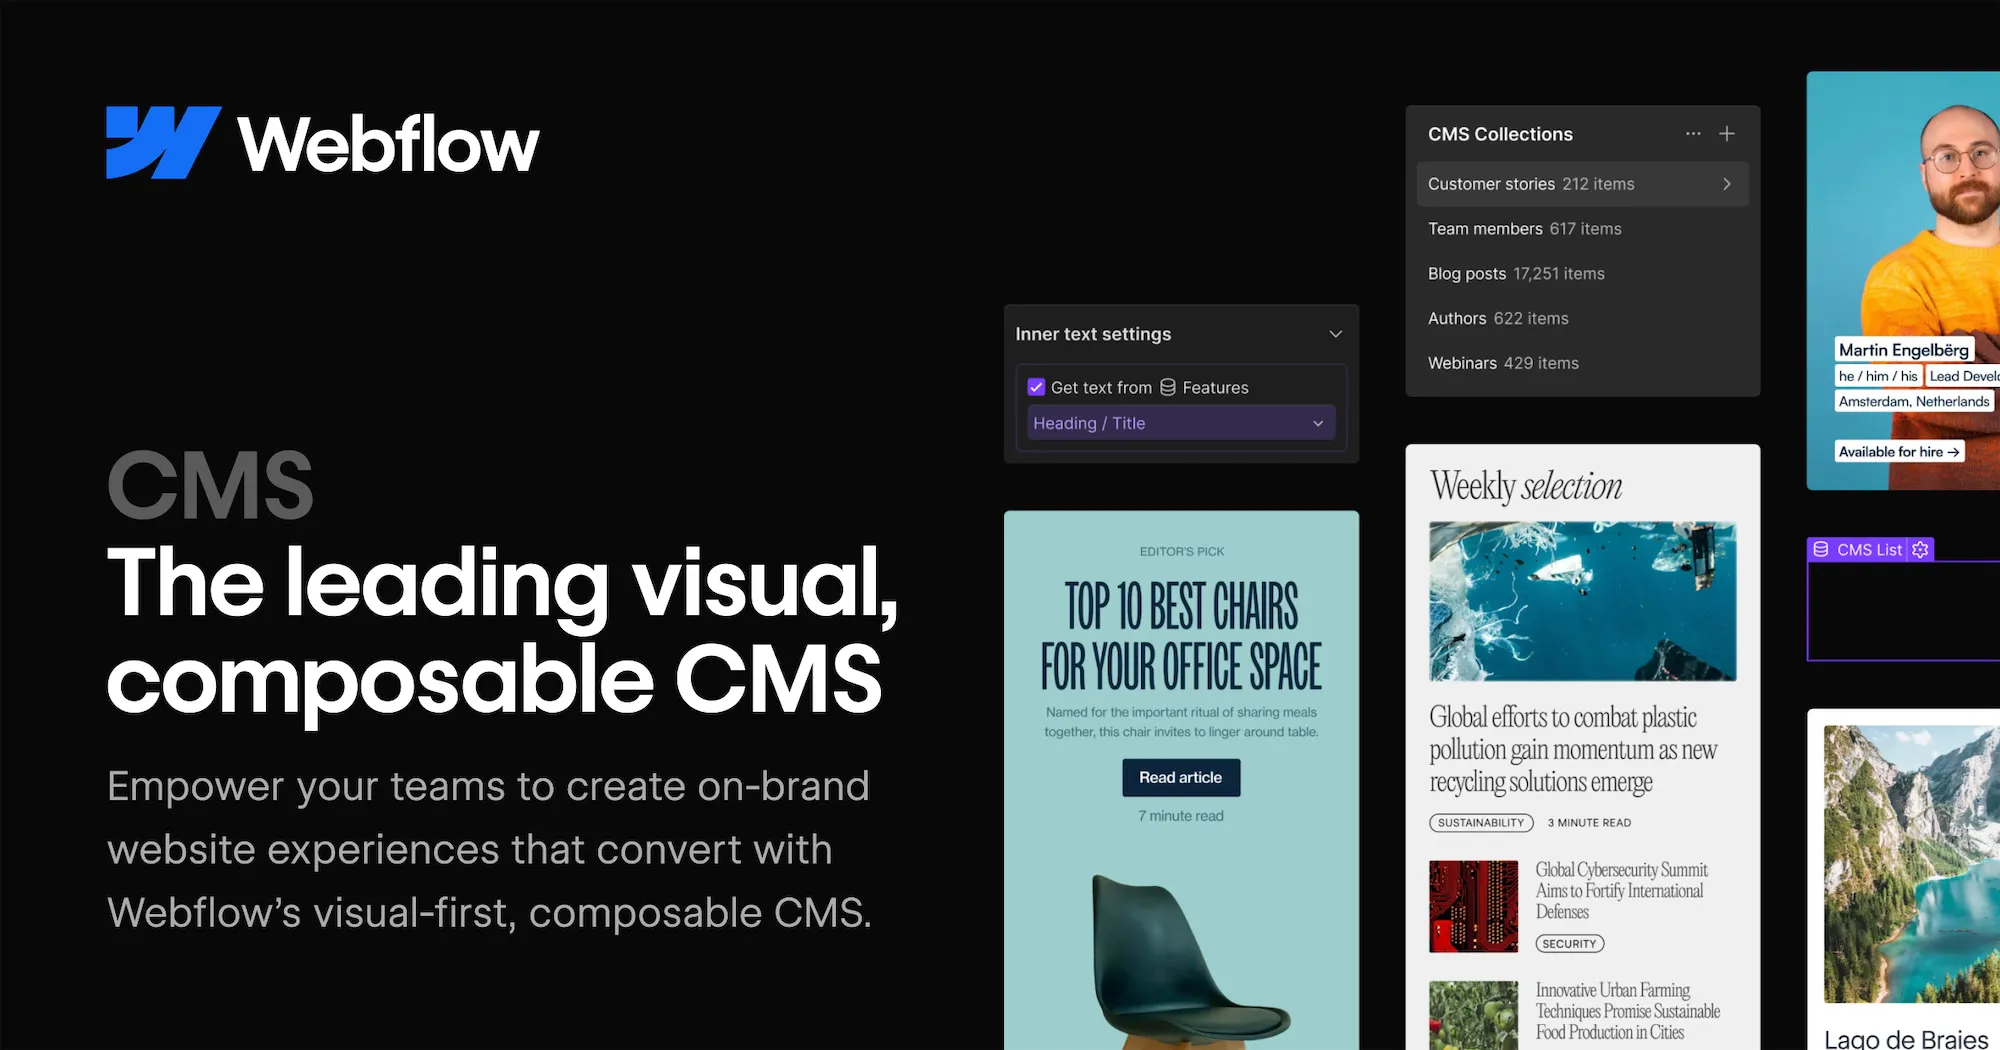
Step 6: Build a Scalable CMS Structure
Now that your interactions and animations are set, let's explore setting up your CMS to manage dynamic content easily. Begin by creating collections for content types like blog posts, products, or team members.
Click “CMS” > “Create new collection,” and you will be brought to the “Collections” panel to get started.
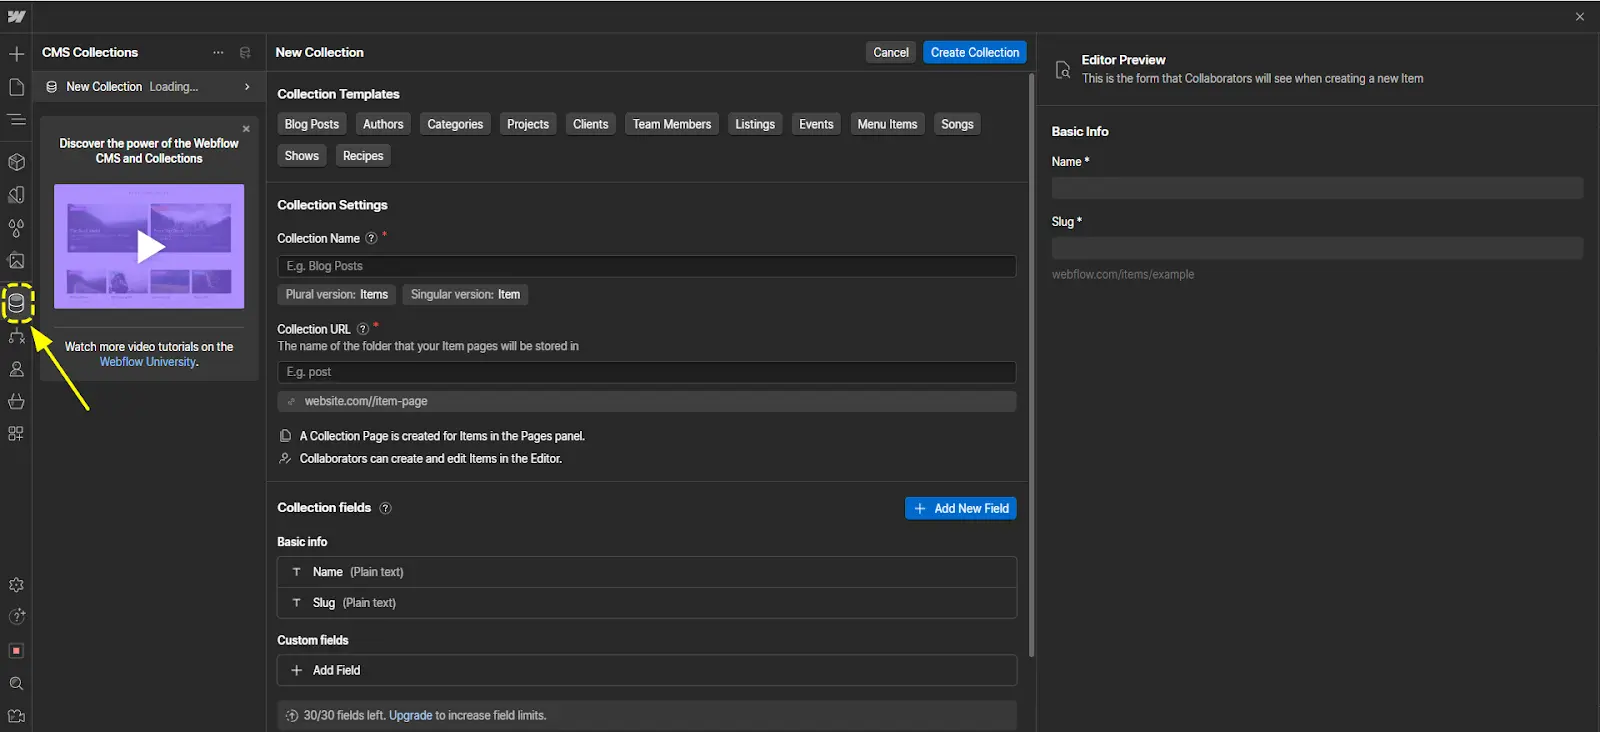
Define fields for each collection, specifying the type of content each field will hold, such as text, images, or links. For example, a blog post collection might include fields for the title, author, date, and content. This setup will help you manage your content efficiently.
Bind these collections to your site’s design elements, allowing you to update content without altering the layout. For instance, you can bind a collection to a blog post template, so that each new post automatically uses the same design.
Already have products, customers, or content on another platform? Instead of recreating them one by one, you can migrate your data with LitExtension and get your site up and running faster.
Let Our Experts Handle Your Store Migration!
With the All-in-One Migration Service, our experts take care of everything, ensuring a seamless and stress-free migration.

Step 7: Optimize for SEO, AEO, and Technical Health
At this stage, attention shifts from design to visibility and performance. A well-designed site still needs proper SEO structure and technical configuration to be discoverable and indexable.
1. On-page SEO
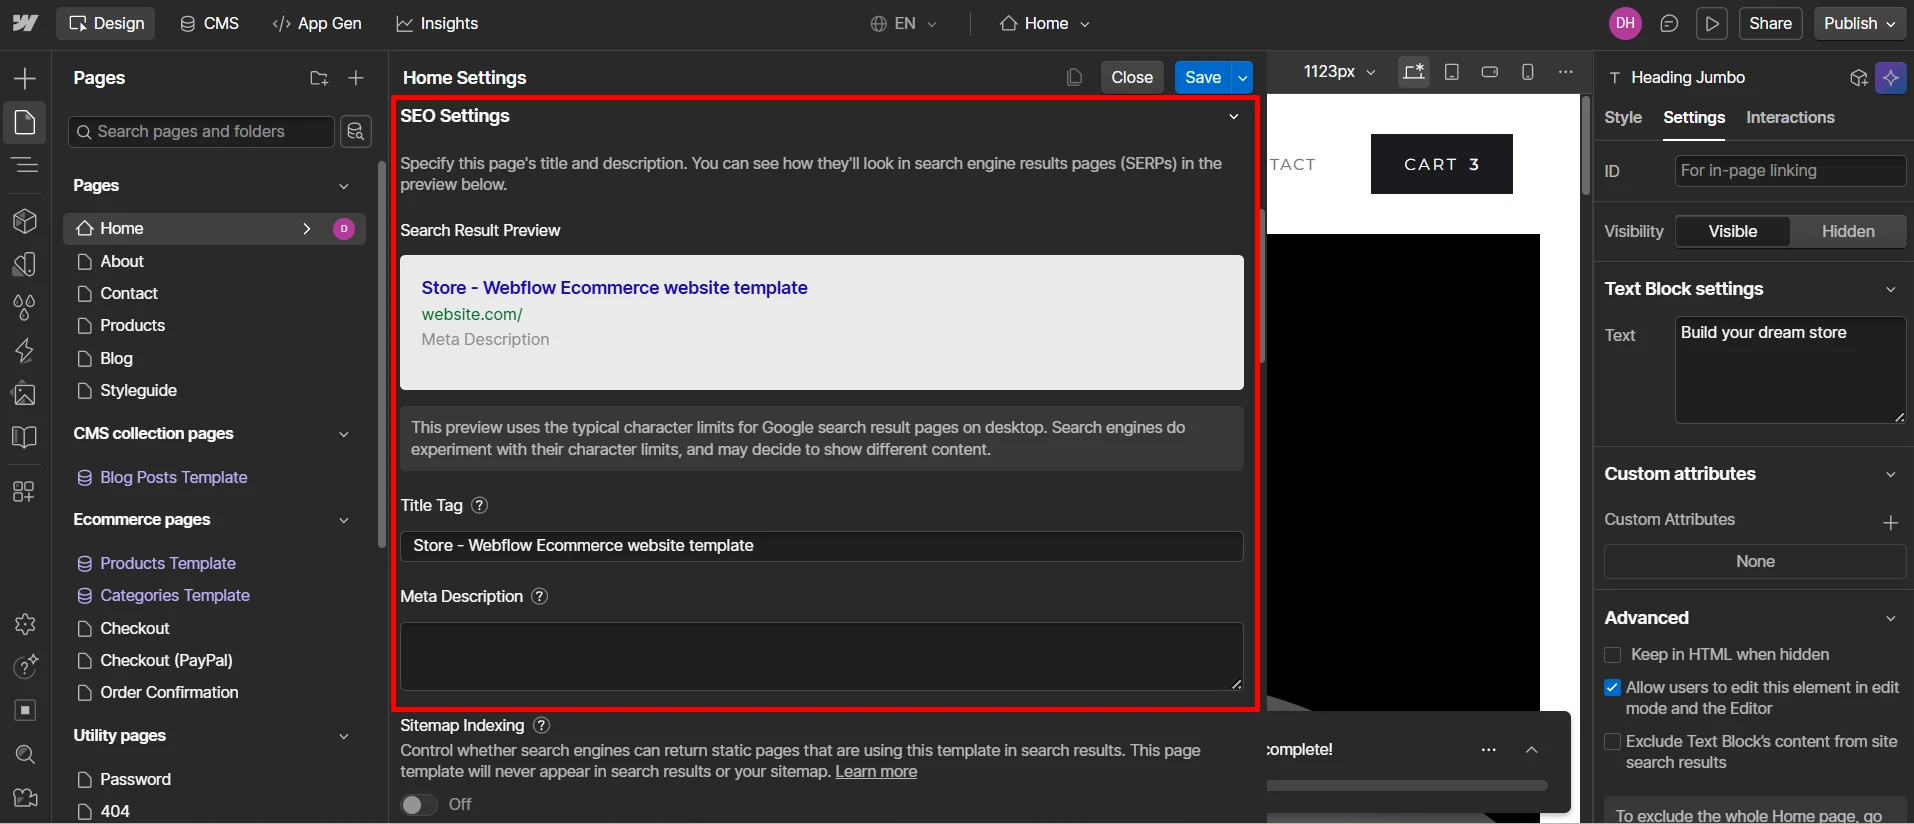
Each page in Webflow includes its own Page Settings, where the SEO Title and Meta Description can be defined. The title should clearly reflect the page topic, while the meta description should summarize the content concisely. Duplicate titles and vague descriptions should be avoided.
Heading hierarchy also matters. A single H1 should define the main topic, followed by properly structured H2 and H3 subheadings. In addition, images should include descriptive alt text, and URL slugs should remain short and readable.
2. AEO (Answer engine optimization)
AEO stands for Answer Engine Optimization, which focuses on structuring content so AI systems and answer engines can easily extract and present it as direct responses. Unlike traditional SEO that targets rankings, AEO aims to make content clear enough to be quoted or summarized by AI tools.
For this reason, content should be organized with clear subheadings, short paragraphs, and direct explanations. FAQ-style sections and concise definitions improve the likelihood of being featured in AI-generated answers or voice search results.
3. Technical SEO & performance
Inside Project Settings > SEO, sitemap generation and robots.txt settings can be managed. Connecting tools like Google Search Console helps monitor indexing and performance. If URLs change, 301 redirects should be configured to avoid broken links.
Responsiveness should also be reviewed across desktop, tablet, and mobile breakpoints. Image compression and controlled use of animations contribute to faster loading speed and overall technical health.
SEO and technical optimization support long-term growth by ensuring your website remains visible, accessible, and high-performing.
Step 8: Test, Publish, and Maintain Your Website
With your site ready, it's time to test and publish it. Thoroughly check all links, forms, and interactions on different devices and browsers. Use Webflow’s responsive design tools to ensure everything looks good across screen sizes.
Once satisfied, click the “Publish” button at the top right corner of the designer, and then select your domain and publish your site.
Recommended Resources for More Webflow Tutorials
In addition to LitExtension's detailed tutorial, you can also find a wide range of Webflow training resources to help you ‘conquer' Webflow's learning curve. Here are some top sources:
- Webflow University: Offers comprehensive video tutorials and courses on various aspects of Webflow, from Webflow eCommerce tutorial to Webflow portfolio tutorials.
- Webflow Forum: This is a community-driven platform where you can ask questions, share knowledge, and find solutions to common Webflow challenges.
- Webflow Community: Connect with other Webflow users, join discussions, and participate in events to enhance your learning experience on the Webflow editor tutorial.
- Webflow Blog Tutorial: Provides articles, tips, and updates on Webflow features, best practices, and web design trends.
- Template Marketplace: Explore a variety of professionally designed templates that you can use and customize for your projects.
- Webflow Showcase: Browse through a collection of inspiring Webflow projects created by users around the world, which can serve as both motivation and learning tools.
- Webflow Experts: Hire professional Webflow designers and developers for personalized help and advanced project needs.
Relevant reading: Webflow Review | Webflow Pricing
Webflow Tutorial: FAQs
Is Webflow difficult to learn in 2026?
Webflow has a moderate learning curve because it follows real HTML and CSS logic. Beginners may need time to understand classes, spacing, and layout systems, but with our Webflow tutorial available in 2026, most users can grasp the basics fairly quickly.
How do you optimize Webflow for AI Overviews?
AI Overviews prioritize clear, structured, and answer-focused content. In Webflow, this means using proper heading hierarchy, writing concise explanations, adding FAQ sections, and including descriptive alt text. Clean structure makes it easier for AI systems to extract relevant answers.
Is Webflow better than Framer for SEO?
Webflow generally offers more granular SEO control, including customizable meta tags, automatic sitemaps, and 301 redirects. While Framer supports SEO features, Webflow is often stronger for content-heavy sites and long-term SEO strategies.
Can Webflow support localization?
Yes, Webflow supports localization on eligible plans. You can add multiple languages, translate static and CMS content, and manage localized URLs while keeping the same design structure.
Do you need coding skills to use Webflow?
No coding is required to use Webflow. However, understanding basic HTML and CSS concepts can make the learning process smoother and allow for more advanced customization when needed.
Final Thoughts
With an incredible suite of design tools, Webflow enables you to have granular control over how your website looks and works. Nevertheless, if you want to build outstanding Webflow projects, you need to learn how to use Webflow properly.
For that, we hope our comprehensive Webflow tutorial can help you better grasp Webflow’s foundation and the steps needed to build a complete Webflow project.
Remember to check out LitExtension’s blog site and join our active Facebook Community to learn all things eCommerce.

