If you are a novice seller or a new store owner, it is challenging to link multiple products for your Shopify store. Product variants on Shopify are an excellent way to establish product relationships while avoiding confusion; hence, knowing how to split products in Shopify is worthwhile.
In this article, We, LitExtension, will assist you in finding the finest answers to “How to Split Products in Shopify.”
- Shopify product variants 101
- How to split product variants on Shopify
- How to find Shopify variants ID
- Best apps to customize product variants on Shopify
- (Bonus resource) How to add variants to existing products on Shopify
Let's get in!
Shopify Migration Made Easy With LitExtension!
LitExtension offers great migration solutions that help you transfer your data to Shopify accurately, painlessly with utmost security.

Split Products in Shopify 101
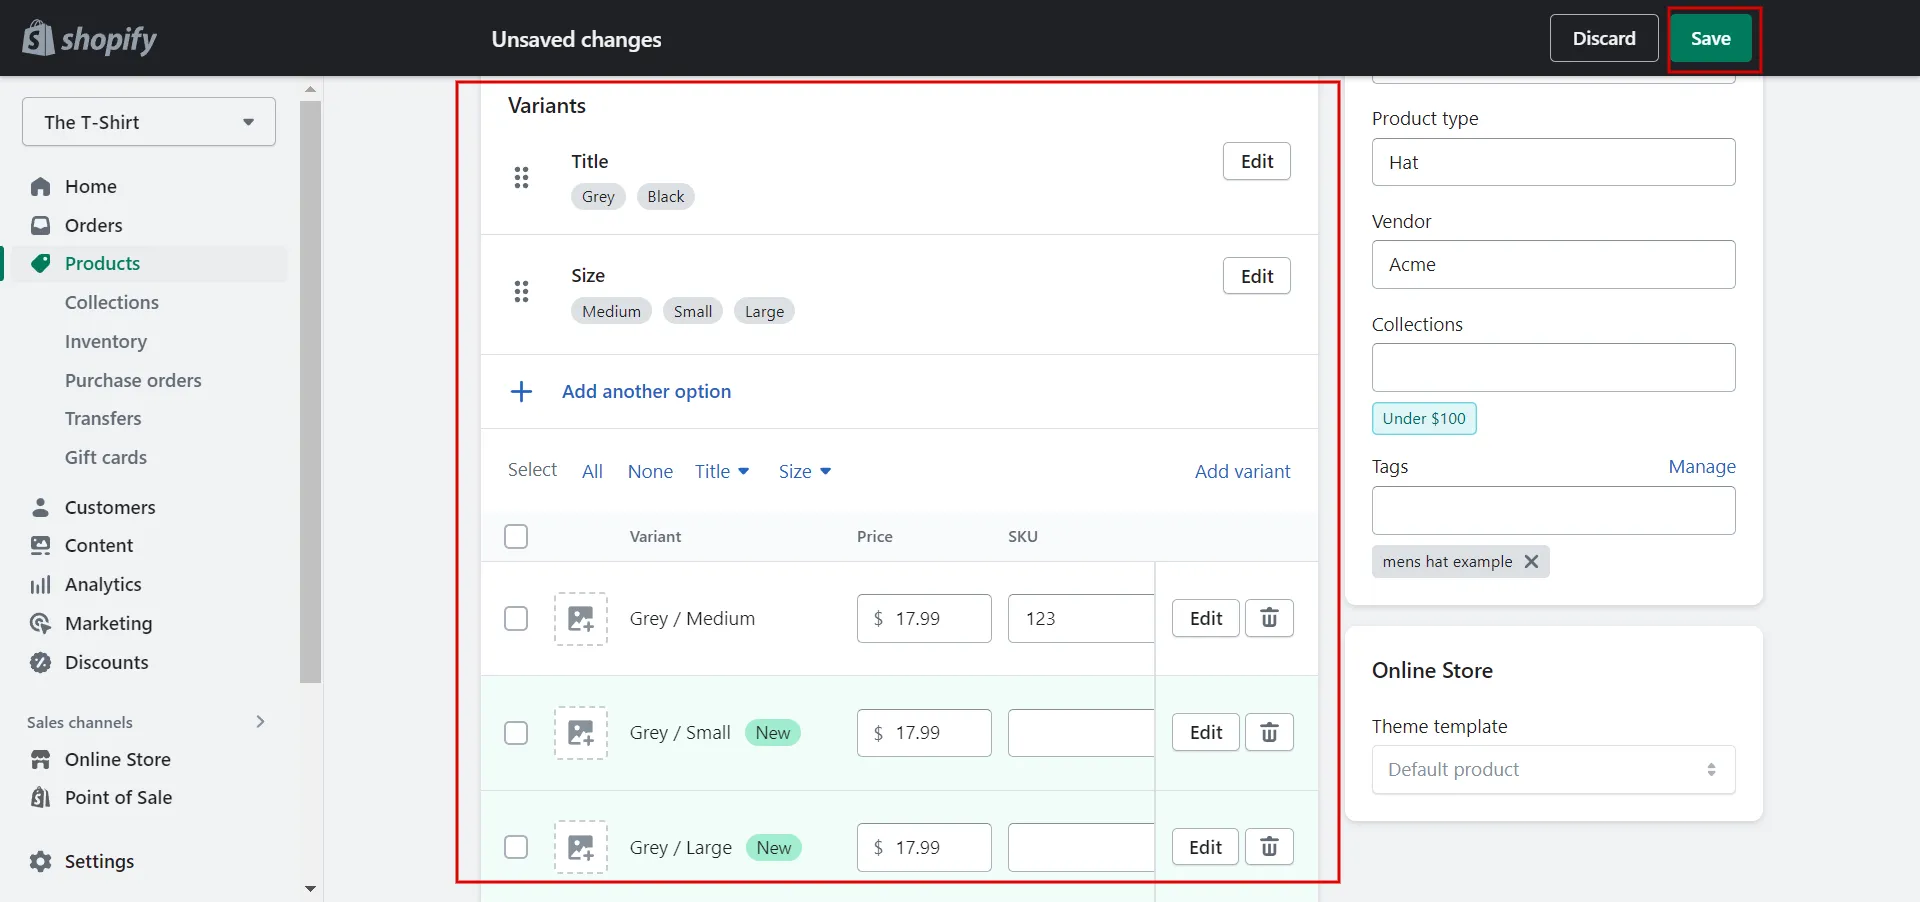
#1 What are Shopify product variants?
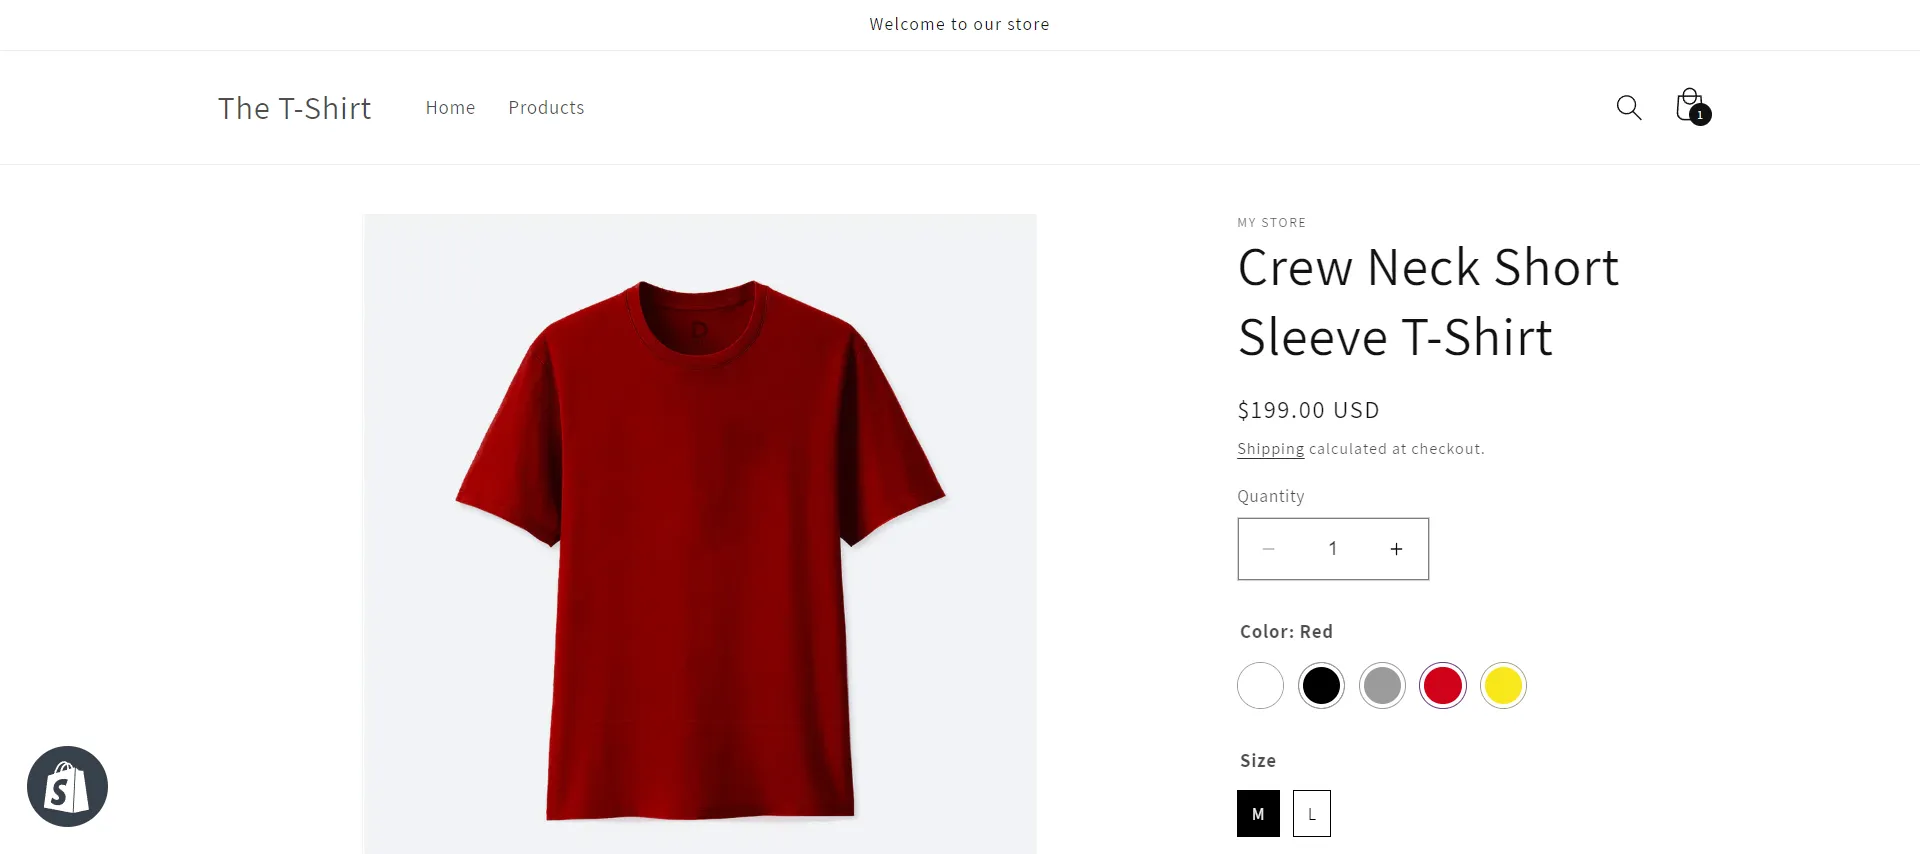
Shopify product variants are products with diverse properties, such as colors, prices, materials, or any other particular features. Let's assume you provide:
- 2 t-shirt choices: size and color.
- 3 options are available for size: S, M, and L.
- 3 choices for the color option: gray, white, and black.
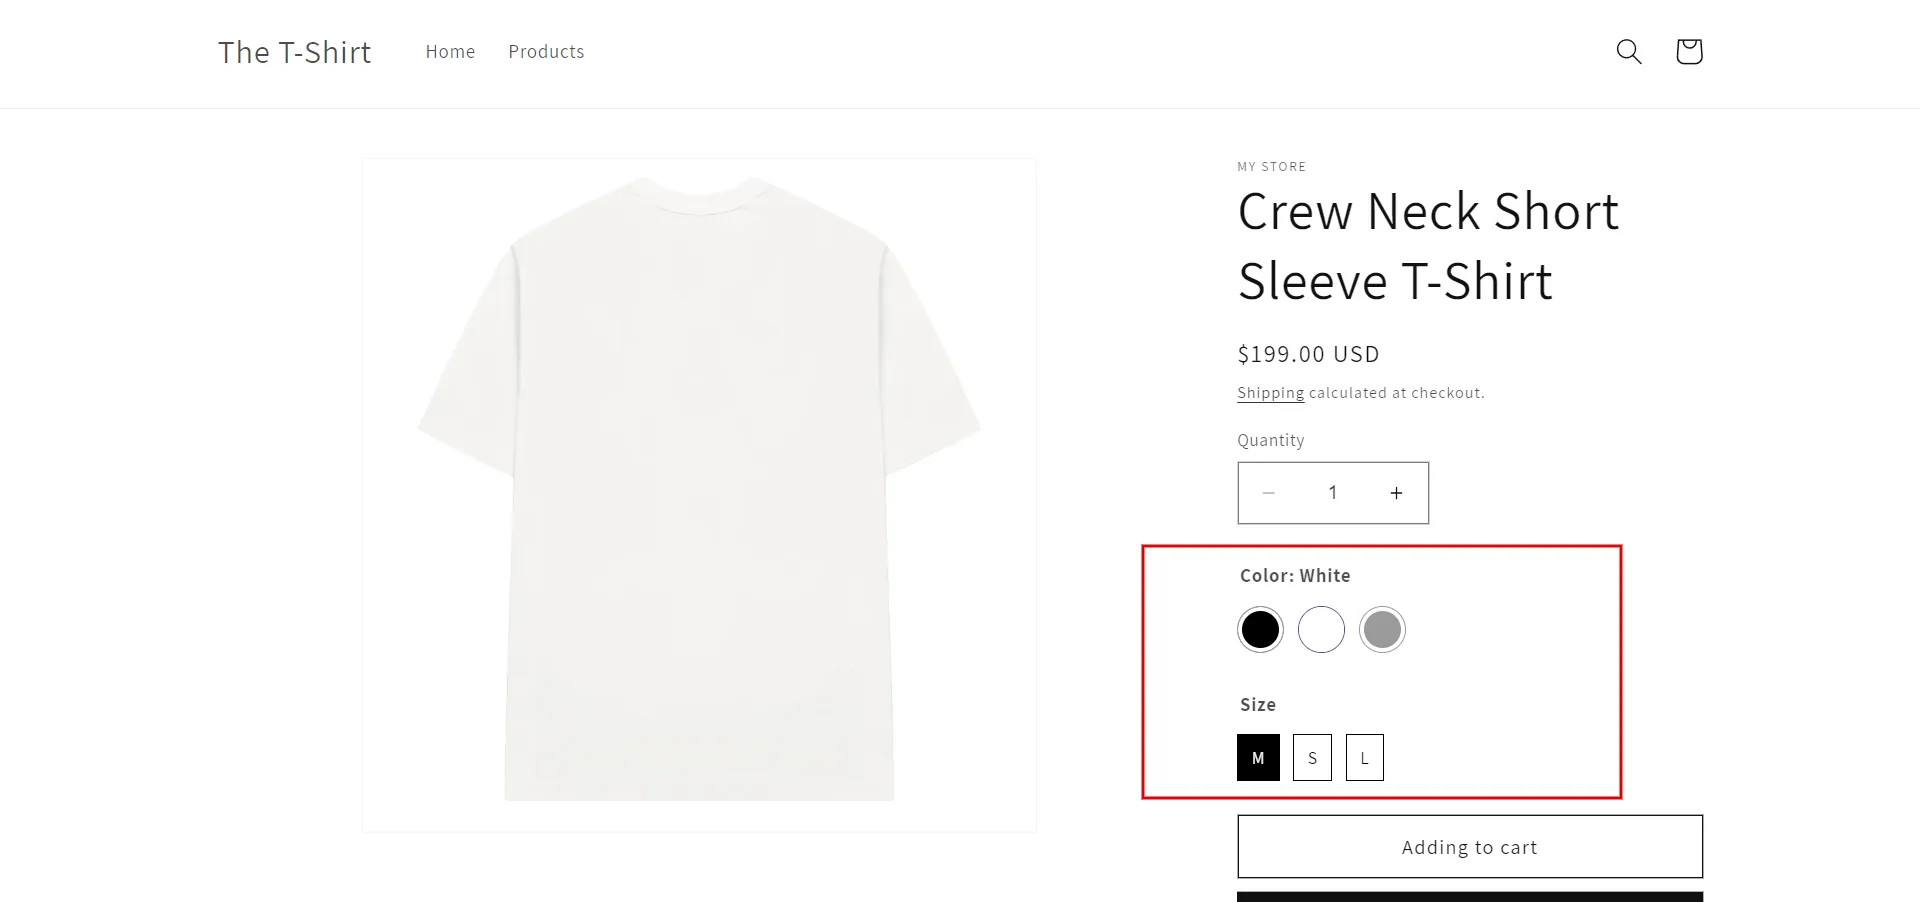
Finally, we got A medium-white T-shirt is one particular variation.
On Shopify, you may add 3 customizable options (color, size, and material) and up to 100 variants per product. As a result of Shopify's stock-keeping unit (SKU) system, you and any third-party warehouse or shipping service can accurately identify each item.
#2 Why are Shopify product variants vital?
Product variants and split products in Shopify play essential roles in product pages for the four reasons listed below.
- Weigh various choices.
Sometimes the same product is offered in many variations or styles. By providing product variations, you give your clients the freedom to weigh their options before deciding.
- Rise website clicks.
If your collections pages include options for product variants (color, size, etc.), customers will find it much easier to filter out things and focus on the ones they are interested in.
- Improve customer experience.
You may offer a simplified experience using Shopify product variations that requires less work from the customer, especially if you put product variants on the collections page directly.
- Drive sales.
Customers may quickly assess alternative product possibilities when product variants are offered in an intuitive, condensed, and single-page format, which increases the chance of making a purchase.
#3 Suggestions for separate variants in Shopify
When applying Shopify variants to products, we advise you to notice these below tips:
- Avoid creating multiple listings for variants.
- Be aware of Shopify product variants' limitations.
- Always link your photos to their Shopify product variants.
- Name your Shopify product variations consistently.
In the next part, we will learn how to split products in Shopify.
How to Split Product Variants to Separated Products
Online merchants can quickly separate variants in Shopify or split products in Shopify by following a few easy steps.
- Step 1: Import desired products to a list.
In the Products tab, choose Import.
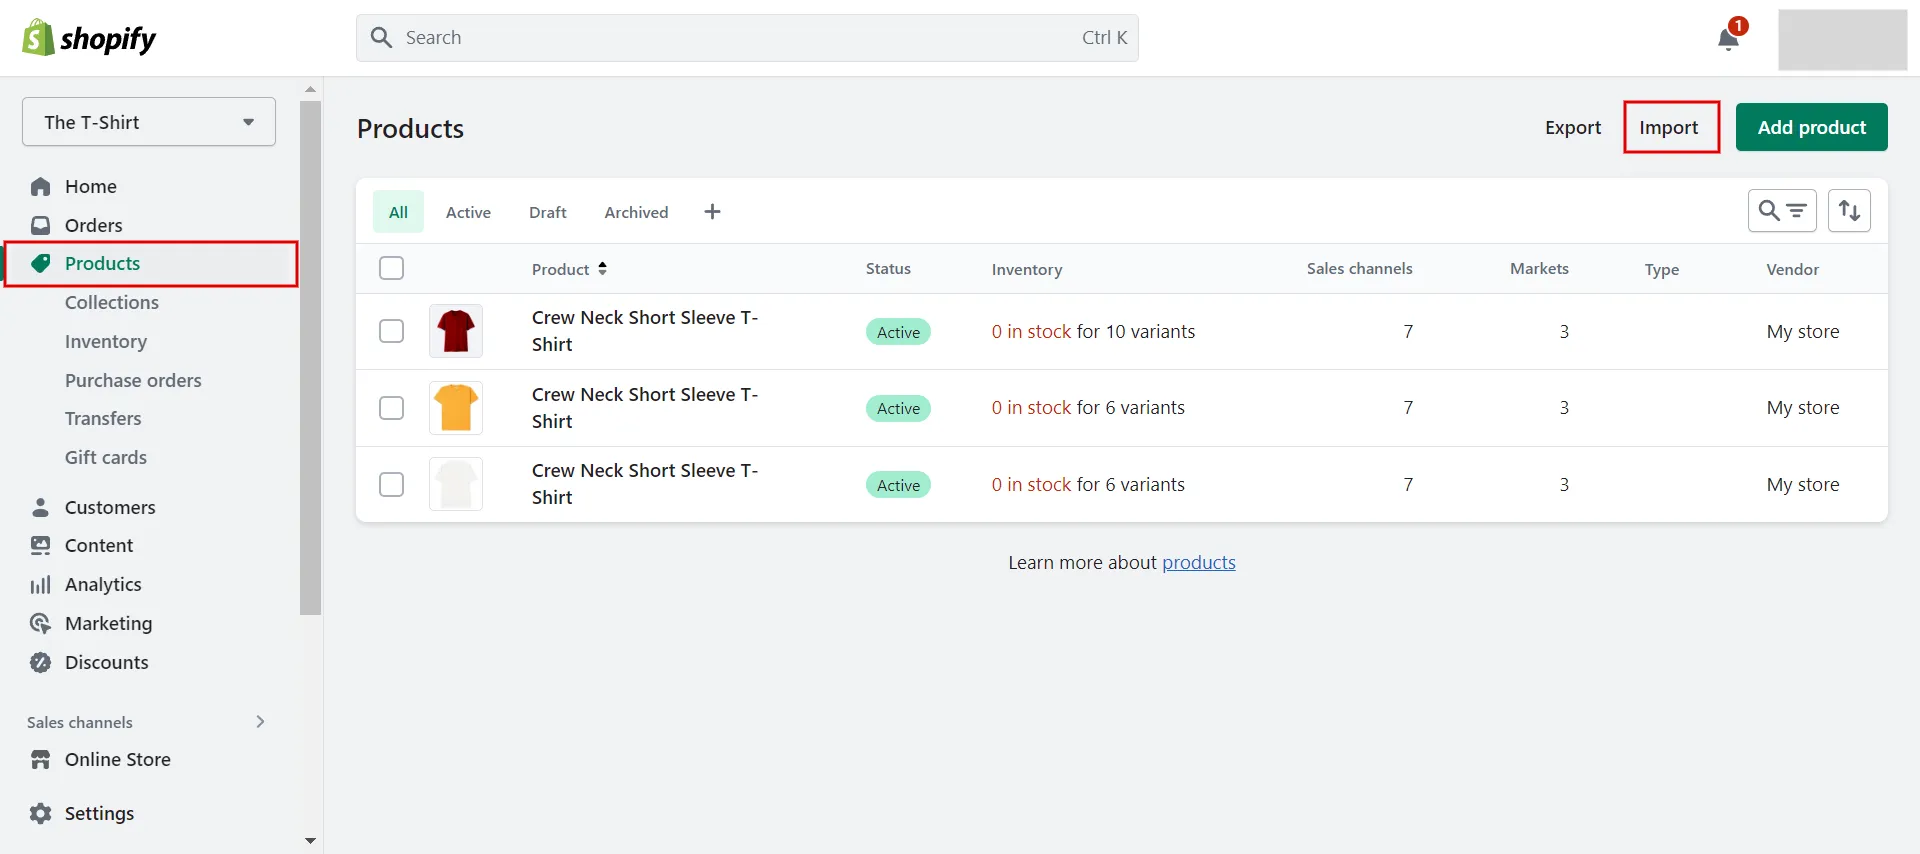
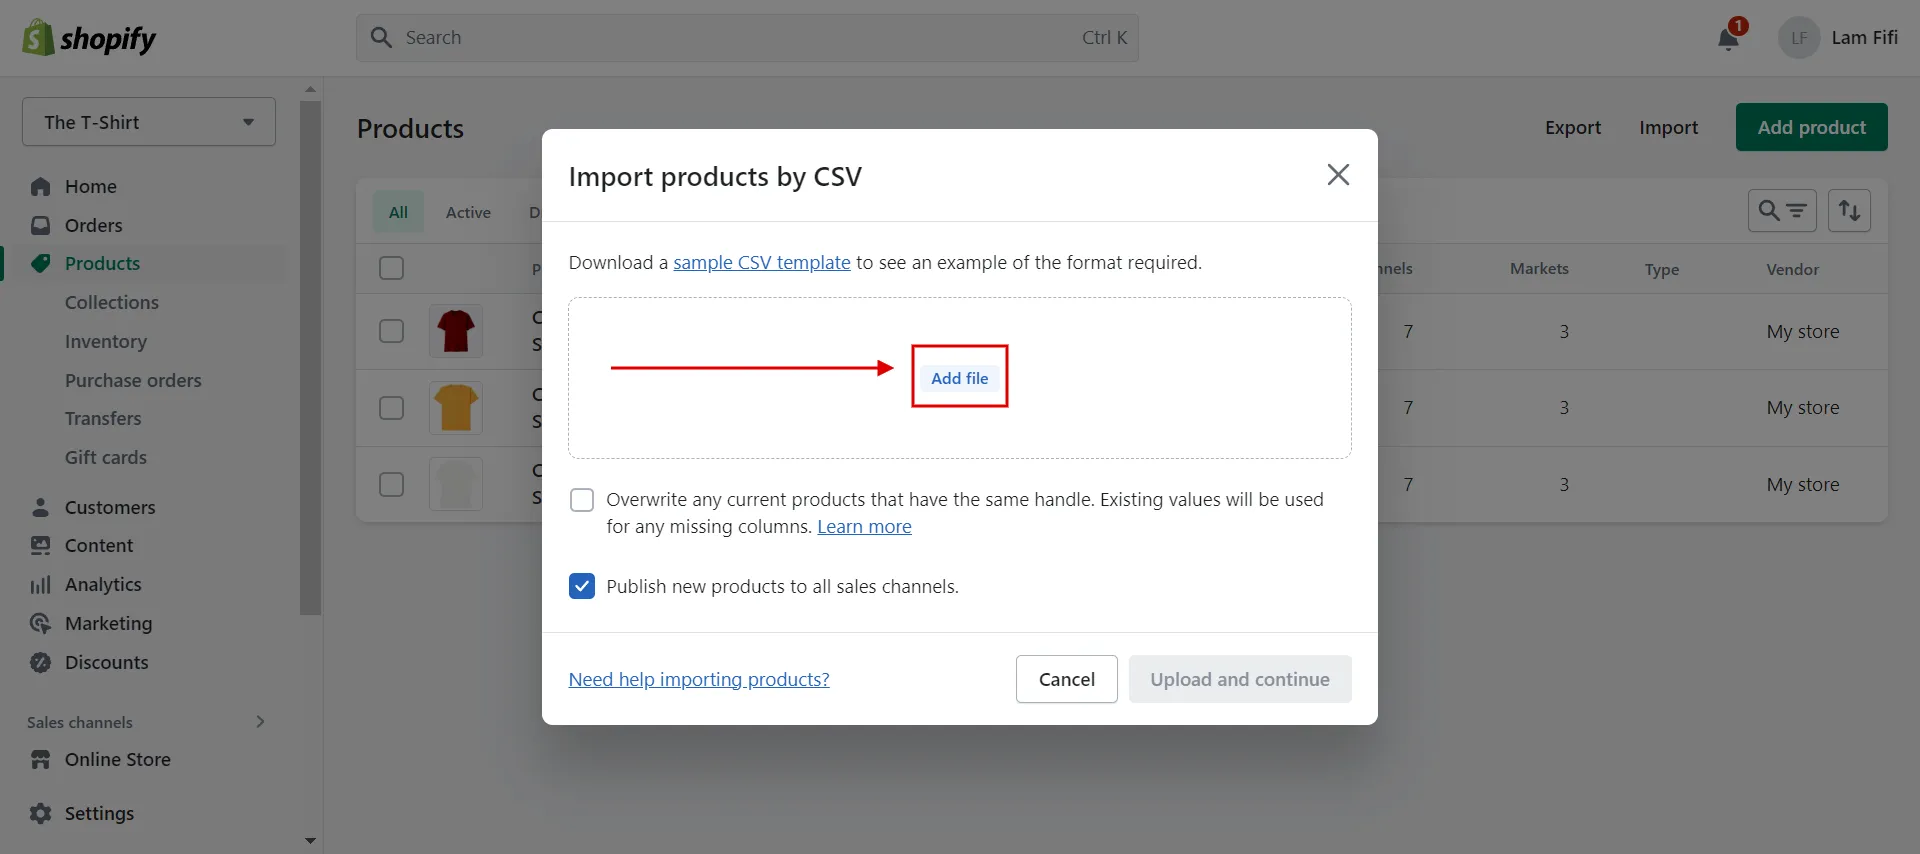
Then, click Add File > Upload and continue, then select all the products you want to split and create an import list in Shopify. Make sure you follow the required format of the CSV template
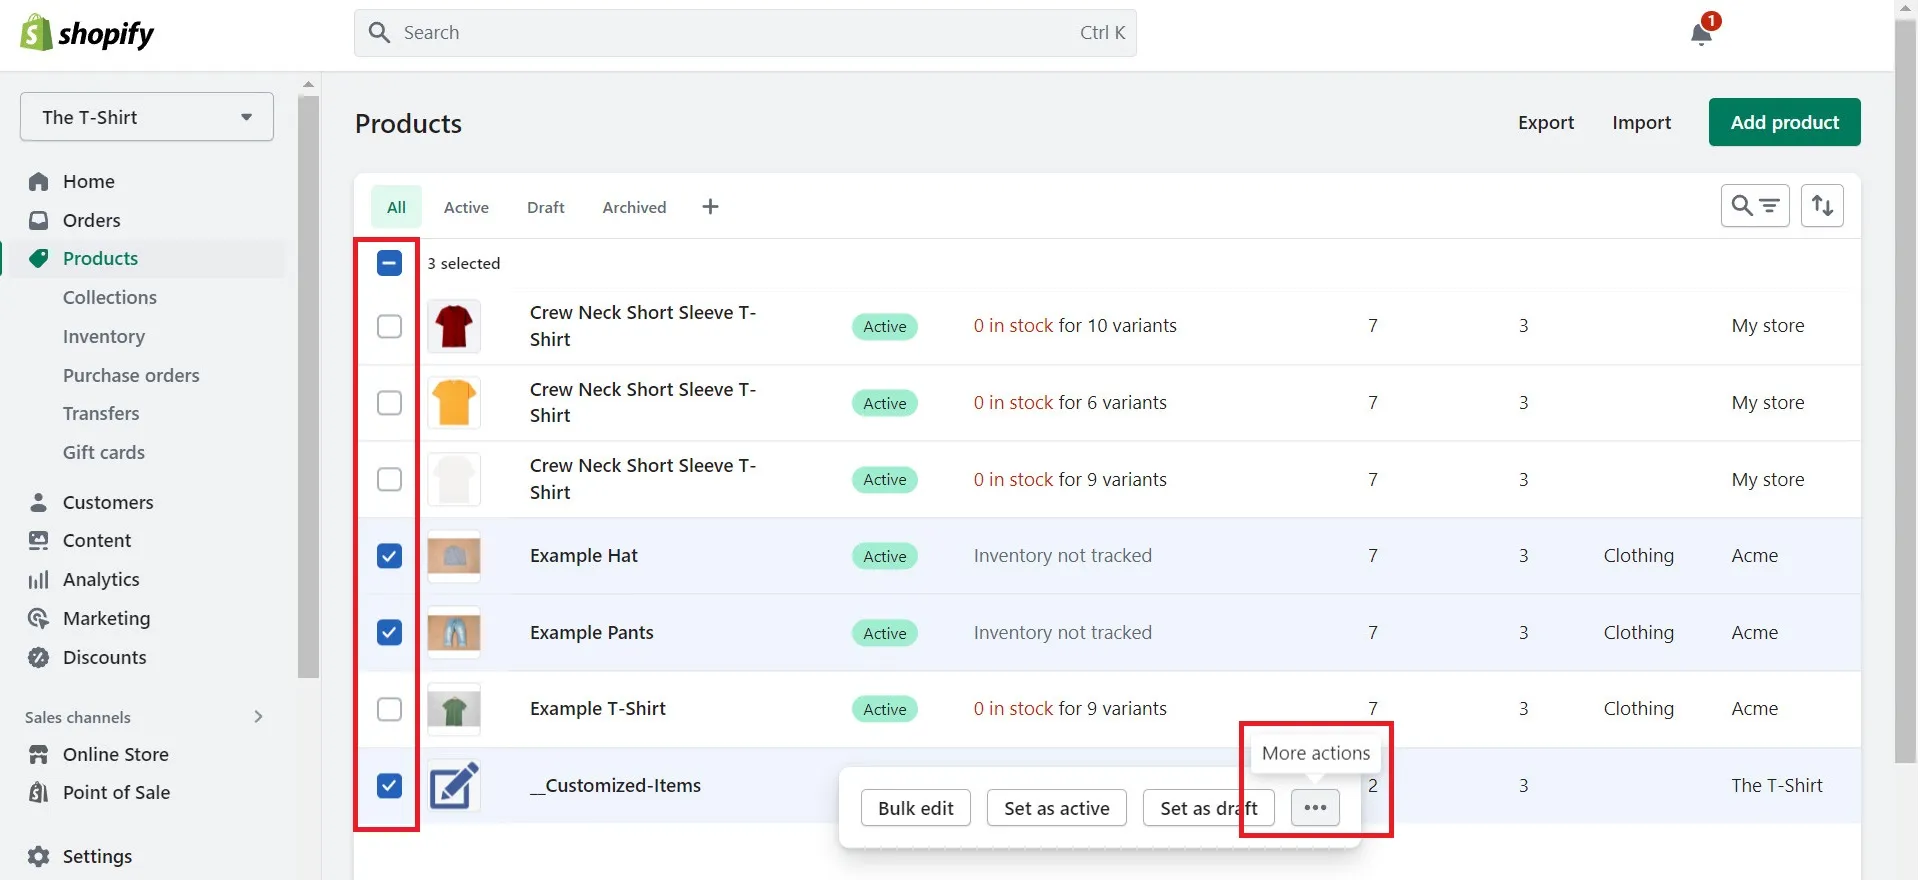
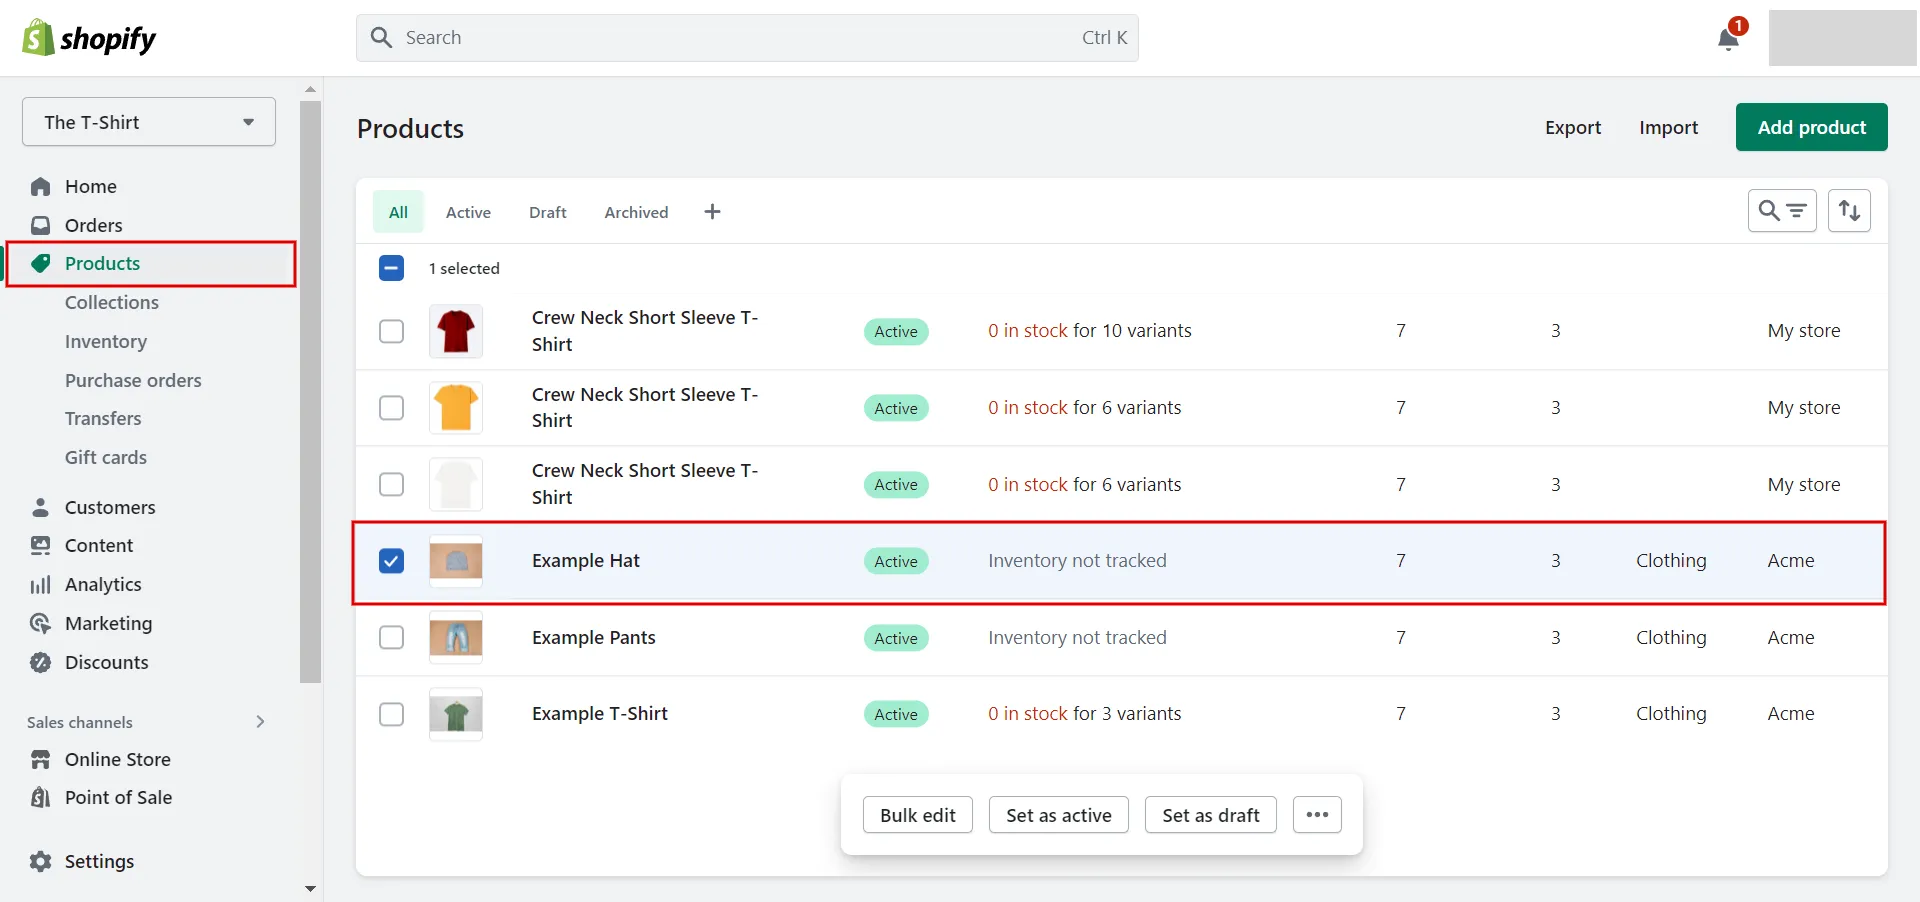
- Step 2: Choose specific products to be split.
Once you have your list, decide which particular products will be split. Choose the ‘…’ button and click “split product” from the menu.
- Step 3: Select splitting variants.
Next, select the variant you want to split. If their products have multiple variants, such as color and size, they can choose one, like color, to split them into individual products. Their products will be split automatically based on their colors.
When online merchants do not want to split all variants into separate products, there is a different way to split their products. For example, they just want to split based on two colors, black and gray. They can choose to split manually.
- Step 4: Click split products in Shopify.
Finally, click “Split to Products”. New products will be created, and new variants will be disabled (not deleted) and can be enabled at any time.
Be aware that some premium themes favor this approach. So, if your theme 2.0 cannot accomplish this, you can still divide your products using third-party apps installed from the Shopify App Store.

How to Find Product Variant ID
When you customize your theme code for a particular product, you may need to locate the variant ID for a given SKU. Find the product variant ID here:
- Step 1: View the product live on the Shopify storefront.
- Step 2: Select the variant you wish to ID.
- Step 3: Take a look at the URL.
At the top of the web page, you will find the URL like this sample: https://www.storename.com/products/product-name?variant=XXXXXXXX.
For example, in this image, we get the URL is https://e237da.myShopify.com/products/ao-thun-tay-ng%E1%BA%AFn?variant=45229594378536
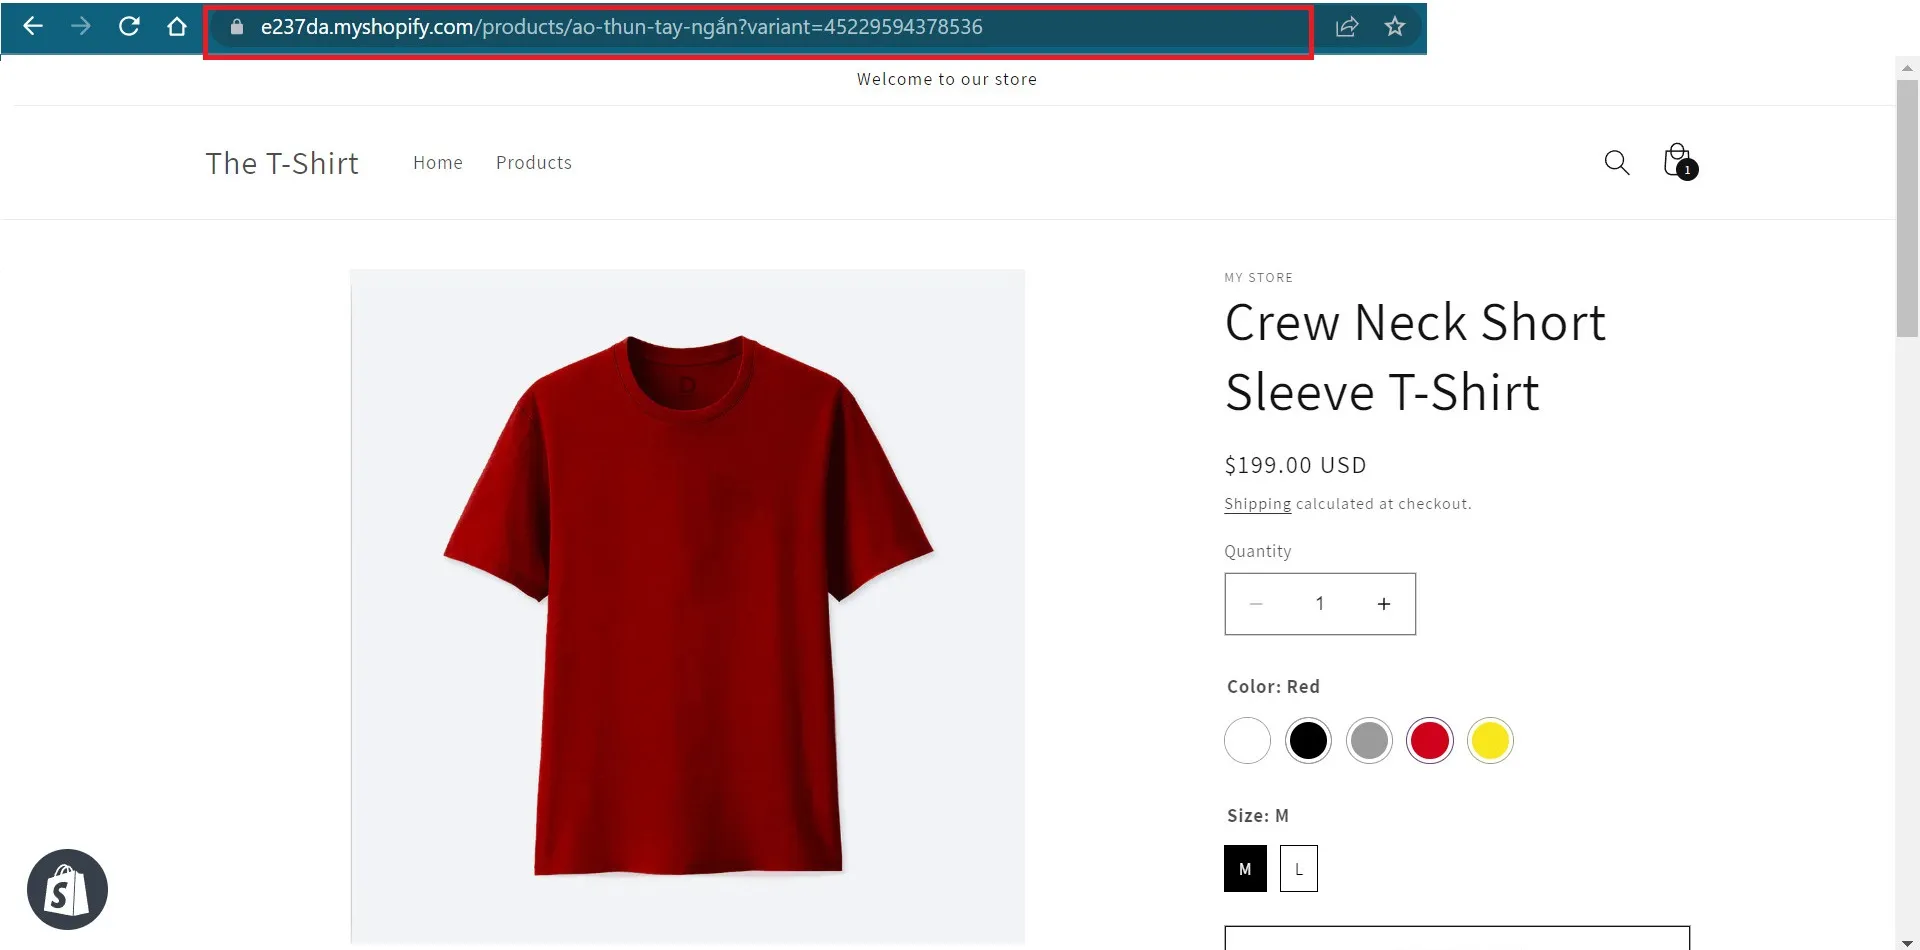
- Step 4: Find the numbers (X’s above)
The number behind the “=” at the last part of the URL stands for the variant ID. Clearly, in the above example image, the variant ID is 45229594378536.
So this is how to find the Shopify product variants’ IDs.
In the next section, we will list some apps to help you split products in Shopify that we think you should try.
Best Apps to Customize Product Variants on Shopify
On Shopify, any product eligible for a variant can have three options. If your products require more than three options, many third-party Shopify advanced product options apps can add custom options or extra fields to your product.
1. Variant Image Wizard + Swatch by ProductWiz Inc.
Pricing: Free | $4.99/month for starter | $7.99/month for pro version
Key features:
- display only the relevant images associated with the variant
- advanced product options and customizable fields
- compatible with movies, 3D models and a wide variety of themes
2. Variant Option Product Options by Best
Pricing: Free version
Key features:
- build many custom product fields like text, numbers, calendars, and drop-down menus
- flexible option templates, decreasing the time of adding repeated options
- suitable for online store 2.0 themes
3. Product Options Variant Option by YMQ
Pricing: 14-day free trial | $7.90/month for pro | $12.90/month for ultra version
Key features:
- multiple swatches: color, radio, and image swatch on the same listing, and available single swatches
- a zoom-in feature for all your image swatches
- display/hide relevant choices based on the previous selection
4. Variant Options, Color Swatch by StarApps Studio
Pricing: 30-day free trial | $14.90/month for starter | $29.90/month for advanced version
Key features:
- switch between different swatches
- bulk import of swatches
- increase SEO with Amazon-like product variations
Figure out more about Shopify:
- Shopify Review – The Crown Jewel of the eCommerce World!
- Shopify Tutorial – 9 Complete Steps to Get Instant Sales.
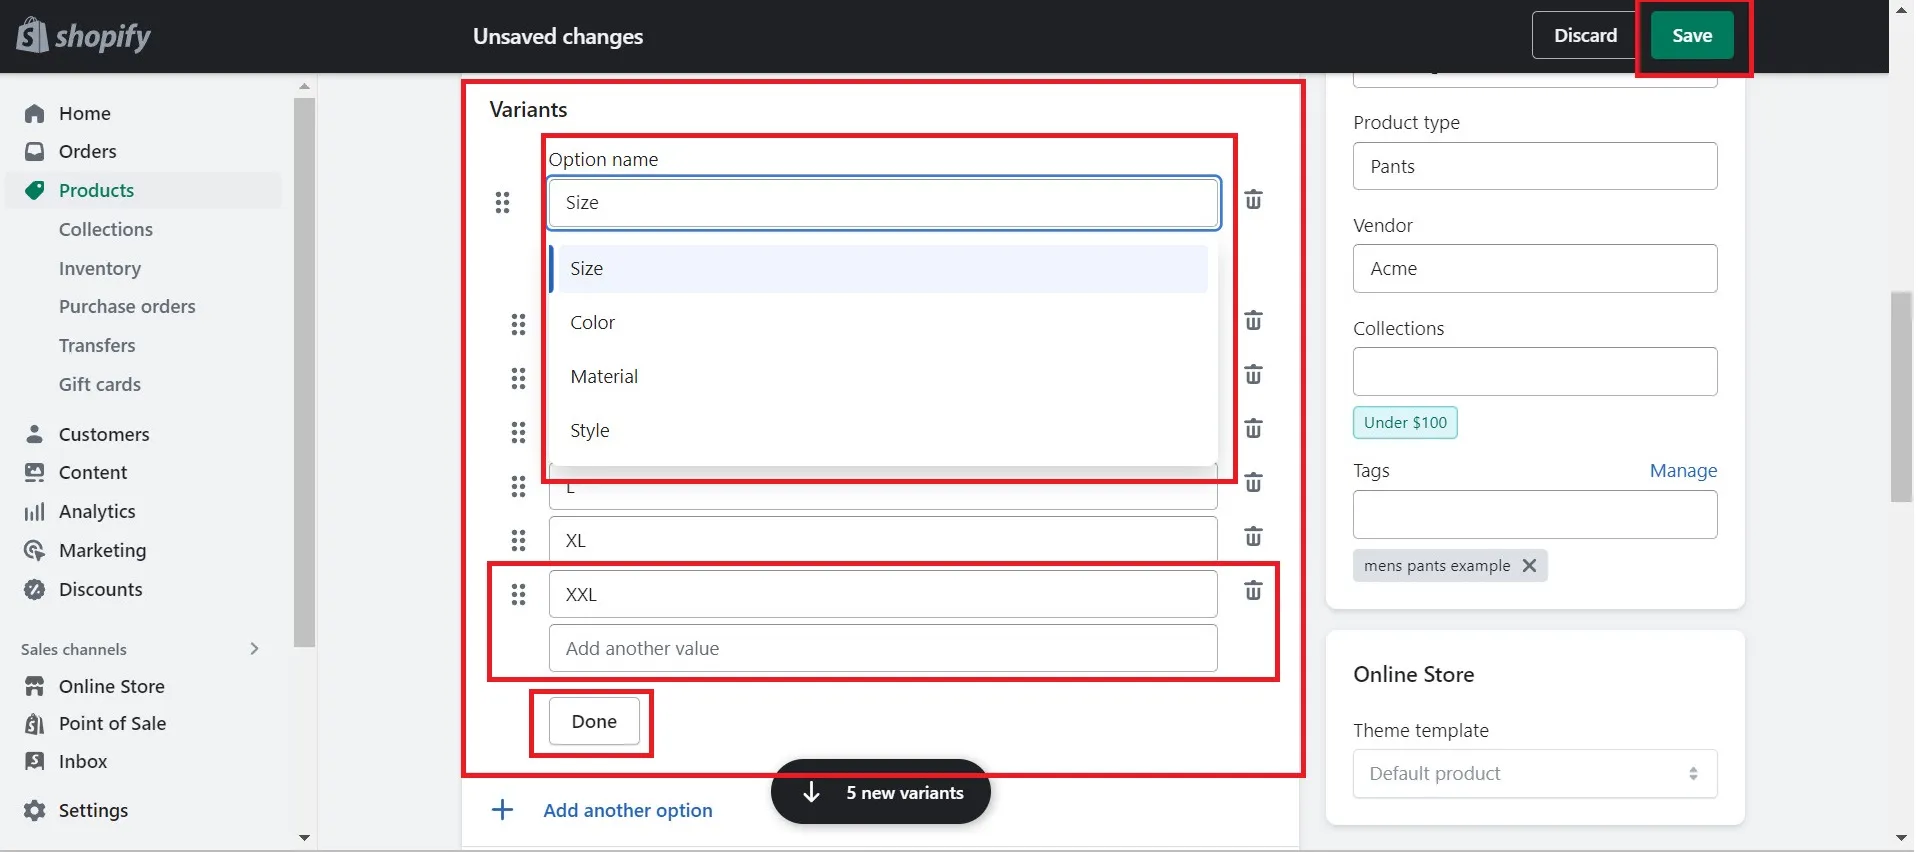
(Bonus) How to Add Variants to Existing Products on Shopify
So, how do I add Shopify variants with different prices, sizes, and colors for products? Follow the below steps:
- Step 1: Click “Products” in your Shopify Admin account. Pick a product to add variations to.
- Step 2: Select the “Add Variant” section on the product page.
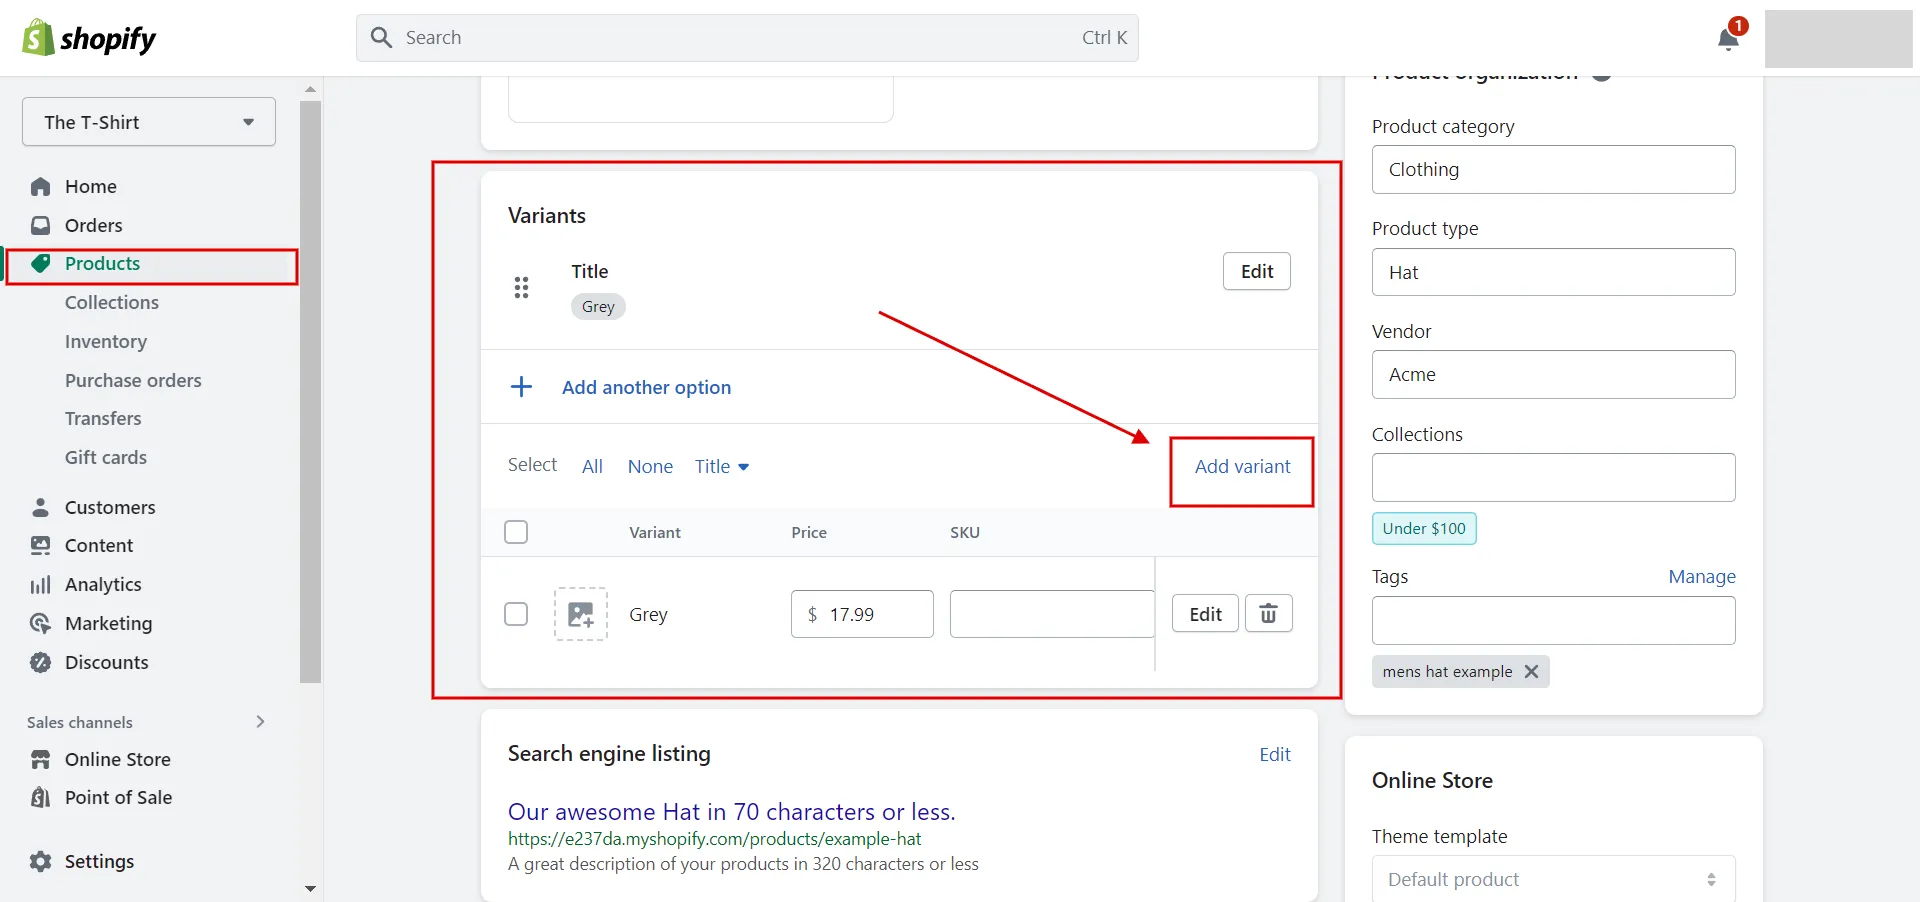
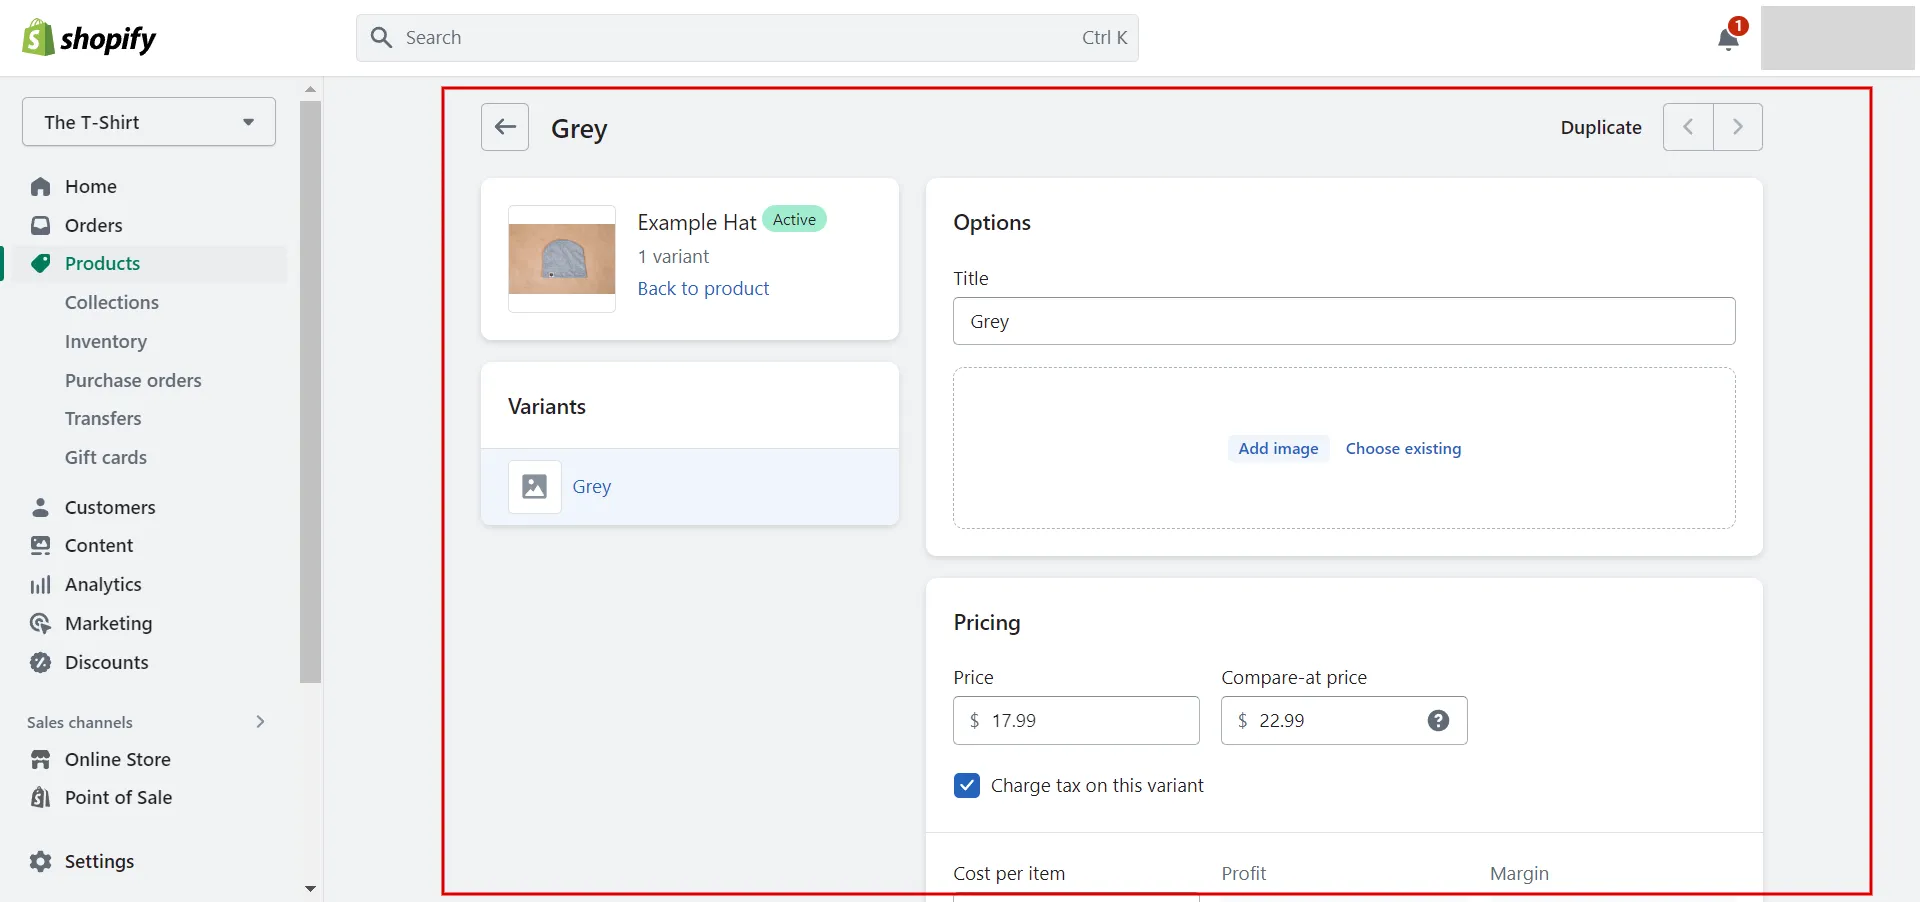
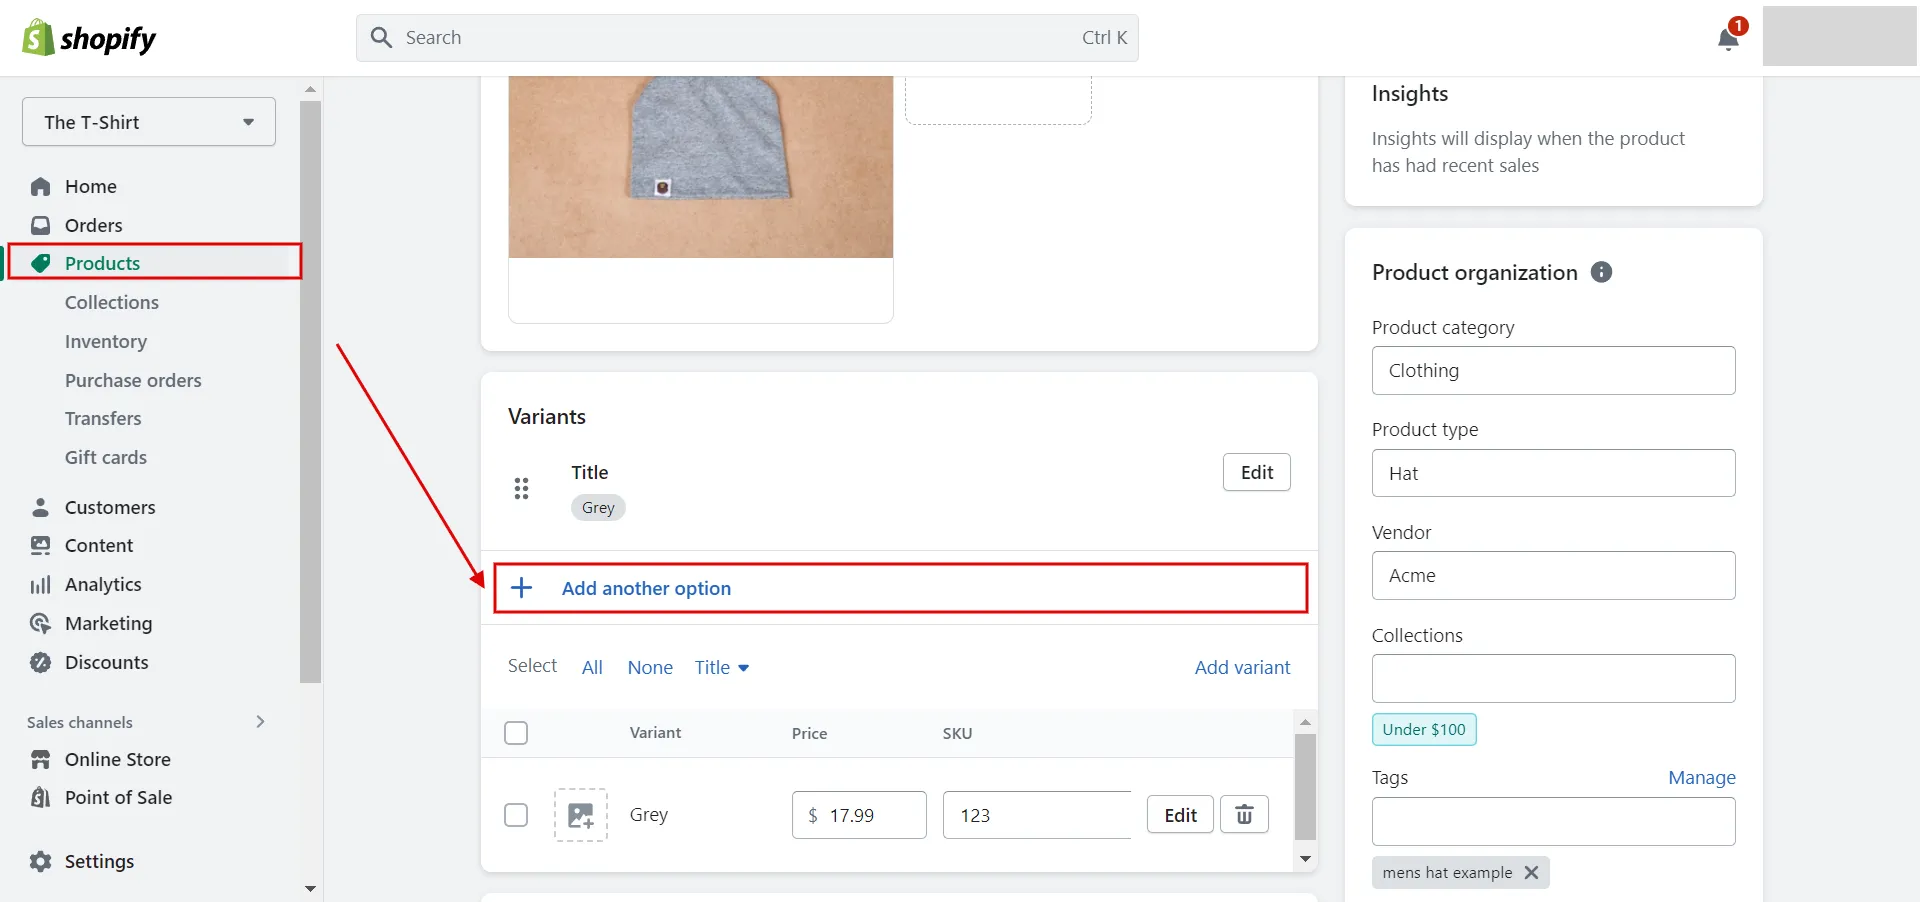
- Step 3: Type the option name and values into the fields. For each option value you created, enter a price, a unique SKU, and a barcode after this.
- Step 4: Select “Add another option” if you require more options.
- Step 5: Manage variant options, then click “Save.” This is how to add product variants in Shopify.
Learn more about How To Add Products To Shopify – Shopify Import Products now!
Already In Love With Shopify?
If you're impressed with what Shopify offers, why wait? Switch to Shopify now and enjoy the ultimate support in LitExtension All-In-One migration service that helps you transfer your data to Shopify accurately and seamlessly.
Split Products in Shopify – FAQs
How do I use separate variants in Shopify?
Follow our instructions to set up Shopify variants.
- Locate the Products
- Select the product you wish to add variants to by hitting its name.
- Select Add variant option.
- Enter the first option name (for example, Size) in the Option 1 field.
- Enter the values you desire for each option under Option 2.
- If your product has multiple options, enter the second option name (color) in the Option1 column. Under Option 2, enter the settings for this option.
- Repeat these procedures until you've input all of your product options.

How to set up Shopify variants.
How to Shopify show variants as separate products ?
Follow our guidelines to display variants as different products:
- Navigate to the Variants tab on the product page.
- Click the Add Variant Option button.
- Select the type of choice you wish to include, size, or color.
- Add the values for each option (small, medium, and large).
How do I group variants in Shopify?
- You can create up to 100 variants per product. Each product can have up to three different alternatives. The selections may differ from one product to the next.
- For example, one product may employ size, color, and style, but another may employ weight, finish, and material.
- If you need to sell a product with more than 100 variants or more than three alternatives, use a third-party app from the Shopify App Store or customize your theme code to extract line item properties.
How do I show multiple products on Shopify?
By modifying the theme settings in the theme editor or the theme's code, you can alter the number of products displayed on your collection pages. You can display as many products as you wish as long as you stay under Shopify's 50 product-per-page limit.
How do I add Shopify product variants?
To add Shopify product variants, follow the steps below:
- Browse Products in Shopify admin
- Pick the product that requires another variety by clicking its name.
- Hit Add variant in the Variants section.
- Fill in the variant values in the Options fields
- Save any changes.
How do I create a sub-collection in Shopify?
To make the changes, we recommend you take the following steps:
- From Online Store, click Navigation
- Pick Add menu > Click Add menu items > Click Add collections
- Drag the sub-collections
- Save menu
Final Words
Finally, by reading this article on how to split products in Shopify, Shopify store owners will better understand Shopify product variants. Indeed, we demonstrate various methods for organizing your online store by applying variants to new products, existing products, and single or multiple items.
LitExtension, the #1 shopping Cart Migration Expert intends to help you discover a workable solution for your Shopify business through our article “How to Split Products in Shopify.” Read more posts on the LitExtension blog and engage with our eCommerce community for more fantastic ideas.

