Shopware 6 is a powerful eCommerce platform that combines flexibility, scalability, and user-friendliness. It's built on modern technologies like Symfony and Vue.js, which make it perfect for creating unique and engaging online shopping experiences. In this article, I'll walk you through the latest Shopware tutorial so that you'll be all set to get your store up and running by the end.
Here's our agenda:
- Shopware pre-installation steps;
- How to install Shopware 6;
- and how to set up an eCommerce store on Shopware.
Let’s get in!
Shopware 6 Installation: Pre-Installation Steps
Before you jump into the Shopware installation process, let's ensure your system is ready for a seamless experience. This Shopware tutorial guide outlines the essential steps to take before you begin the installation.
Why is the pre-installation crucial?
Skipping pre-installation steps can lead to unexpected errors, performance issues, and even security vulnerabilities. You'll lay a solid foundation for a successful Shopware 6 installation by carefully following these steps.
System Requirements
- Operating System: Linux, macOS, WSL
- PHP Version: PHP 7.4 or higher
- Database: MySQL 5.7+ or MariaDB 10.3+
- Web Server: Apache 2.4+ or Nginx 1.10+
- PHP Extensions:
- ctype
- curl
- dom
- fileinfo
- gd
- iconv
- intl
- json
- mbstring
- openssl
- pdo_mysql
- phar
- simplexml
- xml
- zip
- Memory: At least 4GB RAM
- Storage: Minimum 20GB free disk space
For optimal performance, especially for medium to large-scale stores, consider the following recommendations:
- PHP Version: Version >= 8.2 – <= 8.3
- Database: MySQL 8.0+ or MariaDB 10.4+
- Web Server: Nginx 1.18+ (preferred for better performance)
- Memory: 8GB RAM or more
- CPU: Multi-core processor (4+ cores recommended)
- Storage: SSD storage with at least 40GB free space
- PHP Memory Limit: Set to 512M or higher
- Max Execution Time: 300 seconds or more
So, if you already set up the environment, how can you check your system requirements? Here's how!
- PHP Version: Use the php -v command in your terminal.
- MySQL Version: Login to your MySQL server and use the SELECT VERSION() command.
- Web Server: Check your server configuration files (e.g., Apache's httpd.conf).
- Memory: Check your server's specifications or use the free -m command in your terminal.
- Disk Space: Use your server's administrative tools or the df -h command.
- PHP Extensions: Check your server's configuration for enabled extensions or use the phpinfo() function.
*Important note: If your system doesn't meet the recommended requirements, you may experience slow performance, instability, or even errors. I suggest you consult with your hosting provider for guidance on upgrading your system.
Htaccess Adjustments
The .htaccess file controls how your web server interacts with your website. It's crucial to configure it correctly for Shopware 6. While .htaccess can offer security benefits, it can also prevent access to your Shopware admin area. Here's how to avoid this issue:
1. Disable .htaccess protection for Shopware's API
You can use the following configuration in your .htaccess file:
AuthType Basic
AuthName “Please login.”
AuthUserFile /path/to/.htpasswd
<RequireAny>
Require expr %{THE_REQUEST} =~ m#.*?\s+\/api.*?#
Require valid-user
</RequireAny>
2. Use alternative security measures
You can also consider using a web server firewall or other security solutions to protect your Shopware installation.
*Important note: Incorrectly editing .htaccess can break your website. If you need clarification, contact your hosting provider for assistance.
Routing Settings
Your web server needs to be properly configured to handle requests to your Shopware 6 installation. This involves setting up virtual hosts (vHosts).
Here is an example Apache2 vHost configuration:
<VirtualHost *:80>
ServerName “_HOST_NAME_”
DocumentRoot _SHOPWARE_DIR_
<Directory _SHOPWARE_DIR_>
Options Indexes FollowSymLinks MultiViews
AllowOverride All
Order allow,deny
allow from all
</Directory>
ErrorLog ${APACHE_LOG_DIR}/shopware-platform.error.log
CustomLog ${APACHE_LOG_DIR}/shopware-platform.access.log combined
LogLevel debug
</VirtualHost>
Let's focus on these key points:
- _HOST_NAME_: Replace with your actual domain name or subdomain.
- _SHOPWARE_DIR_: Replace with the directory where you've extracted the Shopware 6 files (e.g., /var/www/html/shopware6).
- DocumentRoot: Notice that the DocumentRoot is set to _SHOPWARE_DIR_ (not /public). After installation, you'll need to adjust the DocumentRoot to point to the public folder.
Shopware Tutorial: How to Install Shopware 6
Now that we've covered the system requirements let's jump into the step-by-step process of installing Shopware 6. I will start by preparing everything and then move on to the installation itself.
Below are the pre-installation preparations
- Double-check your server against the minimum requirements listed earlier.
- Ensure all required PHP extensions are installed and enabled.
- While you can run Shopware on a self-hosted server, using a server from one of Shopware's hosting partners is recommended for optimal performance.
- Create a new MySQL/MariaDB database for Shopware 6.
- Note down the database name, username, and password.
Alright, let’s start the Shopware tutorial for beginners now!
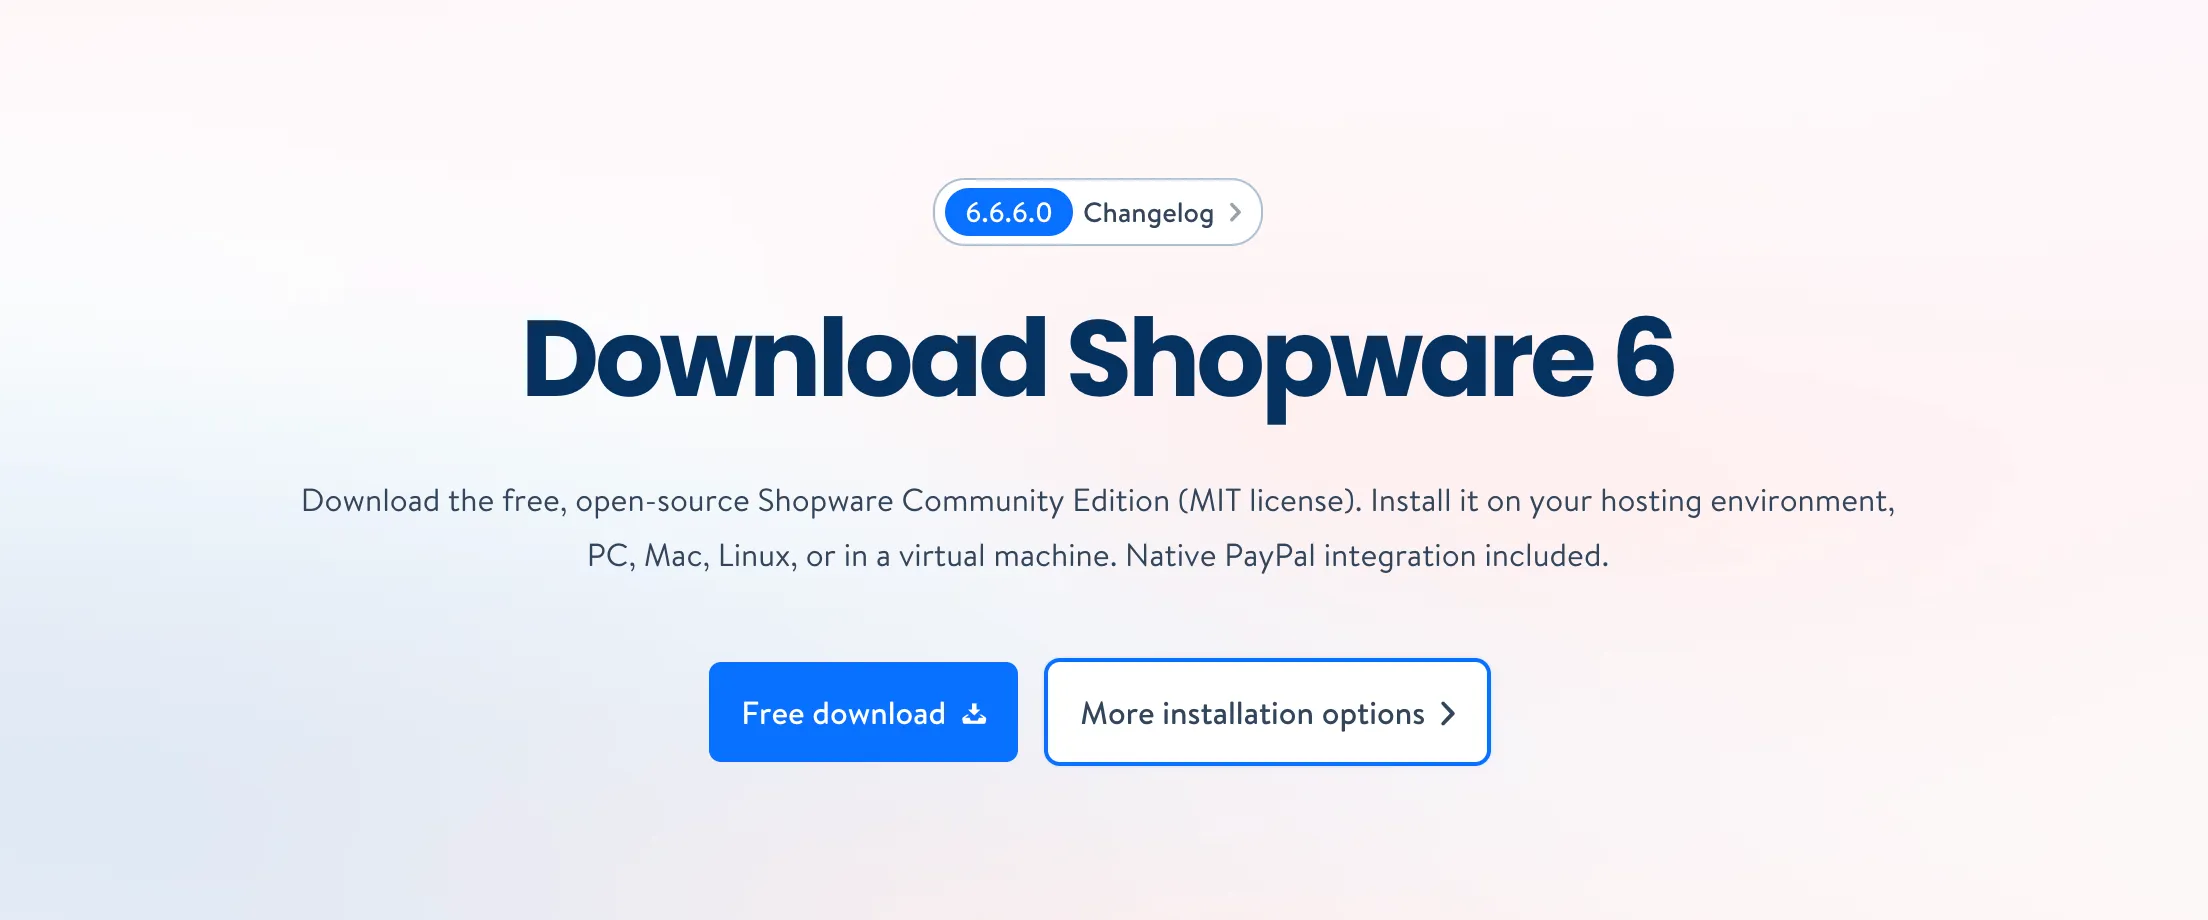
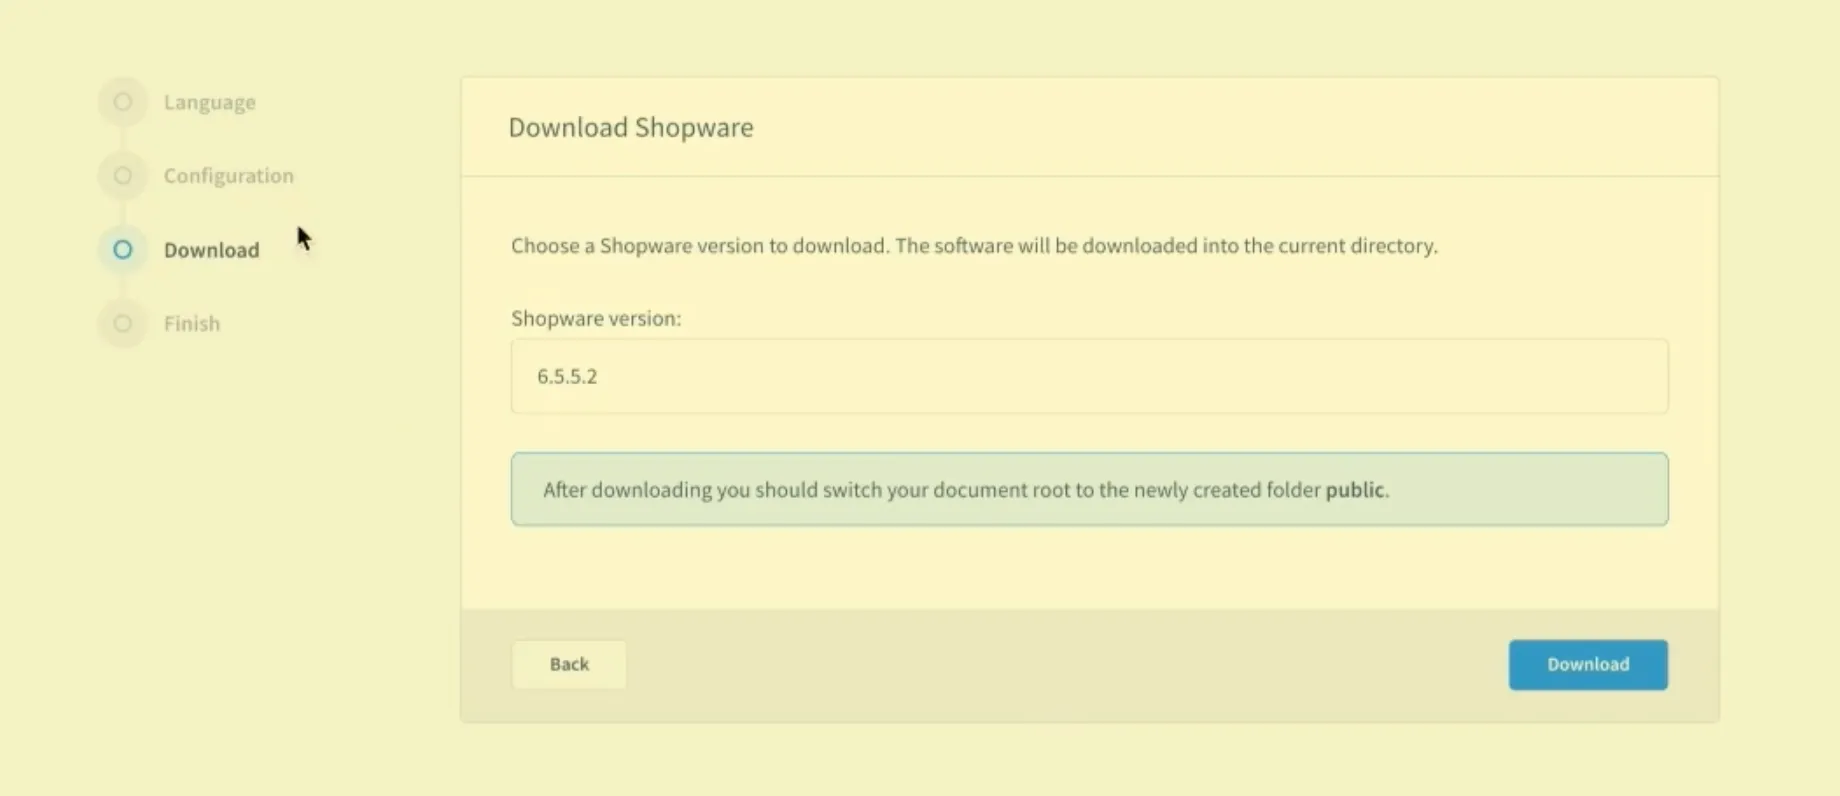
Step 1: Download Shopware 6
Let’s start by visiting the official Shopware download area and downloading the Shopware 6 PHP file (shopware-installer.phar.php).
Afterward, you create a folder on your web server for your Shopware installation and move the PHP file into this folder.
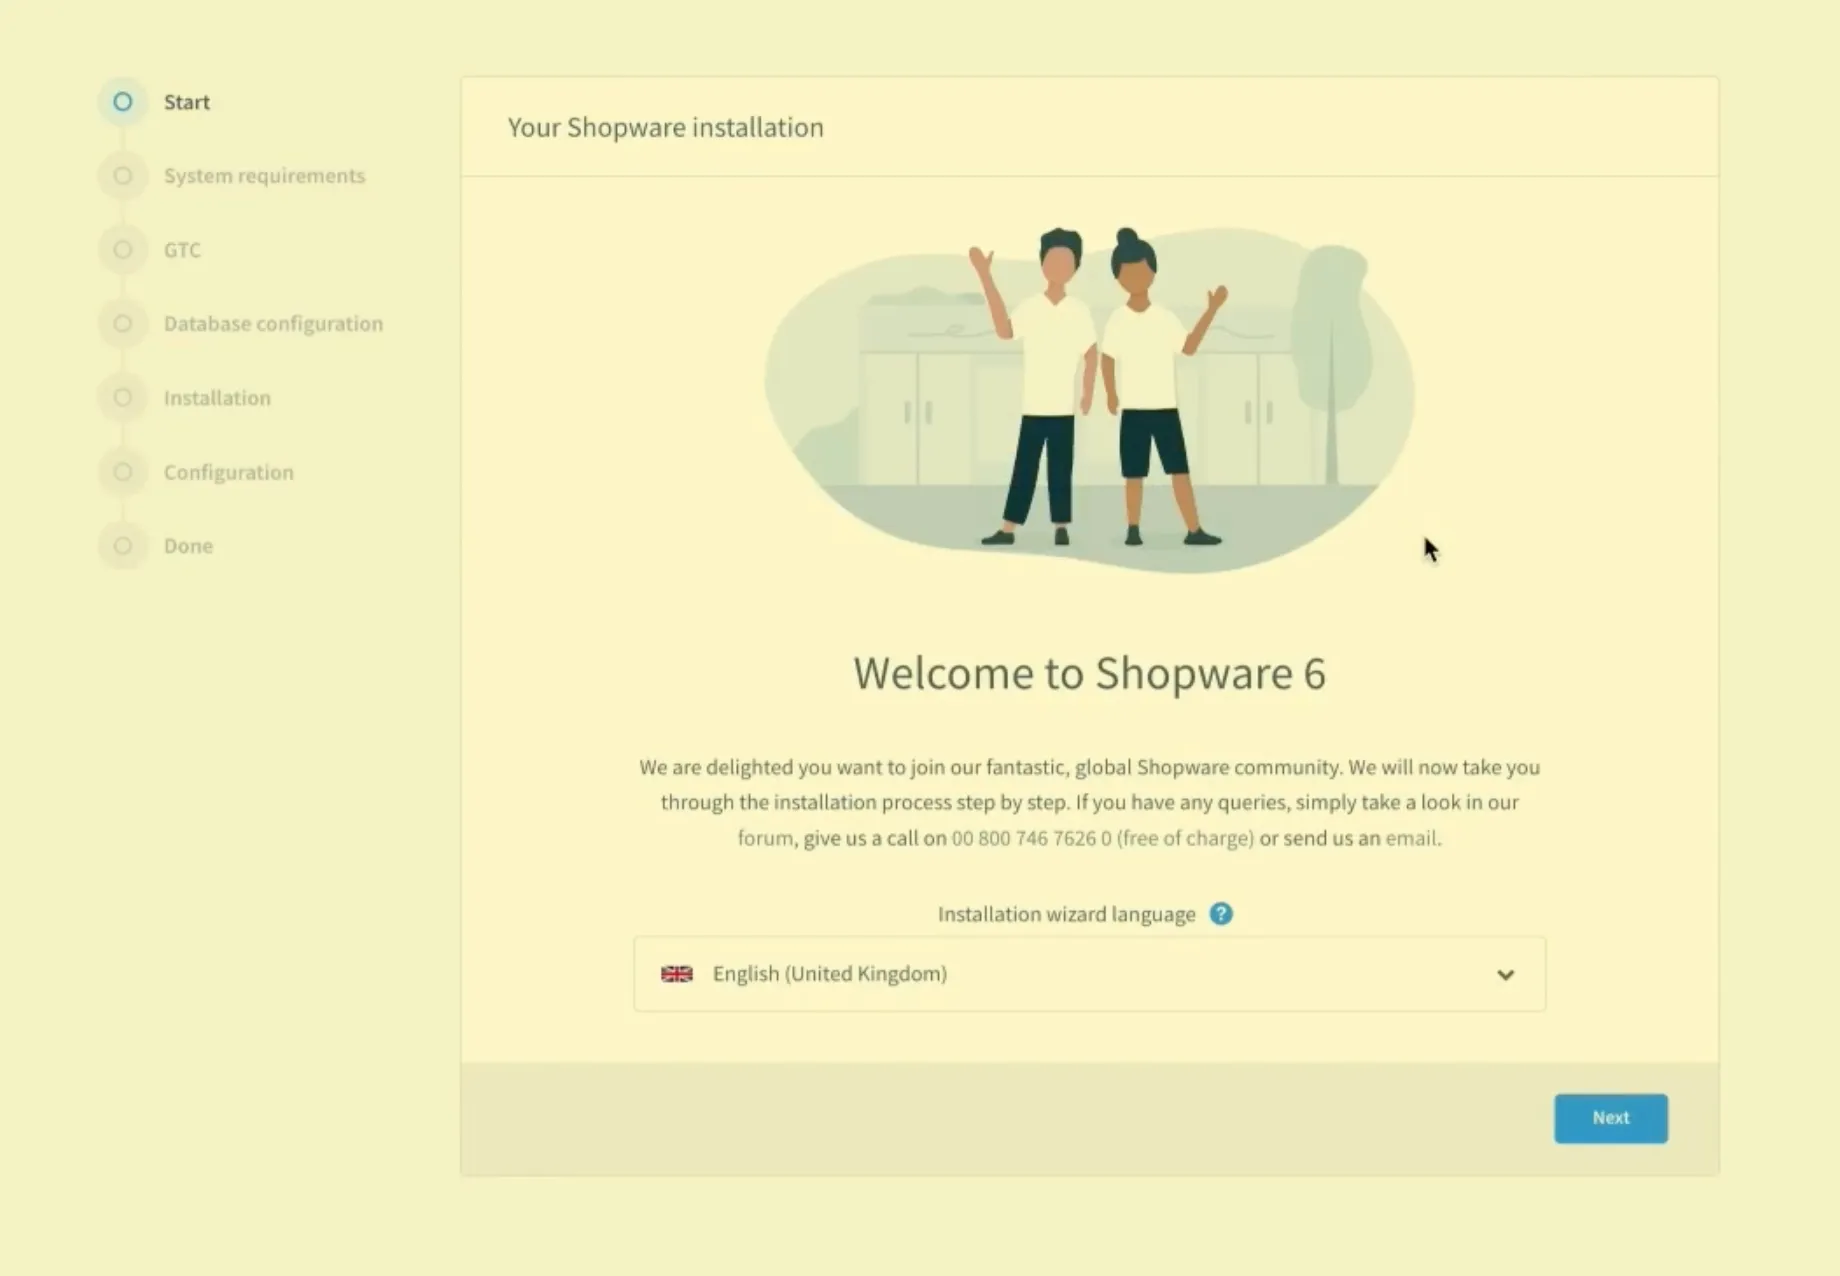
Step 2: Start the Installer
Open your web browser and navigate to the installer URL:
www.your-domain.com/ShopwareFolder/shopware-installer.phar.php
This will launch the Shopware Installer wizard.
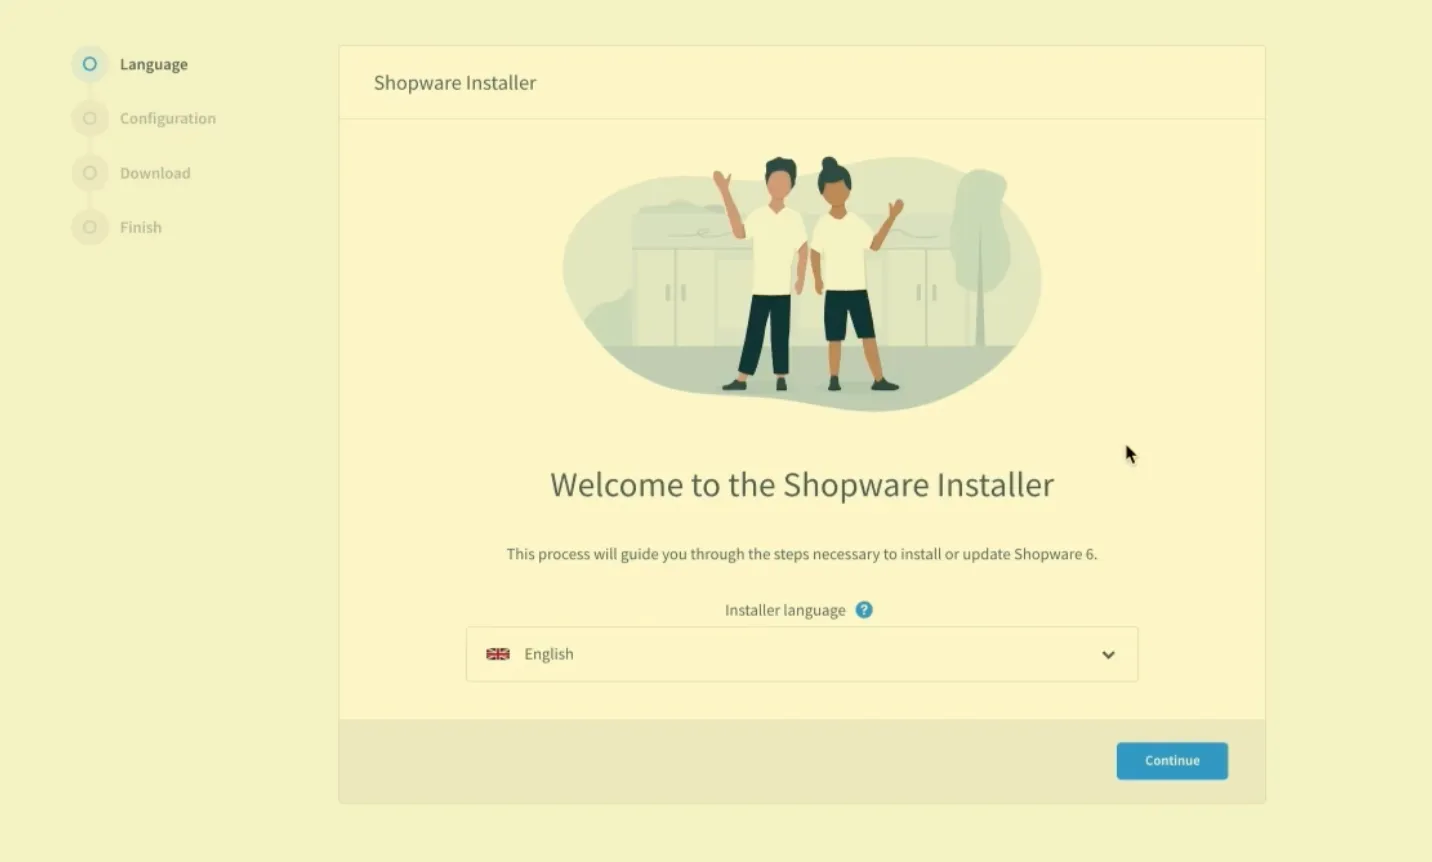
You will then be guided through the installation wizard, where you can enter some information.
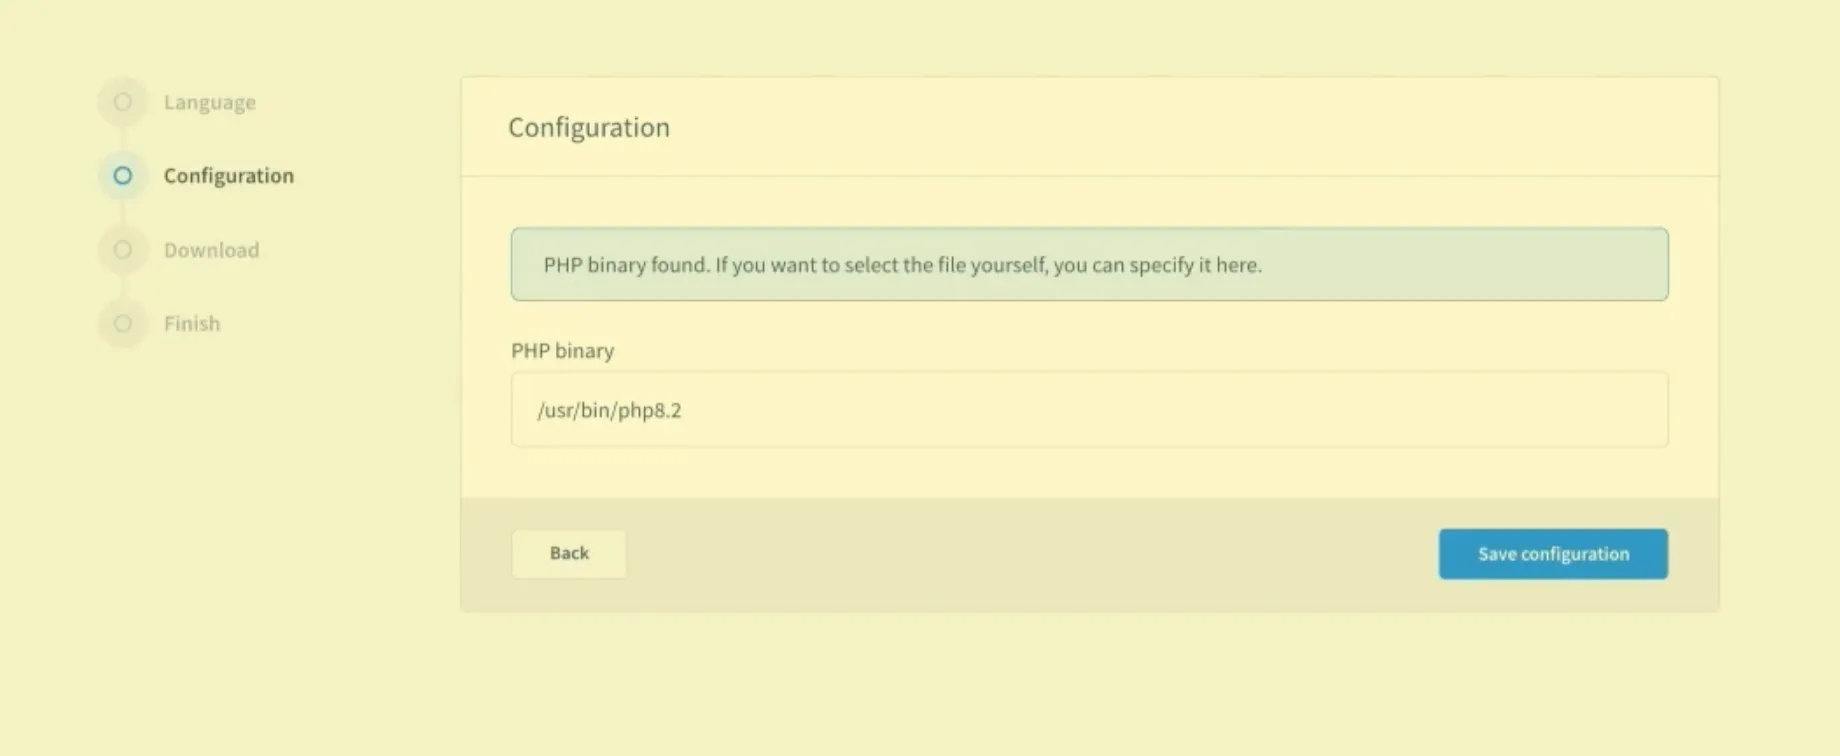
Step 3: Follow the Installation Steps
1. Check system requirements for Shopware 6
Next on this Shopware tutorial, you can see on the screen that the installer will automatically check if your server meets the requirements. It will be then address any issues before proceeding.
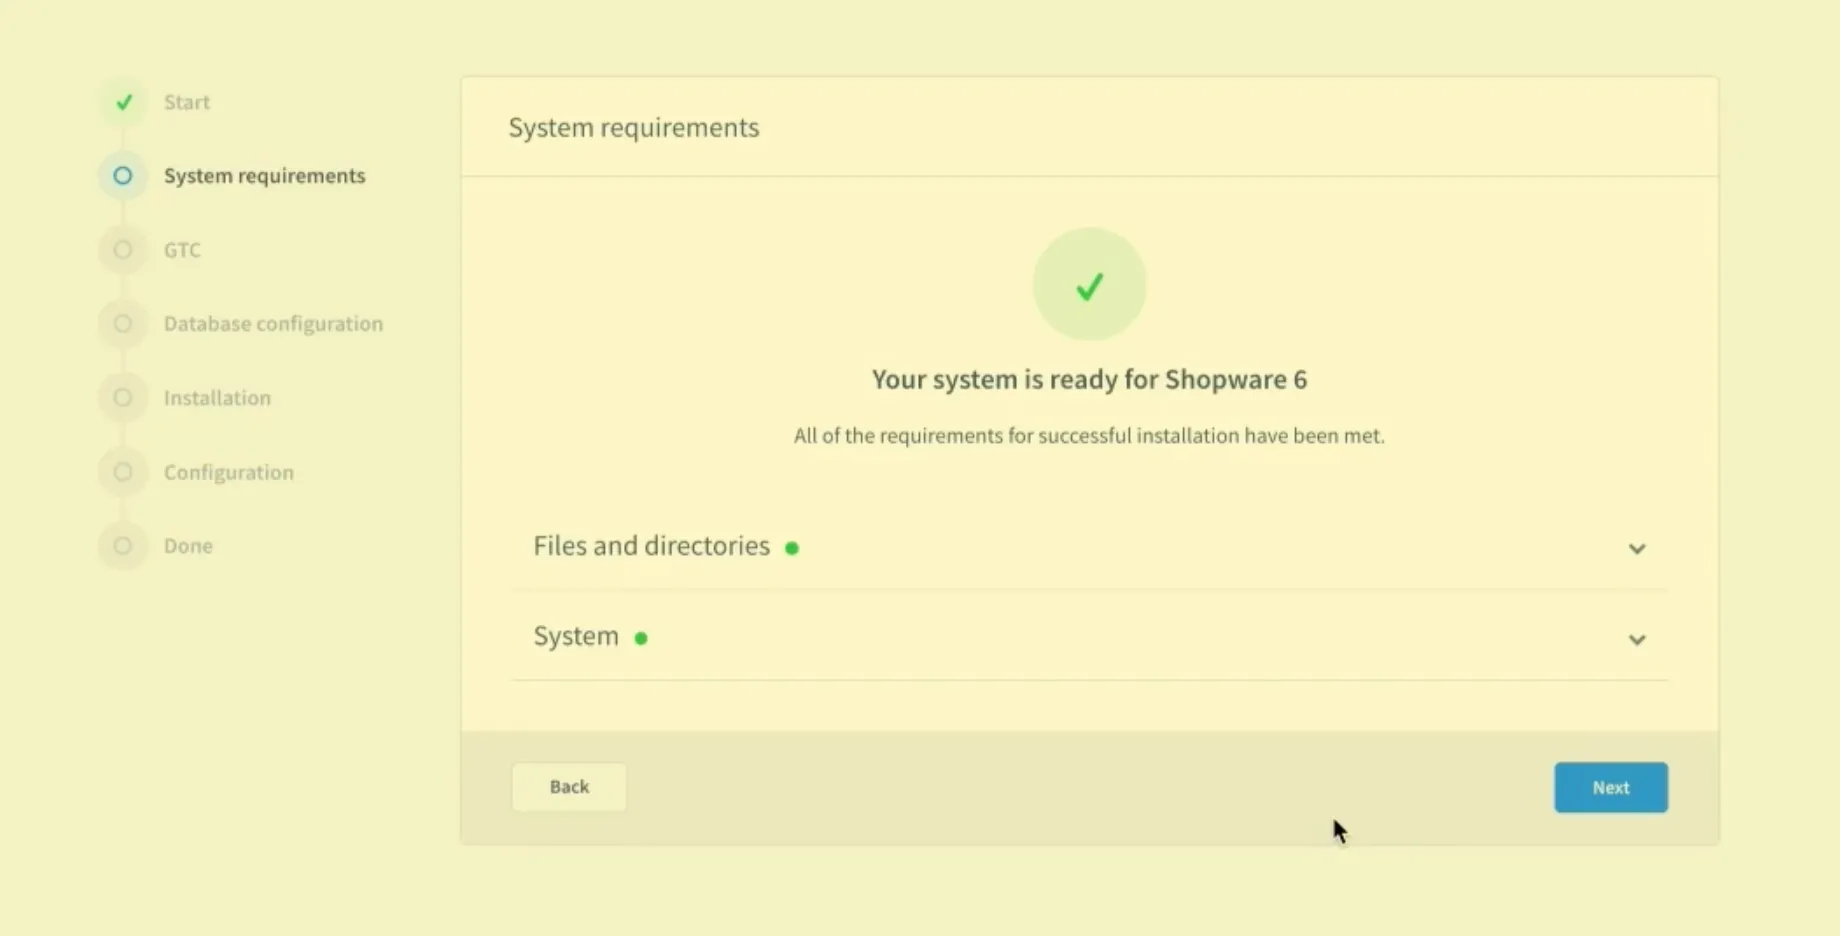
As you see all the green ticked, hit ‘Next’.
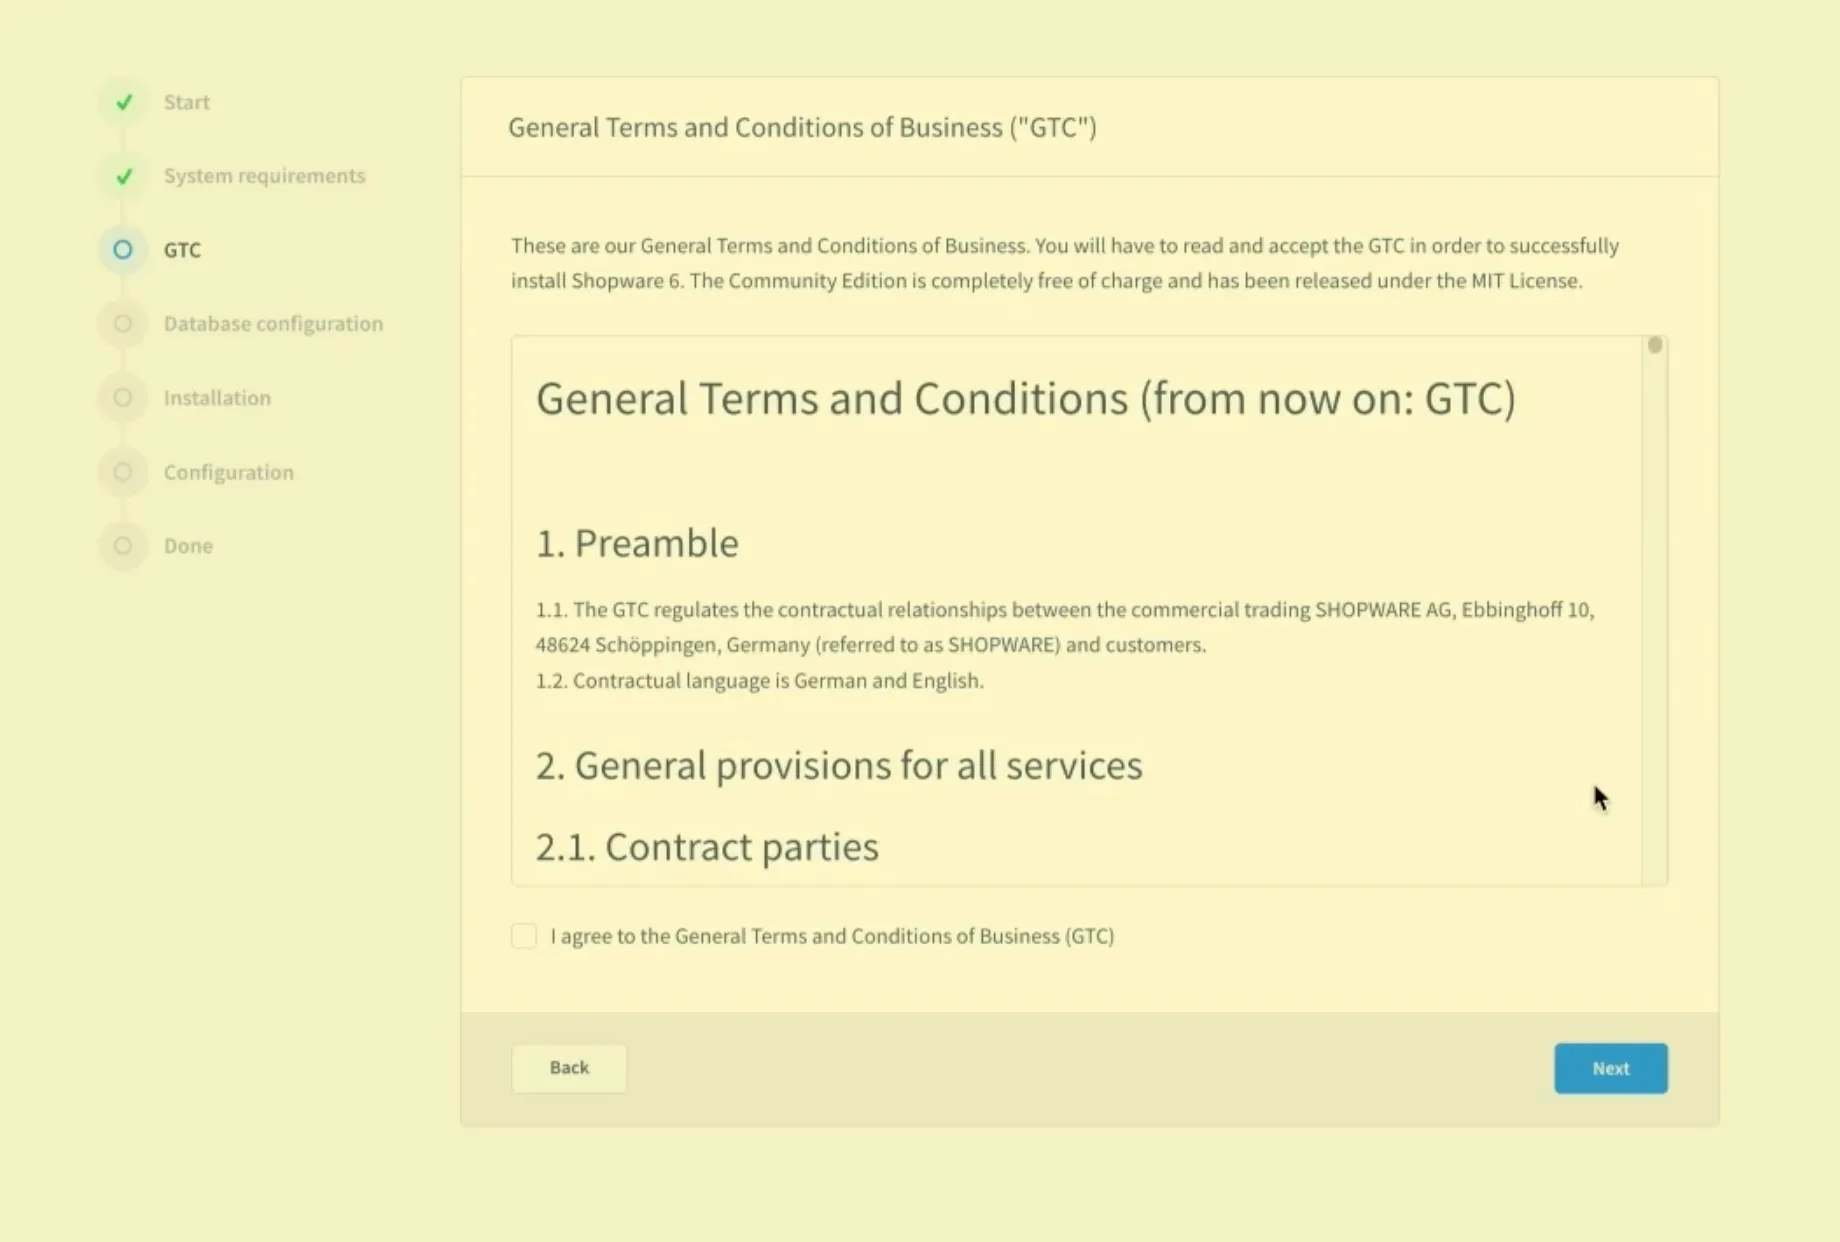
2. Accept the license agreement
You should now carefully read and accept the Shopware license terms before moving to the configuration.
3. Database configuration
Here are some actions you should take into consideration and follow are to:
- Enter your database server details (usually ‘localhost').
- Provide the database username and password.
- Specify the database name you created earlier.
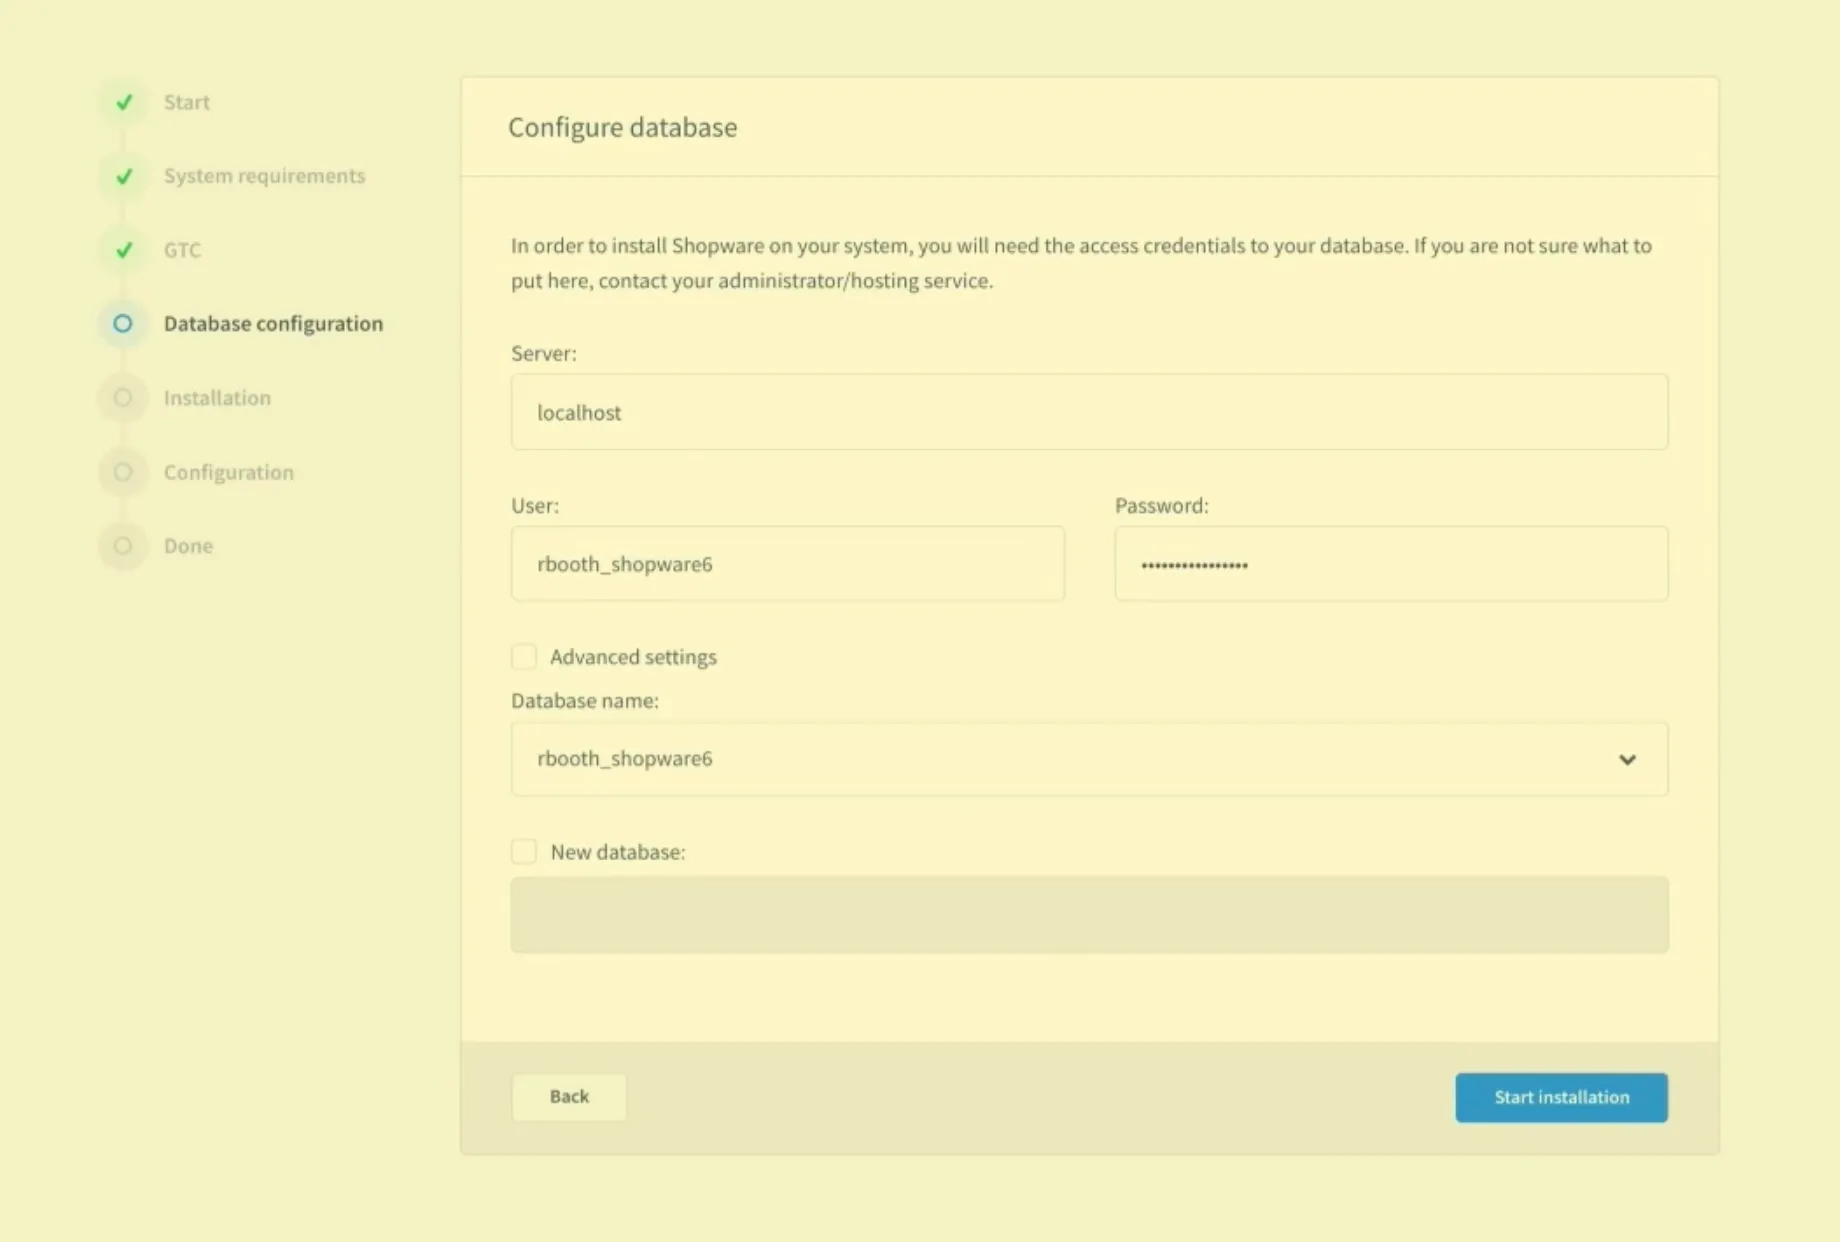
4. Database import
In this step, the Shopware database is imported.
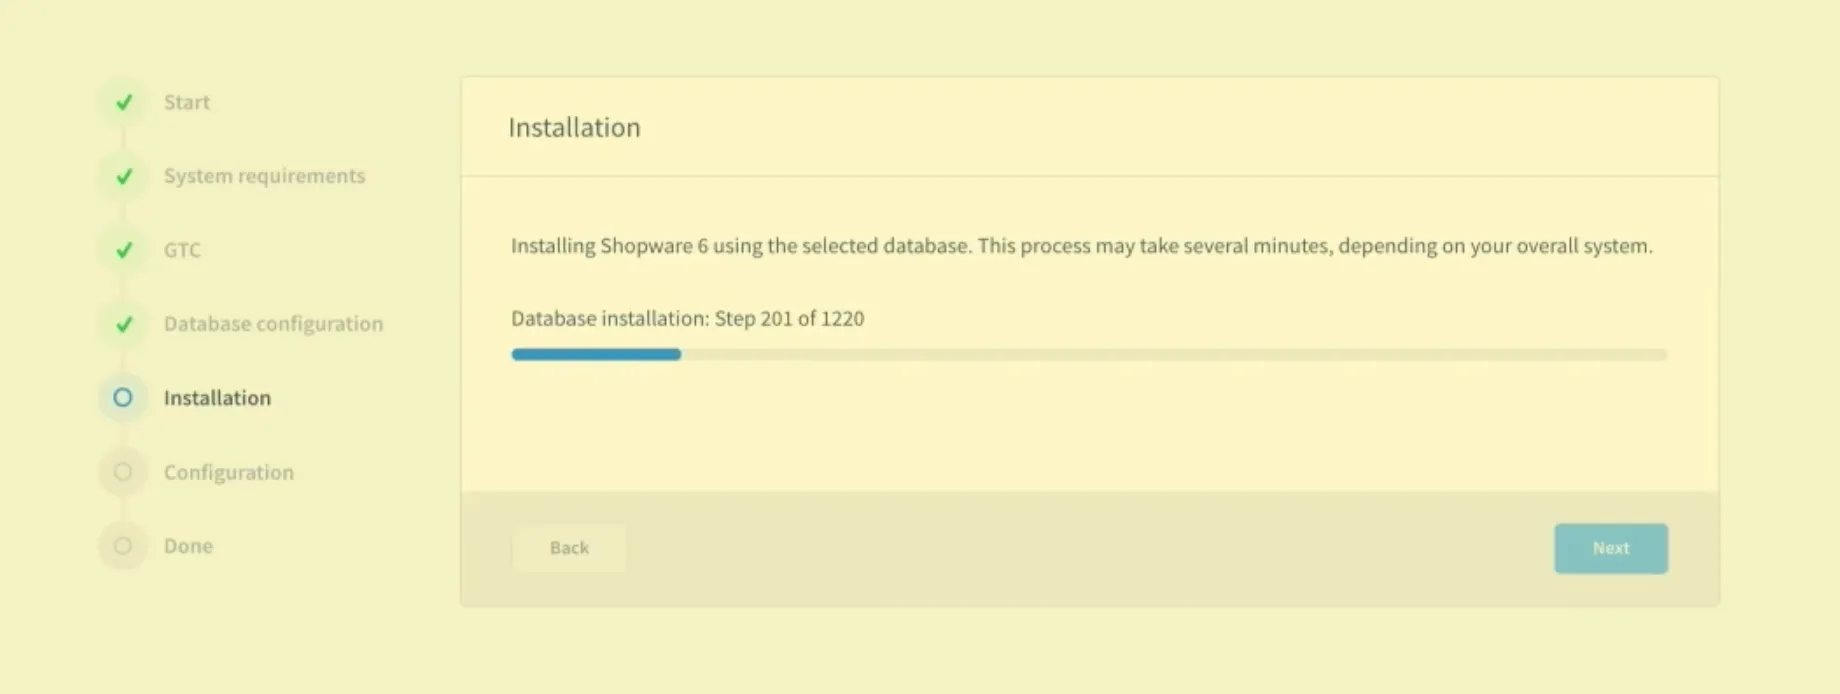
To initiate the database import, click on ‘Start installation’.
5. Complete installation
The installer will now set up the database and install Shopware. It will then inform you that the installation is completed. Click ‘Next’ to proceed to the configuration.
Step 4: Configure Basic Store Settings
In this Shopware tutorial step, you'll set up the fundamental settings for your Shopware store.
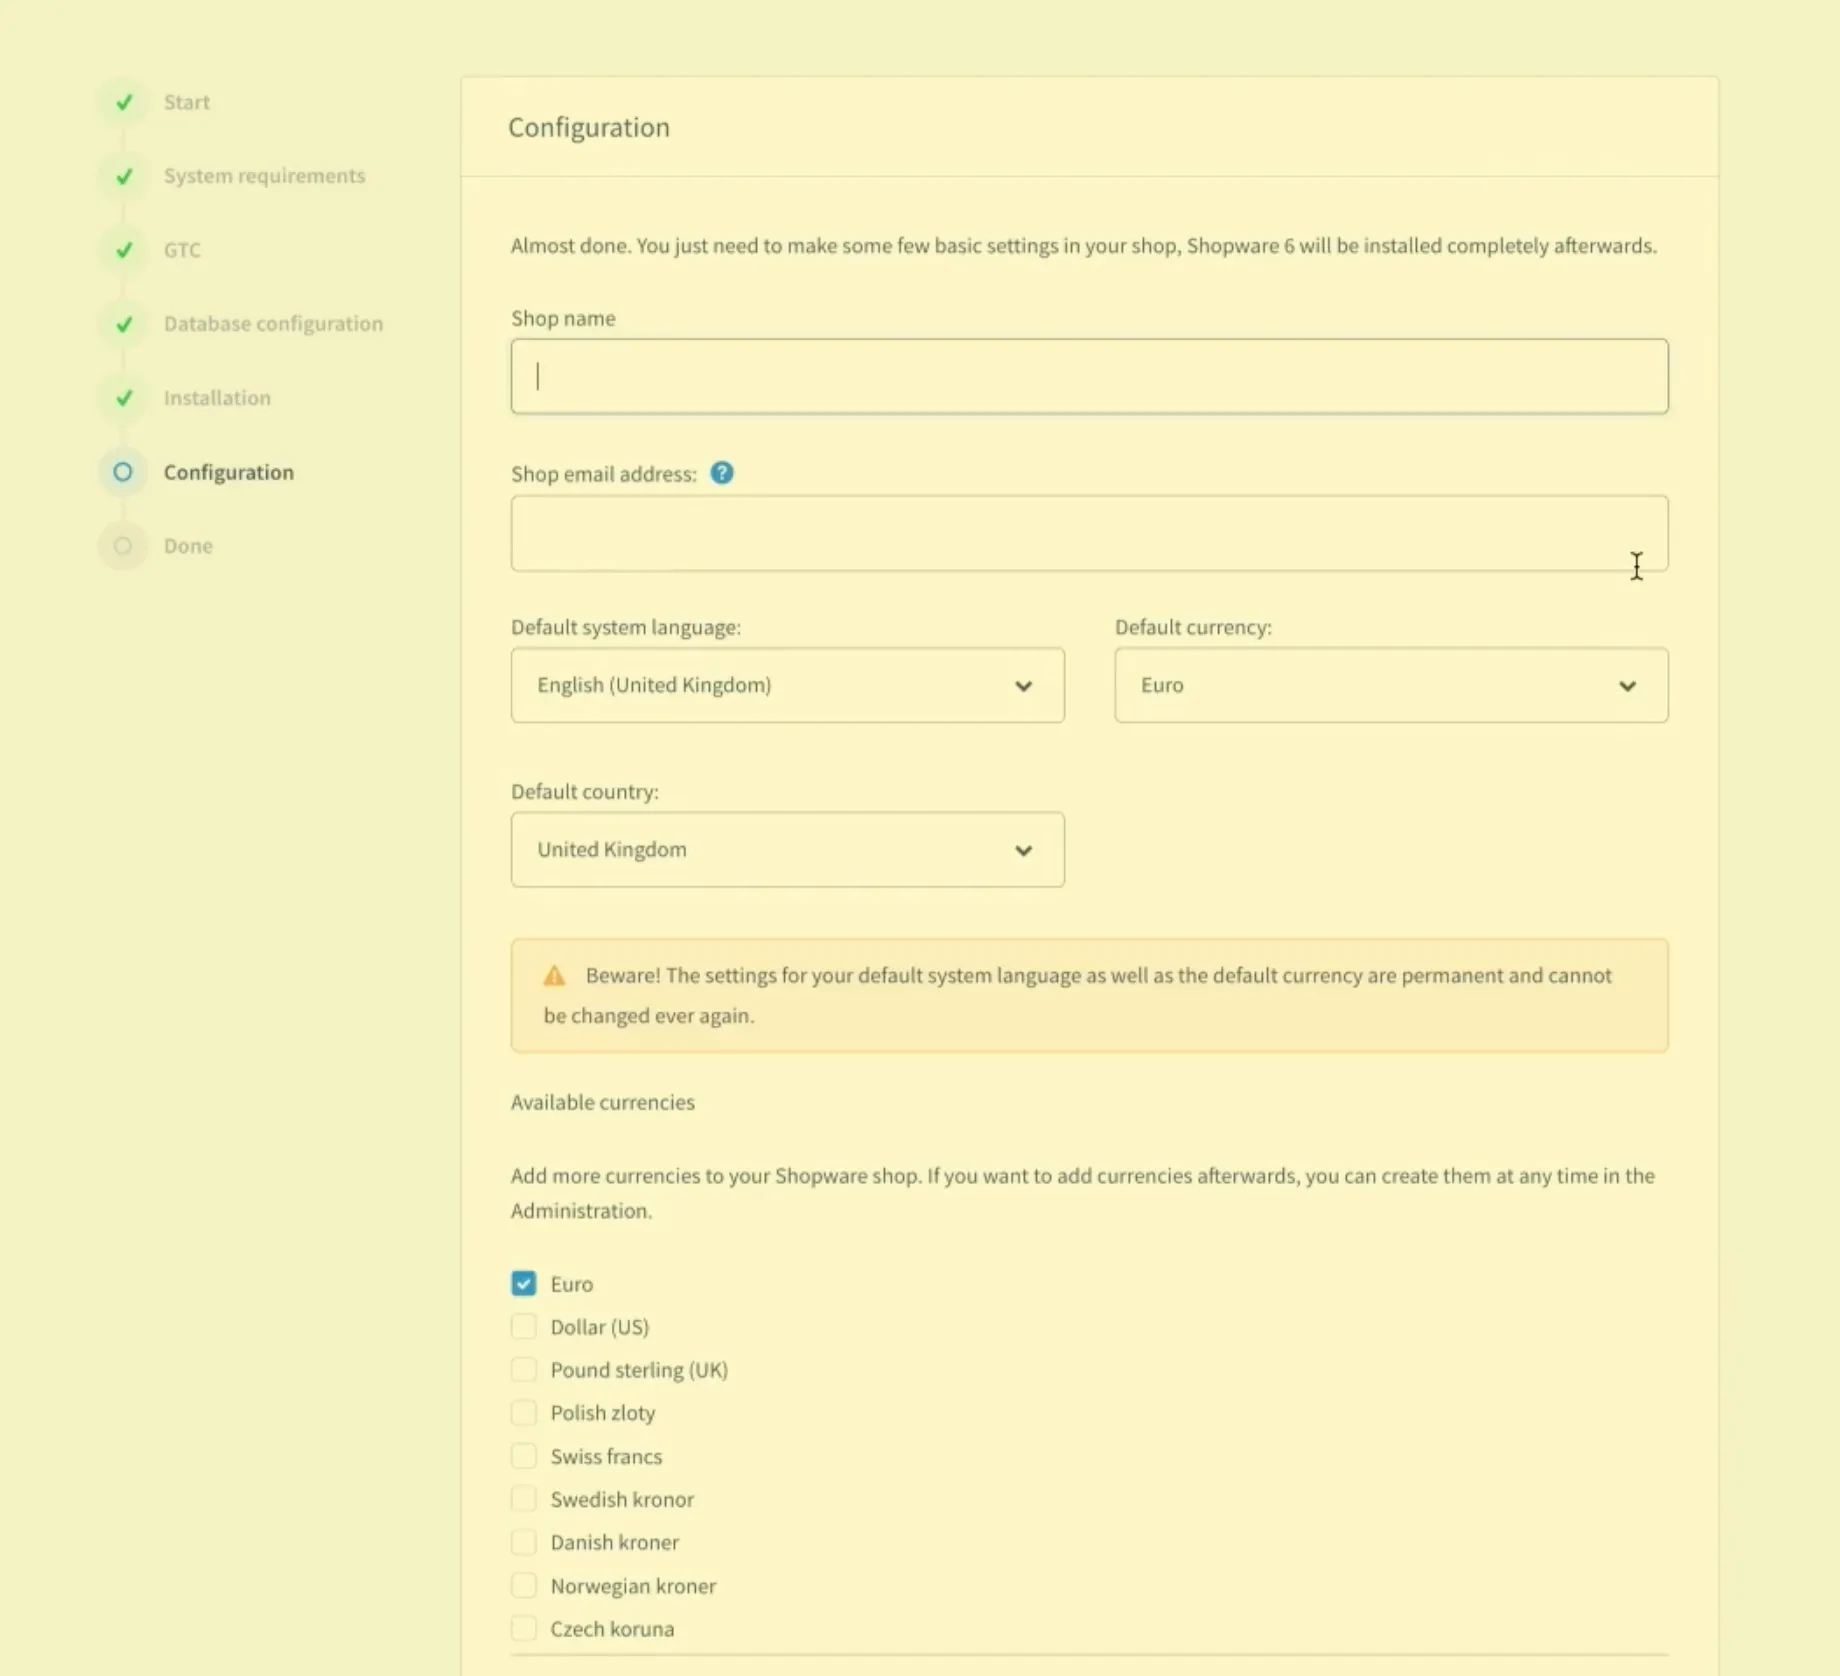
1. Shop email address
Enter the primary email address for your store. This address will be the sender for all automated emails sent from your shop, such as order confirmations, password resets, and marketing emails.
2. Default system language
Select the default language for your Shopware installation. This language will be used for both the storefront (the part your customers see) and the administration area (where you manage your store).
3. Default currency
Choose the currency you want to use for your store from the following options:
- Euro (€)
- British Pound (£)
- US Dollar ($)
- Polish Złoty (zł)
- Swiss Franc (CHF)
- Swedish Krona (SEK)
- Danish Krone (DKK)
- Norwegian Krone (NOK)
- Czech Koruna (CZK)
The currency you select will be set as the default currency for your shop, with a currency factor of 1 (meaning 1 unit of the chosen currency is equal to 1). You can add additional currencies later using their corresponding conversion factors.
4. Administrator User
This section defines the first administrator account for your Shopware 6 installation. Now, let's enter the following information:
- Admin Email Address
- Username
- Password
- Full Name
Once you've completed these basic settings, you're ready to move on to the final step of the Shopware 6 installation.
Step 5: Finalize Setup
Once the installation is complete, you'll be redirected to the admin area. Let's login using the admin credentials you set up during installation.
Your Shopware 6 store will be ready for basic use and you can now start adding products, configuring payment methods, and customizing your store.
How to Set up an eCommerce Store on Shopware
As you follow our Shopware tutorial and successfully install Shopware 6, it's time to set up a fully functional eCommerce store on this platform.
Setting up your eCommerce store on Shopware can be an exciting journey. This guide will walk you through the essential steps to get your online store up and running, from initial configuration to ongoing management.
Relevant reading: Shopware review – All Features Analysis.
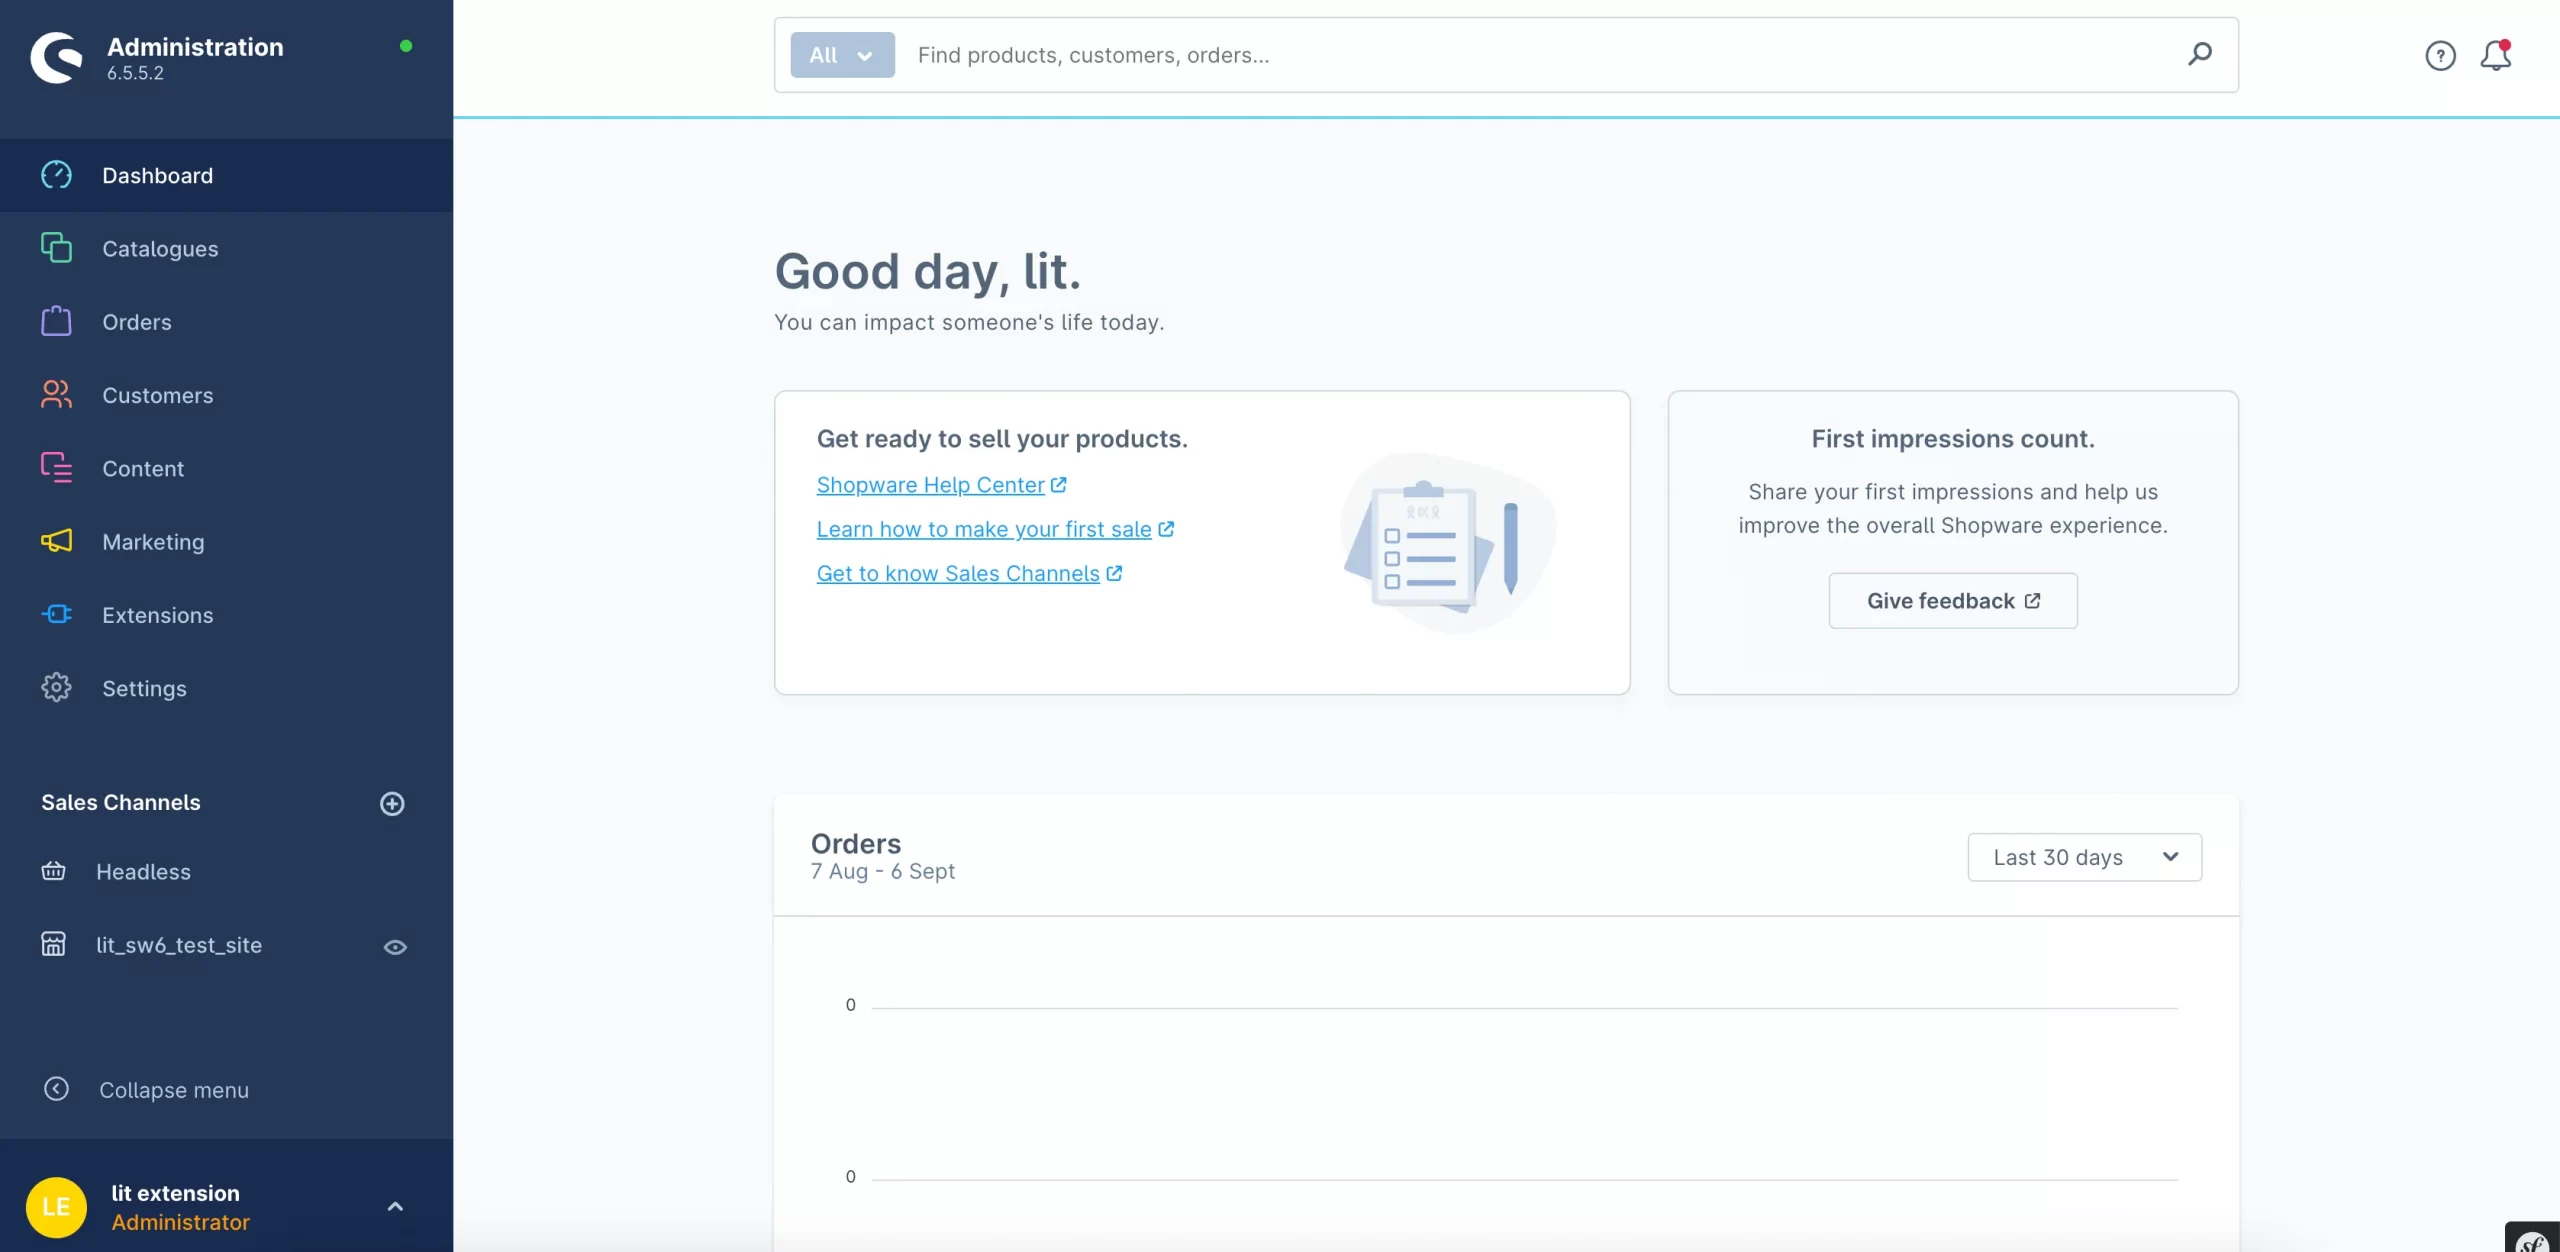
Step 1: Login to Shopware Administration
After installing Shopware, your first task is to access the administration panel:
- Open your web browser and navigate to your Shopware admin URL (your-domain.com/admin).
- Enter the admin credentials that you set during the installation process.
- You'll be greeted with the Shopware dashboard, your central hub for managing your store.
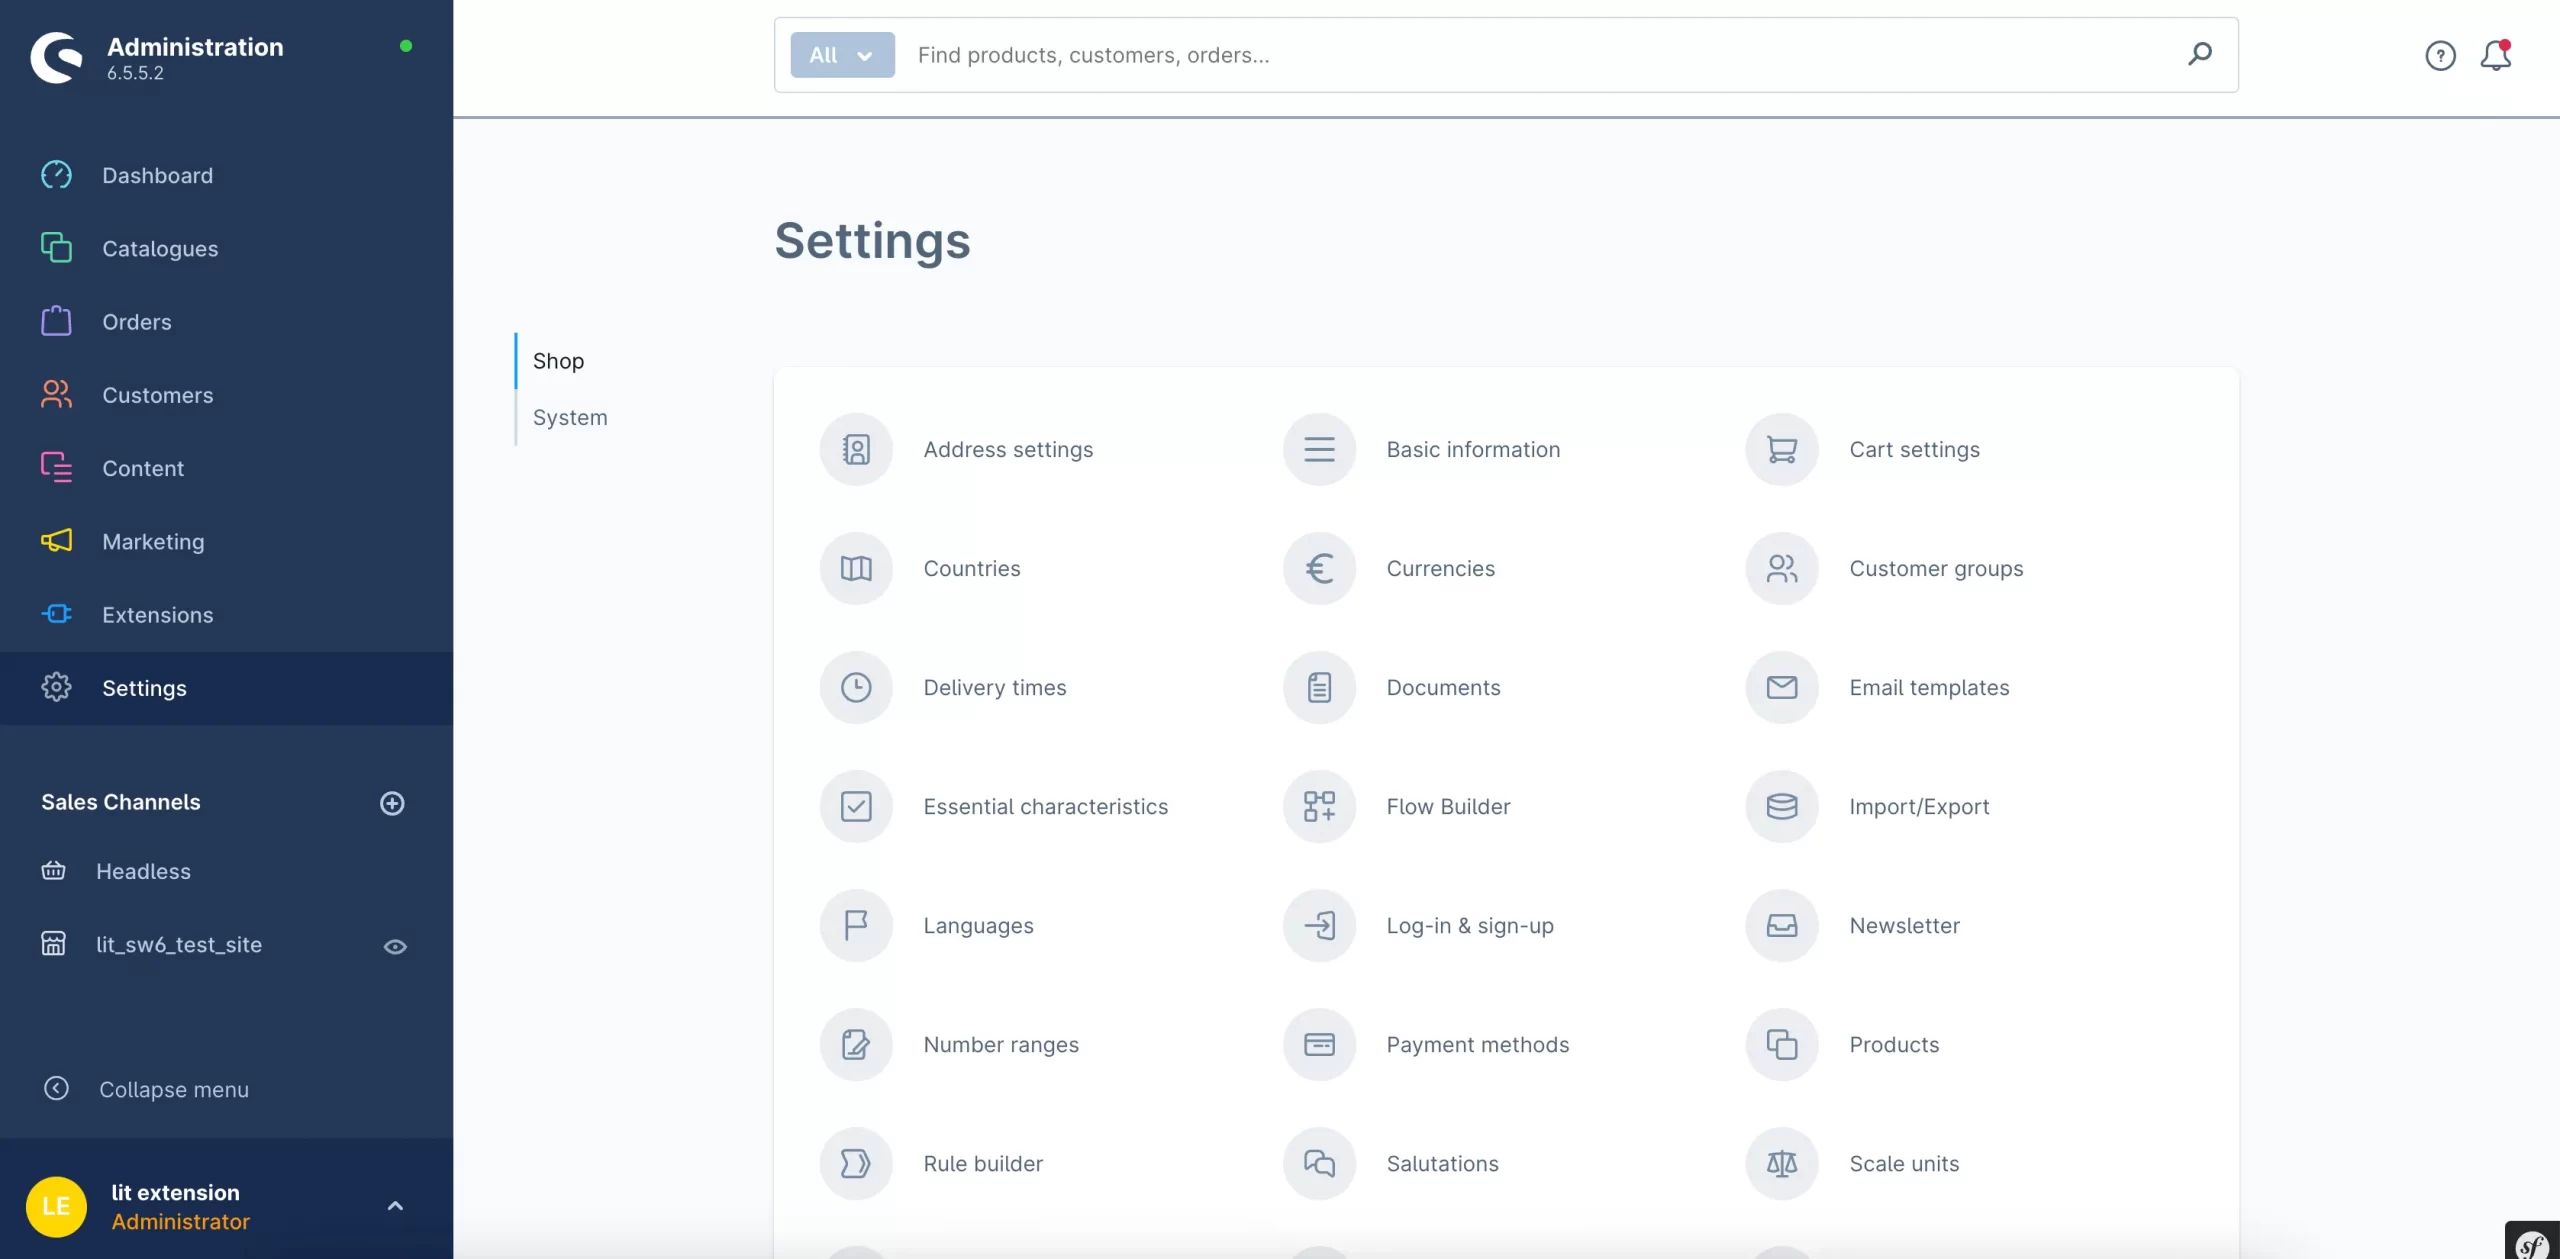
Step 2: Configure Basic Store Settings
To begin customizing your Shopware store, you'll need to configure some fundamental settings. These settings define the core details of your online business.
First, navigate to the main menu of the Shopware administration panel. Select “Settings” > “Shop“.
Within the “Shop” settings, you can adjust the following:
- Shop name and description
- Default currency and language
- Company information (address, tax ID, etc.)
- Email settings for order notifications
If you wish to customize settings for specific sales channels (like a physical store or marketplace integration), navigate to the “Sales Channels” section in the main menu.
Step 3: Add Products to Shopware
Now that you've set up the basics of your Shopware store, it's time to start filling it with products! Here's how to add products to your Shopware catalog.
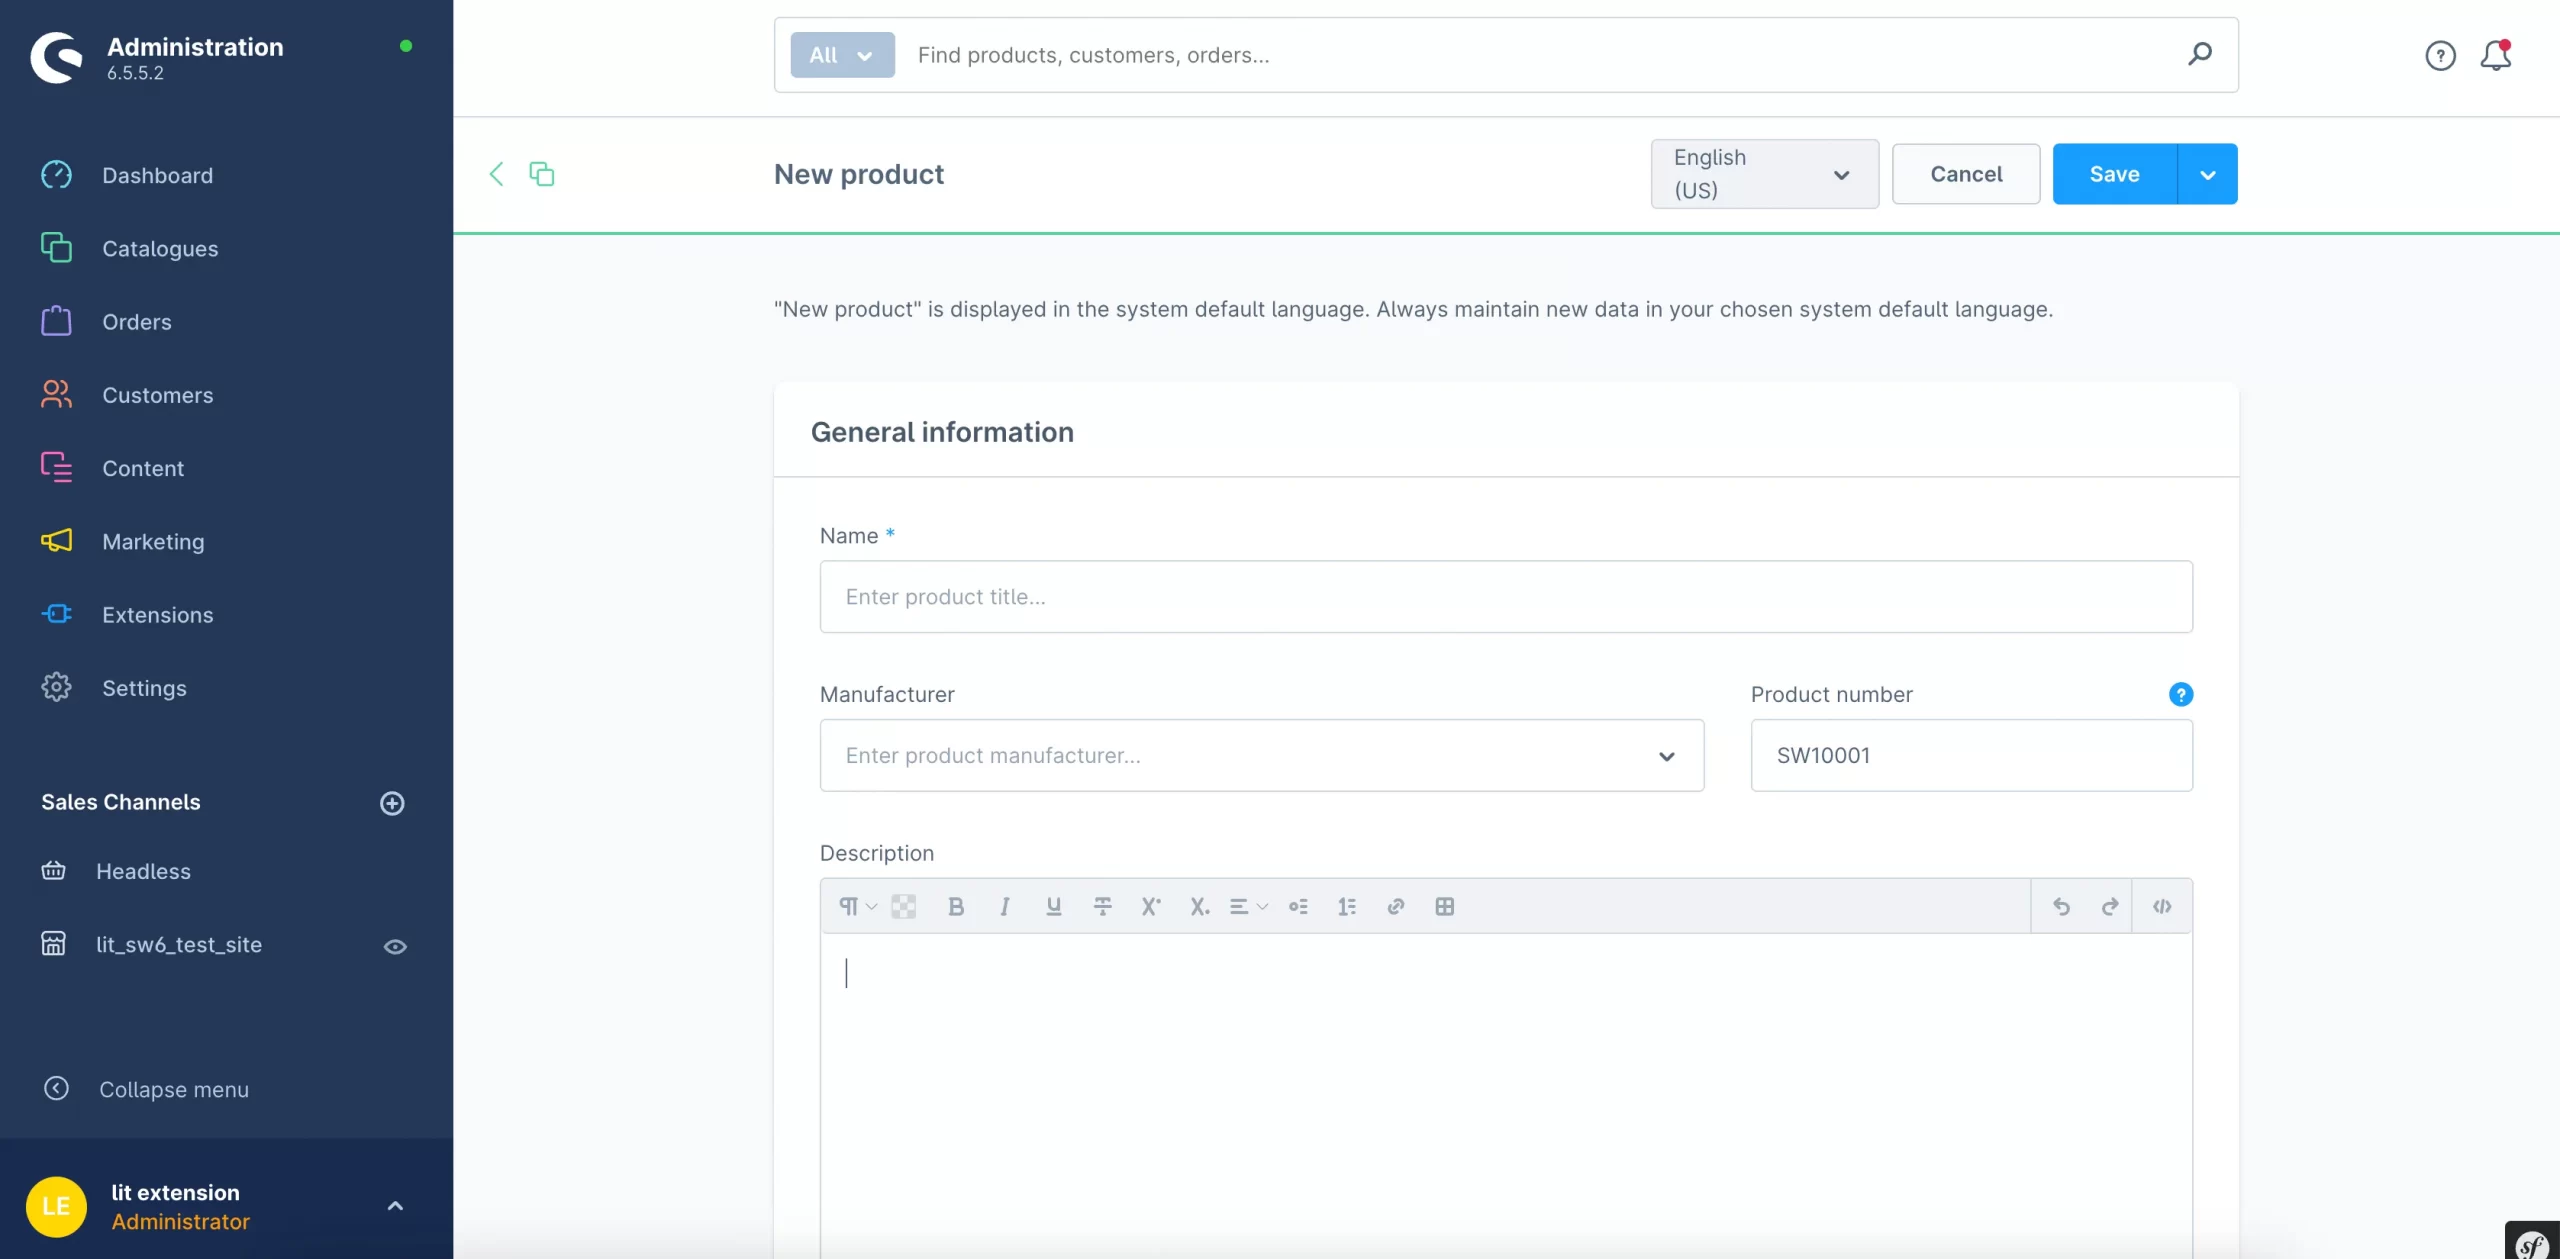
To add new products, navigate to “Catalogues” > “Products” in the main menu.
- Click “Add product” to create a new product.
- Fill in the product details:
- General information: Name, Manufacturer, Description
- Prices: Tax rate, Price (gross), Price (net),…
- Deliverability: Stock quantity, Delivery time,…
- Media: Product images,
- Labeling
- Assign the product to categories and sales channels.
For large numbers of products, you can consider using the import/export feature for efficient bulk uploads:
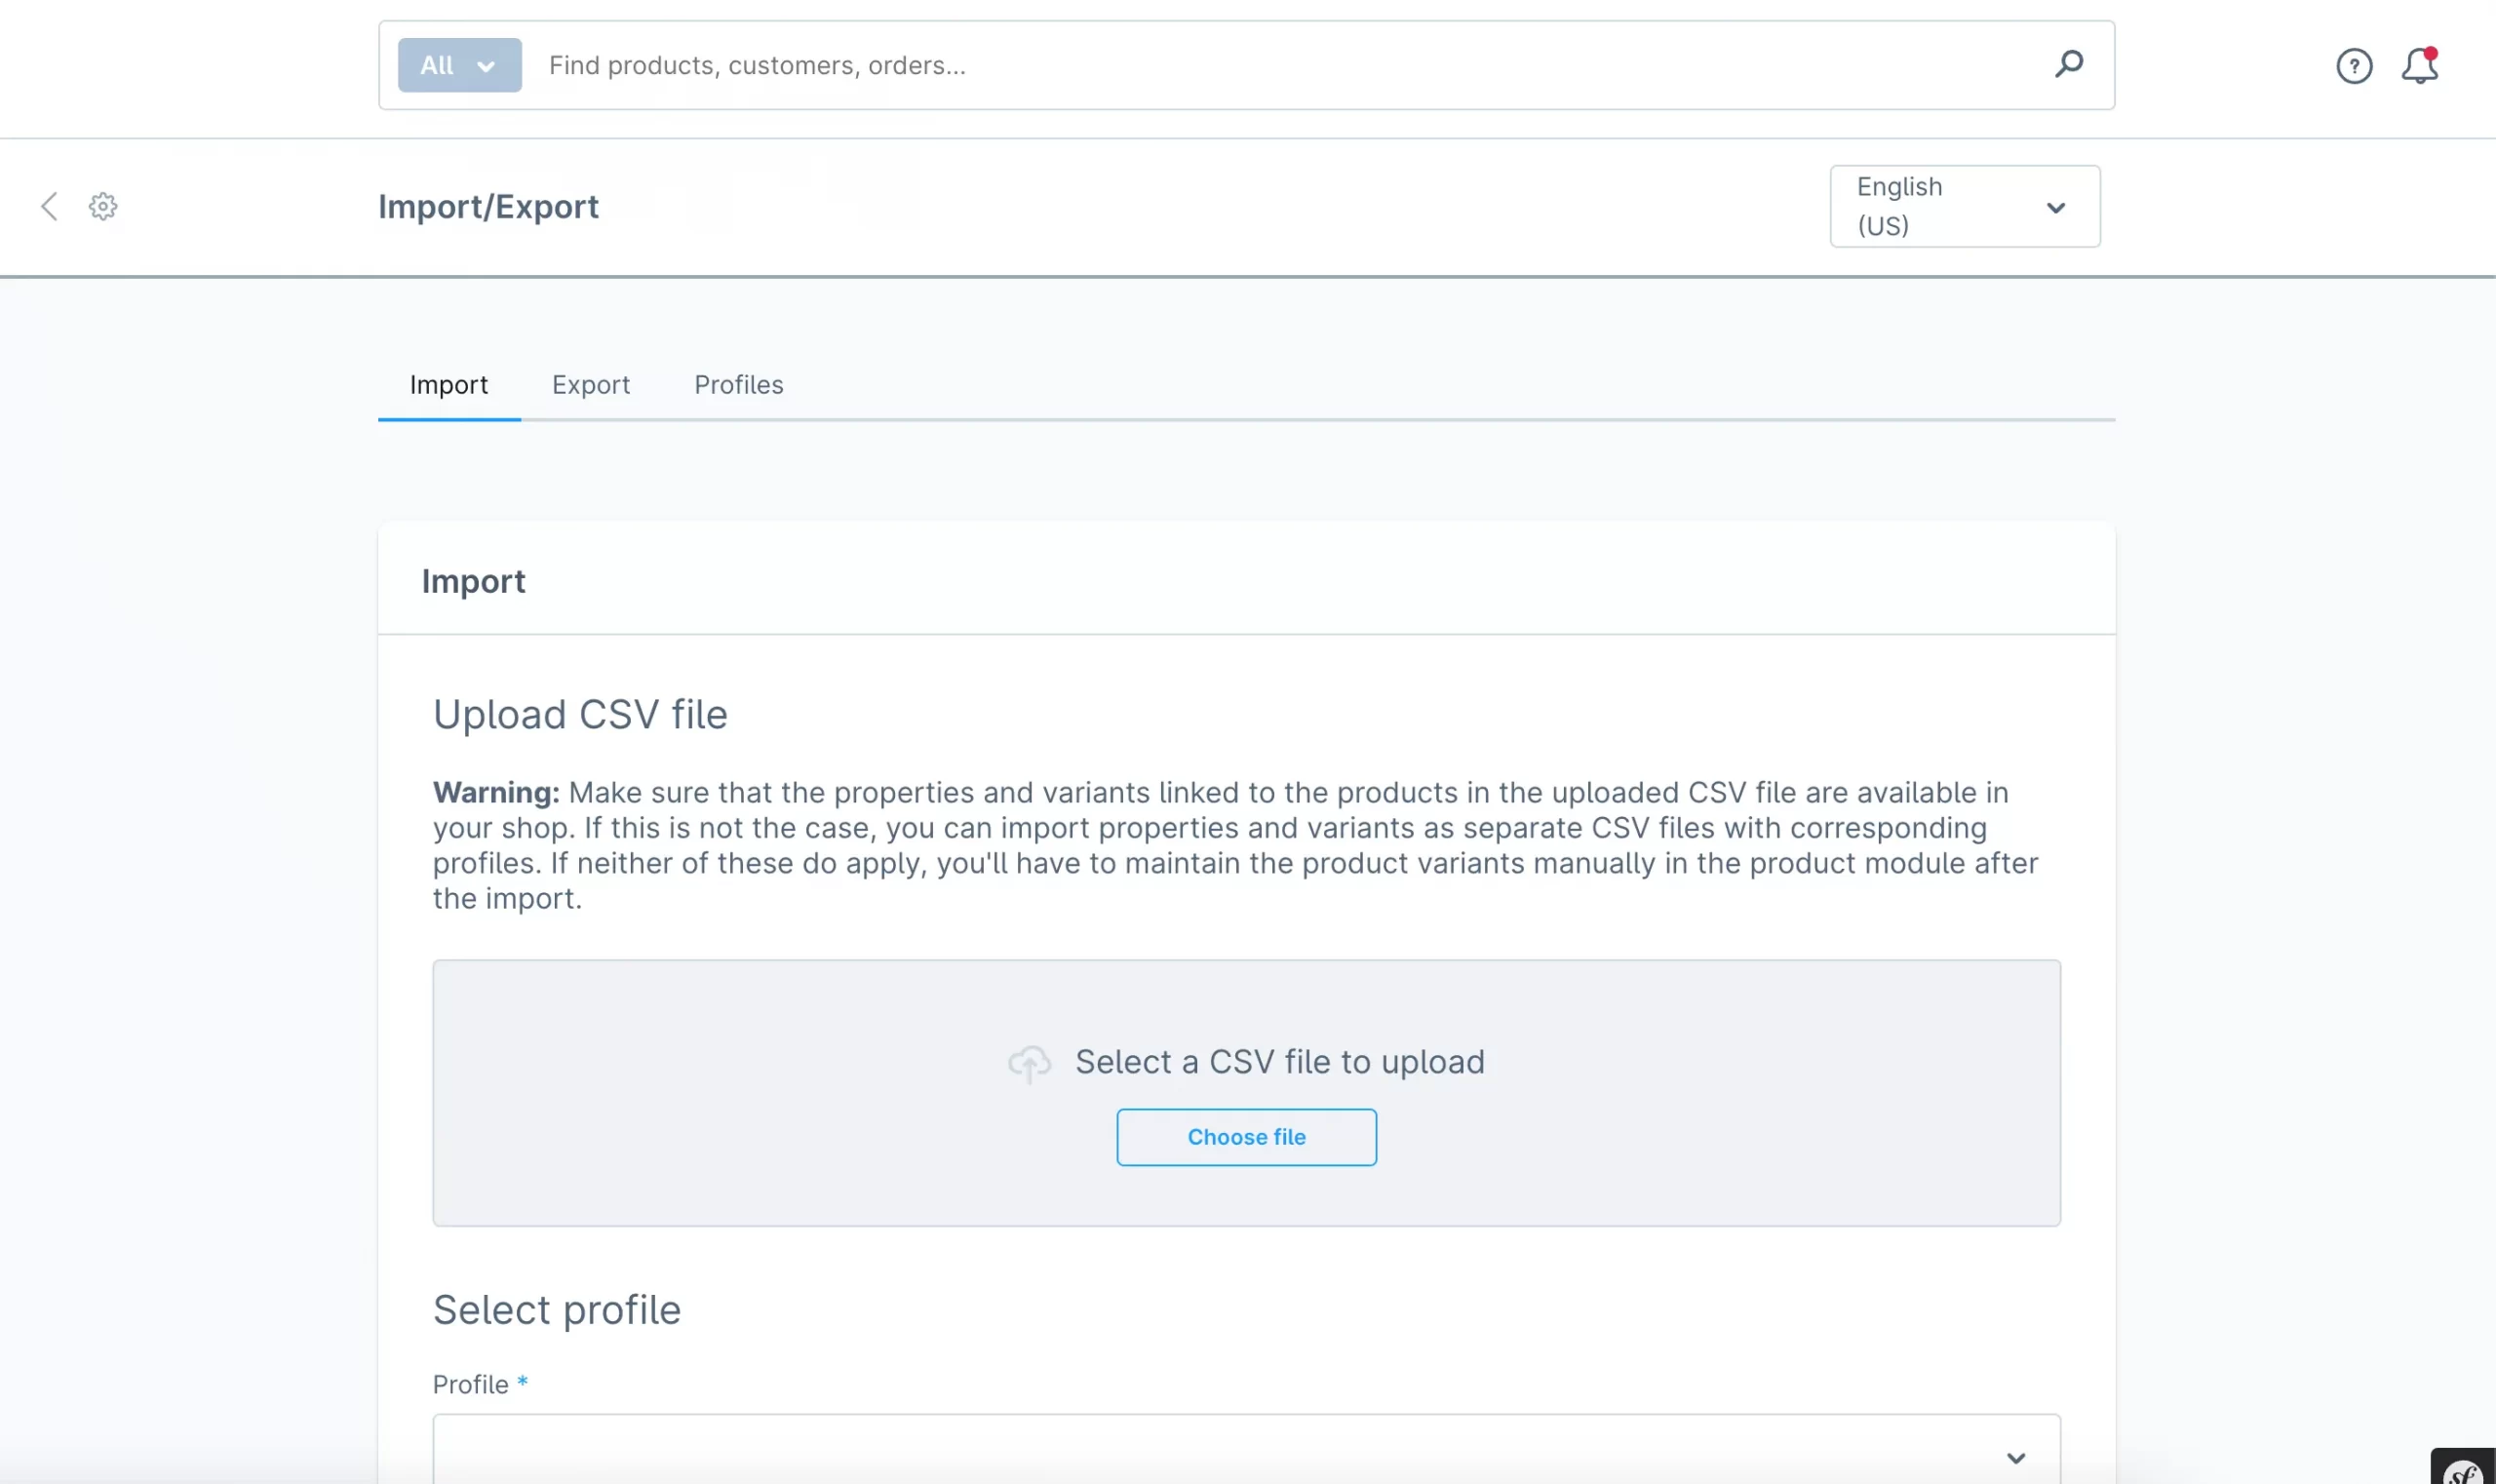
- Go to “Settings” > “Import/Export” in the Shopware admin.
- Download a template for your product data (usually in CSV or Excel format).
- Fill in the template with your product information.
- Import the populated template into Shopware.
Step 4: Customize Your Store Design
Now that your products are all set, it's time to give your Shopware store a unique and eye-catching design that truly represents your brand!
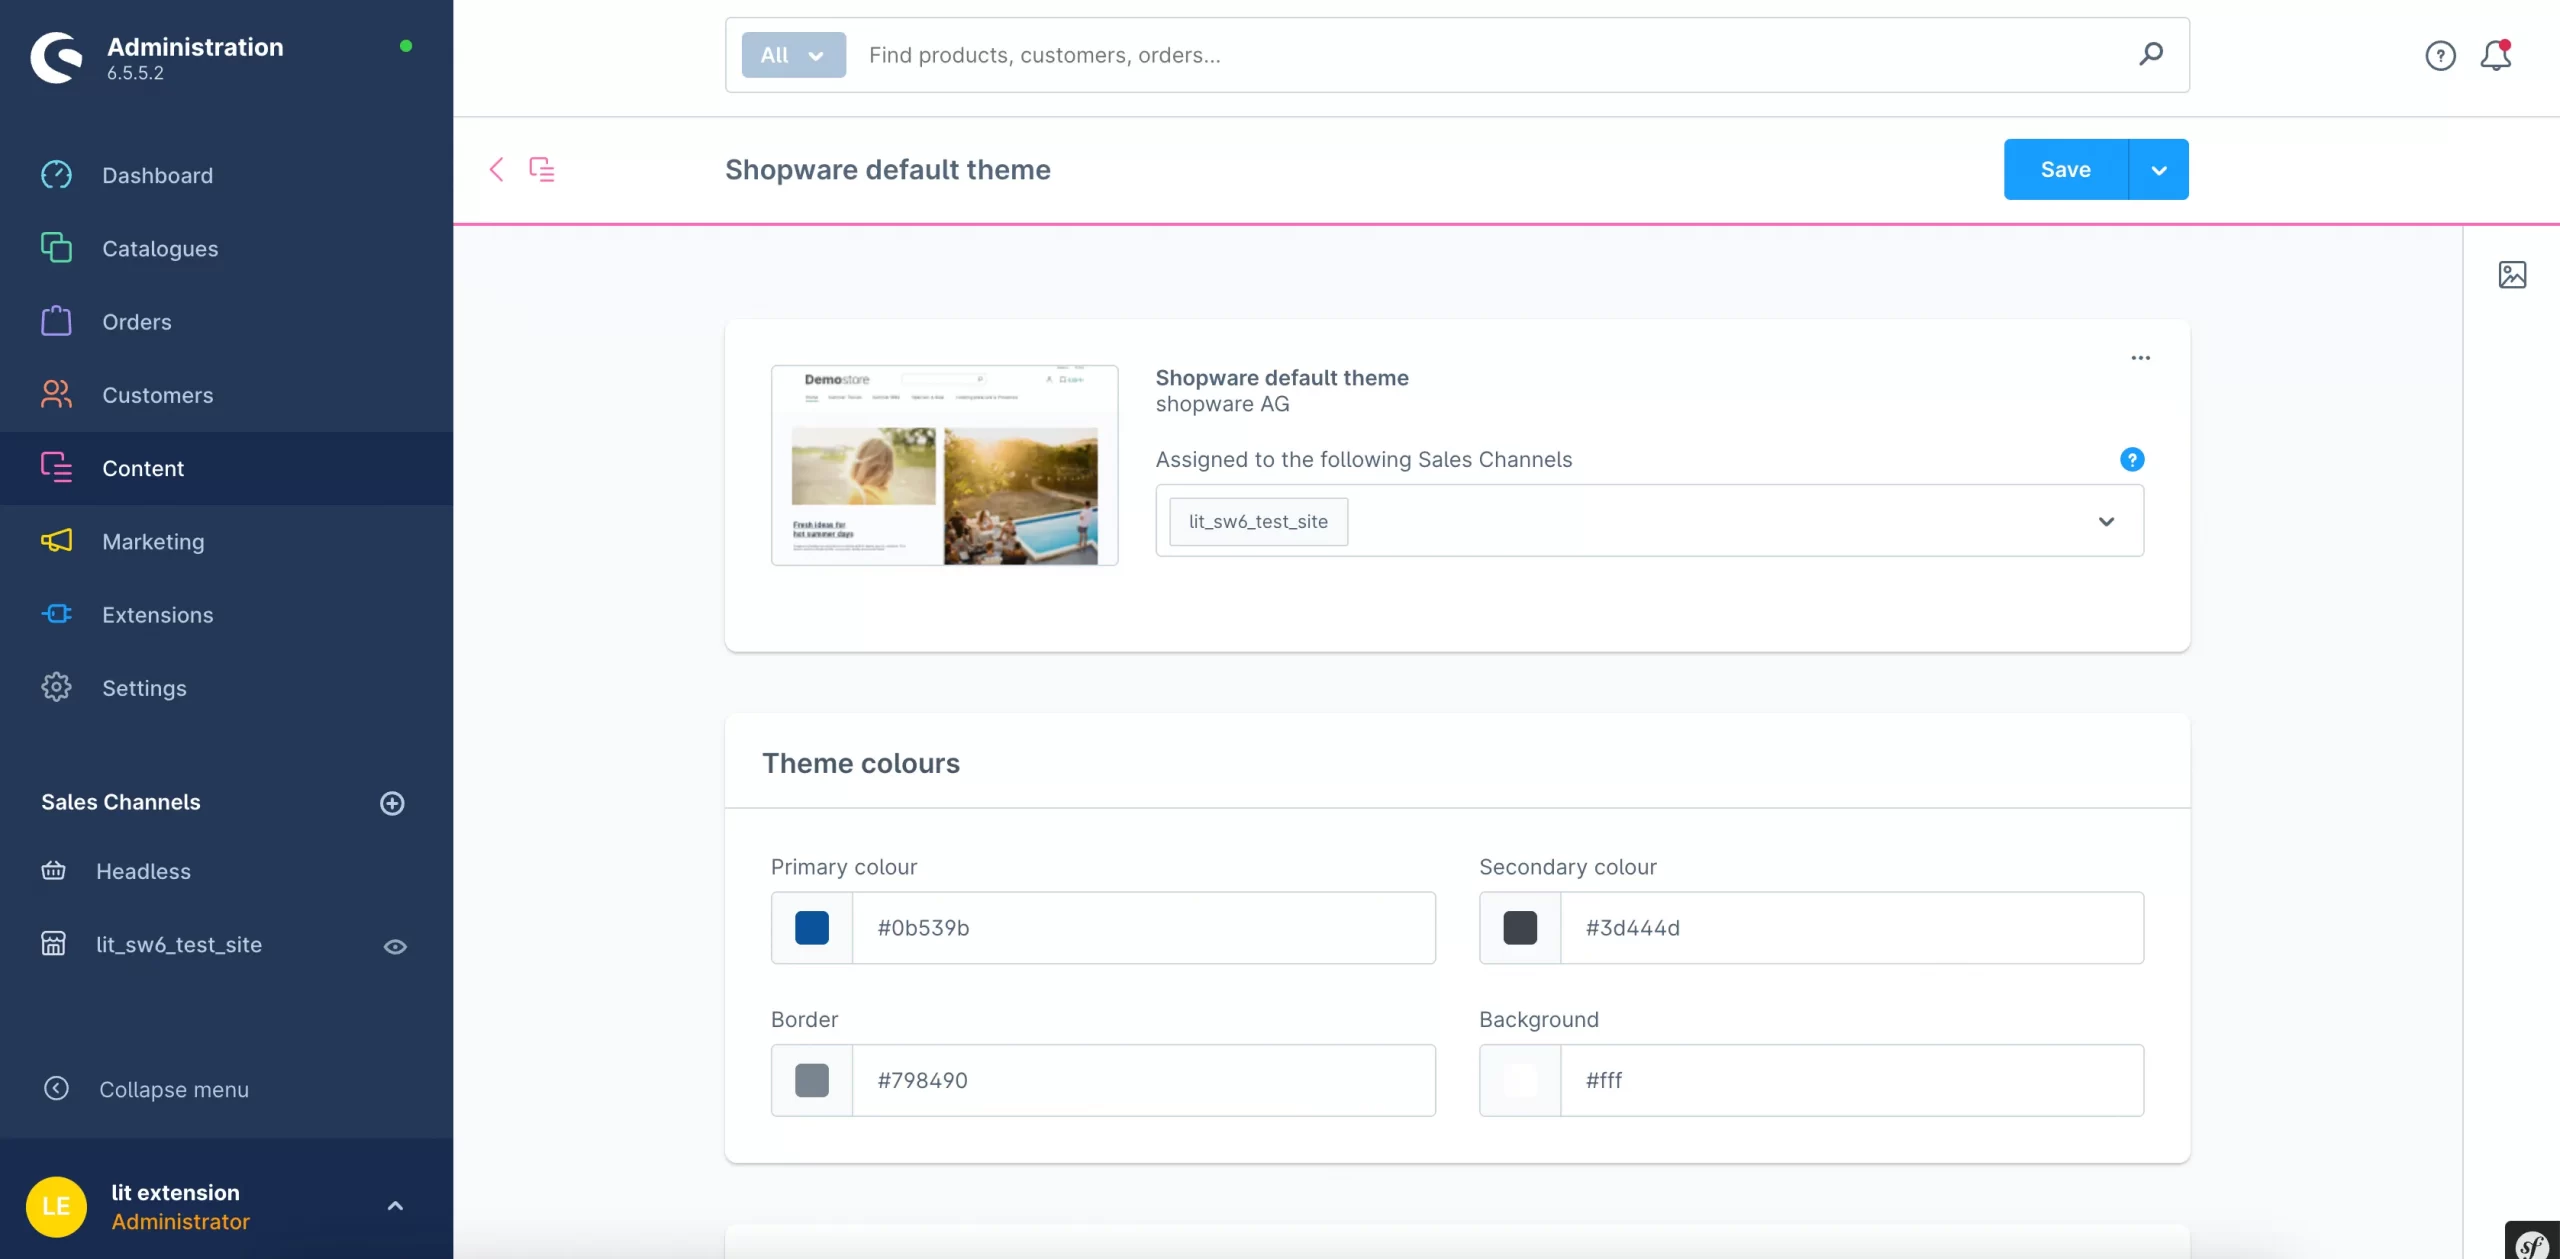
To access the theme manager of Shopware, go to “Content” > “Themes” in the main menu. Then, you can choose a theme that aligns with your brand aesthetic.
Shopware offers a selection of built-in themes designed to provide a solid foundation for your store. You can browse through the available themes and consider factors like:
- Visual Style: Does the theme's color scheme, typography, and overall layout match your brand's aesthetic?
- Features: Does the theme include the features you need (e.g., a prominent header, a featured product section, a newsletter signup form)?
Then, choose the theme that best suits your brand.
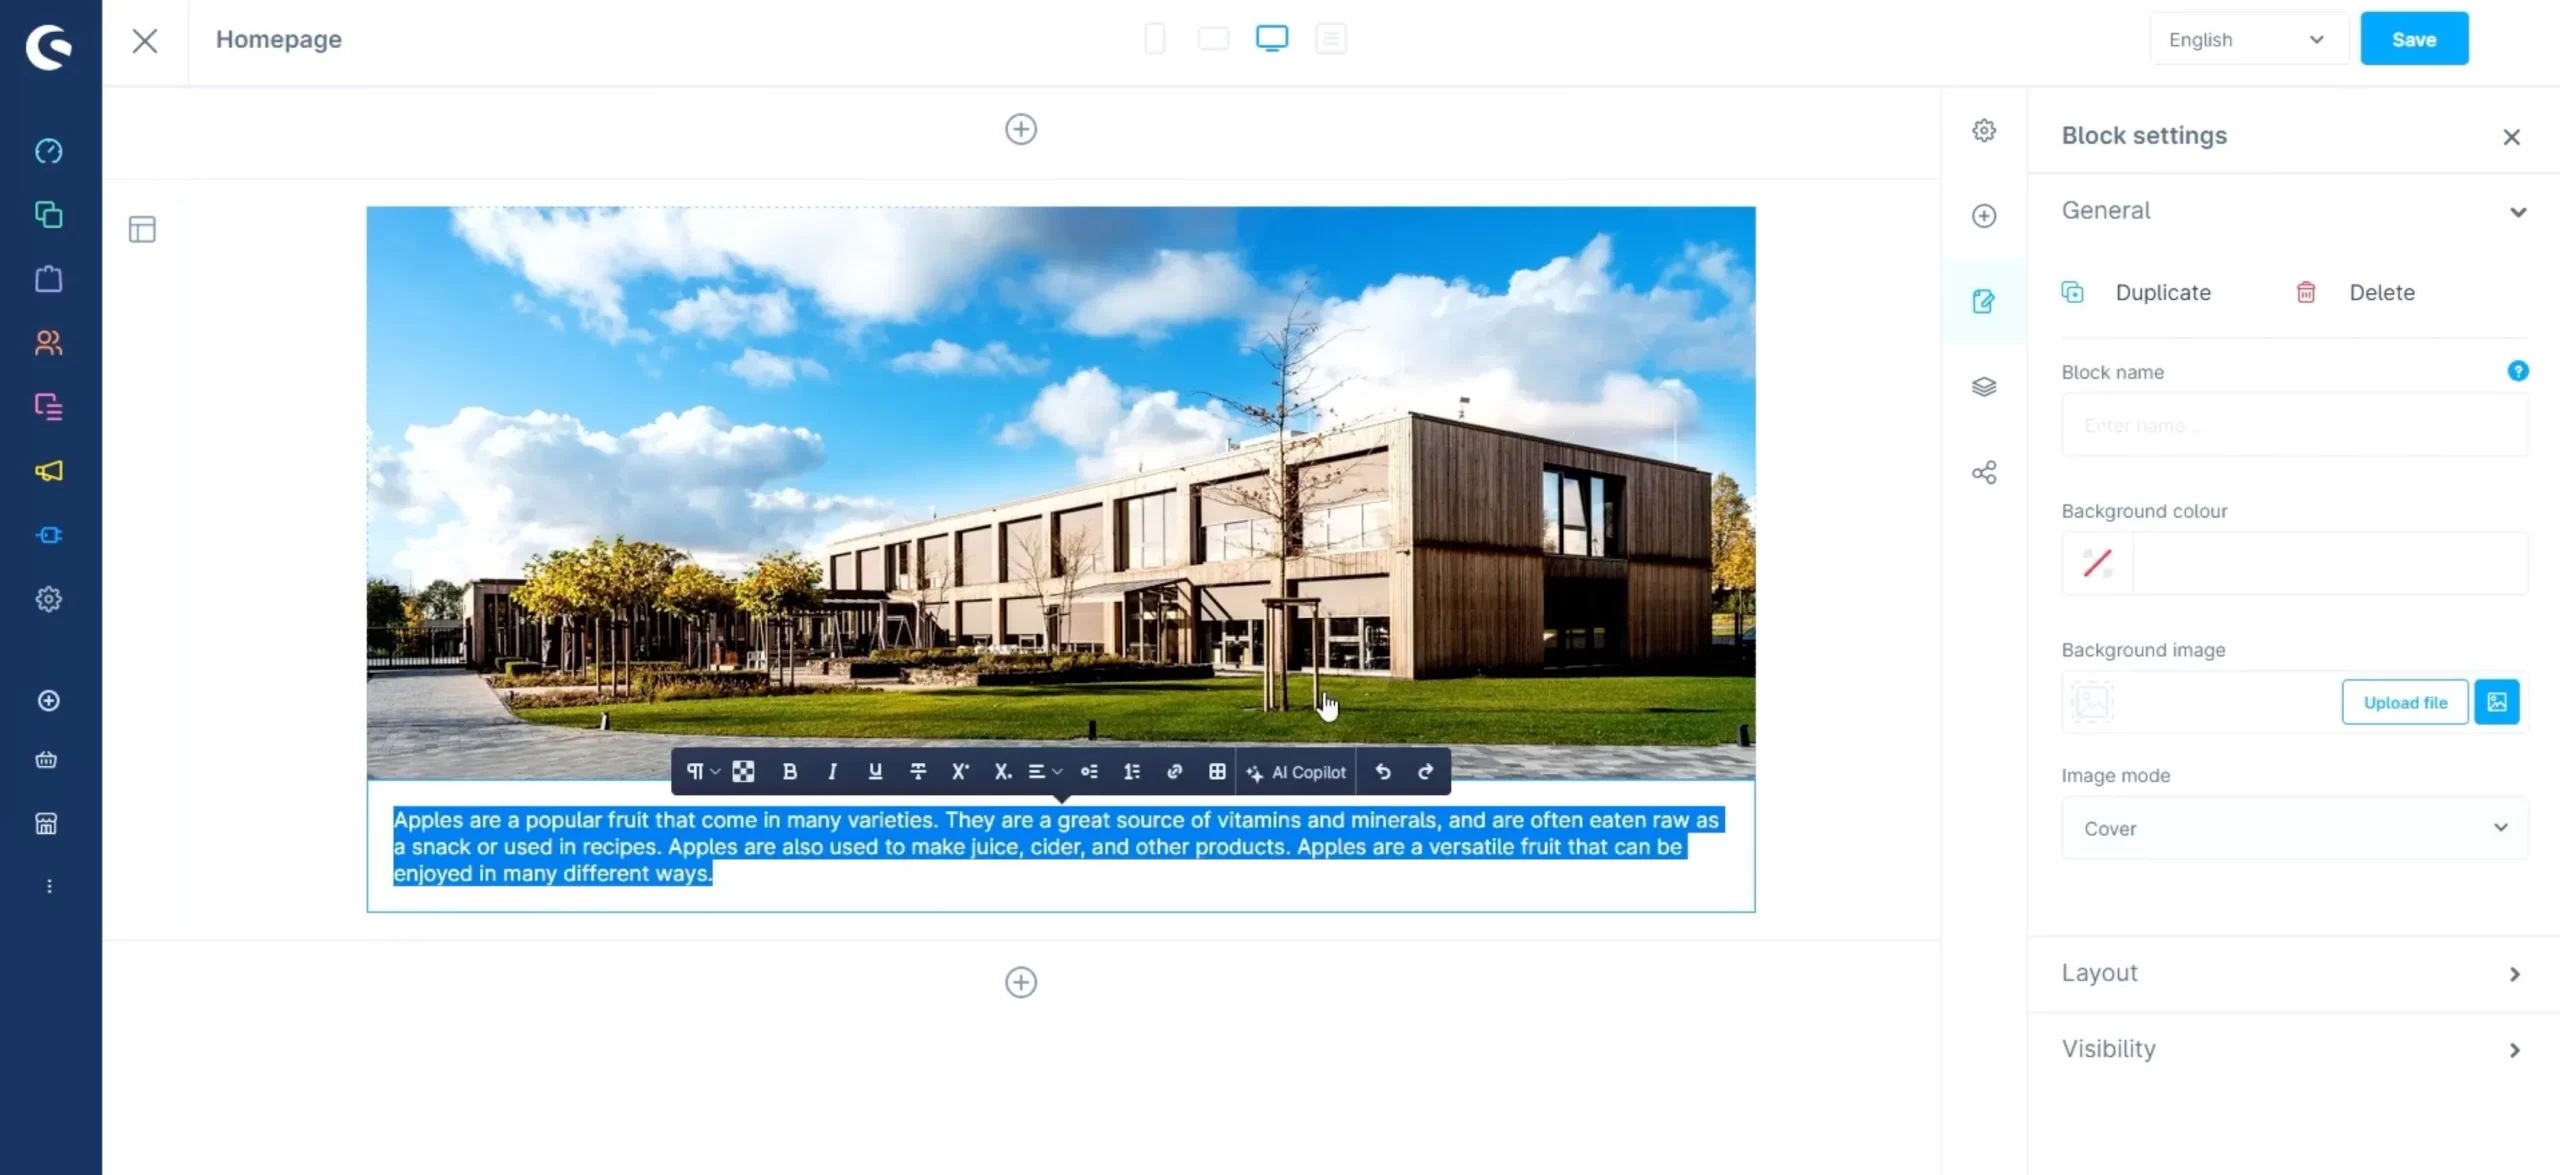
For more advanced customization, explore Shopware's “Shopping Experiences” feature. This allows you to create unique layouts for specific pages:
- Homepage: Customize the look and feel of your store's homepage, showcasing featured products or promotions.
- Category Pages: Create custom layouts for specific product categories, making them visually distinct and engaging.
With a beautiful and functional design, you'll attract visitors and create a positive customer shopping experience.
Step 5: Set Up Payment and Shipping Methods
It's essential to make sure that your Shopware store offers secure payment options and reliable shipping methods.
To configure payment methods
- Go to “Settings” > “Payment” in your Shopware admin panel.
- Choose the payment gateways you want to offer to your customers (e.g., PayPal, Stripe, credit card processing).
For each payment gateway you enable, you'll need to enter your specific API credentials (obtained from the payment gateway provider) to connect your Shopware store to the payment system.
To set up shipping methods
- Go to “Settings” > “Shipping” in your Shopware admin panel.
- Define shipping rules based on factors like Weight, Cart Value, and Destination.
- Specify the cost for each shipping method and rule you create.
You can easily define shipping zones if you want to offer different shipping rates for specific geographical areas. This way, you can set up unique shipping rates for different regions worldwide.
Step 6: Optimize SEO
Search engine optimization (SEO) is crucial for making your Shopware store visible to potential customers searching online. First, navigate to “Settings” > “SEO” in the Shopware admin panel.
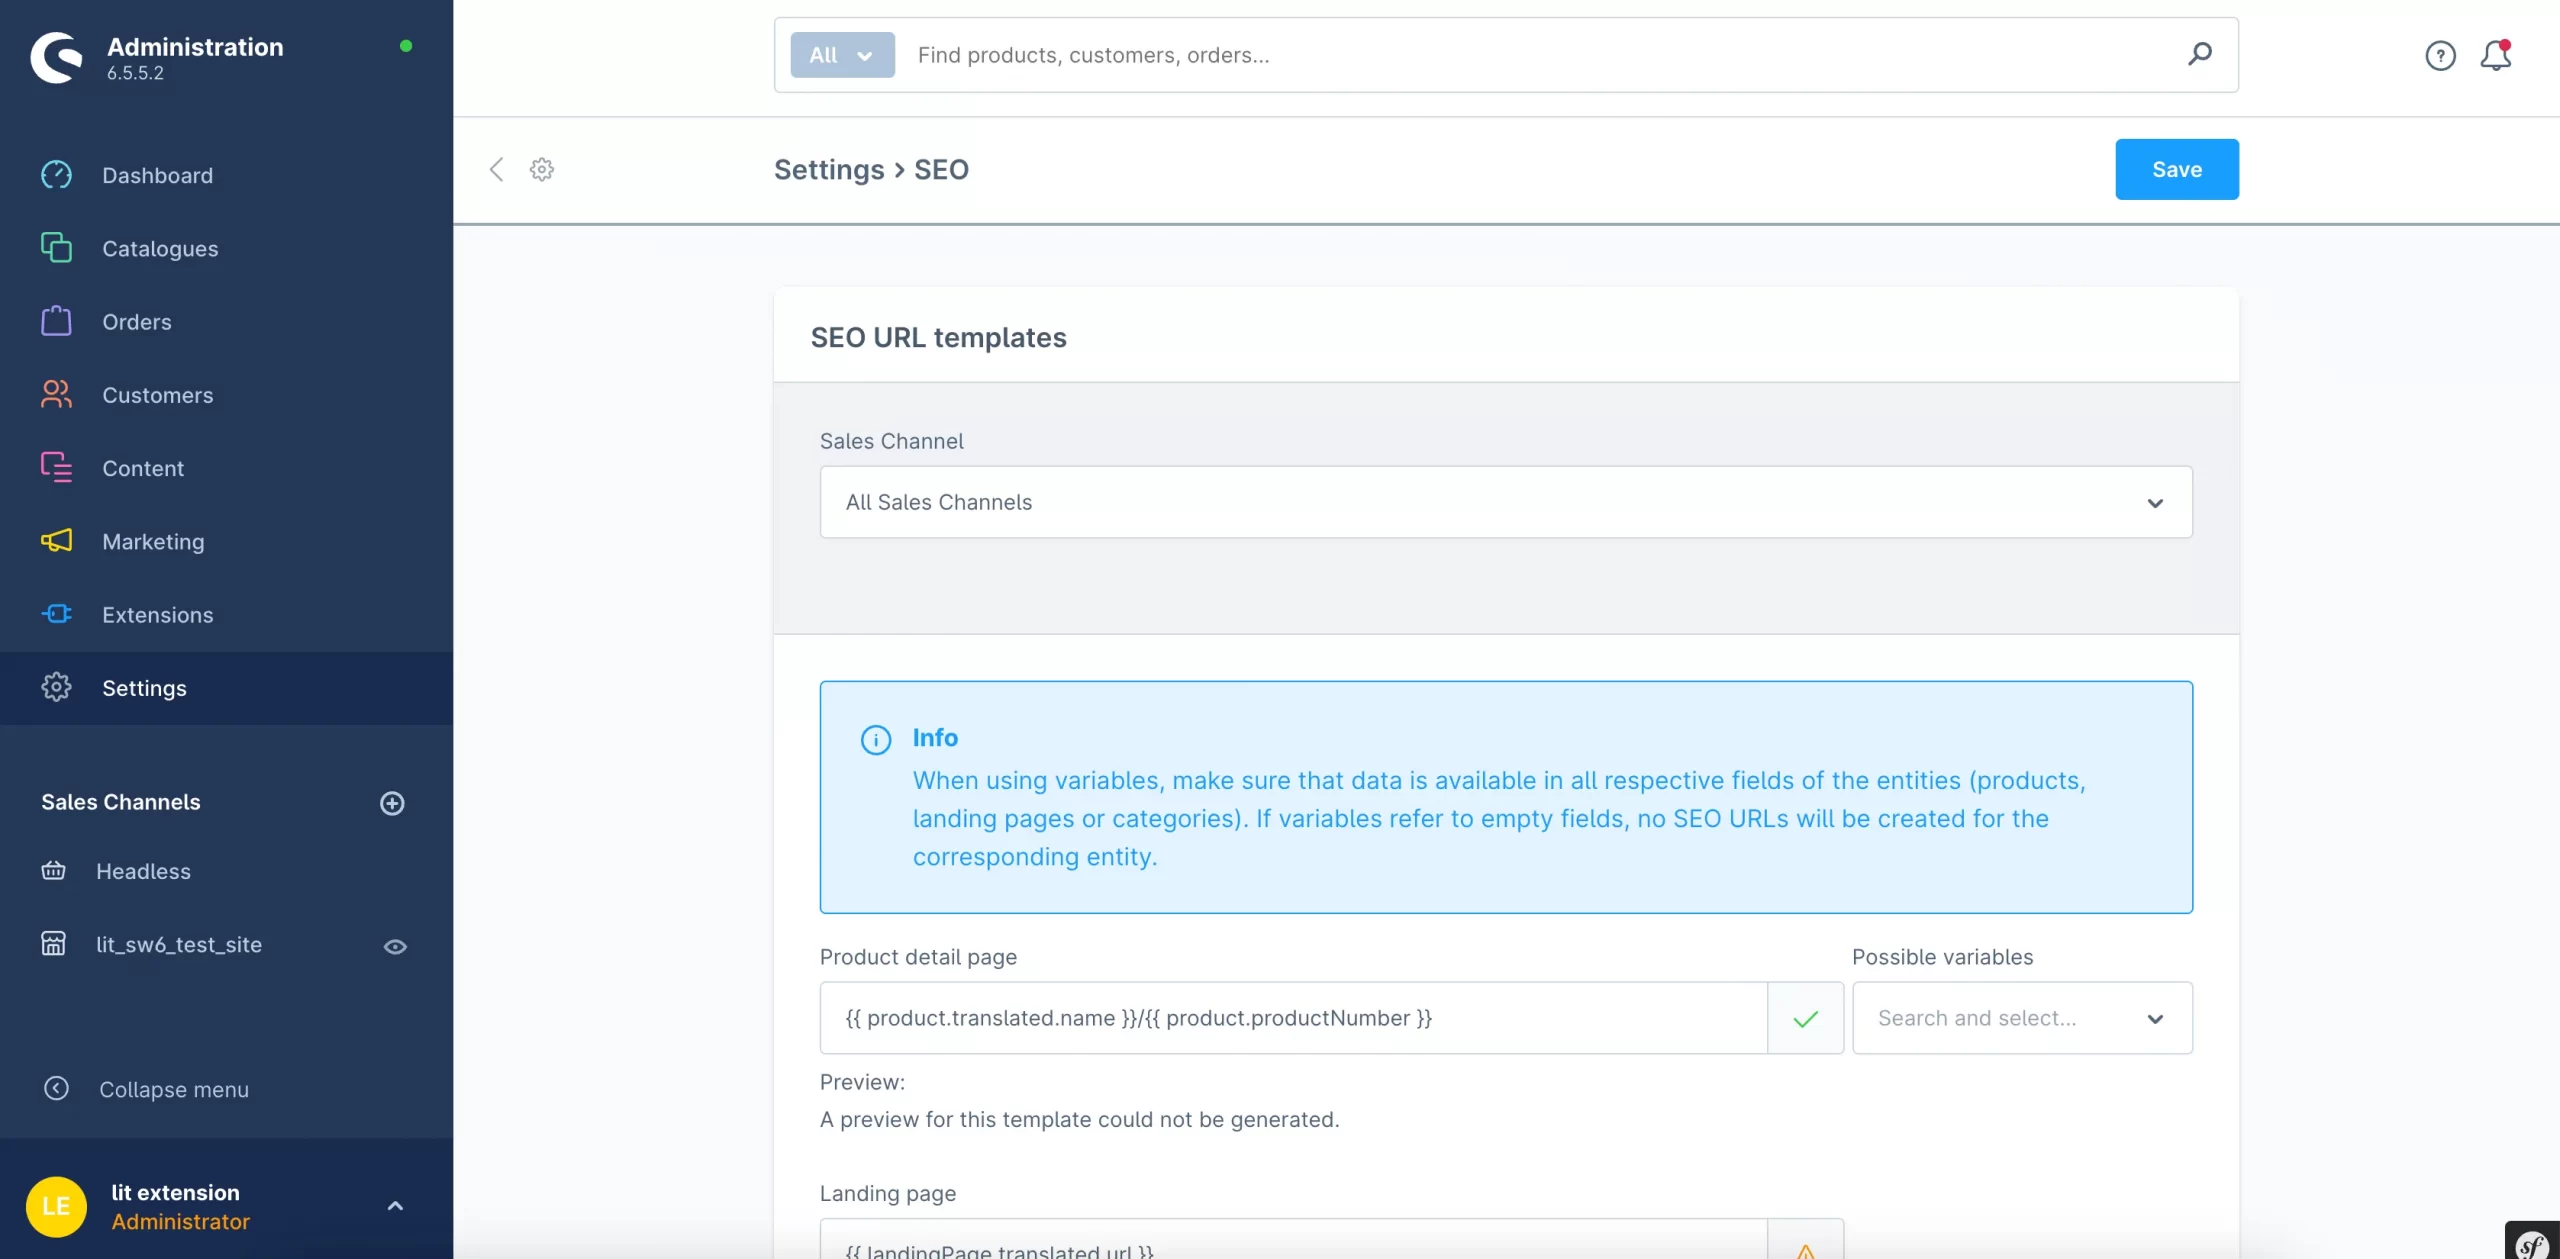
To optimize products, categories, and content pages, you should focus on these factors:
- Meta Titles and Descriptions: Write unique and relevant meta titles and descriptions for each of your products.
- SEO-friendly URLs: Ensure your product URLs are clear, concise, and include relevant keywords. For example: Instead of yourdomain.com/product/12345, use yourdomain.com/product/stylish-blue-dress.
In this Shopware tutorial, I also recommend implementing schema markup to provide search engines with structured data about your products. This can lead to rich snippets (enhanced listings with additional information like pricing and reviews) in search results.
Another critical factor for Shopware SEO is to generate an XML sitemap that lists all the important pages on your store. Then, you submit your sitemap to Google Search Console and other search engines. This helps them discover and index your website more effectively.
Step 7: Use AICopilot – A AI-Powered Assistant
Shopware's AI-powered assistant, AICopilot, can significantly streamline your workflow and help you achieve better results. First, let’s look for the AICopilot icon. The AICopilot icon in various sections of the Shopware admin panel indicates where it can assist you.
AICopilot can help with a range of tasks:
- Struggling with product descriptions? Simply enter basic information about your product into AICopilot, and it will generate a captivating description highlighting key features and benefits.
- Need eye-catching marketing copy for your website or email campaigns? AICopilot can help you craft compelling messages that resonate with your target audience.
- AICopilot can also assist in categorizing your products by analyzing their characteristics and recommending relevant categories.
*Note: AICopilot is not available for the Shopware Community Edition. It is specifically designed for the commercial plans, which include the Rise, Evolve, and Beyond editions.
Relevant reading: Shopware Pricing – Understand Shopware Plans & Editions.
Step 8: Ongoing Management
The final recommendation for our Shopware tutorial today is to always pay consistent attention to ongoing management. Here's how to keep your Shopware store running smoothly and thriving:
- Monitor your dashboard for key metrics and sales data.
- Regularly update your product inventory and pricing.
- Keep your Shopware installation and plugins up to date for security and performance.
- Analyze your store's performance using built-in analytics tools and make data-driven decisions for improvement.
- Continuously optimize your product pages, checkout process, and overall user experience.
Shopware Tutorial: FAQs
Common installation challenges include:
- Incorrect server configurations (PHP version, extensions)
- Database connection issues
- Permission problems in the file system
- Compatibility issues with existing server software
To avoid these, carefully review the system requirements and use a clean, compatible hosting environment.
Shopware regularly releases updates: Major versions are typically released annually, and minor updates and patches are released more frequently.
To manage updates:
- Always backup your store before updating
- Check for updates in the admin panel under “Settings” > “System” > “Shopware update”
- Review changelogs for any breaking changes
- Test thoroughly in a staging environment before applying to production
Yes, migration from Shopware 5 to 6 is possible when Shopware provides migration tools and guides. The process typically involves exporting data from Shopware 5 and importing it into Shopware 6. If you'd like a seamless migration experience, consider choosing our Shopware migration service. We offer a reliable and automated solution to move your data and configurations efficiently.
Yes, Shopware is generally considered user-friendly, especially for those with basic eCommerce experience. It has a clean interface and intuitive features.
Shopware is a powerful eCommerce platform used to build and manage online stores. It caters to businesses of all sizes, from small startups to large enterprises.
Shopware developer is responsible for building, customizing, and maintaining Shopware stores. They have expertise in:
- PHP Development
- Shopware APIs
- Frontend Development
- Database Management (Shopware's MySQL database)
- Extension Development
Final Words
As we wrap up this comprehensive guide to Shopware 6 installation and configuration, let's recap the key steps and provide some final thoughts on moving forward with your eCommerce journey.
- Preparation: Ensure your system meets the requirements and creates the necessary environment.
- Installation: Follow the step-by-step process to install Shopware 6 on your server.
- Initial Configuration: Complete the First Run Wizard to set up basic store settings.
- Store Setup: Configure sales channels, payment methods, and shipping options.
- Product Management: Add your products and organize your catalog effectively.
- Customization: Tailor your store's appearance and functionality through themes and plugins.
LitExtension really hopes this guide has given you a great starting point for your Shopware 6 store. As you go along, feel free to return to this tutorial and check out the extra resources we've provided. Also, don’t forget that we have other platform resources and a vibrant eCommerce community to give you even more insights.

