If you have just moved your eCommerce store to Shopify, the data transfer is only half the job. You’ll need to set up Shopify store after migration to ensure everything works perfectly before publishing your site to customers. In this guide, we’ll walk you through everything that needs attention once migration is done, including:
- Step 1. Verify your migrated data
- Step 2. Design your new Shopify store
- Step 3. Protect your SEO effort
- Step 4. Switch your domain
- Step 5. Configure essential Shopify store settings
- Step 6. Install apps and set up analytics
- Step 7. Reactivate your customer accounts
- Step 8. Try placing some orders
Whether you transfer data manually or migrate to Shopify with LitExtension, this will be a valuable checklist to help you set up Shopify store after migration.
What To Do Before You Set Up Shopify Store After Migration
Before diving into the Shopify checklist, a few quick preparations will save you rework later.
- Keep the store in password-protected or “under construction” mode: A half-configured store should not be indexed by search engines or seen by customers before setup is complete. Leaving password protection on until you are ready to launch prevents both problems at once.
- Confirm you have admin access to everything you will need: This includes your Shopify admin, your domain registrar or DNS panel, your payment provider’s dashboard, and Google Search Console.
- Set realistic expectations on the timeline: A small catalog with minimal customization can be fully set up in a few hours, while a large or highly customized store can take a couple of weeks. Rushing through SEO-critical steps to hit an arbitrary deadline is one of the most common causes of a rocky launch.
With access confirmed and the store safely out of public view, you are ready to set up Shopify store after migration, starting with verifying your migrated data.
Step 1. Check If Your Data Has Been Migrated Correctly
Before you touch design, navigation, or SEO – as often emphasized in any comprehensive Shopify tutorial – confirm that everything actually made it over. This is the first real task when you set up Shopify store after migration, and building on top of incomplete or inaccurate data only means redoing that work later, so verification comes before anything else.
Work through your migrated data by type:
- Products and variants: Open your Products page and spot-check variant counts, prices, SKUs, and images against your source store. Pay particular attention to product variants with multiple options (size, color) since these are the most common source of migration discrepancies.
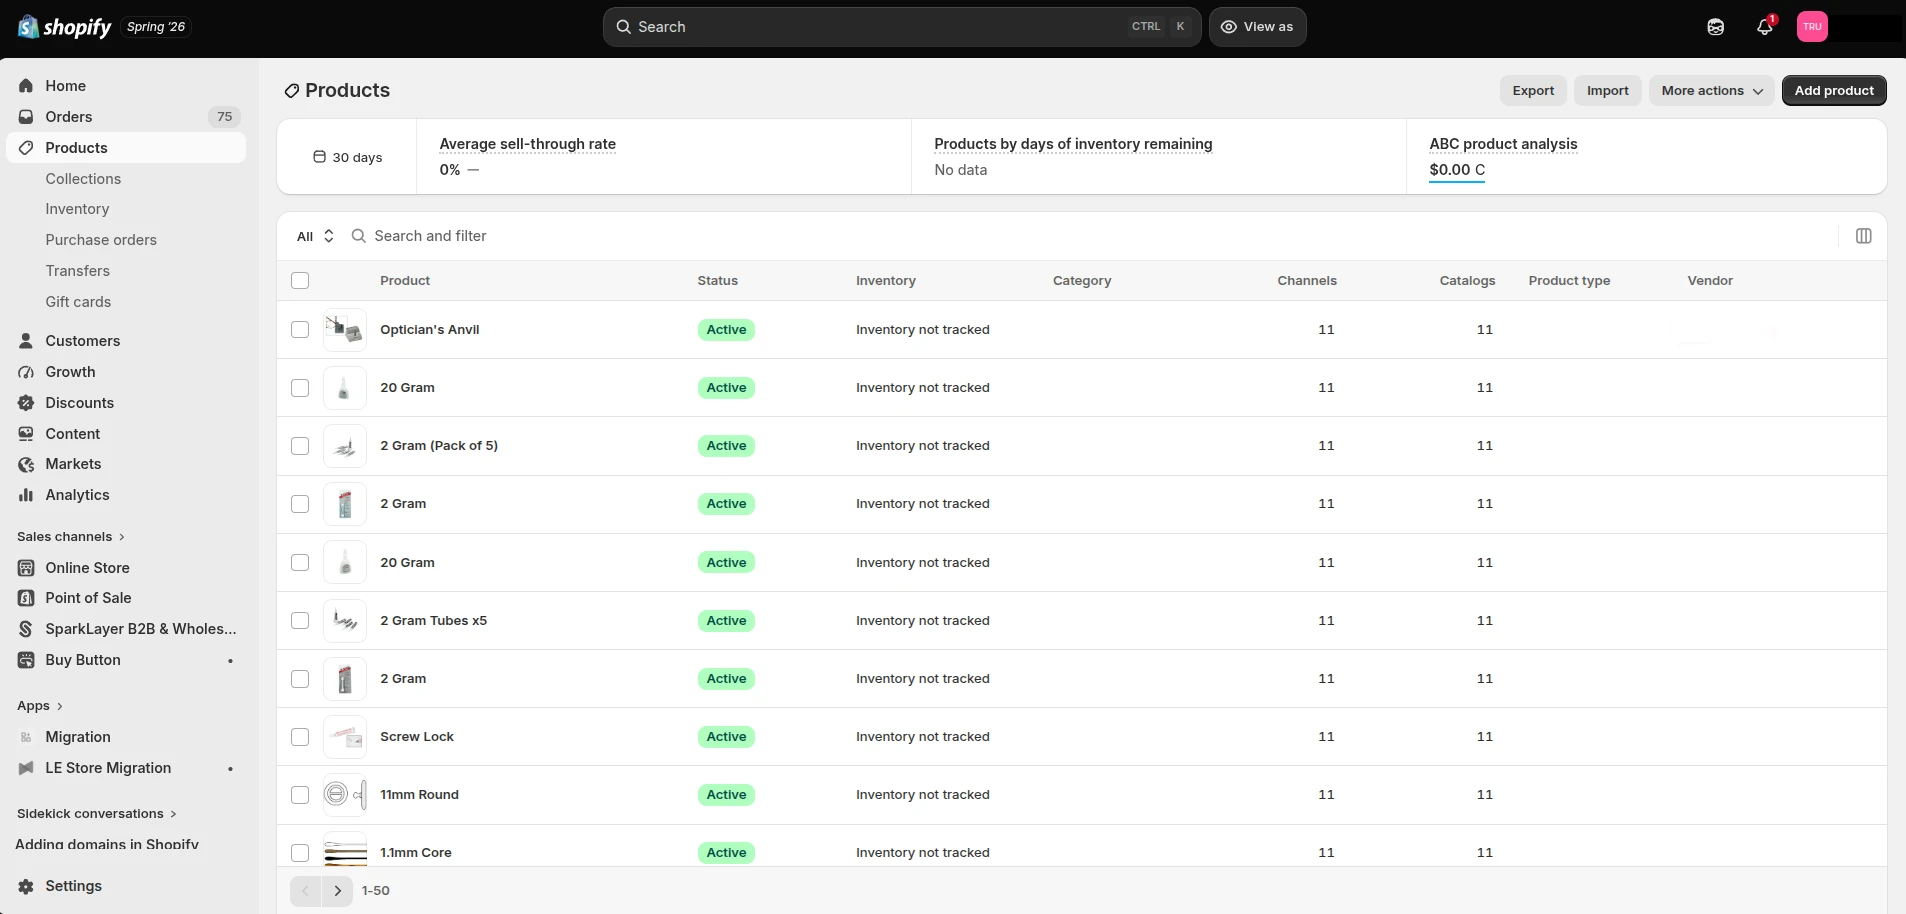
- Collections and tags. Confirm your collections carry over with the correct products assigned, and that tags used for filtering or automation rules are intact.
- Customers. Check that customer records imported with the right names, emails, and order history attached.
- Orders. Verify historical order data is present and readable, even if older orders show as archived rather than active.
- Blog content and pages. Confirm blog posts, static pages, and their images transferred with formatting intact.
If anything looks off in any of these areas, flag and correct it now. Catching a data issue after you have already rebuilt navigation or set up redirects around it means retracing steps you have already finished.
In case you have not migrated yet and want to see how your data will look on Shopify before committing, a free Demo Migration with LitExtension lets you preview the process on a working copy of your store first.
Shopify Migration Made Easy With LitExtension!
LitExtension offers great migration solutions that help you transfer your data from the current eCommerce platform to Shopify accurately, painlessly with utmost security.

Step 2. Design Your Shopify Store
With your data verified, the next item on your Shopify launch checklist is to build the storefront itself. This is where a migrated store starts to look and function like a real Shopify store rather than an import in progress.
1. Choose your theme and page builder
Browse the Theme Store to find the best Shopify theme that matches your brand rather than trying to force your old store’s layout onto Shopify’s structure. Install the theme, then work through its customization settings, such as colors, fonts, homepage sections, and product page layout, before touching navigation or policy pages, since those depend on the theme’s structure being finalized first.
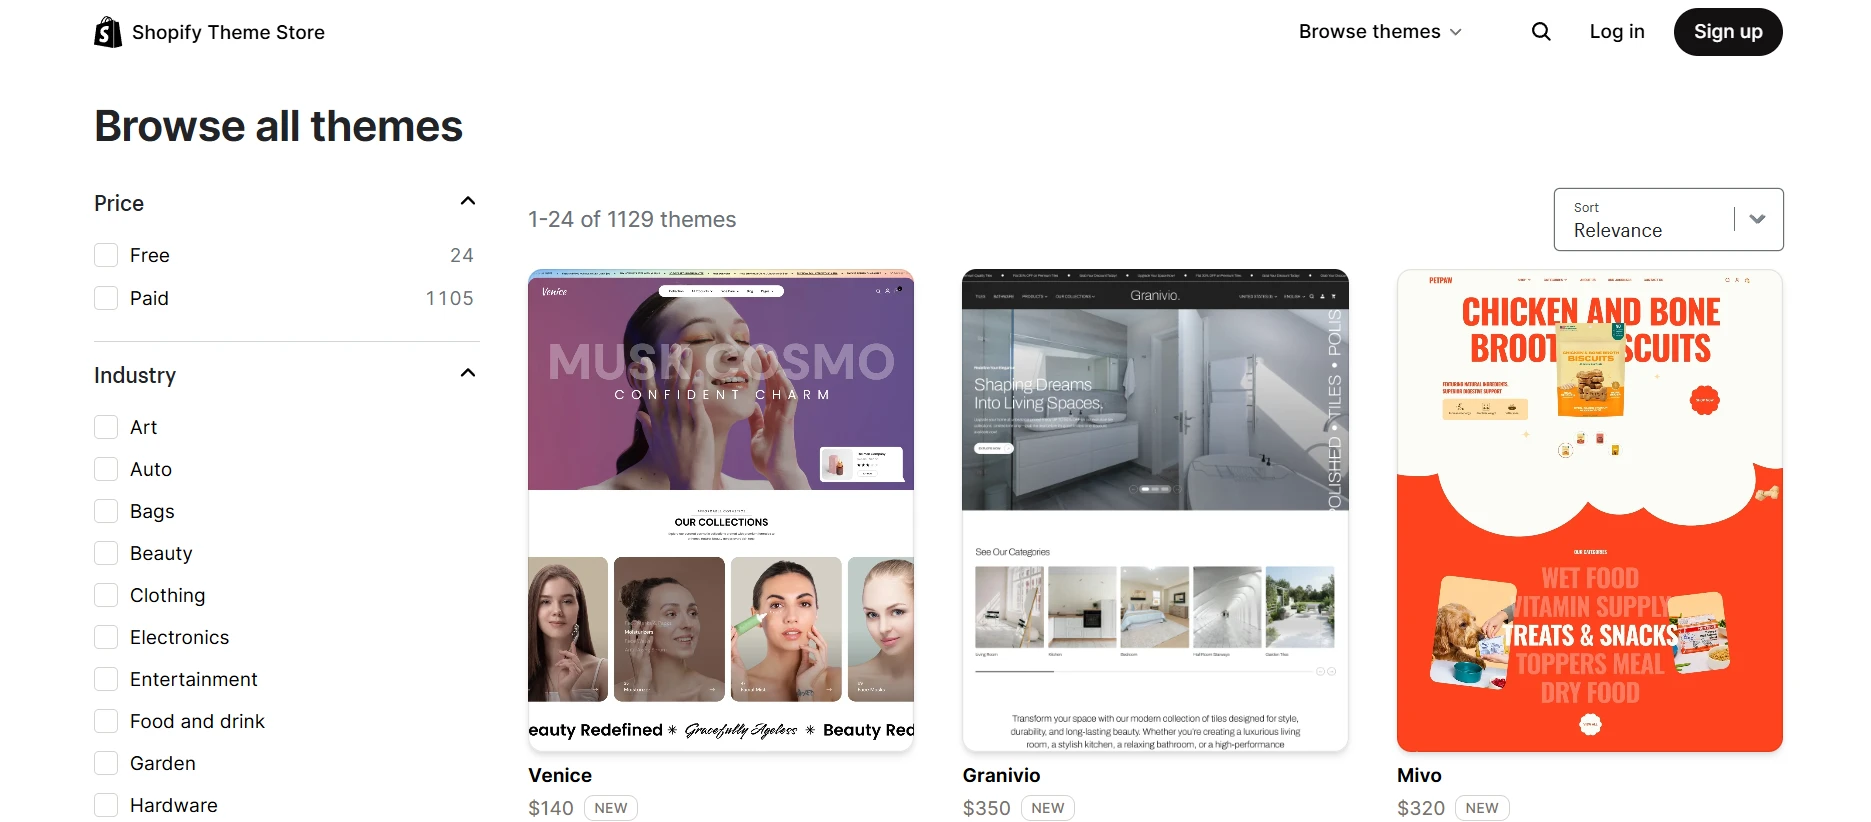
Sometimes, you may find Shopify templates quite restricting. Then, a page builder could be what you’re looking for. It allows you to create and design different pages for your website that will look exactly the way you want them to. An excellent page builder will also include extra features such as split testing, SEO, analytics, and so on.
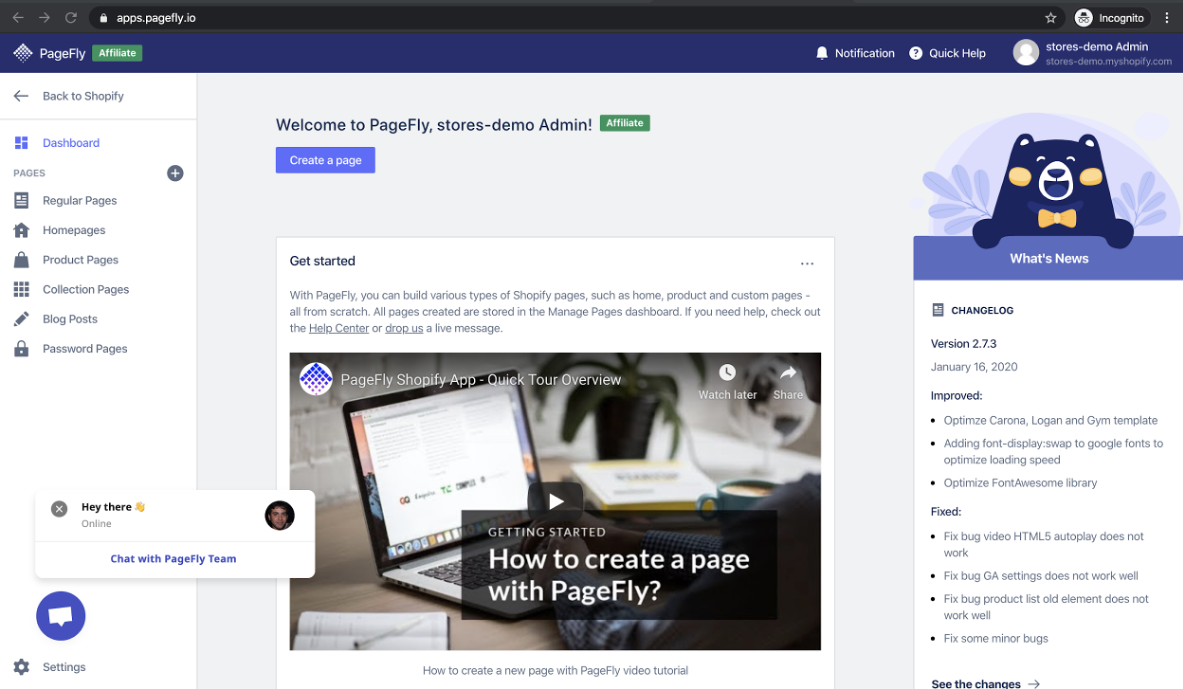
The best page builder for you to build a Shopify store currently is PageFly. It ranks #1 on the Shopify app store for page builders, with an overall rating of 4.9 and 1,800+ reviews. You can have a look at our detailed review of PageFly here.
In case you desire to find a team that can walk you through the whole process of setting up the Shopify Store, C2-Digital will be the right choice for you. They are Shopify experts and specialize in Shopify web design, development, and consulting. Moreover, C2 Digital is delighted to offer an exclusive 20% discount for all LitExtension customers when using their service (with the LITEXTENSION code).
2. Fix your navigation and menu structure
Navigation is not just a usability decision; it also affects how search engines crawl your store, so it deserves deliberate attention rather than a quick default setup.
- Rebuild your primary menu around your actual collection structure, not your old platform’s menu labels.
- Add high-intent pages to your navigation: shipping, returns, contact, and FAQ.
- Enable filters (price, size, color, availability) if your theme supports them, since these directly affect how easily customers find products.
3. Publish your store policy pages
Shopify auto-generates policy templates, but they still need review and customization before they reflect your actual business terms. Work through the essential pages, including privacy policy, refund policy, terms of service, and shipping policy. They matter beyond compliance; they’re commonly linked from checkout and footer navigation, and their absence can create friction at the exact point when a customer is deciding whether to trust your store with a purchase.
The navigation structure and page URLs you finalize here are exactly what the next step needs to preserve. Treat design and SEO as connected decisions, not separate tasks, since a URL or menu change made carelessly now becomes a redirect problem later.
Step 3. Protect Your SEO Effort
This step is sometimes underweight when set up Shopify store after migration, and it is usually the reason your site shows up as a traffic drop in Google Search Console. Most ranking losses after a Shopify migration come from missing redirects, indexing issues, or duplicate URL signals, not from the platform switch itself. Therefore, to minimize the negative effect on your hard-earned SEO effort, make sure to go through these actions.
1. Map your old URLs to your new Shopify URLs
Before anything else, build a complete list of your existing indexed URLs, products, collections, blog posts, and static pages — and map each one to its Shopify equivalent. Where possible, keep your new URL handles close to your original structure; the fewer differences between old and new URLs, the fewer redirects you need to manage and the lower the risk of a mapping error.
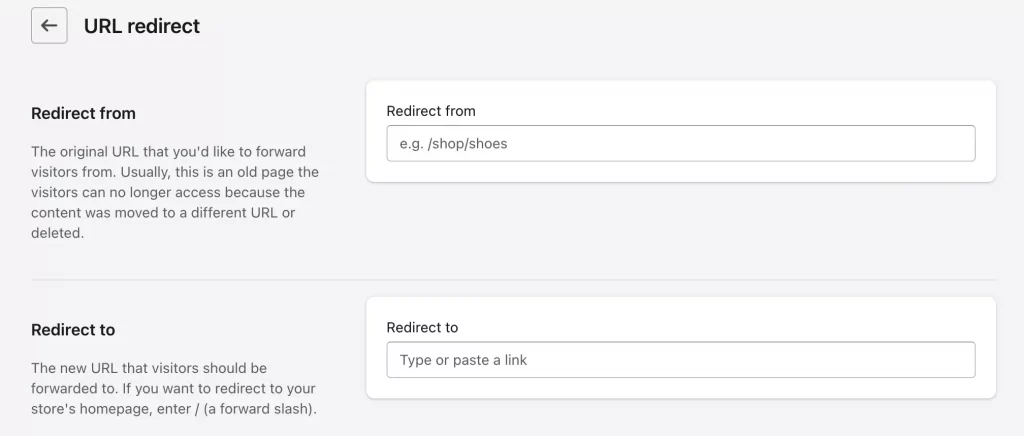
2. Set up 301 redirects
Creating a Shopify 301 redirect tells search engines a page has permanently moved and transfers most of its SEO value to the new URL. Skipping this step means every one of those old URLs returns a 404 instead, and that is what erodes rankings, not the migration itself. Fortunately, Shopify allows you to run URL redirects right from its dashboard, but you’ll be extra careful to avoid link misalignment. To avoid this, consider using our 301 Redirects option when migrating to Shopify with LitExtension, where we automatically handle this for you.
3. Submit your sitemap
Once your store is fully set up and out of password-protected mode, submit the sitemap Shopify automatically generates at yourstore.com/sitemap.xml. This helps search engines discover and index your new URLs faster than waiting for organic recrawling.
4. Monitor for issues after launch
Check Search Console for crawl errors and 404s daily for the first two to three weeks after going live. This is the window when missed redirects tend to surface, and catching them early limits how much ranking equity you actually lose.
Step 4. Switch Your Domain
With your URL mapping and redirects prepared in the previous step, learning how to transfer domain to Shopify smoothly is the next thing you need to set up Shopify store after migration. Get this part right, and the transition should be invisible to your customers and largely painless for your rankings.
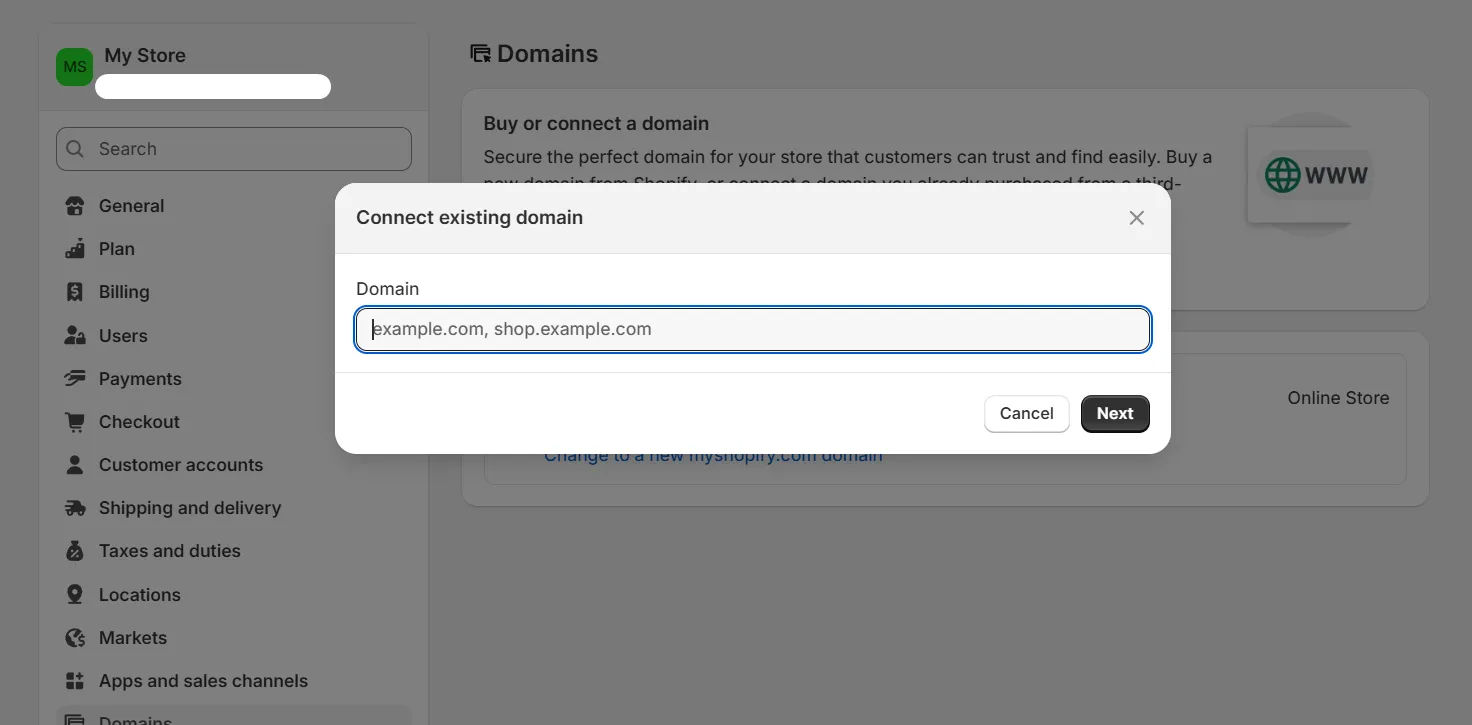
1. Connect or transfer your domain in Shopify admin
Go to “Settings” > “Domains” and either connect your existing domain (pointing your DNS records at Shopify) or transfer it entirely if you want Shopify to manage registration going forward. Shopify’s domain settings will walk you through the specific DNS records needed depending on which option you choose.
2. Remember that your redirects only activate once the domain switch is complete
All the 301 redirect work done in Step 3 stays dormant until traffic is actually flowing through Shopify, so this step is not just a technical formality. It is the trigger that makes your SEO protection work actually count.
3. Allow time for DNS propagation
Domain changes are not always instant. Depending on your registrar and previous DNS settings, propagation can take anywhere from a few minutes to 48 hours. Do not assume something is broken if the switch is not immediate; check back before troubleshooting.
Step 5. Configure Essential Shopify Store Settings
Shipping, tax, and payments are grouped together here because none of them migrate automatically (whether you completed a Wix to Shopify transition or moved from another platform). Getting all three right is one of the most important parts of any effort to set up Shopify store after migration since your store cannot legally or functionally process a real order until they are configured correctly.
Set up shipping
Go to Settings > Shipping and delivery to rebuild your shipping zones and rates. Decide between flat-rate shipping (simpler and more predictable for customers) and calculated or carrier-based rates (more accurate, but dependent on package weight and dimensions being entered correctly on every product).
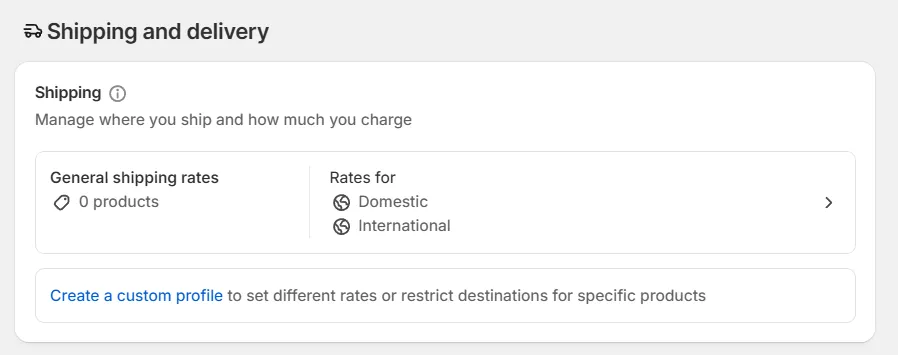
Whichever you choose, keep your delivery time estimates transparent and visible at checkout. Unclear delivery promises are a common source of post-migration customer complaints that have nothing to do with the migration itself.
Configure tax settings
Tax settings do not carry over from your previous platform and need to be reconfigured from scratch in Shopify. Under “Settings” > “Taxes” and duties, decide whether Shopify’s automatic tax calculation covers your selling regions or whether you need manual overrides for specific product categories or jurisdictions. If you sell into multiple countries or states, verify your tax registration status in each one before going live. This way, incorrect tax collection is far easier to prevent before launch than to correct retroactively.
Establish payments
Under “Settings” > “Payments”, enable Shopify Payments if it is available in your region, or connect a third-party payment gateway if not. Start this process early rather than leaving it until launch day, since payment provider approval, particularly for third-party gateways, can take longer than expected and will block you from processing real transactions until it clears.
Step 6. Install Essential Apps and Set Up Analytics
With your core settings in place, the next task when you set up Shopify store after migration is making sure you can actually track performance and stay connected with customers, not just process orders. Browse through the App Marketplace to find out the best Shopify apps for your business operation and growth.
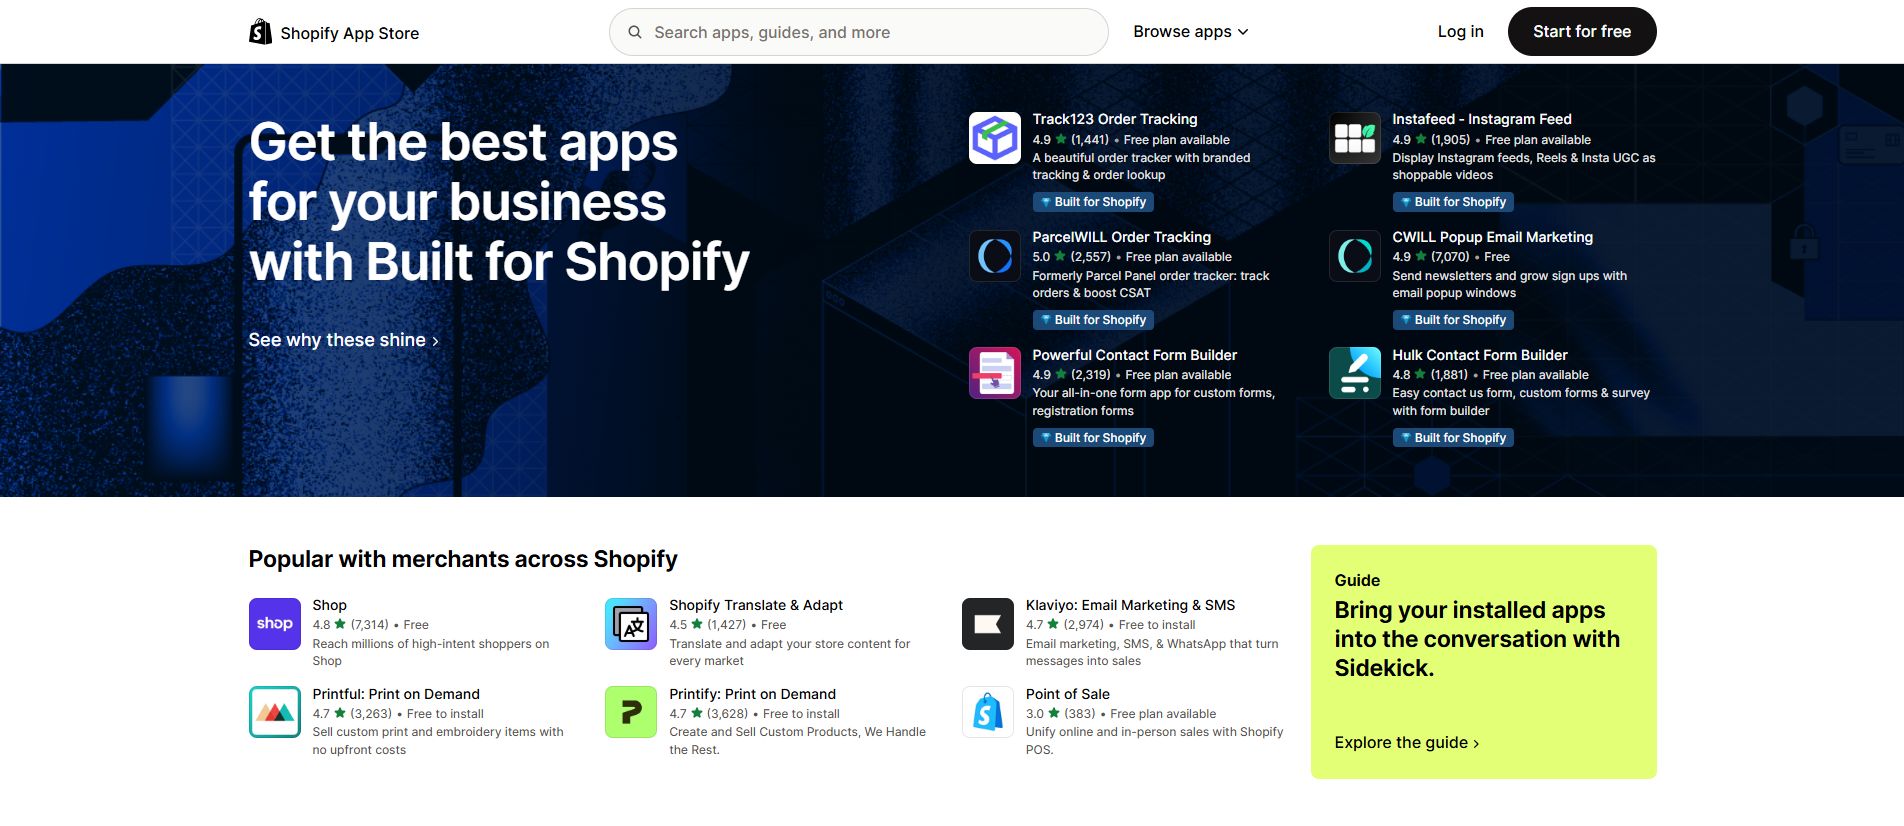
- Analytics and tracking: Install GA4 and connect the Google Search Console access you set up earlier in the prerequisites step. Together, these let you monitor both traffic behavior and how well your redirects and indexing are holding up after launch.
- Email marketing: Reconnect or set up an email marketing app to recapture the subscriber list that migrated along with your customer data, a list that goes unused for too long after migration tends to see lower re-engagement rates.
- Reviews: If you have not already reinstalled your review app in Step 1, do it now and confirm your review counts and star ratings are displaying correctly on product pages.
Resist the urge to install every app you had on your previous platform. Each additional app adds a performance cost, and a slower store undermines the very SEO effort you protected in Step 3. Install what you actually need, then evaluate later.
Step 7. Reactivate Your Customer Accounts
Passwords are stored as one-way encrypted hashes on your previous platform, and that encryption is tied to that platform’s specific system. There is no way to export a readable password or decrypt it for import elsewhere, so customers will need to reset credentials before they login to Shopify to view their history.
- Send an account activation or password-reset email. Shopify allows you to trigger these directly from customer records, prompting each customer to set a new password before they can log back in.
- Communicate the platform change clearly. Draft messaging that explains why customers are being asked to reset their password, so the request reads as expected rather than suspicious. A customer who understands “we moved platforms” is far less likely to ignore or distrust the email than one who receives an unexplained reset prompt.
- Cross-check against the customer data verified in Step 1. Confirm the email addresses you are sending activation messages to match the correct, migrated customer records; sending a reset email to an outdated address wastes the communication entirely.
Step 8. Try Placing Some Orders
Before you consider your store fully set up (or before you clone Shopify store environments for international branches), run it through a real transaction end-to-end. This is the final step to set up Shopify store after migration, and skipping it means the first true test of your checkout happens on a paying customer instead of you.
- Place a test order that succeeds. Walk through the full checkout flow as a customer would: adding a product to the cart, entering shipping details, applying the tax and shipping settings configured in Step 5, and completing payment. Confirm the order appears correctly in your Shopify admin with the right totals.
- Place a test order that fails. Deliberately trigger a declined payment or an invalid input to confirm your store handles errors gracefully rather than leaving customers stuck with no clear next step.
- Test the customer account login flow. Log in using a test account that went through the reactivation process in Step 7, confirming the password reset link works, and that order history displays correctly once logged in.
Set Up Shopify Store After Migration – FAQs
How long does it take to set up Shopify store after migration?
It depends on the size and complexity of your store. A small catalog with minimal customization can be fully set up in a few hours, while a large catalog requiring a detailed Shopify SEO migration plan, custom navigation, or extensive app integrations can take a couple of weeks. Take your time to work through the Shopify post-migration checklist in order is what keeps the timeline predictable rather than open-ended.
How can I migrate to Shopify store?
You can migrate manually by exporting your data from your current platform and importing it into Shopify field by field, or use a dedicated migration service like LitExtension, which offers an automated migration tool for straightforward moves and an All-in-One Migration Service for stores with complex product data, custom fields, or SEO requirements. A Free Demo Migration lets you preview how your data will appear on Shopify before committing to the full migration.
Can I transfer customer passwords to Shopify?
No. Passwords are stored as encrypted hashes tied to your previous platform’s system, so there is no way to export or decrypt them for import into Shopify. Customer records and order history migrate normally, but each customer will need to reset their password through an activation email after the move
Final Words
This article has covered everything it takes to fully set up a Shopify store after migration without having to close your Shopify store due to unexpected post-launch errors. We hope this guide provides a detailed checklist to navigate the post-migration process with ease. Last but not least, if you want to keep building on what you have set up or browse other platform-specific guides, don’t forget to check out our LitExtension Blogs and Resources for more expert tips and insights.