When setting up a new Magento 2 store, starting from a blank site can be overwhelming. You may want to explore how the platform works, test a theme, or check how your extensions behave. In these cases, learning how to import sample data in Magento 2 can help you save time and effort.
Fortunately, there are different ways to do this depending on your setup and skill level. In this guide, we’ll walk you through four simple methods to import sample data in Magento 2, including:
- Method 1. Perform Magento import sample data with CLI
- Method 2. Install Magento sample data using Composer
- Method 3. Clone Git repositories to install sample data
- Method 4. Import sample data during Magento migration with LitExtension
Let's get started!
Import Sample Data in Magento 2 – All You Need to Know
Before diving into how to import sample data in Magento 2, it’s important to understand what sample data actually is and when you should use it.
Sample data in Magento 2 refers to a set of demo content that includes products, categories, CMS pages, banners, and customer information. This data is designed to give your store a fully populated look, making it easier to test features, design themes, and evaluate the store’s functionality.
You should consider installing or importing sample data in Magento 2 when you want to preview how the platform works with actual store content. It’s especially helpful if you’re testing a theme, running a demo store, or experimenting with extensions. Instead of working with an empty storefront, you’ll be able to simulate how your data will display in the new setup, making it easier to adjust layouts or settings before launching.
Additionally, for developers and store owners planning a Magento migration, learning how to import sample data in Magento 2 also helps preview the migration process and visualize how their data appears in the new platform.
In short, the sample data is a safe and effective way to explore and prepare your Magento 2 store before going live.
Method 1. Import Sample Data in Magento 2 Using Magento CLI
If your Magento 2 store was set up via Composer, this method gives you the fastest and most reliable way to add sample data modules. You’ll need your Adobe Commerce (or Magento Open Source) authentication keys, the same ones used during installation.
To import sample data in Magento 2 using Magento CLI, follow these steps:
- Step 1. Switch to developer mode (if not already enabled). Or else, you can move straight to the next step.
- Step 2. In your Magento root directory, run this line:
bin/magento sampledata:deploy. This command adds all necessary modules, including demo products, categories, banners, and CMS pages, to your Magento installation. - Step 3. Finally, apply the changes to your application by running:
bin/magento setup:upgrade. This step updates the database and schema so the sample data becomes fully functional in your store. Please note that you are required to authenticate the app to complete this step.
By following these steps, you'll efficiently import sample data in Magento 2 and make your store ready for testing or previewing.
Method 2. Install Magento 2 Sample Data Using Composer
Another way to install sample data to Magento is by manually adding sample data packages to the composer.json file. This approach gives you more control over which modules to include without relying on the Magento CLI.
To import sample data in Magento 2 using Composer, please follow the steps below:
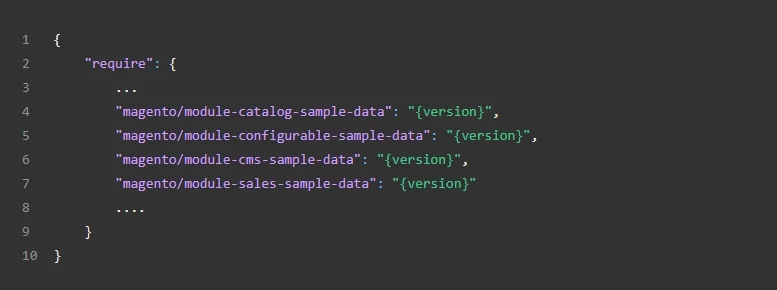
- Step 1. Open your root
composer.jsonfile in a code editor. - Step 2. Add the required sample data packages under the
"require"section. Make sure to replace the “version” with your current version of the package, which needs to correspond to the version of your Magento.
- Step 3. Lastly, run the following command in the Magento root directory to install the sample data modules:
composer update.
By manually adding sample data packages to composer.json, you can still import sample data in Magento 2 without relying on CLI tools, making it a flexible solution for developers and advanced users.
Method 3. Clone Git Repositories to Install Sample Data
Additionally, if you're working with a Magento 2 instance cloned from GitHub, another way to import sample data in Magento 2 is by cloning the sample data repositories directly from GitHub. This method gives you full control over the sample data version and works best in development environments.
Before you begin, ensure your Magento instance was cloned from GitHub. Match the branch of the sample data repo with your Magento installation (e.g., master with master, develop with develop).
Here are two ways you can clone GitHub repositories to import sample data in Magento 2.
Clone with SSH
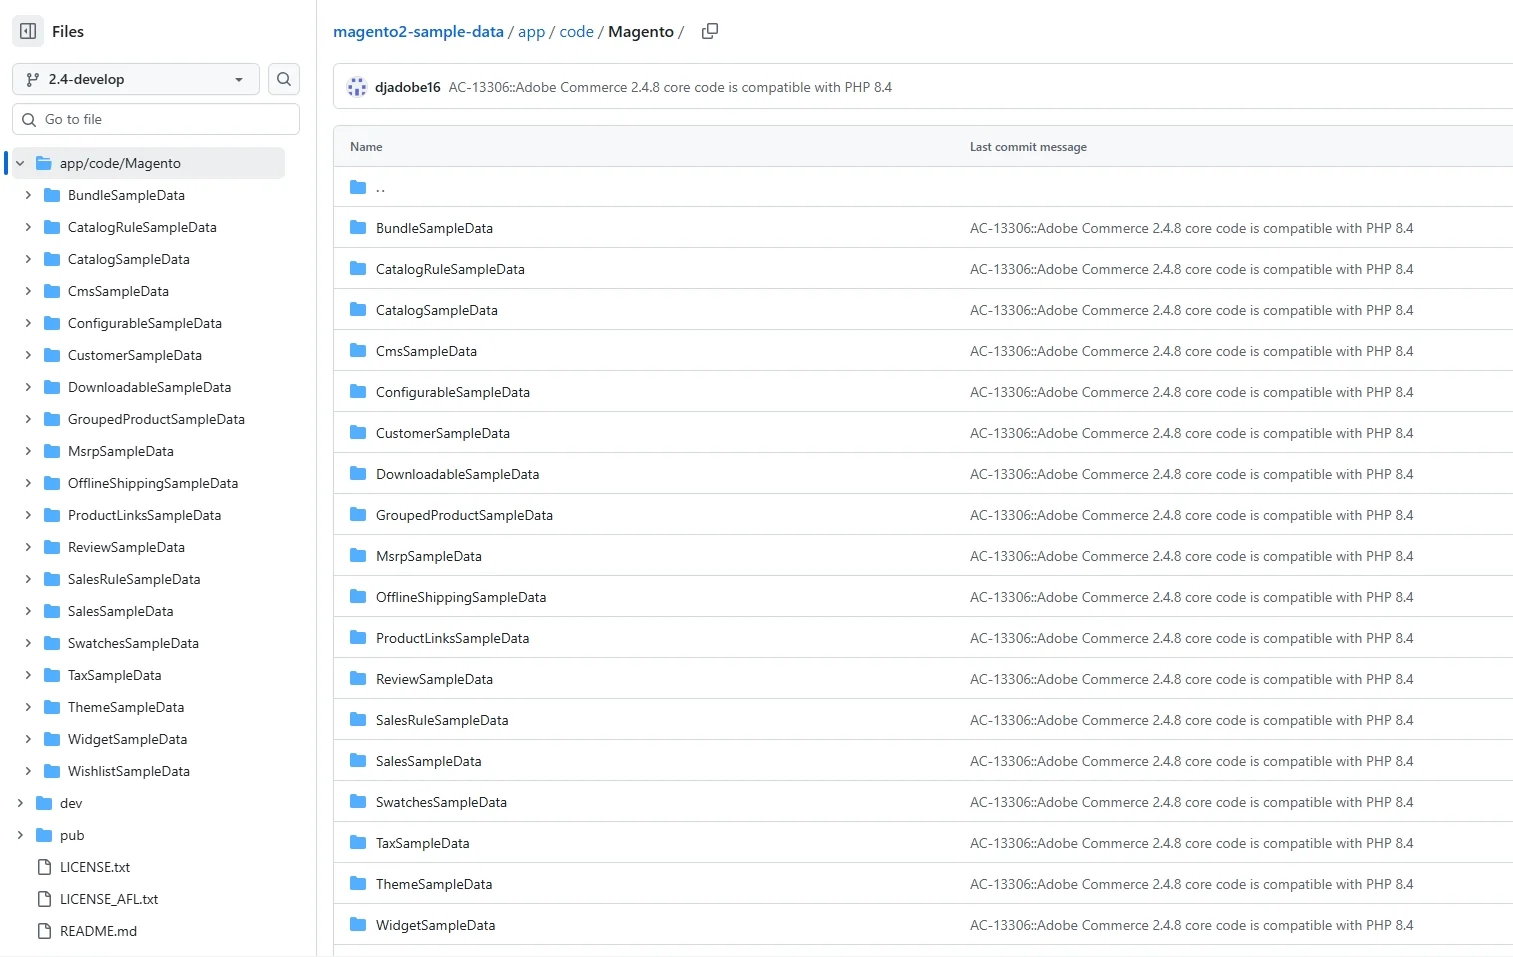
- Step 1. From your web browser, navigate to the Magento 2 sample data repository on GitHub.
- Step 2. Next, select the “SSH” option from the dropdown list and click the “Copy to clipboard” icon.

- Step 3. Switch to your web server's docroot directory. Then, run the following command using what you've obtained:
git clone [email protected]:magento/magento2-sample-data.git
- Step 4. After cloning, link the sample data to your Magento code base by running:
php -f <sample-data_clone_dir>/dev/tools/build-sample-data.php -- --ce-source="<path_to_your_magento_instance>"
- Step 5. After the command completes, run the following line to update your Magento codebase:
bin/magento setup:upgrade
Clone with HTTPS
- Step 1. Go to the Magento 2 sample data repository on GitHub.
- Step 2. Then, select the “<> Code” button and choose the HTTPS tab. Copy the provided URL to your clipboard and get ready to clone.

- Step 3. In your web server's docroot directory, enter the following command line and wait for the repository to clone:
git clone https://github.com/magento/magento2-sample-data.git
- Step 4. Then, switch to your <magento_root> and enter this command to link the sample data to your Magento instance.
php -f <sample-data_clone_dir>/dev/tools/build-sample-data.php -- --ce-source="<path_to_your_magento_instance>"
- Step 5. After the command completes, run the following line to update your Magento codebase:
bin/magento setup:upgrade
Using either cloning method, you can successfully install Magento sample data from GitHub and continue your setup or testing with a fully populated demo store.
Method 4. Import Sample Data During Magento Migration with LitExtension
For those planning to migrate to Magento, one of the best ways to preview how your store will look and function is by using LitExtension’s Demo Migration. Instead of working with Magento's default content, this method allows you to import sample data in Magento 2 directly from your existing store, giving you a realistic view of your store layout, products, and data structure on the new platform.
This approach is ideal if you want to evaluate your Magento 2 setup before completing the full migration. Here’s how you can do it in just three simple steps:
Step 1. Set up Source Cart and Target Cart
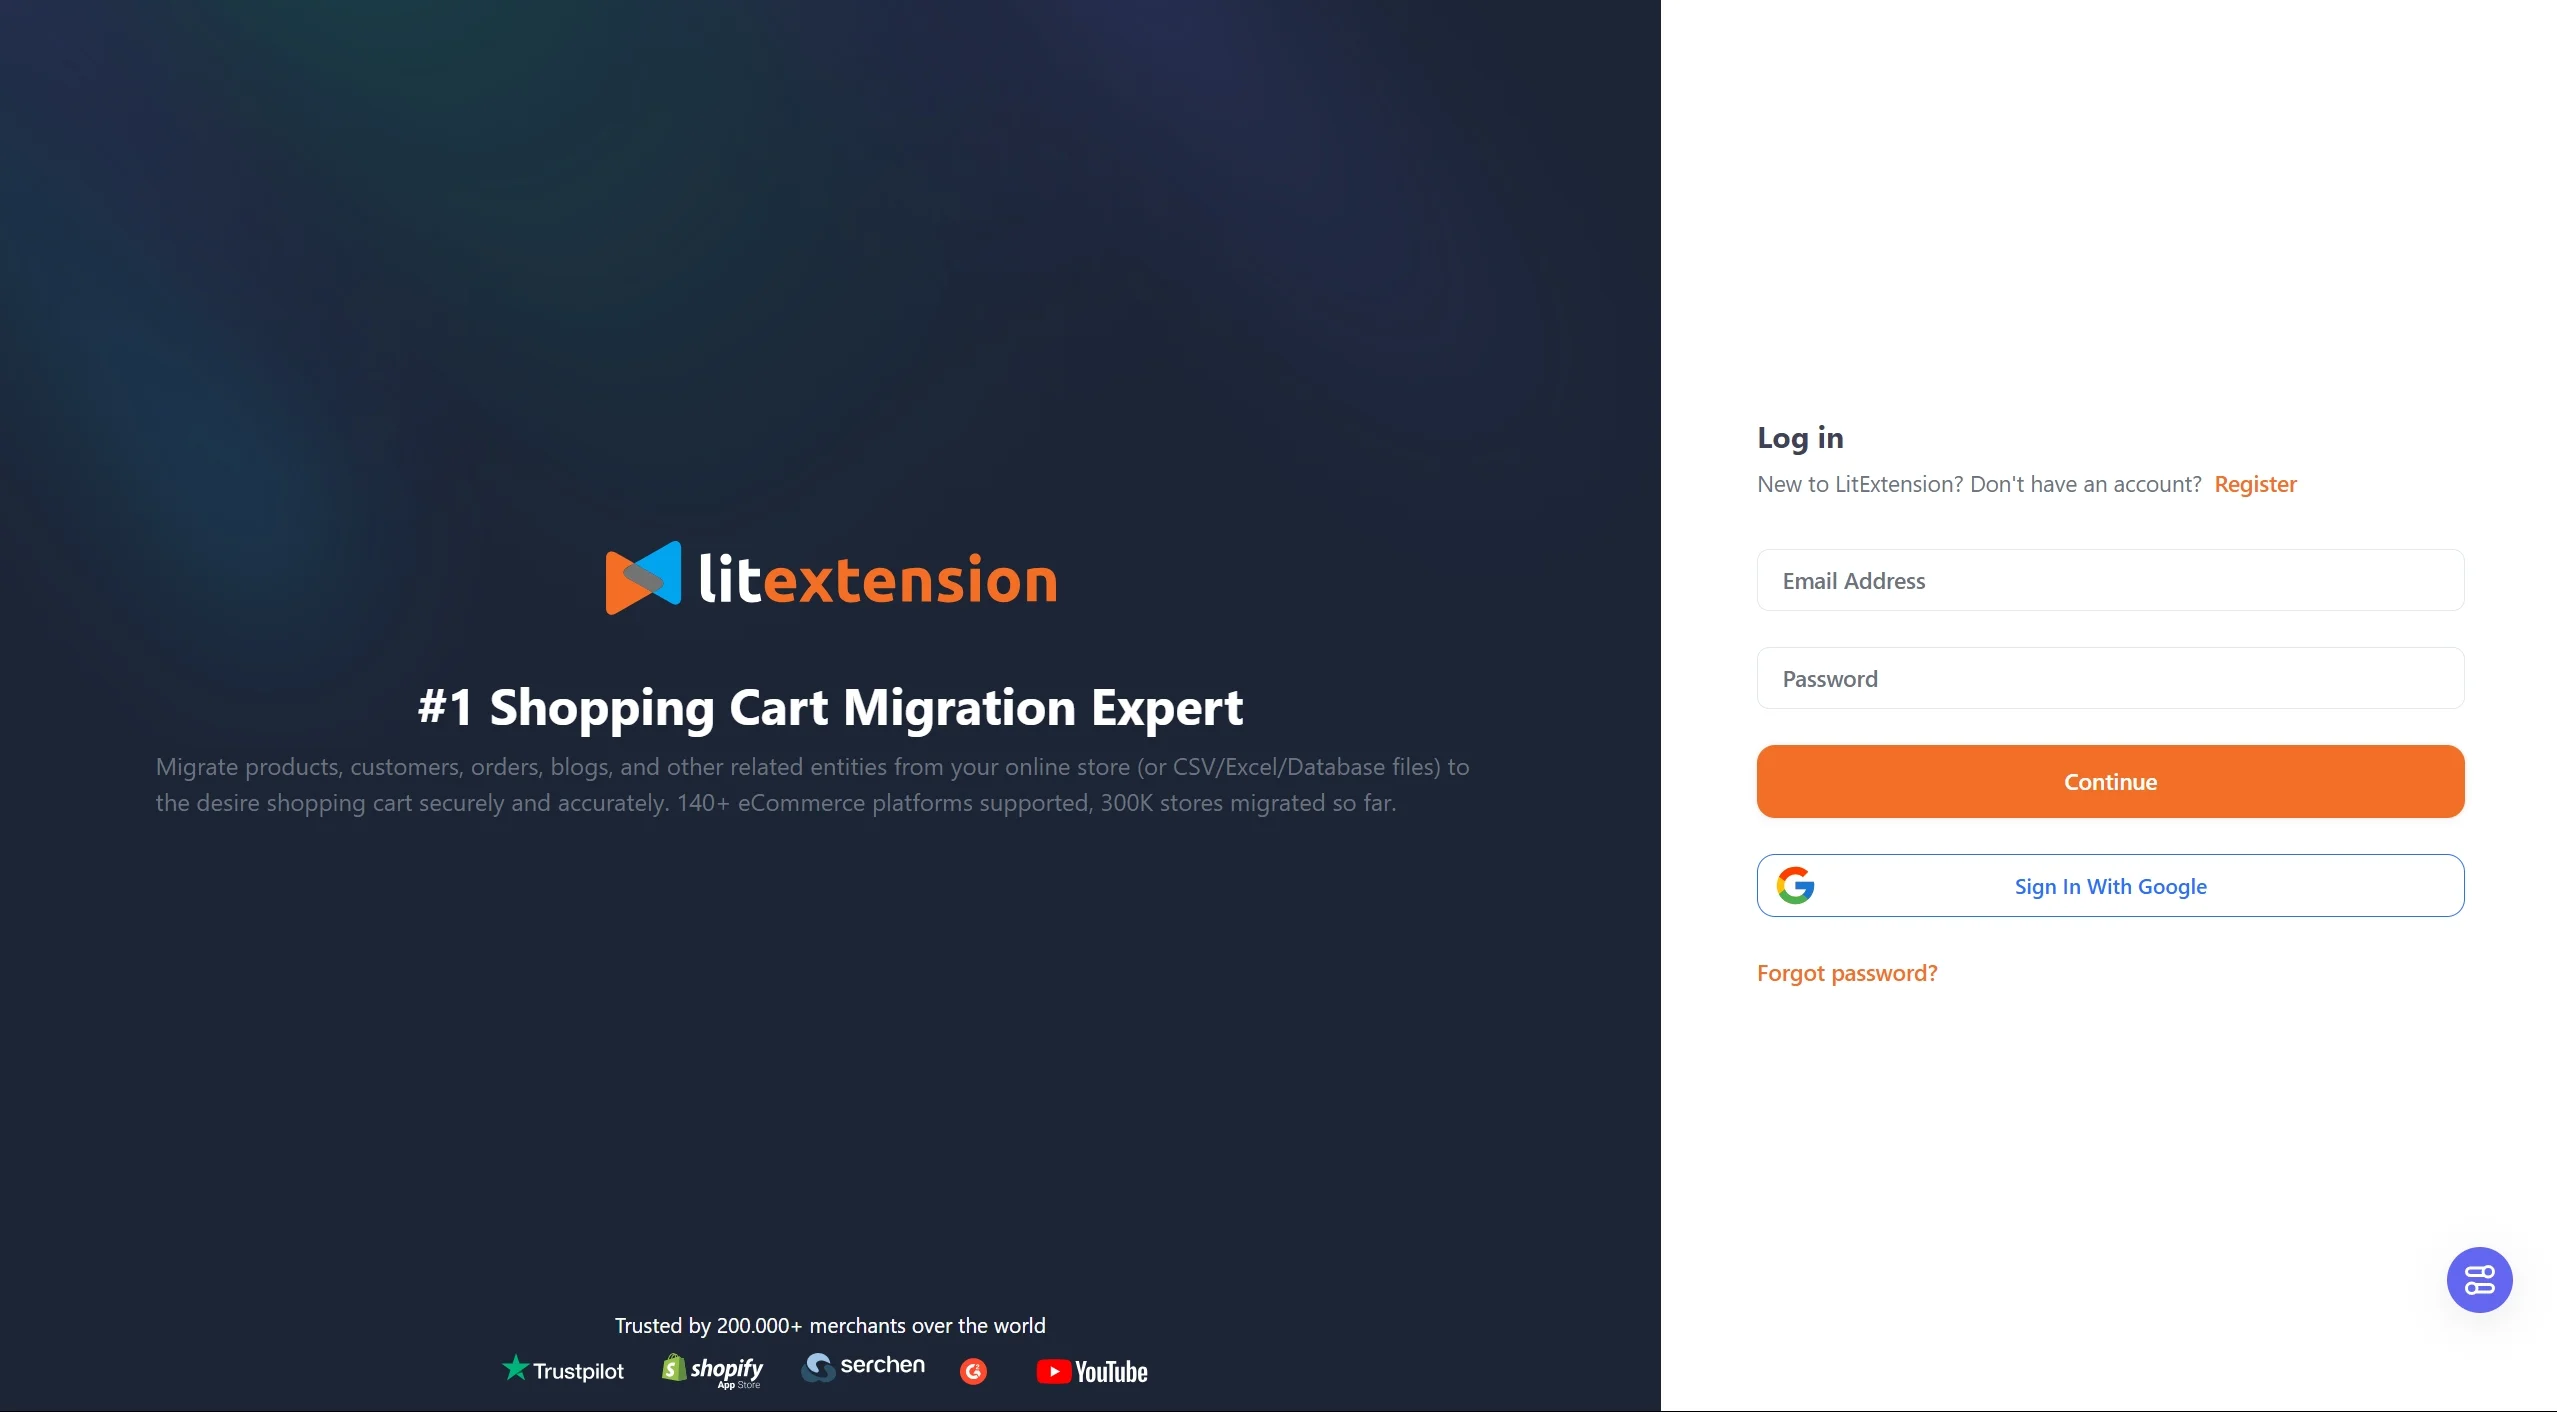
- First, log in to the LitExtension Migration App using your registered account or Google account. Once inside, click the “Create New Migration” to get started.
- Now, in your Source Cart set up, please select your current platform from the drop-down list. Then, depending on your cart type, you'll need to provide different credentials to set up.
- If you are on a hosted platform (such as Shopify, BigCommerce, or Weebly), please fill in the required information (typically API key and store URL) in the corresponding fields.
-
- On the other hand, if you are using an open-source solution (for example, WooCommerce, Magento, PrestaShop), you'll need to download LitExtension Connector and upload it to your store’s root folder. Then, please fill in your cart URL and wait for the notification “Connection was successfully installed” to appear on the screen.
For a full walk-through on how to set up LtiExtension connector, please check out our full guideline here or watch our video tutorial below:
Scroll down to the Target Cart Setup section and select Magento in the dropdown list. Then, repeat the same process of downloading and uploading LitExtension connector, and provide your store URL. Wait a few seconds until the notification “Connection was successfully installed” pops up, and you are ready to go.
Once everything is done, click the “Next: Configure Your Migration” button to proceed.
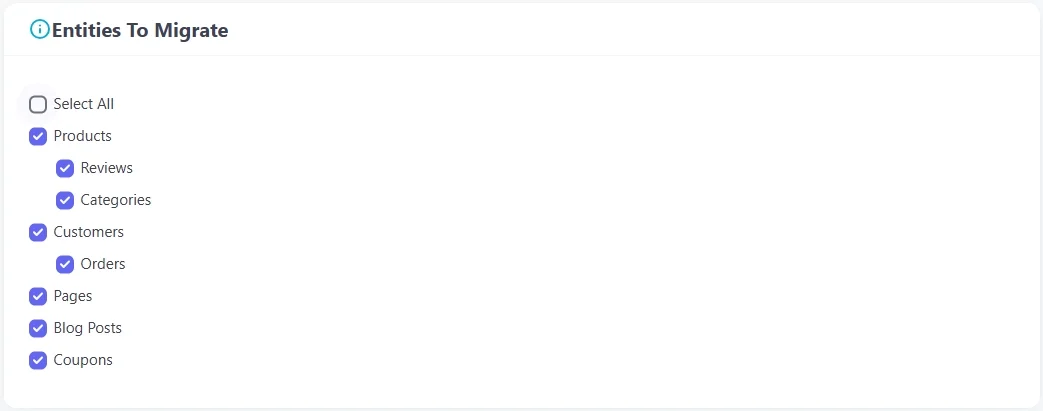
Step 2. Select the data you want to migrate
In this step, you'll need to choose the type of sample data you want to import to Magento 2. Here, you can select all entities or only specific ones based on what you want to test in your new store.
Furthermore, if you want to extend your migration capabilities, feel free to select our Additional Options right below. Please note that these selections may incur additional fees and are only available in the Full Migration. Besides, make sure to map your language and order status so that they will display correspondingly on your new platform.
When everything is in place, click the “Next: Start Free Demo Migration” button to import sample data in Magento 2.
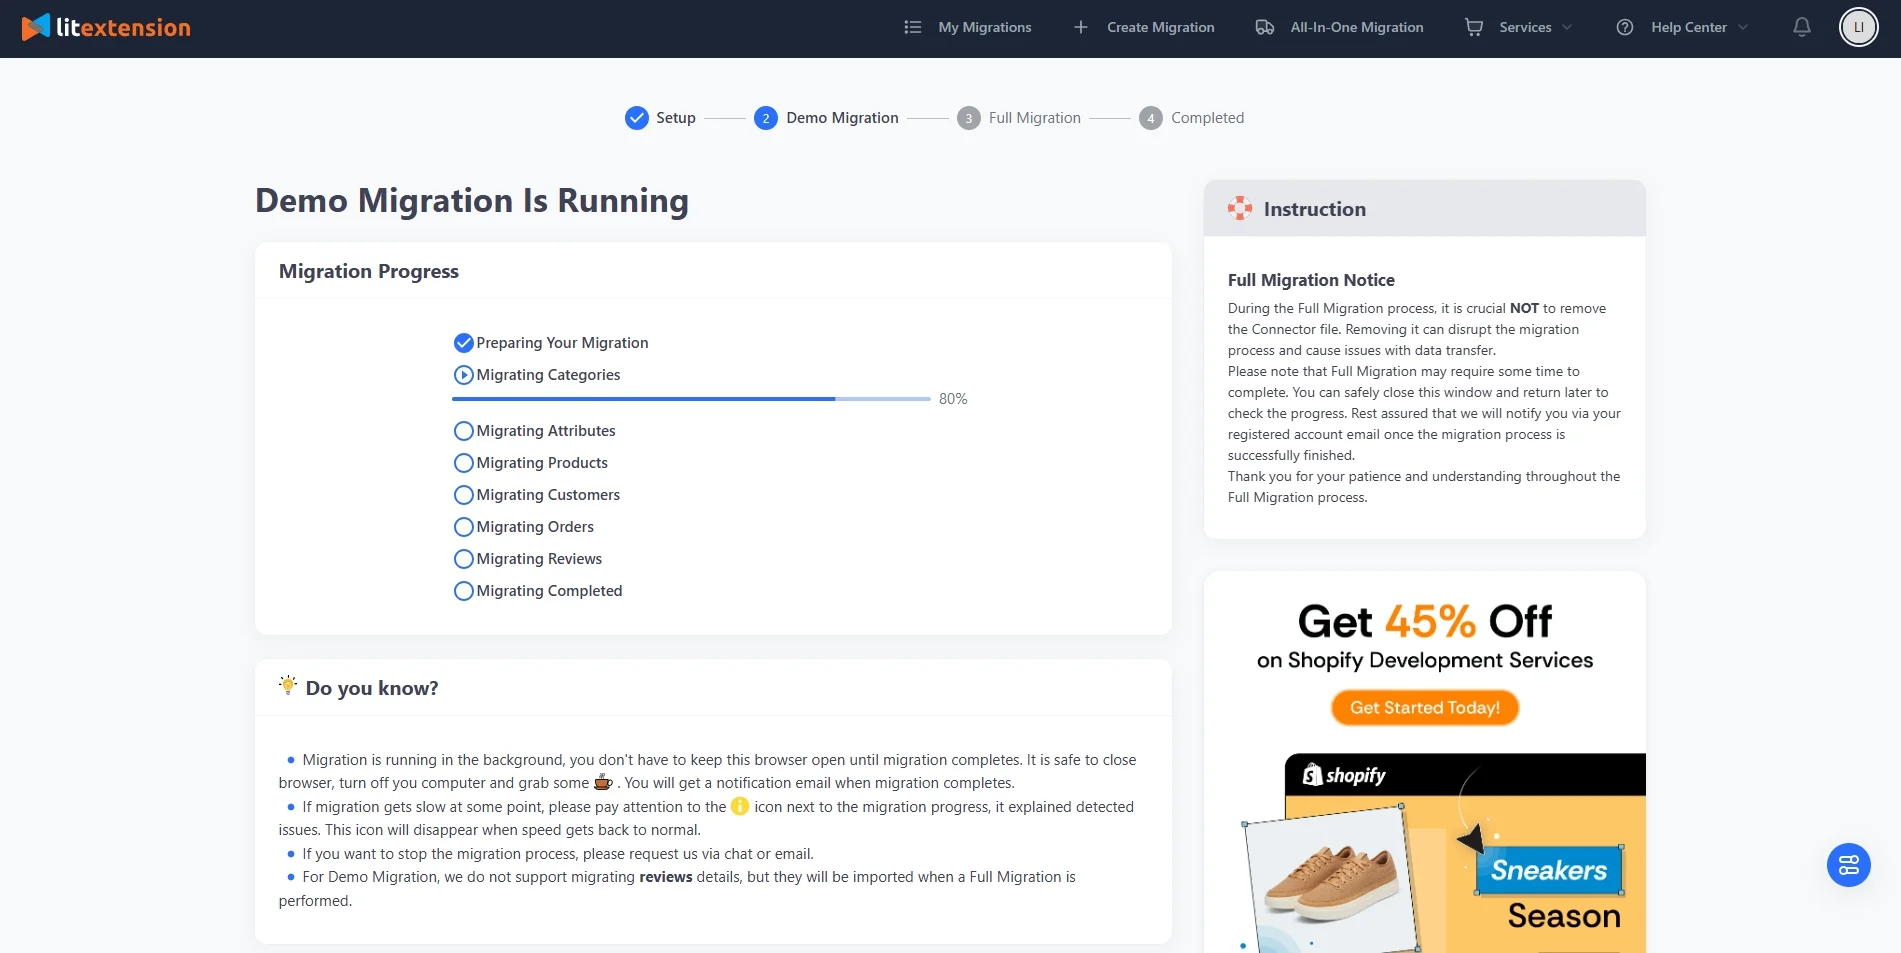
Step 3. Run the Demo Migration
Once you press the button, you'll get to the import process right away. Here's how our Demo Migration works:
- If your demo includes orders (either orders only or all entities selected), we will migrate the 20 most recent orders. Along with them, we also migrate all related customers, products, and categories linked to those orders.
- If your demo includes only products and categories, we will migrate the 20 most recent products, along with their related categories.
- If your demo includes unrelated data (without orders), we will migrate the 20 most recent entities of the selected type.
However, please note that “Reviews” will not be included in the Demo migration. And, if you choose to import tax to Magento 2, our system will transfer the 20 most recent entities.
Using this method, you can import sample data in Magento 2 that's pulled directly from your own store, giving you a personalized demo environment that’s much more relevant than generic sample content. Once you're satisfied, you can proceed with the Full Migration at any time.
Seamlessly migrate your store to a more robust place!
LitExtension can safely transfer your data to unlock more growth on the new platform.

Bonus Reading: How to Remove or Update Sample Data Modules
Once you’ve done import sample data in Magento for testing or designing your store, you might want to remove the sample data to prepare for your real content. Magento 2 treats sample data as regular modules, so you can remove or update them just like any other extension.
- If you import sample data in Magento 2 using Composer or CLI, run the following command line in your root directory:
# bin/magento sampledata:remove
- On the other hand, if you clone the GitHub repository to install sample data, run this command line instead:
# php -f <sample-data_clone_dir>/dev/tools/build-sample-data.php – --command=unlink --ce-source="<path_to_your_magento_instance>"
With that being said, in case you want to wipe out your sample data quickly, simply delete the database and reinstall Magento.
Import Sample Data in Magento 2 – FAQs
How to import sample data in Magento 2?
There are several ways to import sample data in Magento 2, including:
- Method 1: Import sample data in Magento 2 using Magento CLI
- Method 2: Install Magento 2 sample data using Composer
- Method 3: Clone Git repositories to install sample data
- Method 4: Import sample data during Magento migration with LitExtension
How do I get collection data in Magento 2?
If you’re a developer looking to retrieve collection data (such as products or customers), Magento 2 provides collection models through dependency injection.
For example, to get a list of products, you can use the MagentoCatalogModelResourceModelProductCollectionFactory class in your custom module or script. This is separate from the sample data and is used when building custom functionality.
How to remove sample data in Magento 2?
To remove sample data in magento 2, to remove sample data modules, you can use the Magento CLI command: bin/magento module:uninstall Magento_CatalogSampleData
eplace Magento_CatalogSampleData with the specific module you want to remove. After uninstalling the module, run bin/magento setup:upgrade and bin/magento cache:flush to complete the process.
Final Words
In conclusion, understanding how to import sample data in Magento 2 is one of the easiest ways to explore and understand how Magento 2 works. Whether you're testing a theme, setting up a demo store, or preparing for a full migration, it gives you a complete view of your store's structure and features before committing to the long term.
Last but not least, if you like this article, don't forget to check out other Magento blogs on our LitExtension website for more expert tips and insights.

