If you’re running a WooCommerce store, you may also want to use QuickBooks to keep your accounting organized. The challenge is that WooCommerce and QuickBooks don’t connect out of the box. Thus, if you want to use both platforms, you have to learn how to import order from WooCommerce to QuickBooks.
Fortunately, you have come to the right place. In this tutorial, we’ll show you all three methods to import order from WooCommerce to QuickBooks effectively:
- Importing orders with a CSV file;
- Automating with a third-party plugin;
- Syncing through QuickBooks Connector.
Let’s get started!
How to Import Order from WooCommerce to QuickBooks with CSV File?
Importing orders with a CSV file is the simplest and most affordable way to bring WooCommerce sales into QuickBooks. You don’t need extra software, and it works well if you only transfer data occasionally.
However, WooCommerce and QuickBooks use very different data structures. That means the exported file won’t line up perfectly, and you’ll need to manually adjust the format before uploading. This can be time-consuming and tricky, especially if you’re dealing with a large number of orders.
Also, since there’s no real-time sync, you’ll have to repeat the import process regularly to keep your records up to date.
Step 1: Export CSV file from WooCommerce
The built-in WooCommerce export tool is useful for quick summaries, but it doesn’t provide the transaction-level detail that QuickBooks requires. More specifically, QuickBooks needs structured data for each order, including customers, products, taxes, shipping, and payment details.
That’s why we recommend using the Advanced Order Export for WooCommerce plugin. It generates CSV files with most of the fields QuickBooks requires, so you’ll spend far less time customizing the file before import. And the great thing is, it has a free version on the WordPress plugin directory, so feel free to try it out!
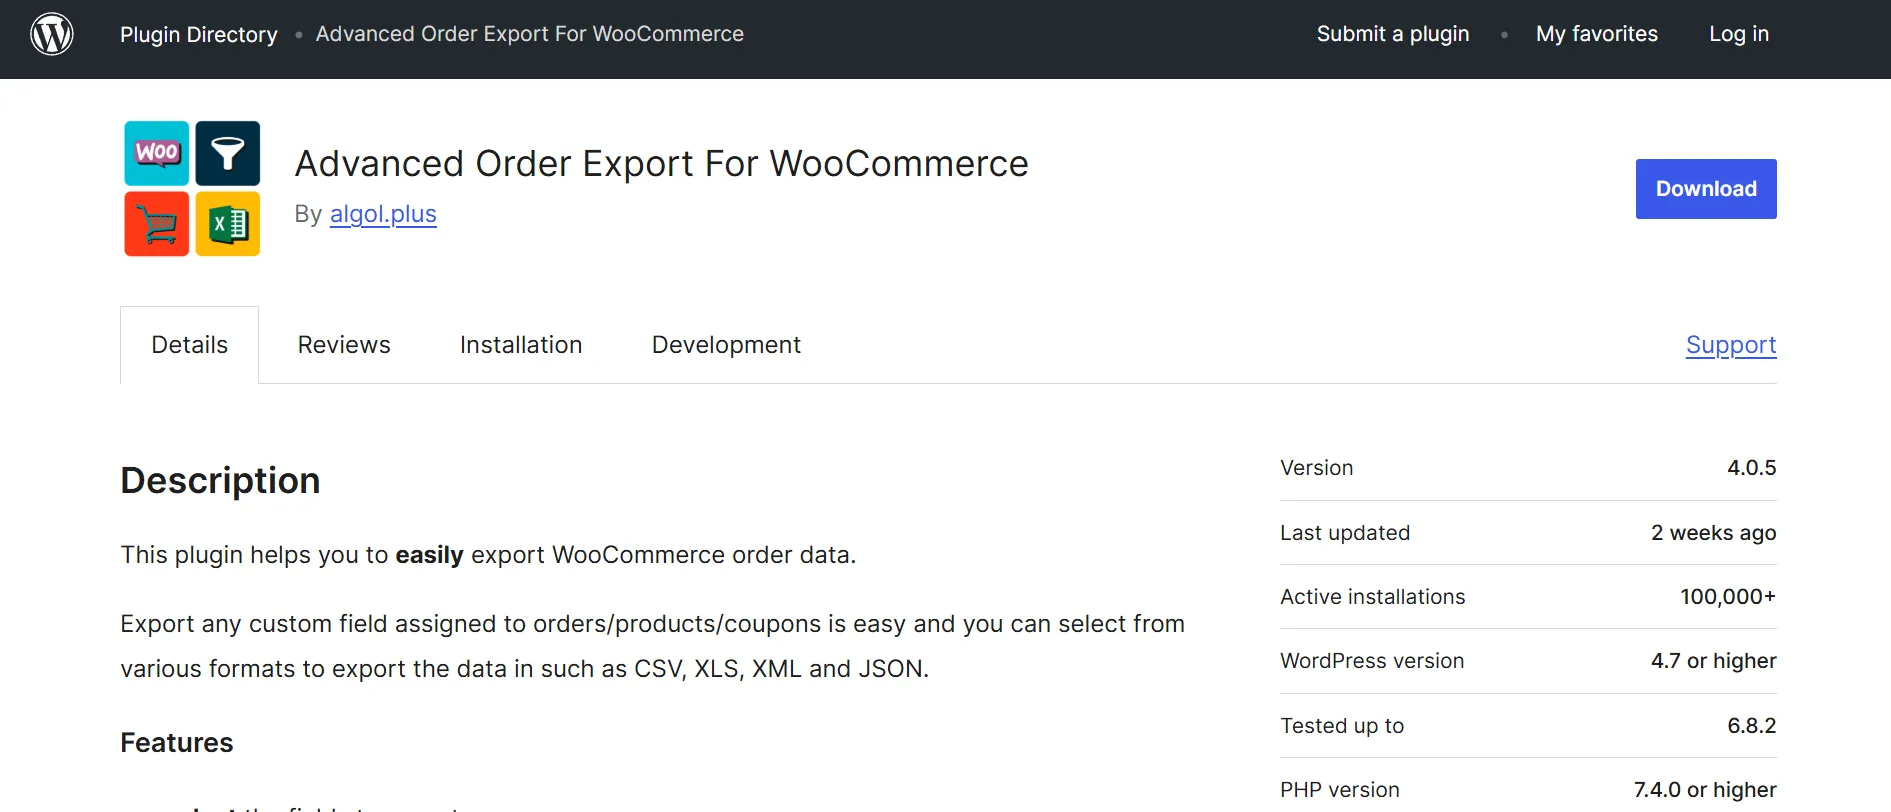
This is only one of the ways to export orders, so if you need more advanced options, our guide on how to export WooCommerce orders to CSV can help you out.
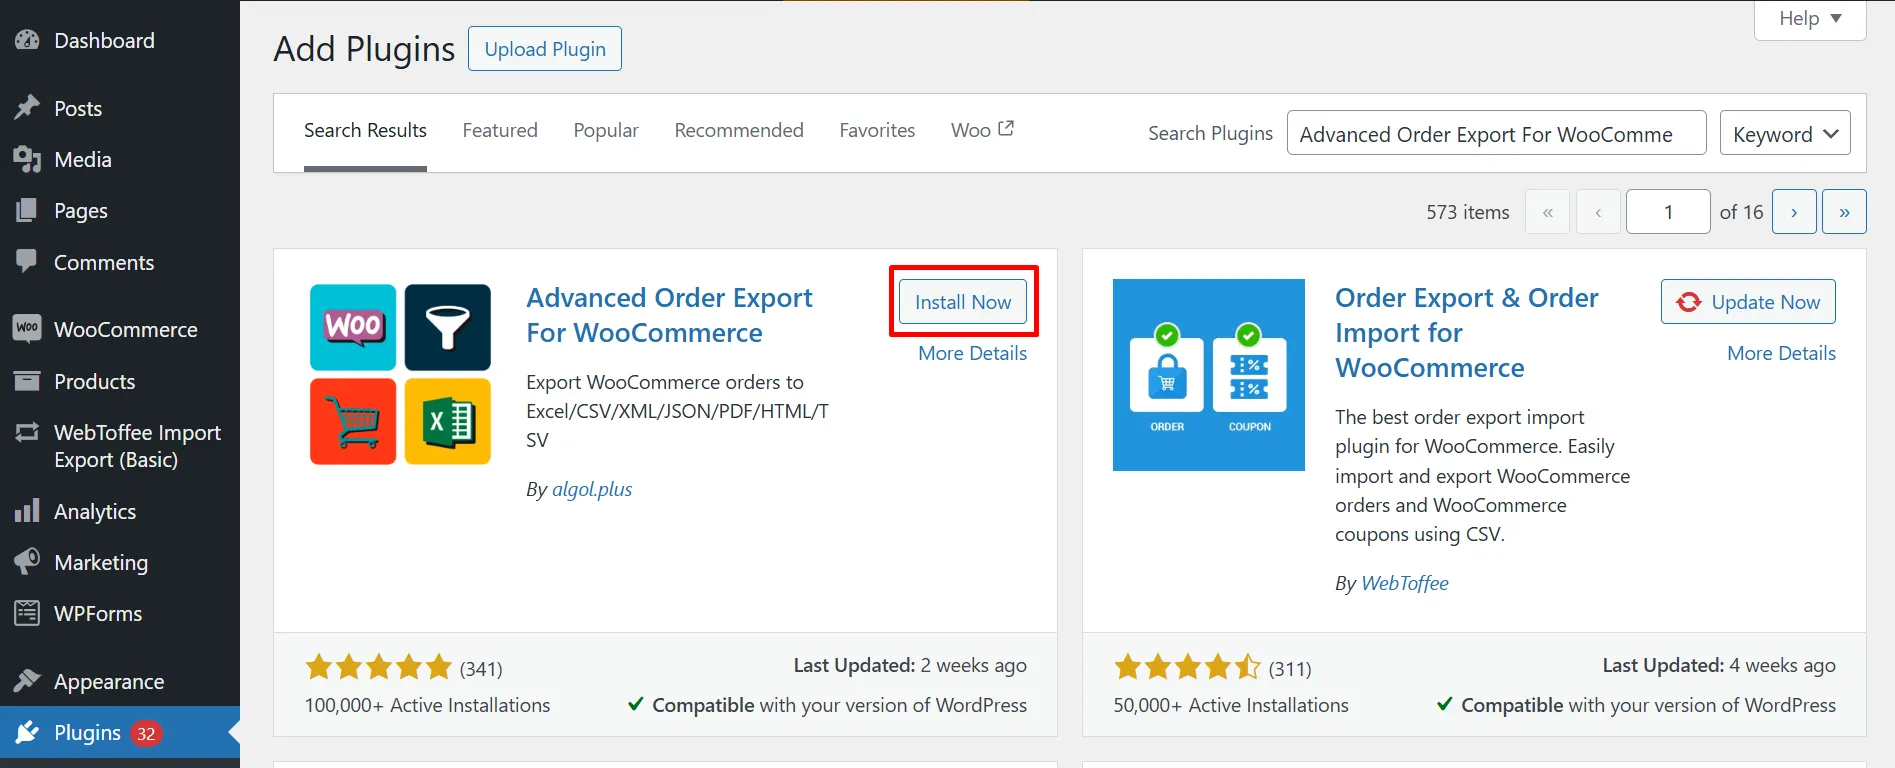
To get started, install the plugin by going to Plugins > Add New in your WordPress dashboard. After that, search for Advanced Order Export for WooCommerce, then click “Install Now” to activate it.
Once it’s active, a new Export Orders tab will appear under the WooCommerce menu. From here, you can:
- Set a date range for the orders you want to export
- Choose CSV as the file type
- Select which details to include, such as product names, SKUs, discounts and coupons, etc.
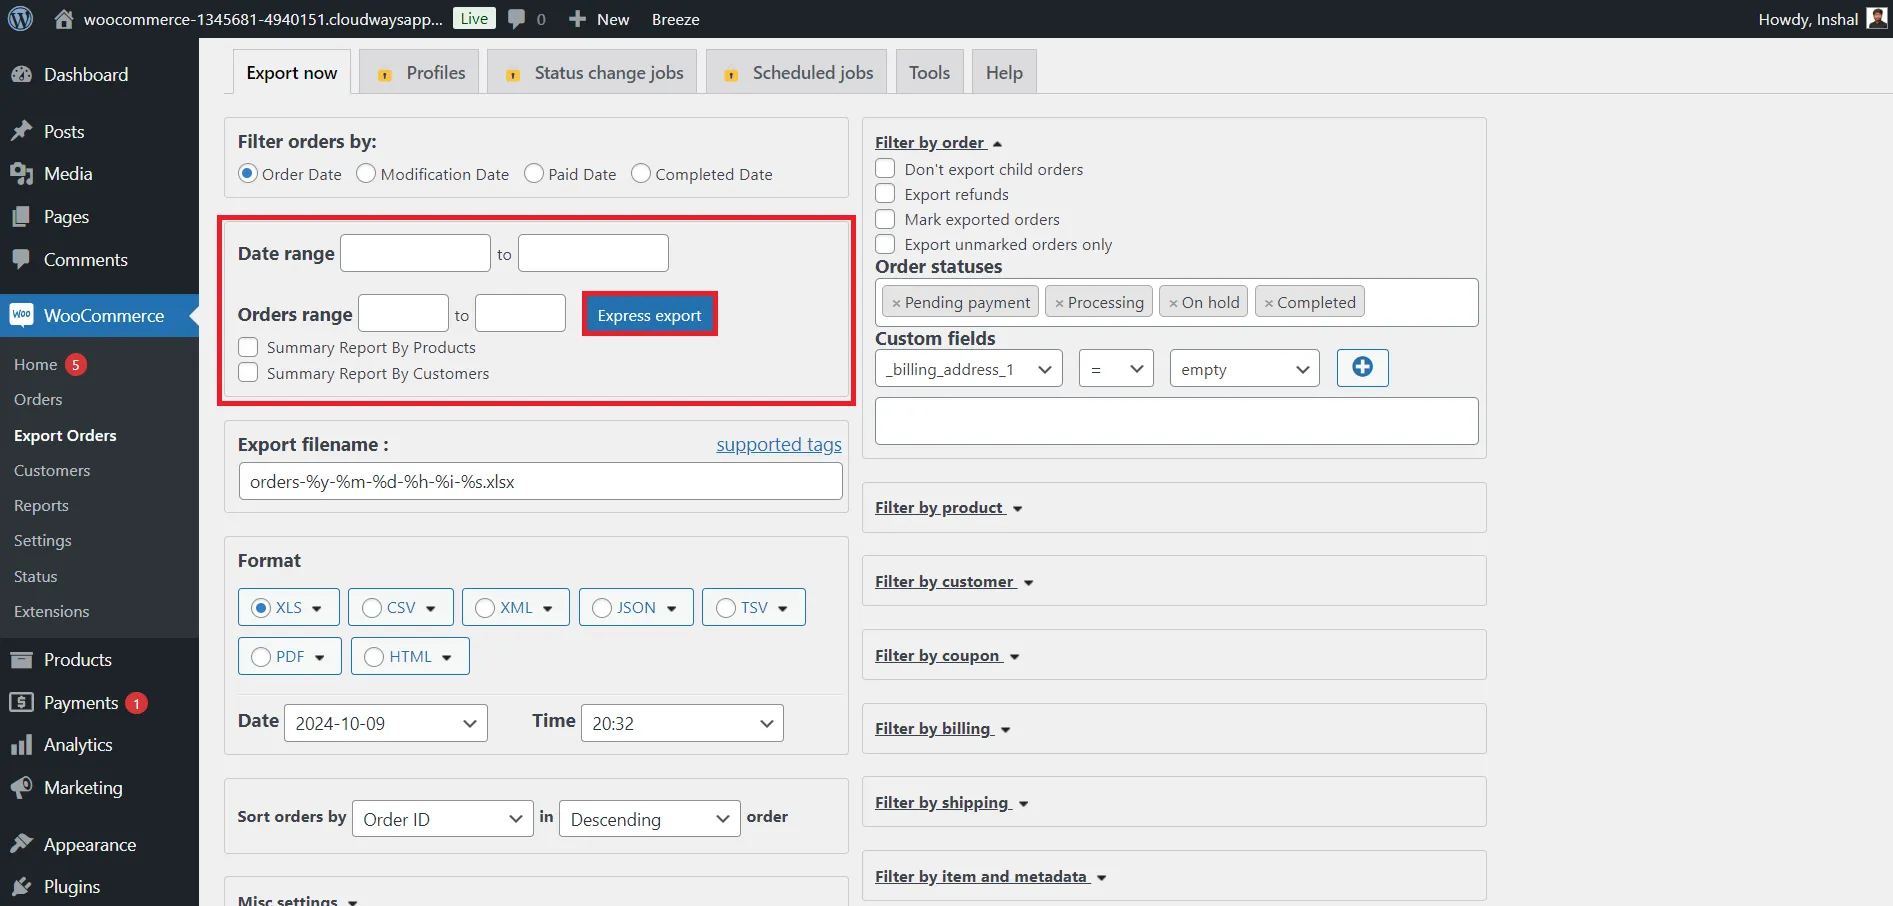
When you’re done, click “Export”, and the plugin will instantly create a CSV file with all the order data.
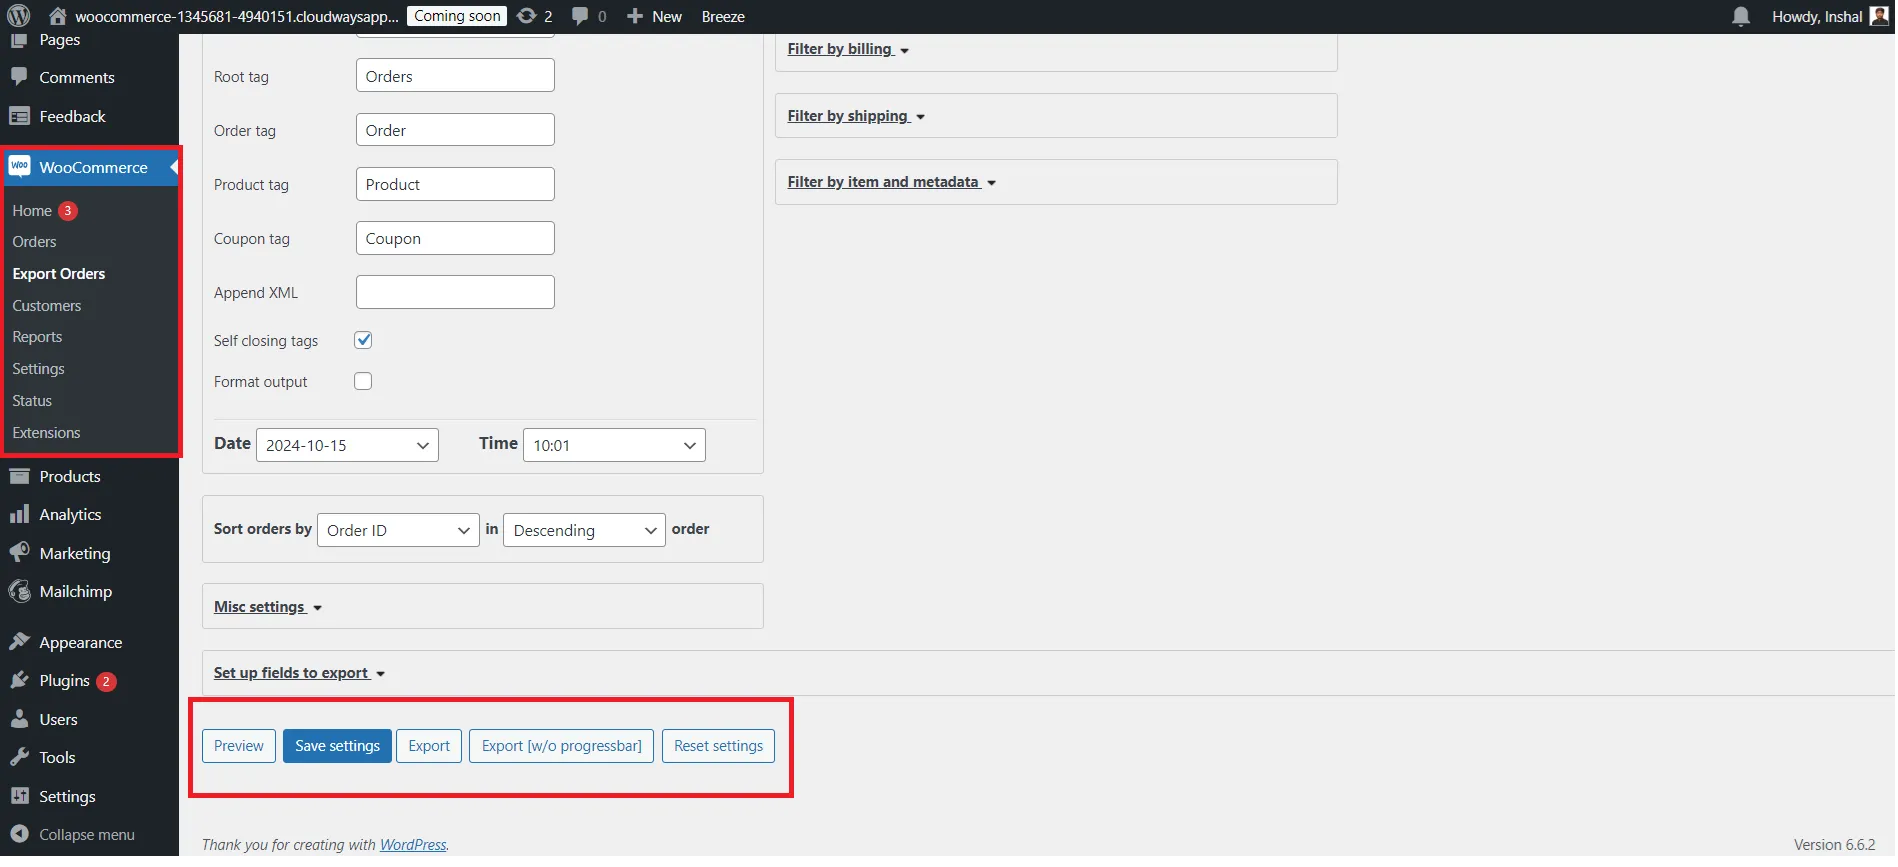
The spreadsheet will include columns like product names, order totals, and dates.
Step 2: Prepare the CSV File
After exporting your WooCommerce orders, you'll need to manually format the CSV file so it matches QuickBooks' Sales Receipt structure. This step is necessary because the two platforms organize data differently, and QuickBooks won't accept the raw WooCommerce format.
To get started, open your exported file in Excel or Google Sheets. Next, create a new sheet or tab to rebuild the data using column headers that QuickBooks can recognize. At a minimum, each row should include:
Column name | Description |
Sales receipt # | The WooCommerce Order ID. This will act as the Sales Receipt number in QuickBooks. To preserve this, make sure custom transaction numbers are enabled in your QBO settings. |
Sales receipt date | The date the order was placed. Use the format MM/DD/YYYY. QuickBooks uses this as the transaction date. |
Customer name | The full name of the buyer. QuickBooks will match this to an existing customer or create a new one if it doesn’t exist. |
Product/service | The name or SKU of the product, which should match a product already in your QuickBooks account. |
Quantity | The number of units sold for that line item. |
Amount | The total for that line item (Quantity × Rate). QuickBooks calculates totals using this value. |
Tax amount | VAT or tax amount for the line. Only include this if VAT is enabled in your QuickBooks account. |
Category | (Optional) Assign a product to a category using the format [category name]:[item name]. Don’t duplicate items across multiple categories. |
Currency | (Optional) Specify the transaction currency (e.g., USD, EUR). If left blank, new customers default to GBP. |
If a single order includes multiple items, list each one on a separate row, but repeat the same Sales Receipt #, Customer, and Date for all of them. This allows QuickBooks to group them into one receipt.
There are also some important limitations to keep in mind when preparing your file:
- Discounts and negative values are not supported, so you’ll need to leave out any discount lines or rework them manually
- Custom transaction numbers must be turned on in QuickBooks if you want to preserve the original WooCommerce order numbers.
- VAT columns should only be included if VAT is enabled in your QuickBooks account – otherwise, QuickBooks will calculate tax for you automatically.
- Limit your import to 100 sales receipts at a time for best performance and to avoid upload errors.
Once your file is fully formatted and double-checked, save it as a .csv.
Step 3: Upload the CSV file to QuickBooks
Now, it’s time to import data from WooCommerce to QuickBooks by uploading your file with the built-in import tool.
To begin, click the Gear icon in the top-right corner of your QuickBooks dashboard. Under Tools, select Import data, then choose Sales receipts.
QuickBooks will prompt you to review the required fields and provide a sample file as a reference. Click Browse, then select the CSV file you just prepared.
If your file doesn’t include line items, QuickBooks will assign them to a generic item called Sales by default. To streamline the process, you can check the boxes to automatically create any new customers or items that don’t already exist in your QuickBooks account. Once everything looks good, click Next to continue.
Step 4: Map column headings
Once your file is uploaded, QuickBooks will prompt you to map each column from your CSV to the correct QuickBooks field. Required fields are marked with an asterisk (*), and any unnecessary columns can be set to Not applicable.
Make sure to select the correct date format (e.g., DD/MM/YYYY or MM/DD/YYYY) to match your file.
If VAT is enabled, you’ll also need to choose whether the amounts are inclusive or exclusive of tax, and map your VAT codes to QuickBooks' tax codes.
QuickBooks will highlight any missing or mismatched fields, giving you a chance to fix them before moving on.
Step 5: Start the import
After you’ve mapped all the fields, QuickBooks will display a final import summary so you can review the data one last time.
If everything looks correct, click “Start import” to begin. QuickBooks will process your file and show a summary once it’s done. Successfully imported sales receipts will be listed, and any that failed will include an explanation so you can fix and re-upload them if needed.
When the import is complete, click “All done”, then “OK” to return to your dashboard.
While importing orders manually gives you full control over the data, it also requires time, effort, and careful formatting. From our experience, it’s a solid option for small stores or occasional syncs.
How to Import WooCommerce Orders to QuickBooks Using a Third-Party Plugin?
If you're looking for deeper customization, real-time syncing, or support for both QuickBooks Online and Desktop, using a third-party plugin is a powerful alternative. One of the most trusted solutions is QuickBooks Sync for WooCommerce by MyWorks – a robust plugin that automates order imports, inventory syncing, tax mapping, and more.
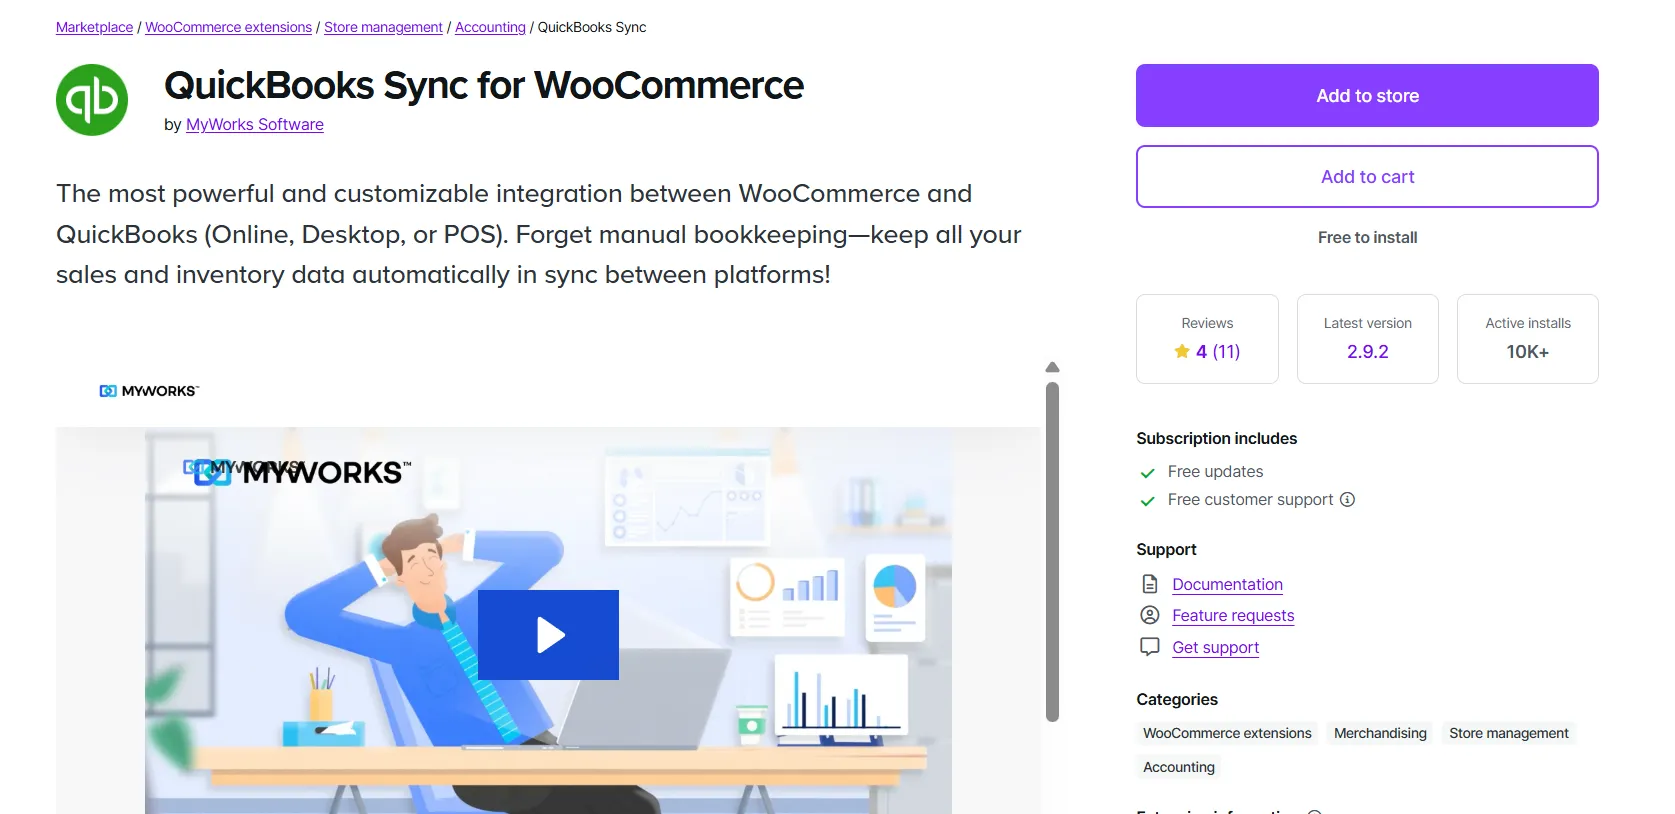
Let’s see the steps to import order from WooCommerce to QuickBooks with this plugin!
Step 1: Download and install the plugin
In your WordPress dashboard, go to Plugins > Add New, search for the plugin and click Install Now, and activate it.
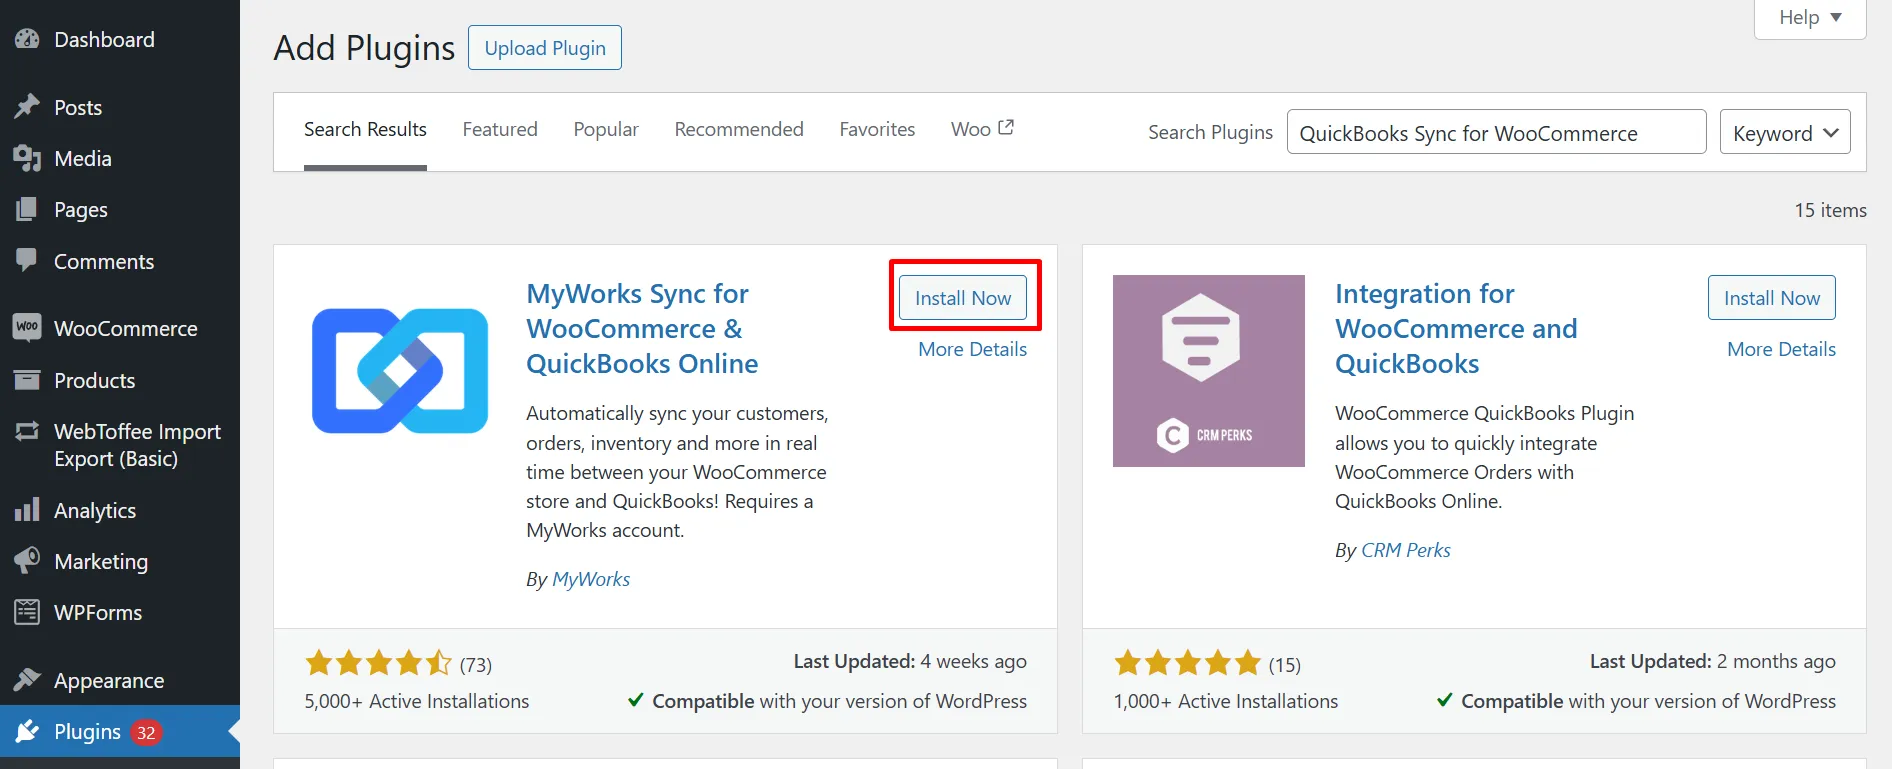
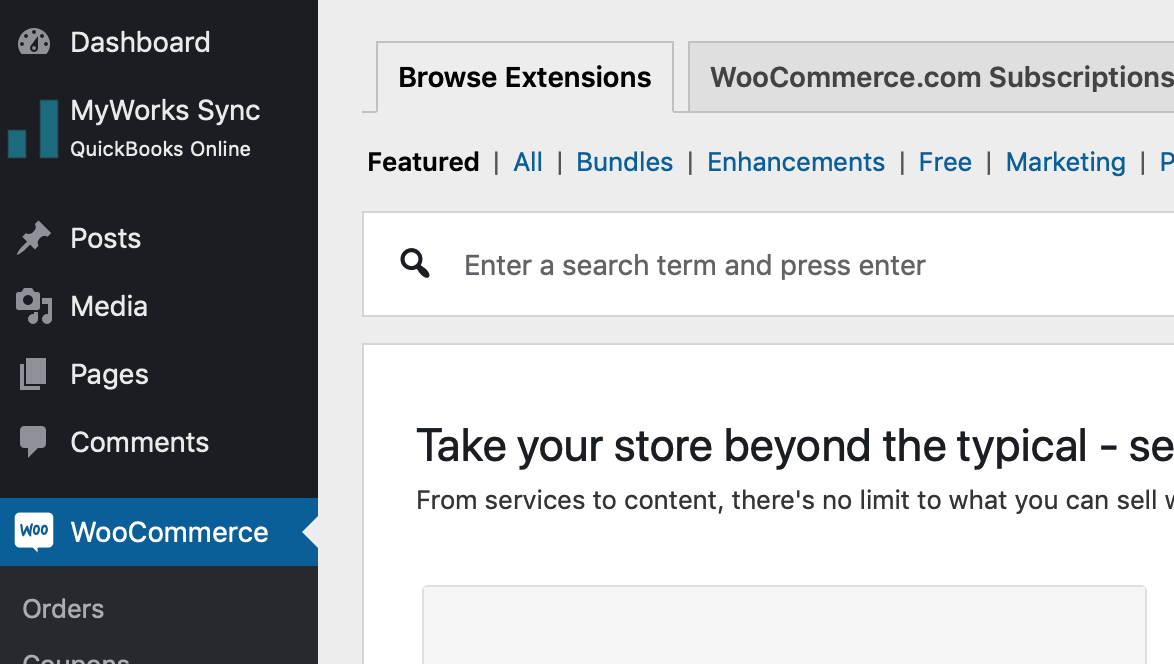
After activation, you’ll see a new menu item labeled MyWorks Sync under WooCommerce.
Step 2: Connect to QuickBooks
To connect your WooCommerce store to QuickBooks:
- Sign up for a MyWorks account if you haven’t already.
- In MyWorks Sync > Connection, enter your license key.
- Click Connect to QuickBooks, then follow the prompts to sign in and link your company file.
Once connected, your store stays linked unless you manually disconnect it from your QuickBooks company.
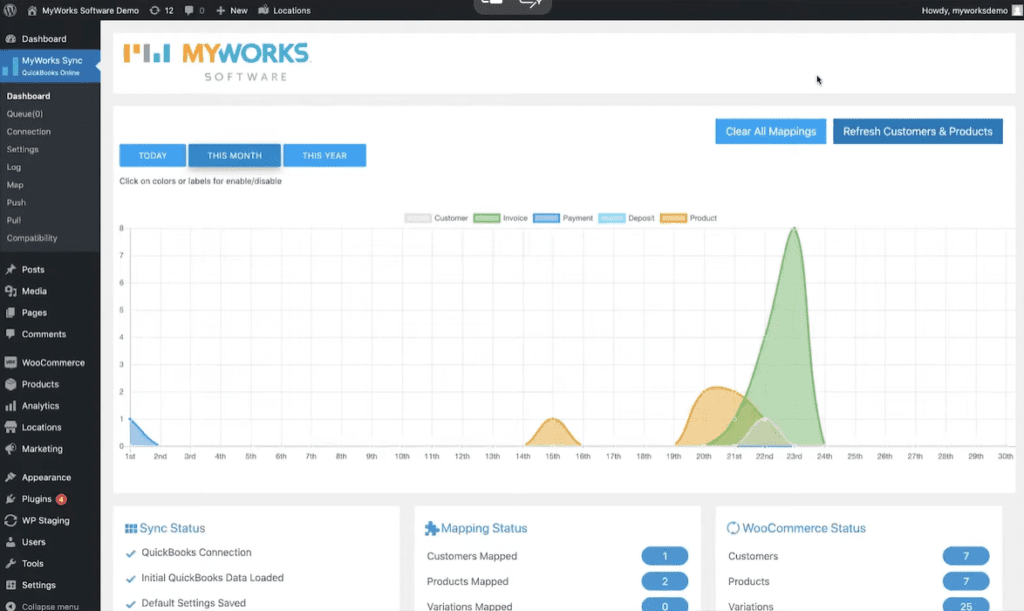
Step 3: Configure settings
Now that you're connected, head over to MyWorks Sync > Settings to set your default options.
- Choose whether orders are synced as invoices or sales receipts.
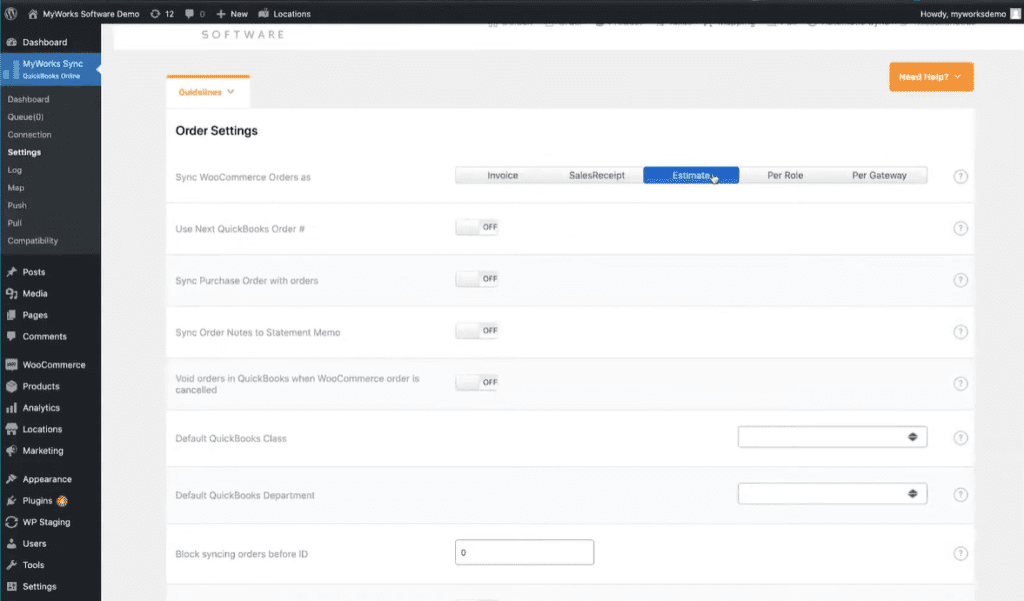
- In Settings > Automatic Sync, enable real-time syncing for new customers, orders, products, and inventory (you can customize sync direction for each type).
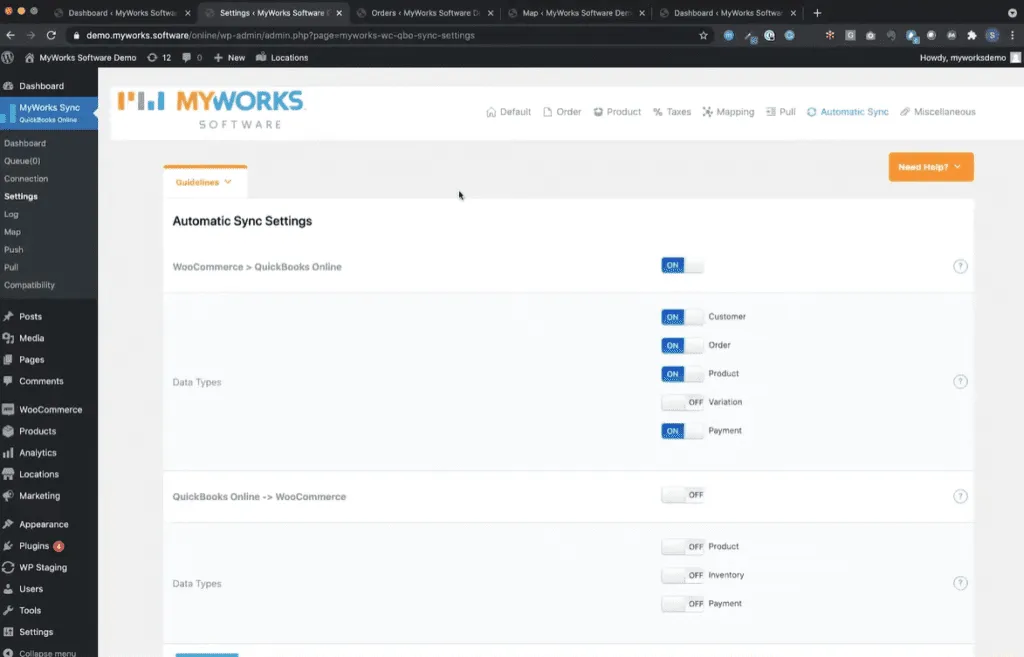
- Adjust additional preferences such as currency, tax handling, or inventory behavior.
These settings control how and when data moves between platforms – helping you avoid manual entry and stay in control.
Step 4: Map the data fields
Last but not least, you’ll need to map your existing customers, products, payment methods, and (if applicable) tax rates. You can do this from the MyWorks Sync > Map section:
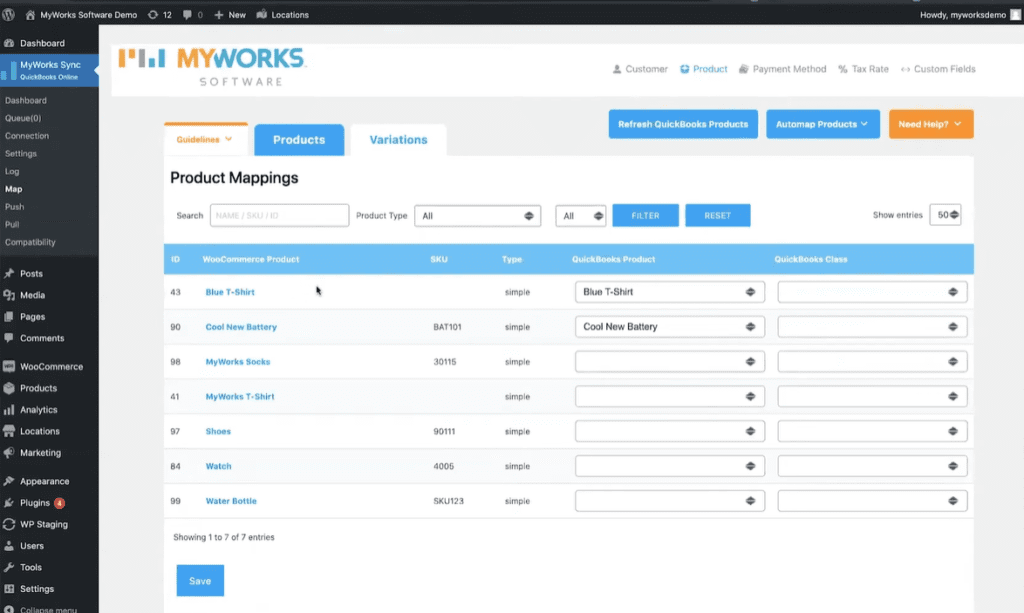
More specifically, here are the meanings of the mapping data types:
Mapping type | What it does |
Customers | Matches existing WooCommerce customers to their QuickBooks records. Use the AutoMap tool to match by name, company, or email – or map manually. |
Products | Links WooCommerce products to QuickBooks items. Match by SKU or name, or push/pull items between systems. |
Payment methods | Connects WooCommerce gateways (e.g. PayPal, Stripe) to the appropriate QuickBooks bank account and payment method. |
Taxes | (For non-US users) Map your WooCommerce tax rates to their corresponding QuickBooks tax codes. If you're in the US and using Automated Sales Tax, this step is handled automatically by MyWorks. |
Once mapping is complete, you're ready to sync orders and keep your store and QuickBooks records fully in sync.
As you can see, using a third-party plugin like MyWorks Sync strikes a great balance between control and automation. It’s ideal for stores handling a steady flow of orders to simplify the setup without giving up flexibility.
How to Sync WooCommerce Orders with QuickBooks Using QuickBooks Connector?
QuickBooks Connector (formerly OneSaas) is Intuit’s official integration tool that helps you sync orders between WooCommerce and QuickBooks Online. Unlike the manual CSV method, this tool allows you to automate order syncing, product mapping, tax handling, etc., automatically.
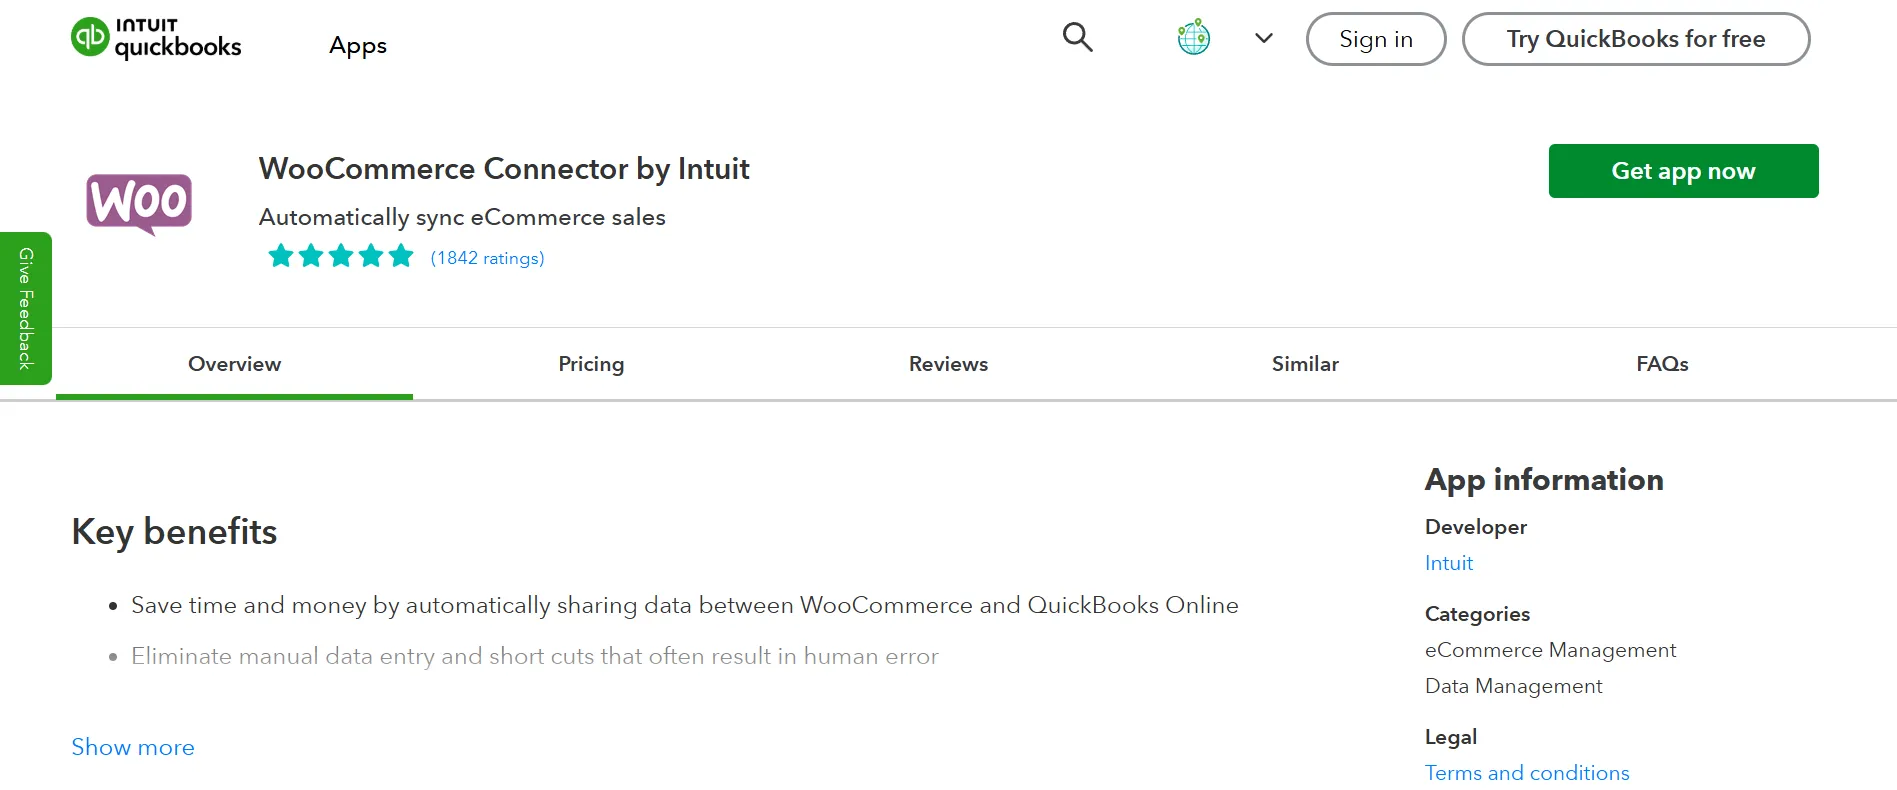
This is a great option if you want to save time, reduce human error, and keep your accounting system automatically up to date as new orders come in.
Before we start, please note that:
- You’ll need to create API credentials: OAuth Consumer Key, OAuth Token Secret, and OAuth Consumer Secret.
- This integration supports QuickBooks Online only.
- The plugin is now compatible with WooCommerce’s High-Performance Order Storage (HPOS) and the new Cart and Checkout block.
Here are the 7 steps on how to import order from WooCommerce to QuickBooks using QuickBooks Connector:
Step 1: Connect WooCommerce and QuickBooks Online to QuickBooks Connector
To get started, go to QuickBooks Connector and log in using your QuickBooks Online credentials. If you haven’t already, follow the prompts to connect both your WooCommerce store and your QuickBooks Online account.
Once connected, navigate to the “Manage” tab, where you’ll see both apps listed. This confirms the connection is successful and ready for sync setup.
Step 2: Set up WooCommerce and QuickBooks
Before creating your sync workflows, you’ll need to configure some basic synchronization options:
- Account timezone: Make sure it matches your store’s timezone to avoid mismatched timestamps.
- Integration Starting Date: Choose the date from which you want to start syncing WooCommerce orders.
- Email sync reports: You can enable reports to be sent to your email after each sync for easy tracking.
Once these general settings are saved, you’re ready to define how orders flow between WooCommerce and QuickBooks.
Step 3: Configure order sync workflow
Next, you'll choose your first workflow – syncing WooCommerce orders to QuickBooks Online.
Select the WooCommerce order statuses you want to sync. Most businesses will only sync Completed or Processing orders, but you can include Pending Payment or Partially Refunded orders if it fits your accounting workflow.
Step 4: Choose how orders appear in QuickBooks
In this step, match the WooCommerce orders to the corresponding QuickBooks fields. For QuickBooks Online, you have two options:
- Sales Receipts: Ideal if you collect payment at checkout (typical for most WooCommerce stores).
- Invoices: Best if you bill customers after the order is placed (e.g., for wholesale or B2B orders).
You’ll also find some advanced settings to help customize how your data appears:
Setting | Description |
Order number prefix | Add a prefix to all WooCommerce order numbers (e.g., Woo1234). Helps distinguish synced orders. |
Shipping item | Assign a specific product/item in QuickBooks to track shipping charges separately. |
Discount product | Assign discounts to a specific item in QuickBooks for cleaner reporting. |
Customer record type | Choose how customer info is synced:
|
Automatic invoice numbers | Let QuickBooks generate its own sequential sales receipt or invoice numbers (ignores Woo orders). |
Assign sales to class/location | Assign synced orders to a specific class or location in QuickBooks for reporting. |
Credit memos (Optional) | Enable the creation of credit memos in QuickBooks when WooCommerce orders are refunded or canceled. |
Step 5: Match products and set up taxes
To ensure accurate syncing, your WooCommerce products must have unique SKUs, and these need to match with product records in QuickBooks. QuickBooks Connector offers two ways to match products:
- By Name: Matches the WooCommerce SKU to the product name in QuickBooks
- By SKU: Matches the WooCommerce SKU directly to the SKU field in QuickBooks
After that, you’ll move on to tax configuration. If you have tax rules set up in WooCommerce, you’ll need to match each one to the corresponding tax code in QuickBooks Online.
Note: If Automated Sales Tax is enabled in your QuickBooks account (US only), or if tax tracking is turned off, you can skip this mapping step.
Step 6: Add new items (if needed)
If you’re selling products in WooCommerce that don’t yet exist in QuickBooks, QuickBooks Connector can create them during the sync.
You’ll need to specify:
- The income account and expense account for these new items
- Whether the item is inventoried or not (COGS will be assigned, but not actual cost values)
Step 7: Decide payment settings
In the final step, you can choose how WooCommerce payment data is handled in QuickBooks.
You can either:
- Sync payment data along with each order, assigning payments to specific accounts (like PayPal or Stripe),
- Or skip payment syncing if you prefer to handle that manually.
If you want more control, you can also map different WooCommerce payment methods to different clearing accounts in QuickBooks. This is especially helpful if you're managing multiple gateways or want clean reconciliation for your bank feeds.
Overall, QuickBooks Connector is a powerful solution if you want a reliable, hands-free sync between WooCommerce and QuickBooks Online. Once set up, it automates the entire process, thus saving time and reducing the risk of manual errors.
WooCommerce Import Orders to QuickBooks: FAQs
How do I export all orders from WooCommerce?
You can export all orders directly from your WooCommerce dashboard using either the built-in WooCommerce reports or a dedicated plugin like Advanced Order Export for WooCommerce. With a plugin, you can filter orders by date, status, product, or customer – and download the file in CSV or Excel format for easier use with QuickBooks or other tools.
Can you connect WooCommerce to QuickBooks?
Yes, WooCommerce can connect to QuickBooks using tools like QuickBooks Connector (by Intuit) or third-party plugins such as MyWorks Sync. These integrations allow you to sync orders, products, customers, payments, and taxes automatically – saving you time and reducing manual errors.
How do I import orders into QuickBooks?
You can import orders into QuickBooks using a few different methods, depending on the version you’re using:
- CSV file import: QuickBooks Online and Desktop both support importing sales data via CSV files. Orders are typically imported as invoices or sales receipts.
- Third-party tools: Platforms like SaasAnt, Transaction Pro, and CData allow for more flexible, bulk importing with field mapping and automation.
- Native integrations: Some sales platforms (e.g., Shopify, Amazon, Square) offer direct integrations with QuickBooks for automatic order sync.
- APIs or custom solutions: For more complex workflows, businesses may use QuickBooks API to build custom imports via development tools or middleware apps.
Can you import Purchase Orders into QuickBooks Desktop?
Yes, QuickBooks Desktop supports importing Purchase Orders, but the process is more limited compared to importing sales data. You’ll need to use Intuit’s IIF format or third-party tools that support PO imports. Be sure to structure your file according to QuickBooks Desktop’s format rules, especially for fields like vendor, item, and amounts.
Does WordPress integrate with QuickBooks?
WordPress itself doesn't directly integrate with QuickBooks. However, if you're running a WooCommerce store on WordPress, you can integrate it with QuickBooks using:
- QuickBooks Connector (OneSaas) for basic sync
- MyWorks Sync for advanced control and mapping
- Zapier or similar automation tools for custom workflows
These tools bridge the gap between your WordPress site and your accounting system, making bookkeeping much easier.
Conclusion
That’s it! We’ve walked you through all the methods on how to import order from WooCommerce to QuickBooks. No matter which path you take, importing WooCommerce orders into QuickBooks accurately will save you time and keep your financial records clean and up-to-date.
Check out our other WooCommerce tutorial blog posts and join our Facebook community group to get more tips, insights, and support from fellow eCommerce merchants.

