Weebly is one of the most beginner-friendly platforms out there, and with a little guidance, you can have your online store up and running in no time. If you are just getting started or considering this platform, our Weebly tutorials are for you.
In this Weebly tutorials, we will walk through all the steps from creating your account to launching your actual site. Here are the key steps we will cover:
- Step 1: Sign up for Weebly;
- Step 2: Choose the website type;
- Step 3: Design your website;
- Step 4: Set up your domain;
- Step 5: Build your online store;
- Step 6: Integrate apps;
- Step 7: Pick a pricing plan;
- Step 8: Launch your site.
Let’s get in!
Step 1. Sign Up for Weebly
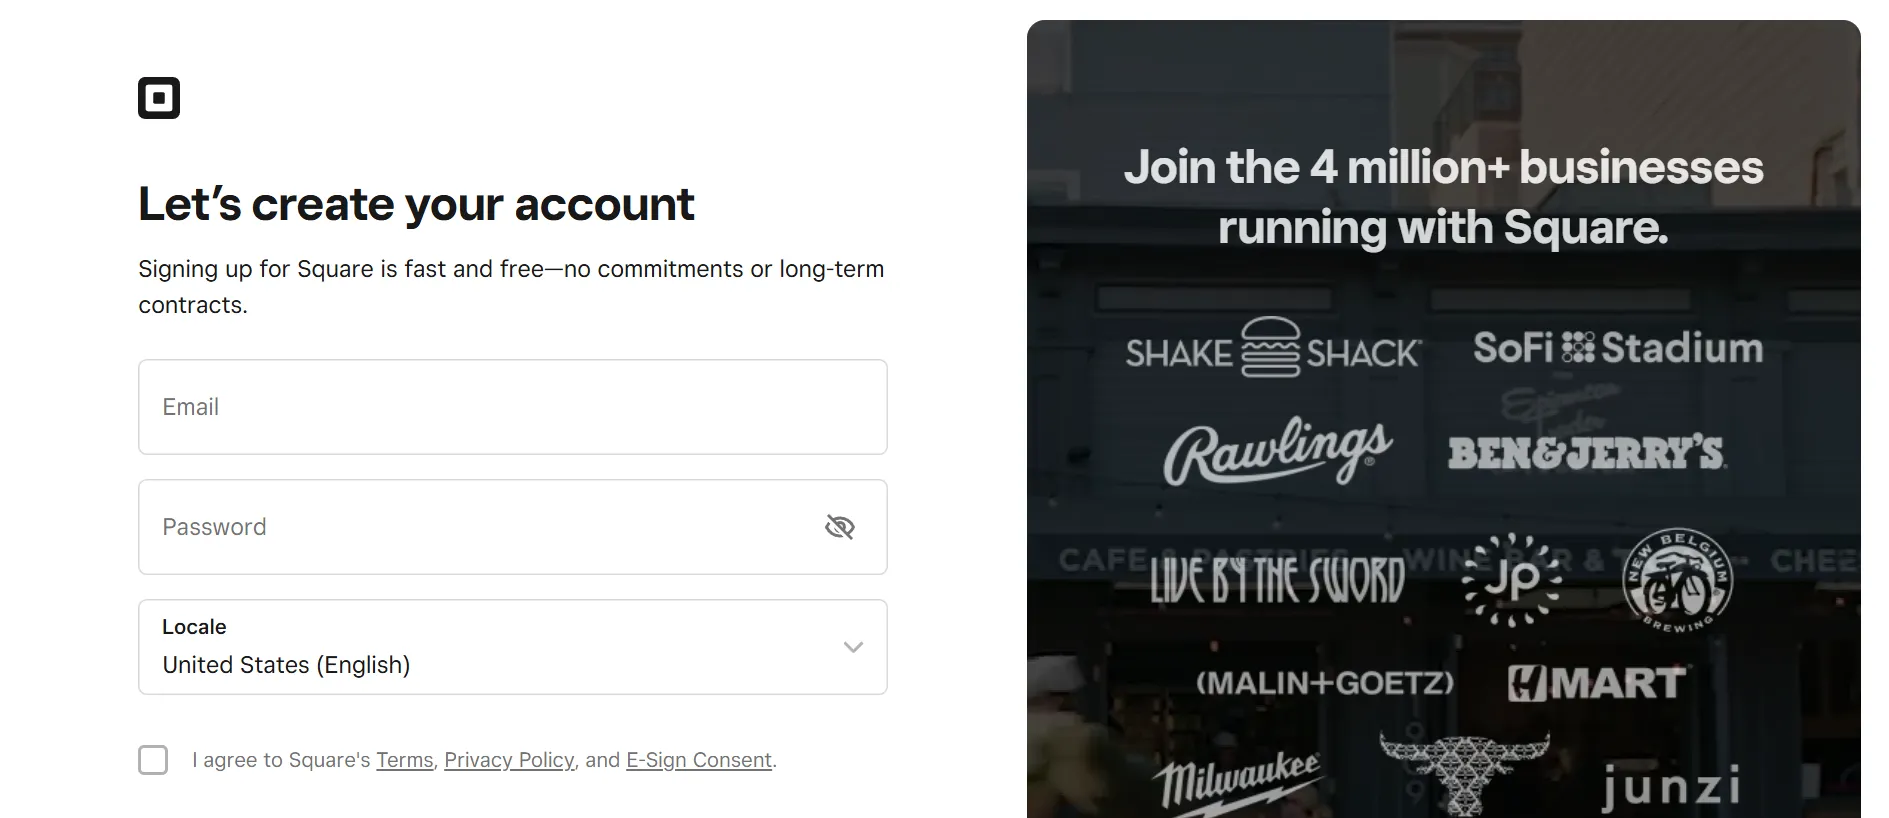
First, go to Weebly.com. From the homepage, click the “Create Your Website” button at the center of the screen. This will take you to the sign-up page, where you'll be asked to enter your name, email address, location, and a password to create your account.
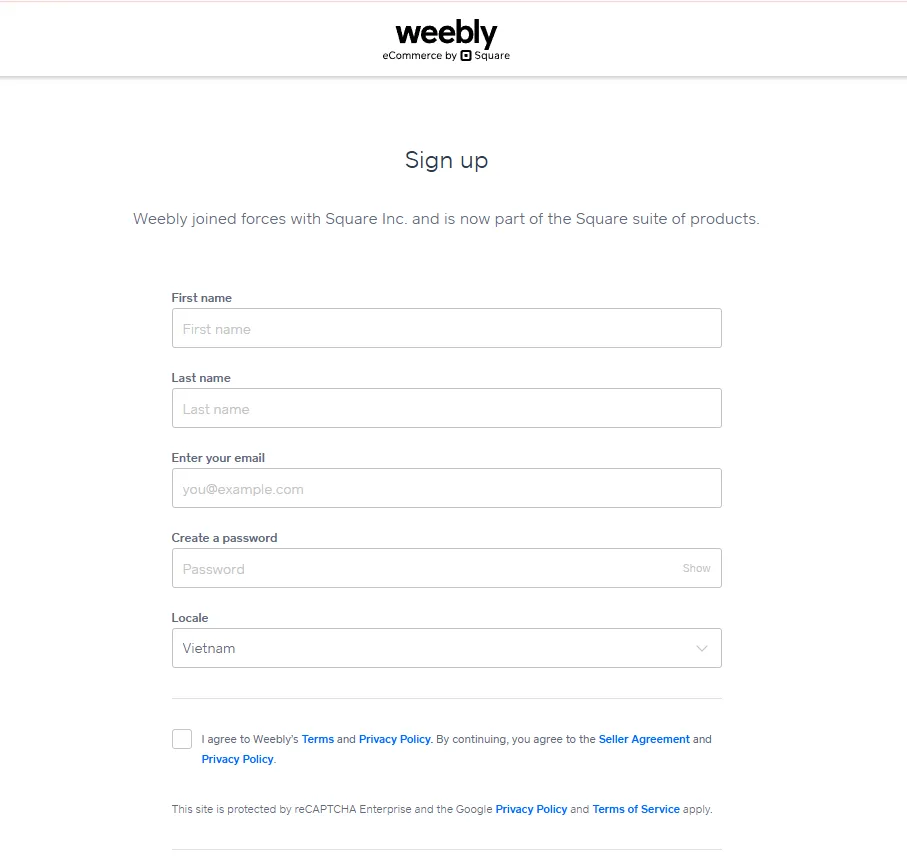
You’ll notice the Square logo on the sign-up page, as Weebly is now part of Square (Block, Inc.). Furthermore, if you are located in the United States, you’ll be automatically redirected to Square’s login and onboarding system. The dashboard and experience from that point onward will reflect Square’s interface and branding, rather than the classic Weebly environment.
Step 2. Choose Your Website Type
After signing up, Weebly will ask: “What kind of website would you like to create?” You'll see two options:
- I need a website with an online store
- I just need a website
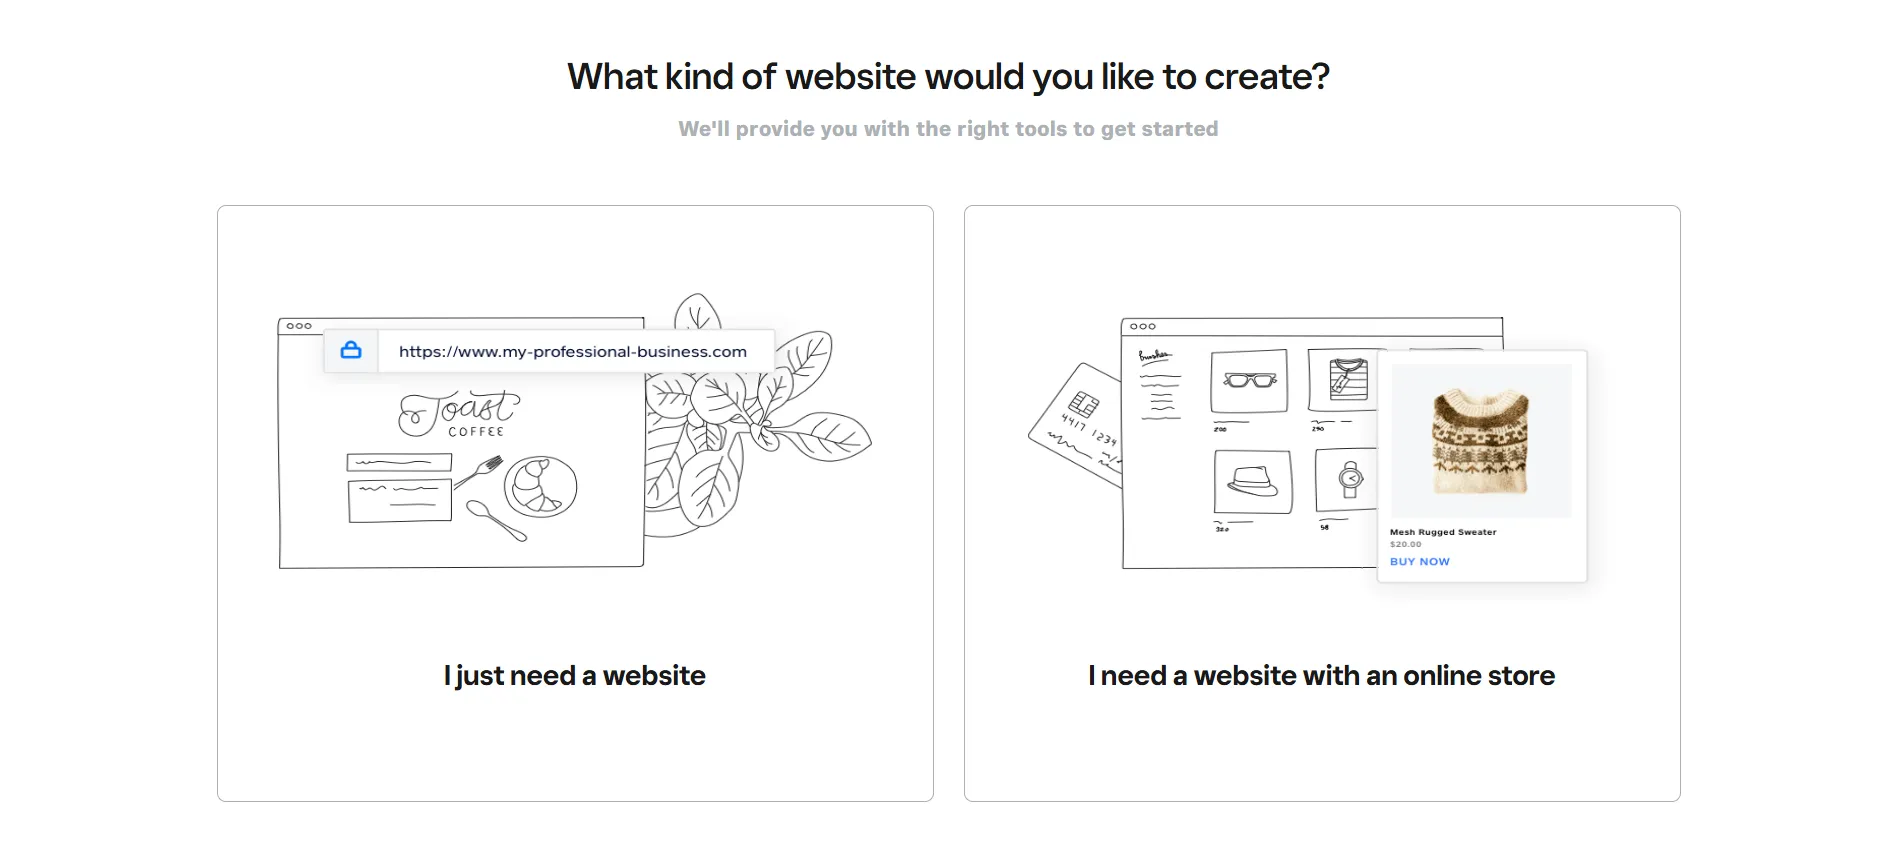
If you select “I need a website with an online store”, Weebly will automatically redirect you to Square Online, which uses a completely different editor. You’ll be building your store inside Square’s system, not the classic Weebly editor. This Weebly tutorial won’t cover Square Online, so you can exit here if you're heading in that direction.
For anyone who selects “I just need a website”, you’ll remain inside the classic Weebly editor, on which our Weebly tutorials steps are based. From here, you can continue to the next step and start building your site.
Step 3. Design Your Website
In this step of the Weebly tutorials, you’ll start by selecting a theme for your site. Weebly offers around 50 free themes, covering a variety of categories, including business, portfolio, personal, blog, and more. Once you pick a category, Weebly will help narrow down your choices to templates that fit your website type.
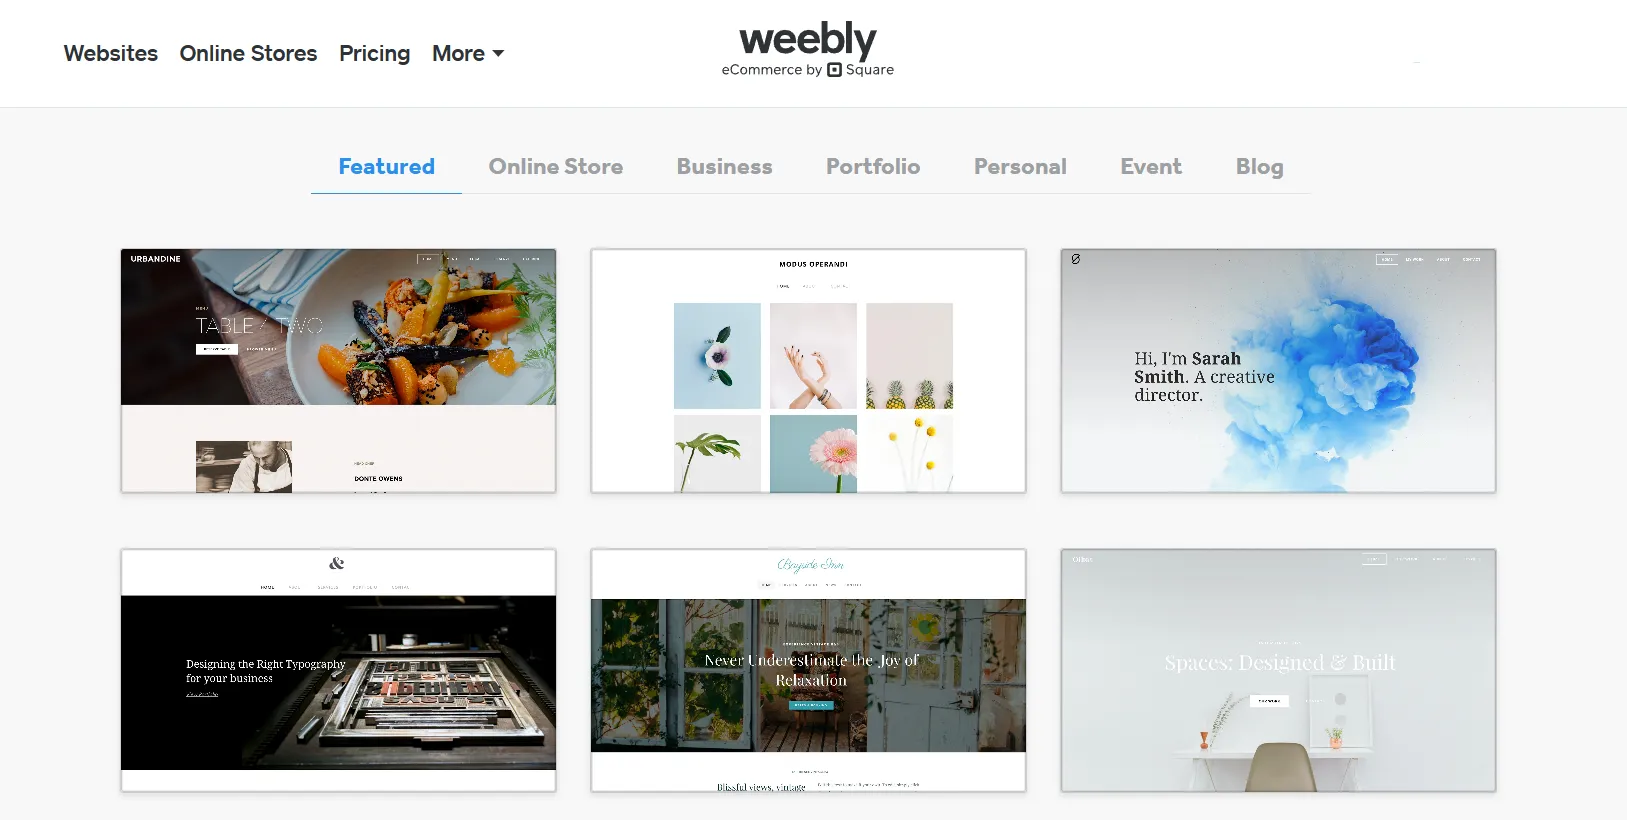
After selecting your theme, you’ll enter the Weebly editor, where you can personalize your website to match your brand and content. In the Weebly tutorials below, we’ll walk you through how to edit different parts of your site step by step.
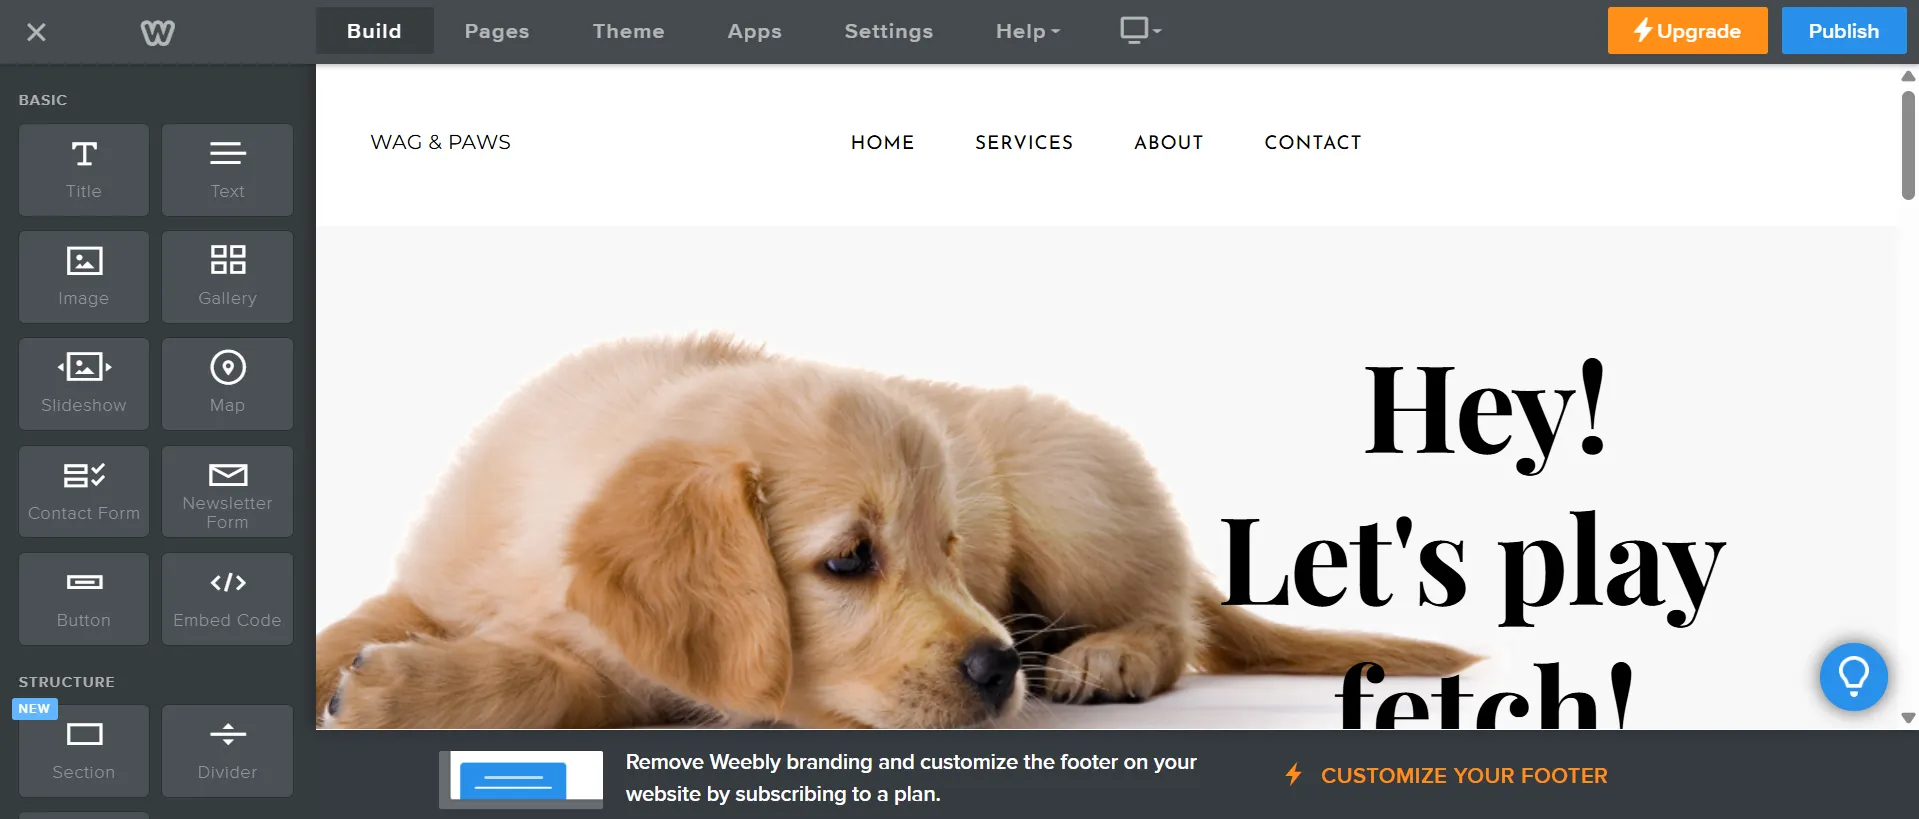
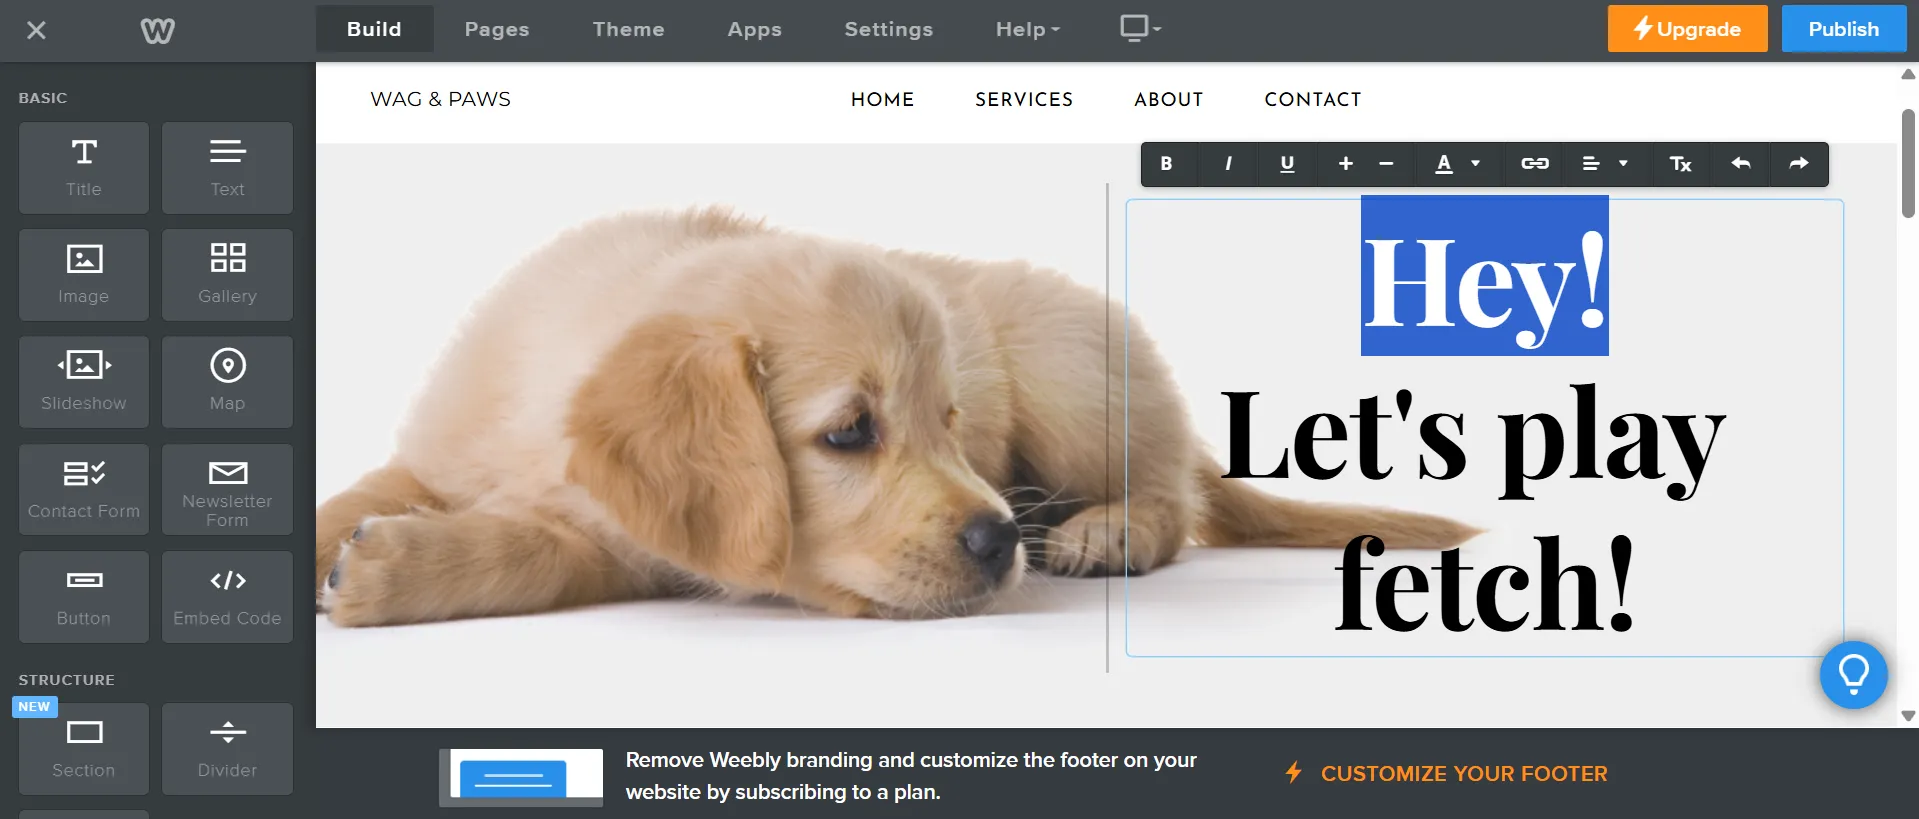
Step 3.1. Edit text boxes
Click directly on any text section, such as headers or product descriptions to start editing. The text editor allows you to change fonts, resize text, add links, or format text with bold, italic, and other simple styles. You can also change the color of the text to enhance your storefront’s design.
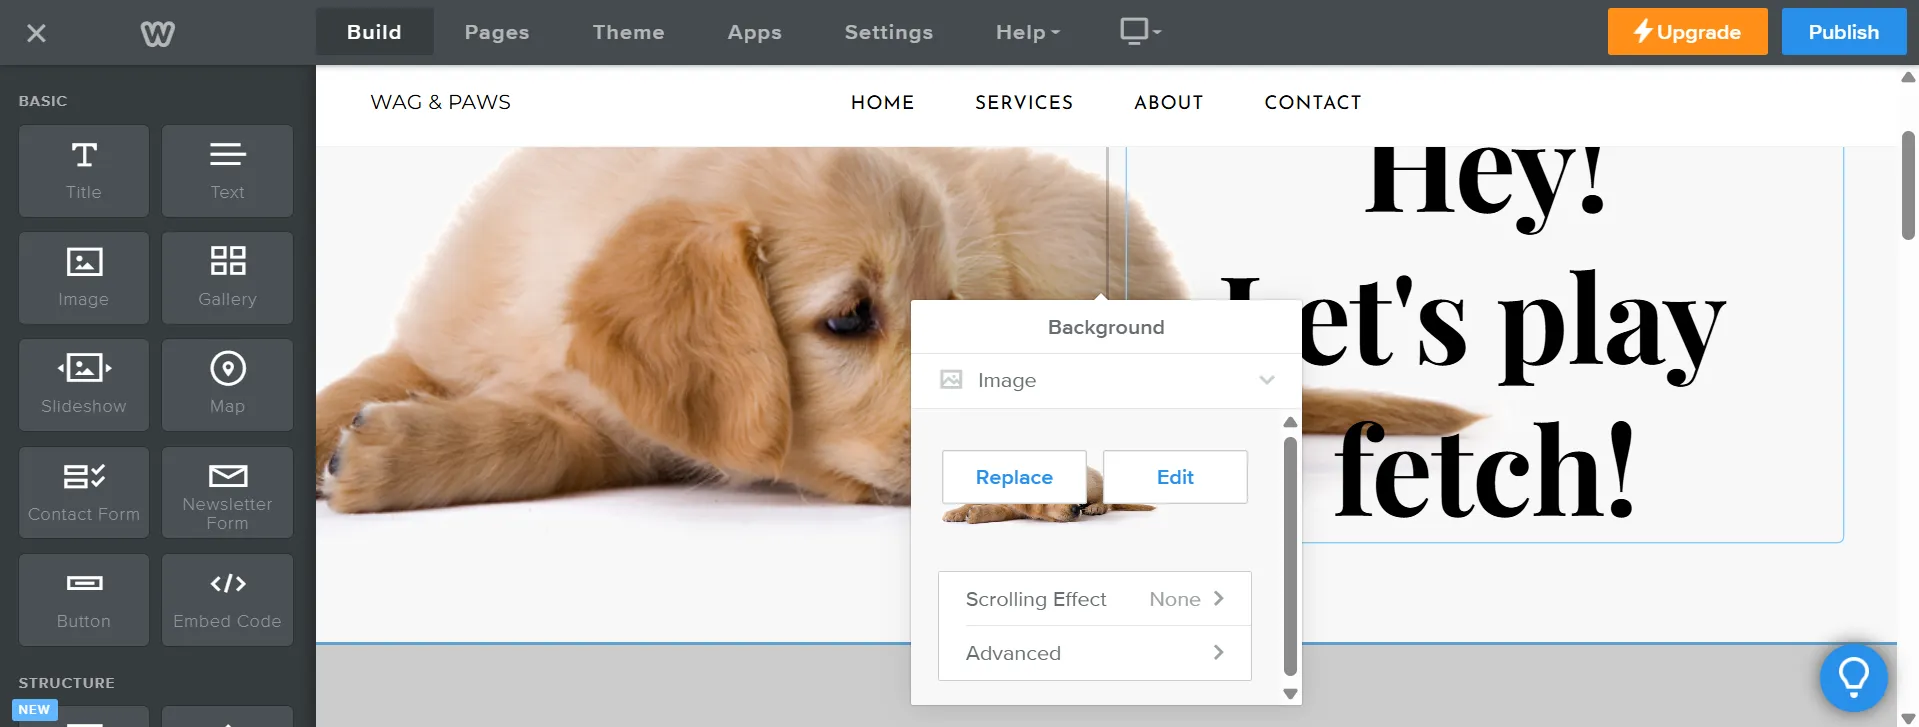
Step 3.2. Edit the background
To edit the background in the Weebly editor, simply click on the background you want to change. Then, click the “Edit Background” button that appears. From there, you can replace the image by uploading your own, apply a scrolling effect, and adjust the content alignment to better fit your design.
Step 3.3. Add elements
In the Weebly editor, adding new elements to your page is simple and flexible. You’ll find a variety of basic elements in the left-hand sidebar, such as Title, Text, Image, Gallery, Slideshow, Map, Contact Form, Newsletter Form, Button, and Embed Code.
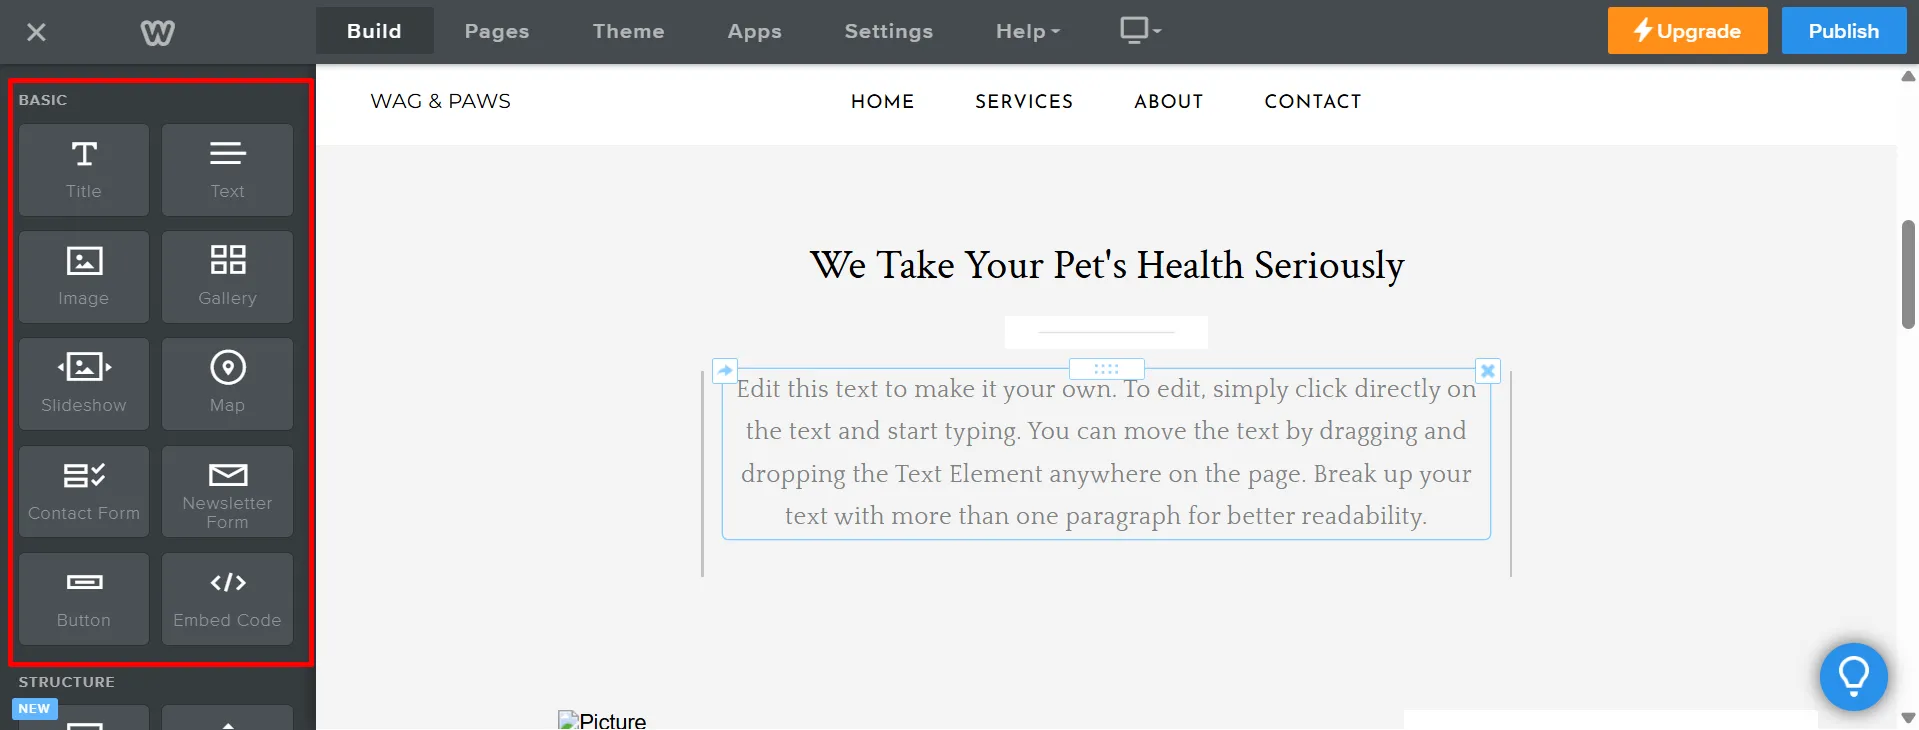
To add any of these elements, simply click and drag the one you want directly into your page. You can drop it anywhere on the page: above, below, or between existing content blocks.
Once you’ve added an element, click on it to start customizing its content, style, and settings.
Step 3.4. Add new pages
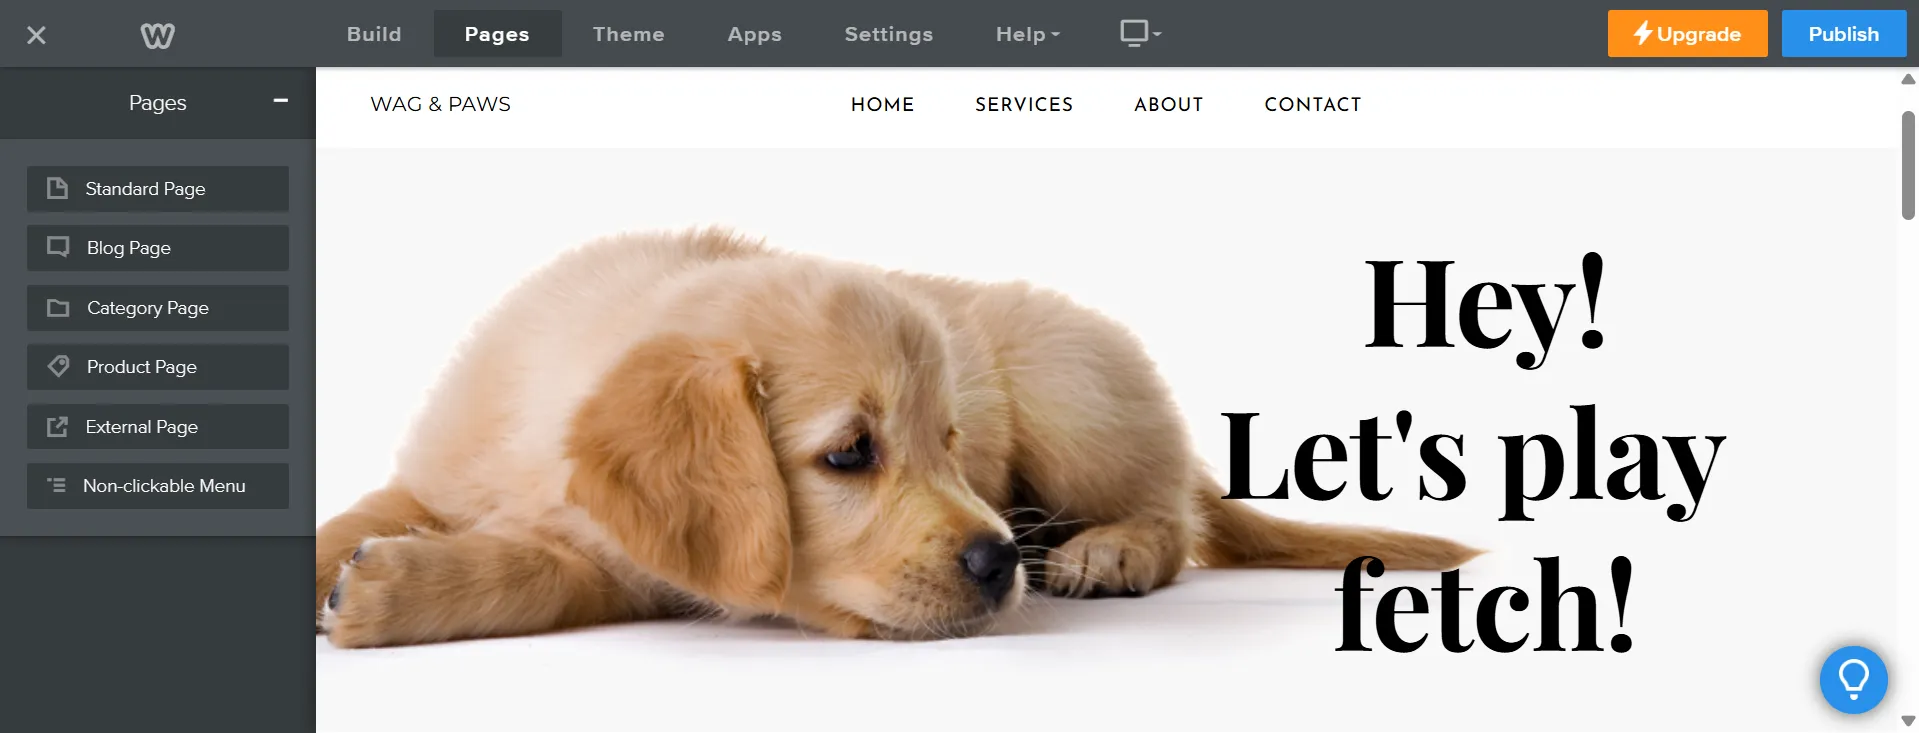
To expand your site, navigate to the Pages panel located at the top of the bar. This is where you can manage all of your website pages, from naming them to configuring the header type.
You can add new pages like Standard Page, Blog Page, Category Page, etc., by clicking on the “+” button. Then, choose whether they appear in your main navigation. Each page can have its own layout and design, giving your site structure and clarity.
Step 3.5. Add new sections
To add a new section in the Weebly editor, go to the left-hand sidebar and look for the “Structure” group. From there, simply drag and drop the “Section” element onto your page where you want the new section to appear.
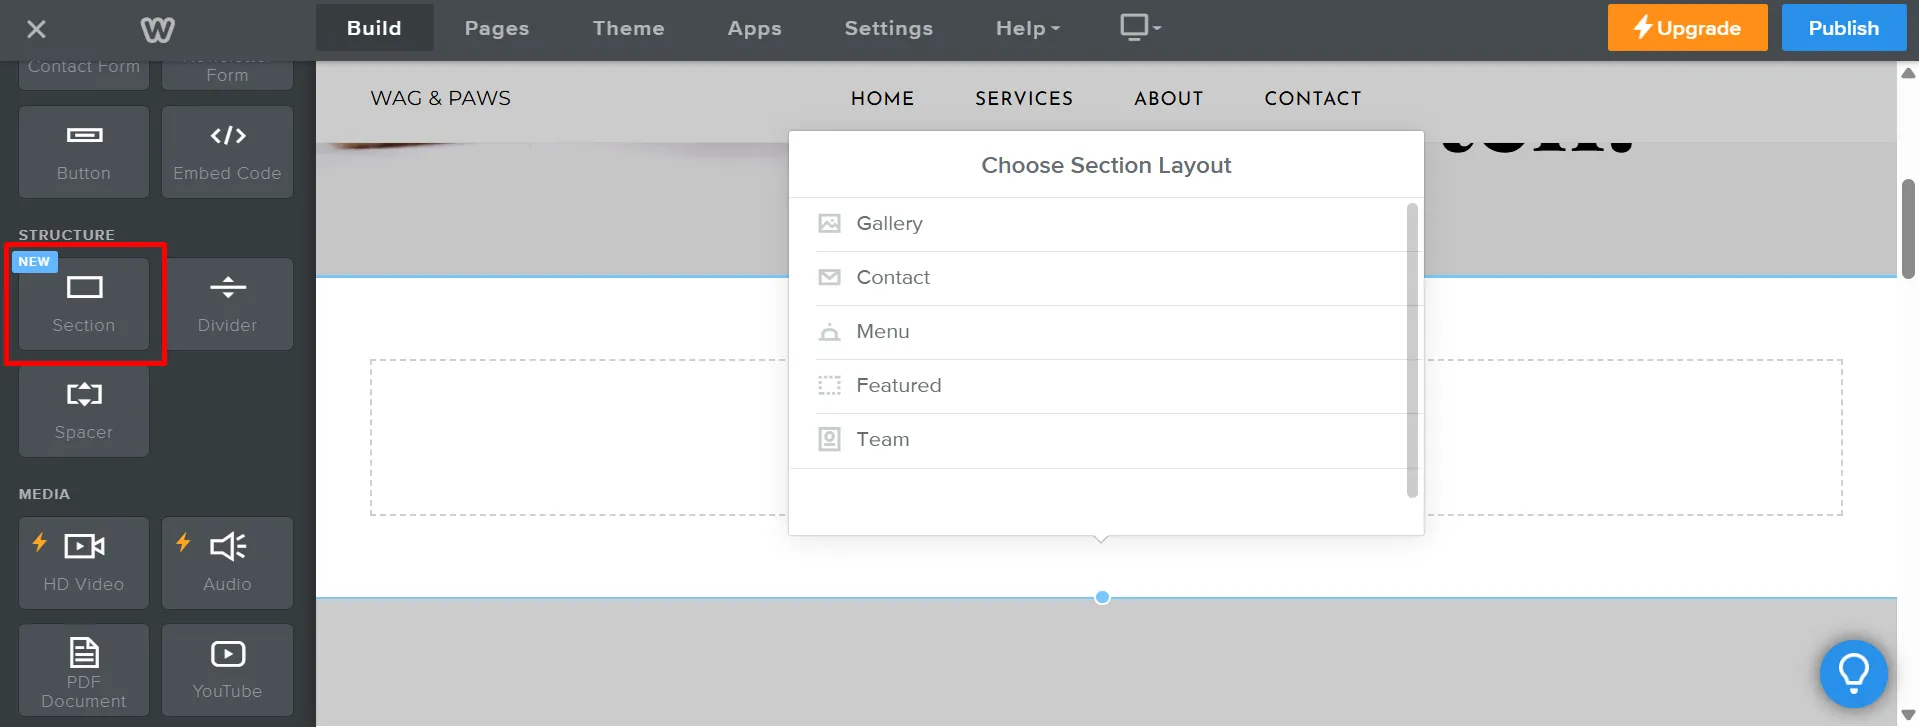
Once you drop it in place, Weebly will open a list of different section layouts you can choose from, such as Gallery, Contact, Menu, Featured, or Team. Pick the layout that best fits your content by clicking on it. The selected layout will be added to your page automatically.
After choosing the layout, click “Save” in the pop-up box. The new section is now ready for you to customize and edit just like any other part of your page.
If you want to delete a section, simply click on the section you want to remove. Then, click the small “X” icon located in the top-right corner of the section. The section will be deleted from your page instantly.
That’s it; our Weebly tutorials have guided you through all the features available in the editor to help you customize your website. Now, it’s your turn to make the best out of these tools!
Step 4. Set Up Your Domain
If you're just testing out Weebly and want to get a feel for how it works, you can skip setting up a custom domain for now. Weebly lets you publish your site using a free subdomain like yourname.weebly.com, which is perfect for trial runs, personal projects, or temporary pages.
However, if you're planning to launch a professional site, store, or portfolio, you’ll eventually want to connect a custom domain. You have two options:
Option 1: Buy a new domain
Weebly allows you to purchase a domain directly from your dashboard. When you click “Publish” for the first time, you’ll be prompted to search for and register a new domain. Once you complete the purchase, it’s automatically linked to your site, no extra setup needed.
Option 2: Connect an existing domain
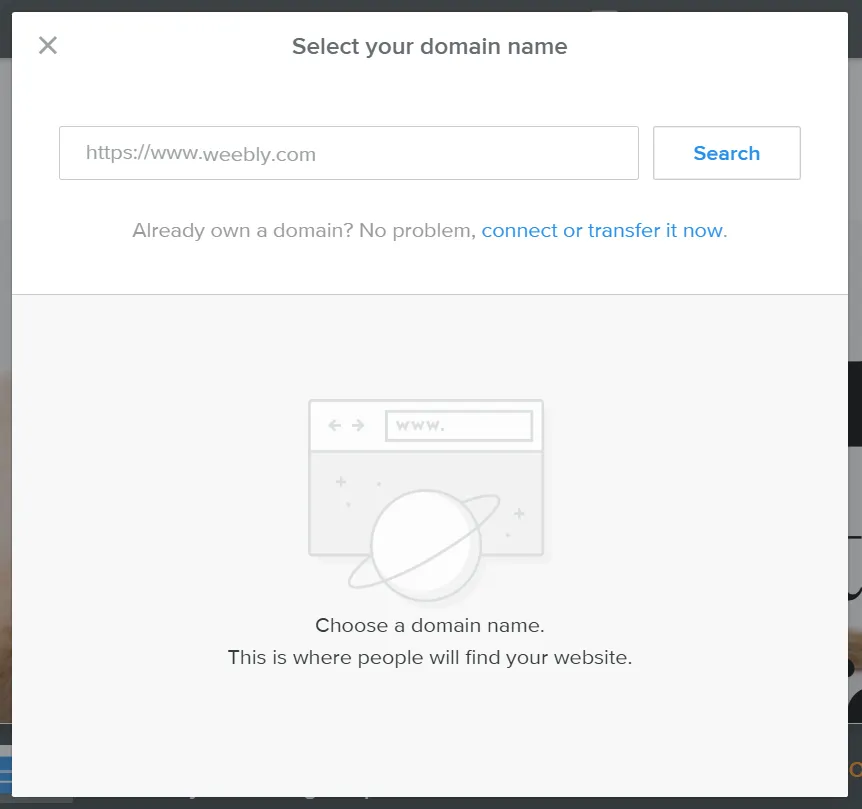
If you already own a domain from another provider (like GoDaddy or Namecheap), you can link it to your Weebly site. From the “Set up your domain” page, click the “Already own a domain? No problem, connect or transfer it now” sentence. Then, fill in the URL of your existing domain:

If you're not ready for a custom domain yet, feel free to stick with the free Weebly subdomain; you can upgrade at any time.
Step 5. Build Your Online Store
Continuing the Weebly tutorials, we will show you how to make money from your site. Weebly offers some basic selling tools, allowing you to add products, accept payments, and configure shipping. Here’s how to get started:
Step 5.1. Add a new product
From your online store dashboard, go to Items > Site Items, then click “Create new item”.
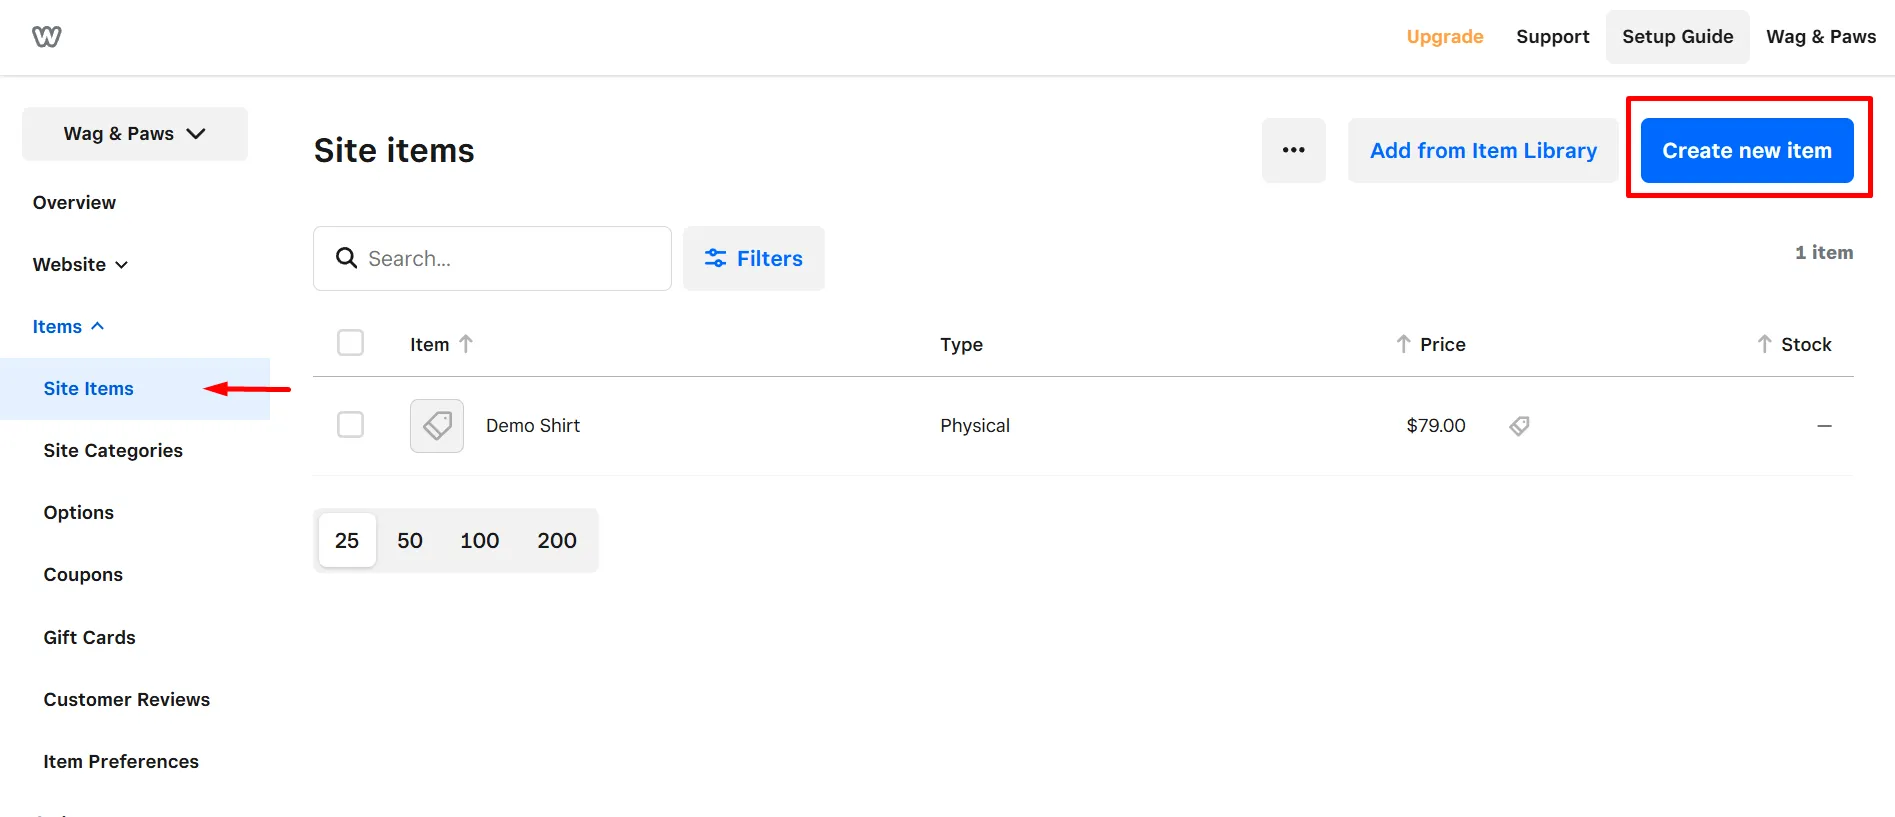
You’ll begin by setting up the basics:
- Item title;
- Item description, which will appear on the product detail page.
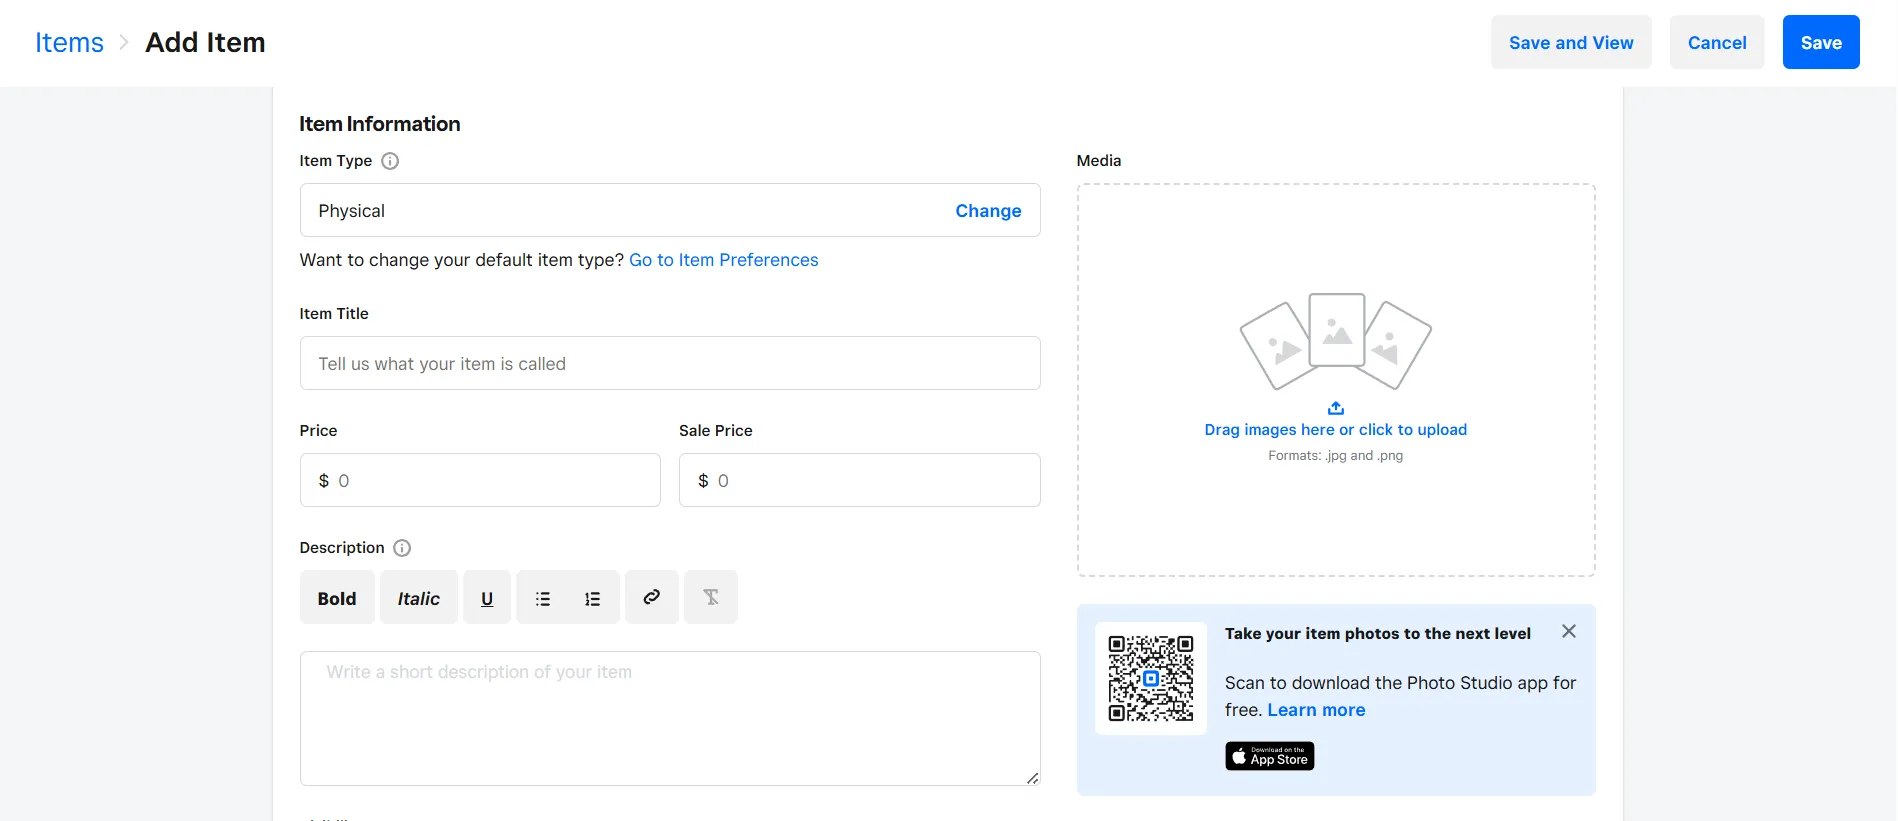
After that, you can add more details such as:
- Price.
- Images.
- Item type (physical, digital, or service).
- Stock quantity if you're tracking inventory.
Once everything is filled in, click Save to add the item to your store.
Step 5.2. Connect a payment gateway
With Weebly, you can connect your store with the best eCommerce payment gateways, such as Square, Stripe, or PayPal, which support major credit and debit cards.
To start accepting payments, go to Settings > Checkout from your online store dashboard. Click the “Connect” button next to your desired payment method.
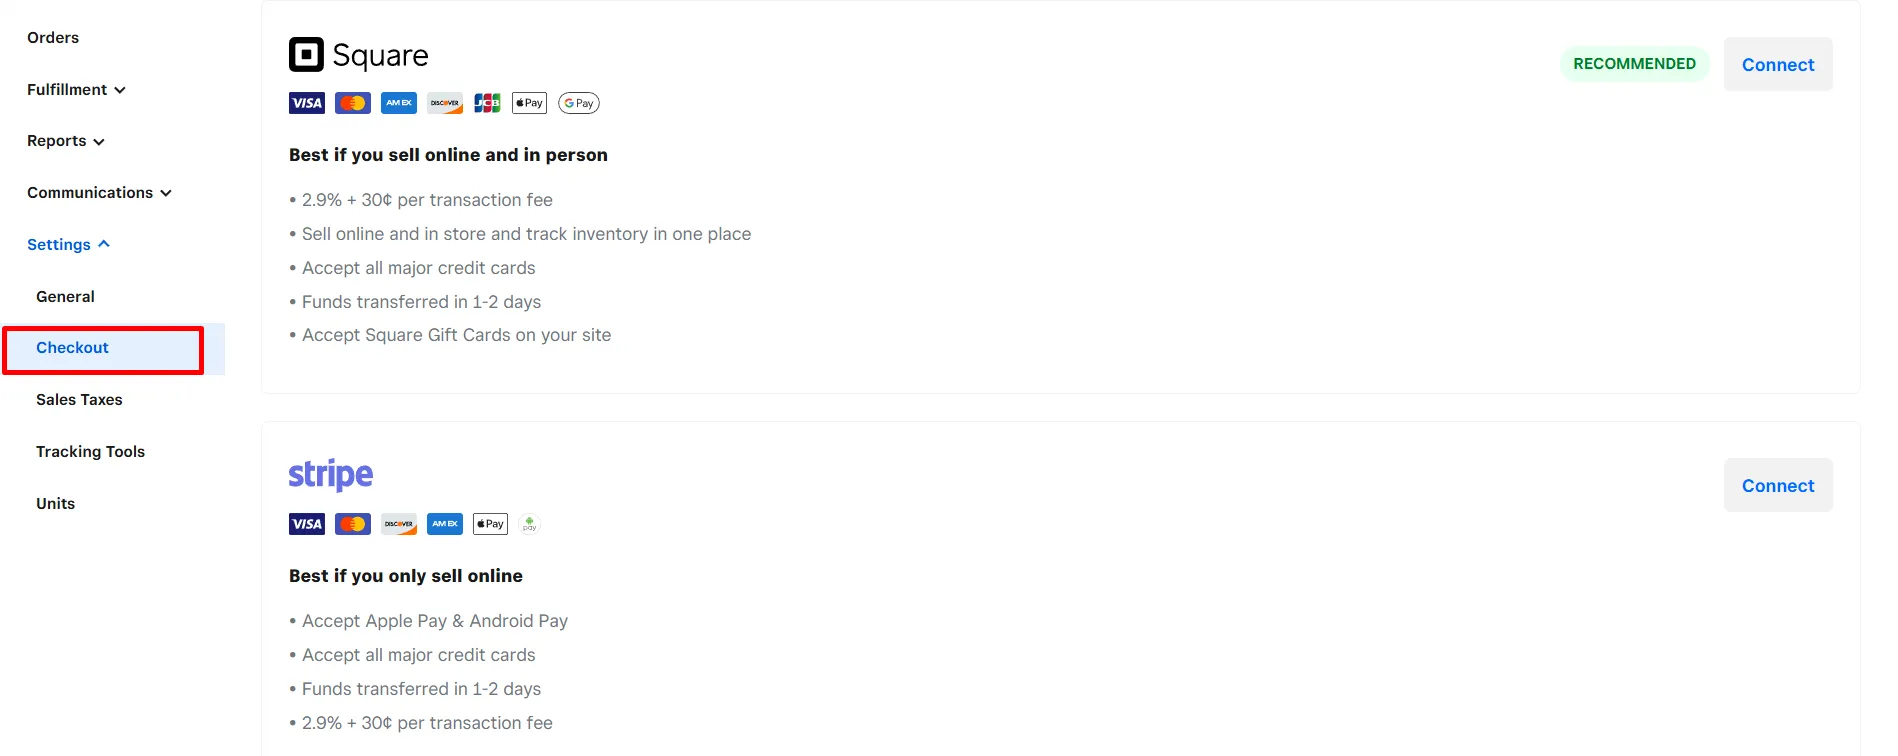
Then, you’ll be guided through a few quick steps to complete the setup. For instance, if you go for Stripe:
- Choose to create a new Stripe account or sign in if you already have one.
- Select your business location and preferred currency.
- Click “Connect” again to proceed.
- If you're logging into an existing Stripe account, you’ll be redirected to Stripe to finalize the connection and complete setup.
Once connected, your store will be ready to accept card payments via Stripe.
Step 5.3. Set up shipping rates
Moving on to our Weebly tutorials, let's set up shipping in your Weebly store. Please navigate to Fulfillment > Shipping page from your dashboard, then follow these steps:
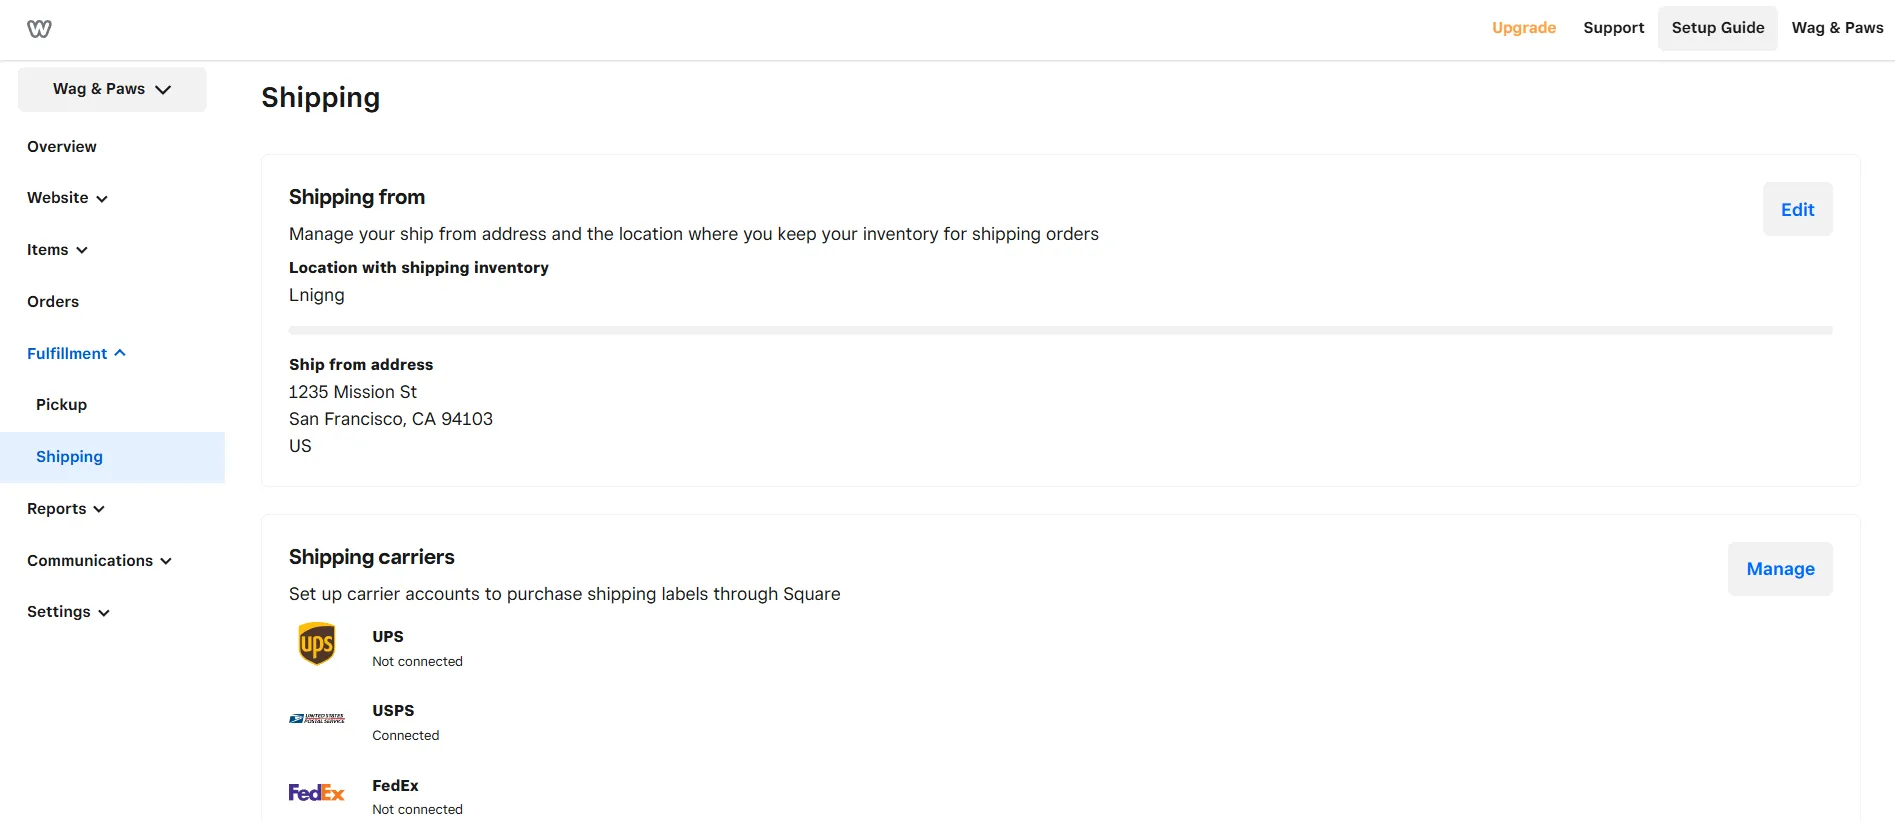
- Enter your shipping origin address. If you’ve already set one in Settings > General, it will automatically fill in here.
- Click Add region to select where you want to ship. You can add countries, states, or provinces, and exclude specific areas if needed.
- Choose your shipping rate type: Real-Time Rates, Flat Rate, Free Shipping, or rates based on Order Weight, Total, or Quantity.
- Enter pricing rules for each method (e.g., 0–1 lb = $5). Be sure to set a fallback rate in case an order falls outside your defined rules.
- Hit Done to save your settings and return to the shipping overview. You can add more regions or edit existing ones at any time.
Step 5.4. Collect sales taxes
If you’re selling physical products, it’s important to collect the correct sales tax from your customers based on their location. Weebly lets you set this up easily inside your store settings.
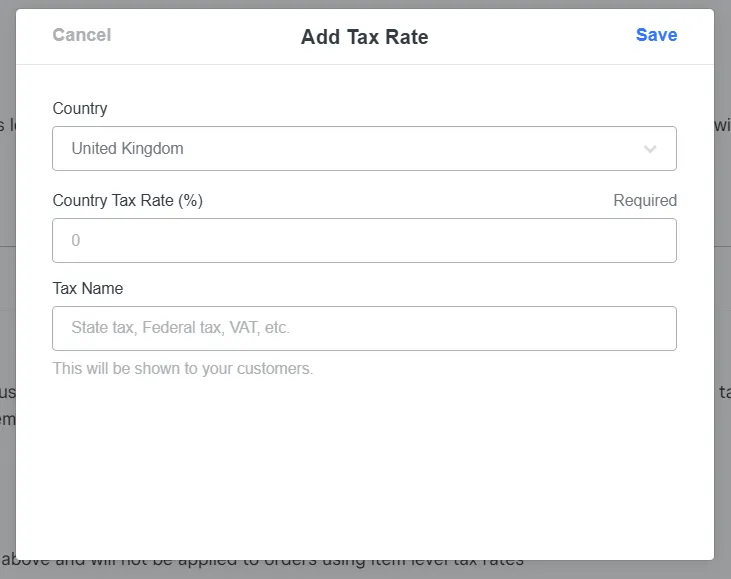
From your Weebly dashboard, go to Settings > Taxes. Then, click on the Add Tax Rate button to create a new tax rule.
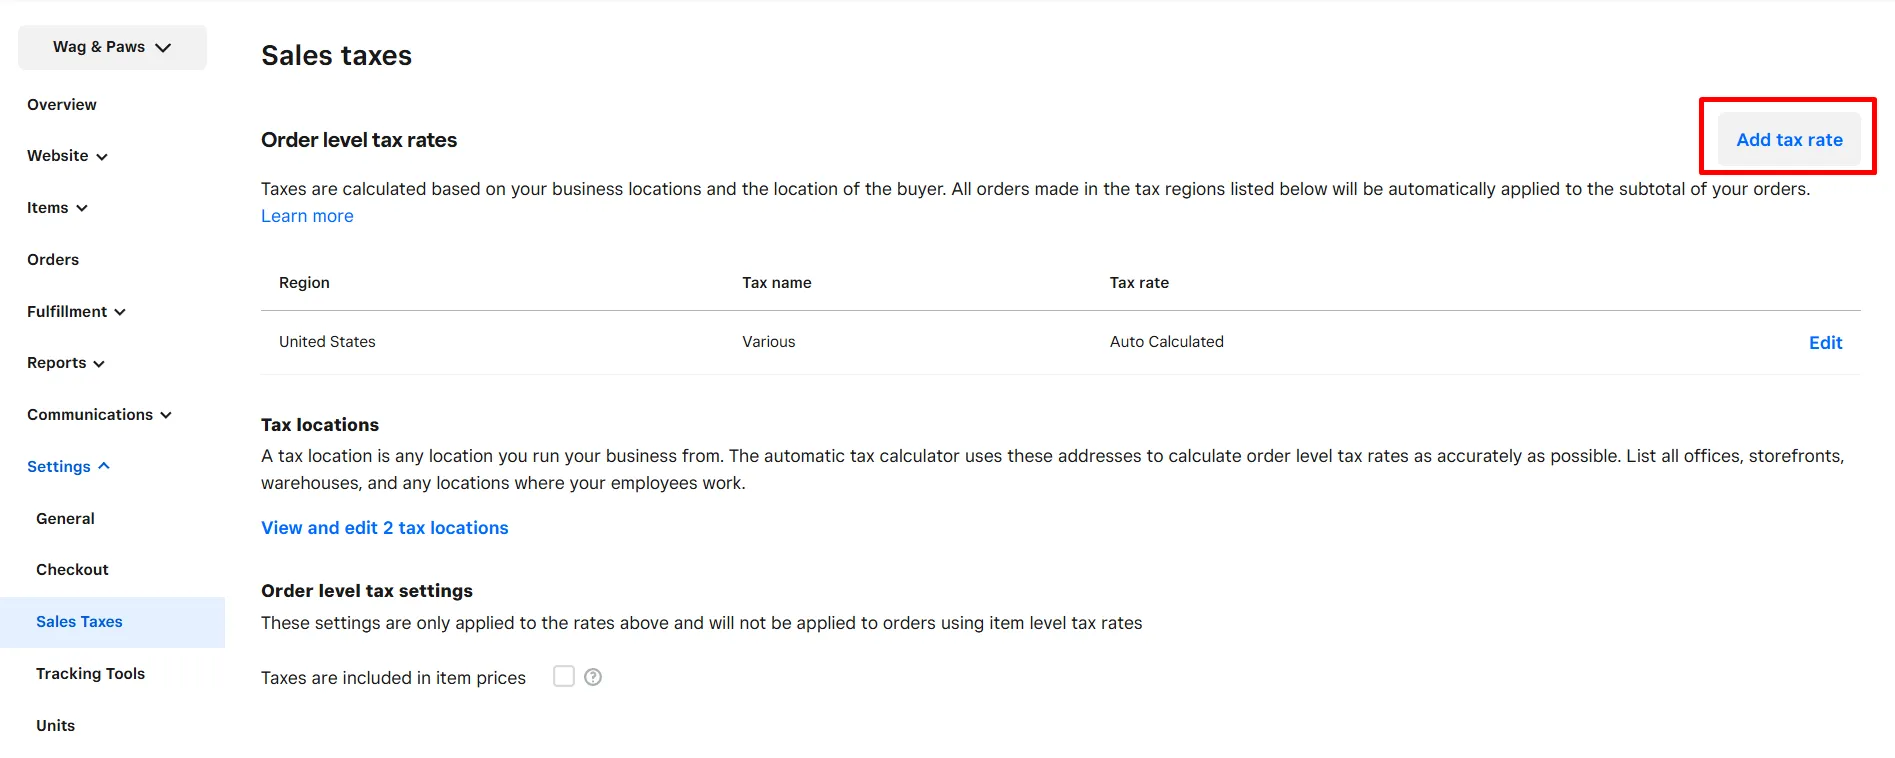
- Choose your region or country where you want to collect tax. Weebly supports both domestic and international tax rules.
- Enter the tax rate percentage that applies to sales in that location (for example: 8.5%).
- You can create multiple tax rules for different regions if needed, depending on where you’re shipping products.
Once added, Weebly will automatically calculate and apply sales tax at checkout based on your customer’s shipping address. You can also edit or delete any tax rules from this same section if your rates change later.
⚠️ Note: Automatic tax calculations are only available if you’re on the paid plans. If you’re using a lower plan, you’ll need to manually enter the correct tax rates for each location and keep them updated yourself.
Step 6. Integrate Apps
To extend the functionality of your website, you can explore and install apps through the Weebly App Center. These apps enable you to add extra features, such as live chat, marketing tools, booking systems, social feeds, and more. In this section of our Weebly tutorials, let's take a look at how to integrate apps for extended functions.
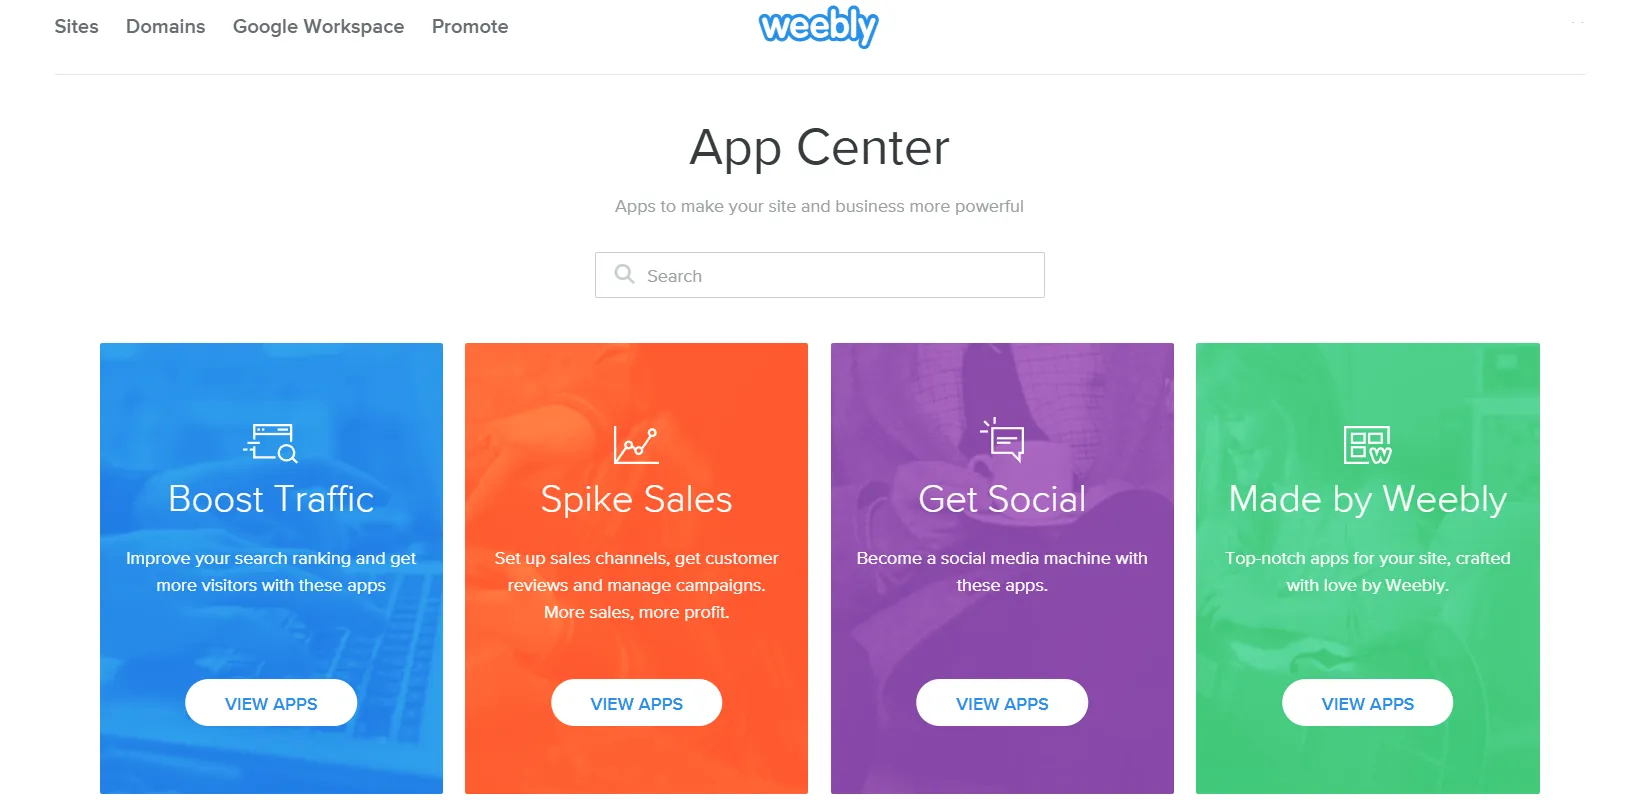
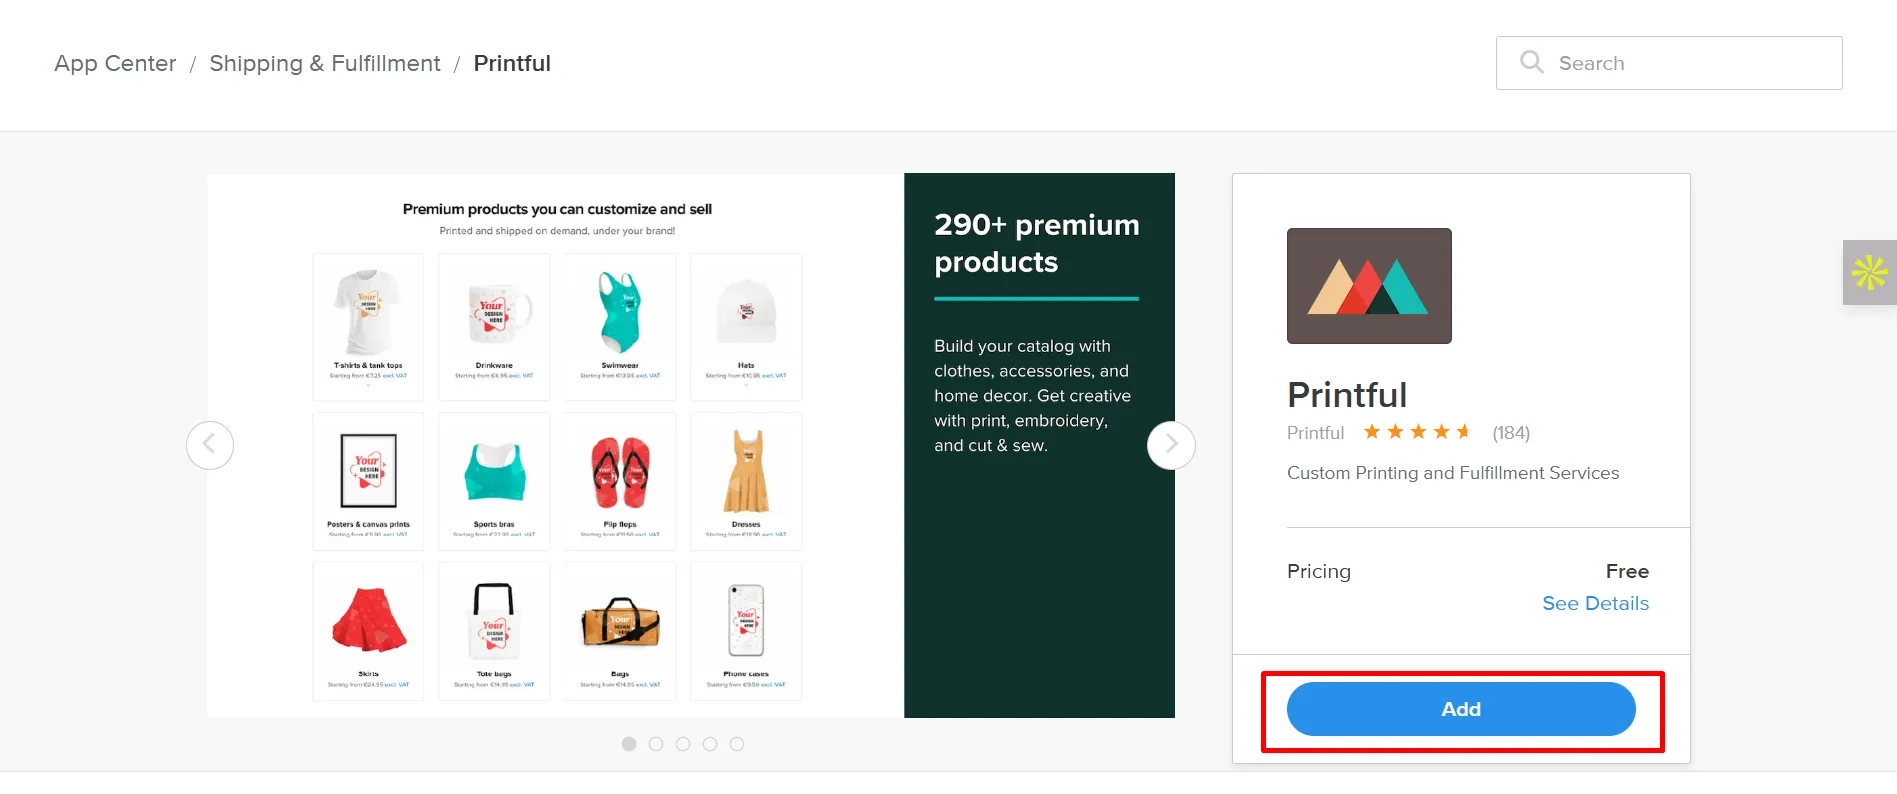
From the App Center, browse or search for the necessary item app. Once you find one you like, click Add and follow the installation prompts:
- A permissions window will appear asking for access to your site. Click “Connect” or “Authorize” to proceed.
- After approval, you’ll be taken to the app’s setup screen, either within Weebly or on the app provider’s external page.
- Complete the app setup, and the app will now appear on your site.
Step 7. Pick a Pricing Plan (Optional)
If you’ve tried the free version of Weebly and like how it works, you may want to consider upgrading to the paid version. These plans provide access to more advanced features, including the use of a custom domain, removal of Weebly branding, and the ability to accept PayPal payments.
Currently, Weebly offers four pricing plans, starting from $0 to $26 per month (if billed annually). This ensures that Weebly can adapt to any of your needs, regardless of your business growth.
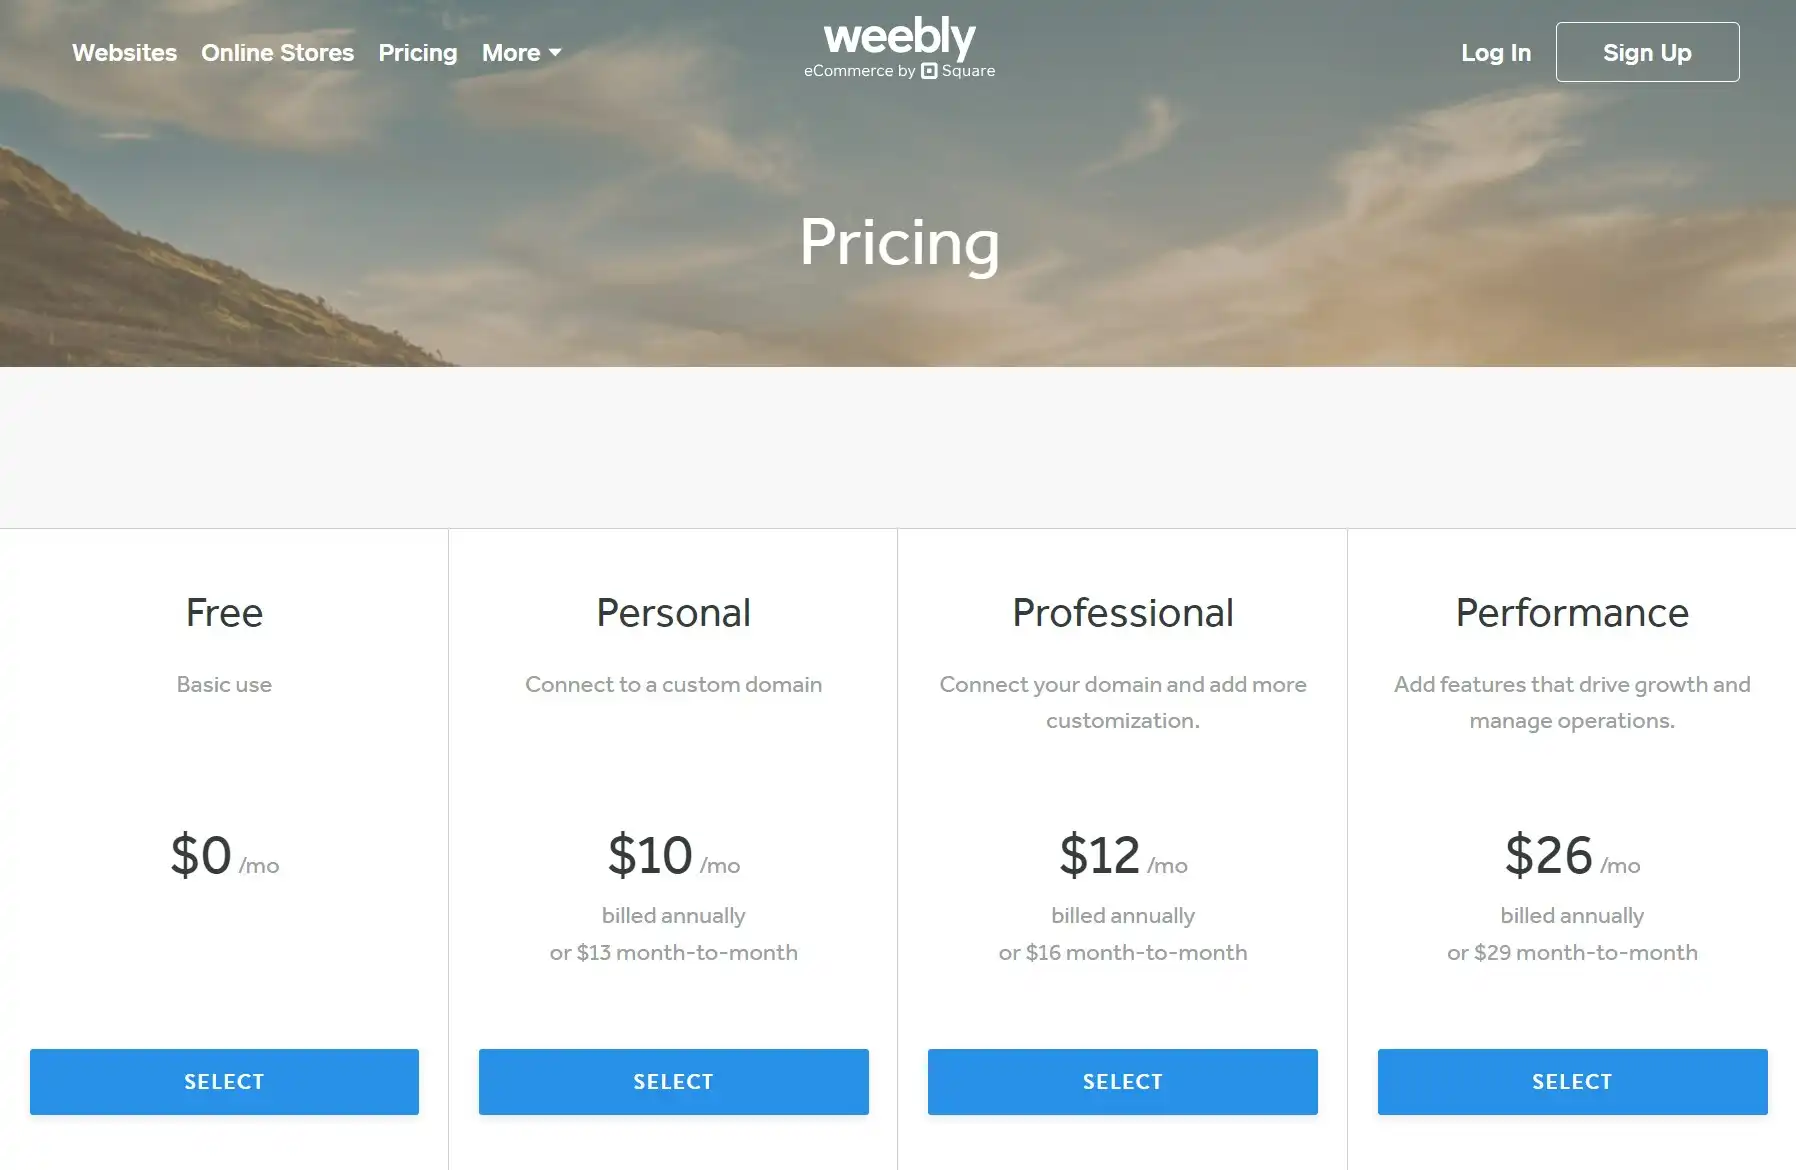
Based on our experience, the Personal plan will serve as a solid starting point for those launching a hobby site or a simple blog. You'll be able to connect your own domain and enjoy unlimited items with basic eCommerce features.
For a more professional website with more powerful eCommerce capabilities, consider the Performance plan at $26 per month. It removes ads, unlocks more tools, and gives your site a cleaner, more trustworthy appearance. For everything it offers, it’s great value for money, and it’s the most affordable way to build a truly professional-looking website with Weebly.
At this point in our Weebly tutorials, you can upgrade or switch plans at any time as your needs evolve. To upgrade, simply click the “Upgrade” button at the top of your dashboard and select the plan that best suits your needs.
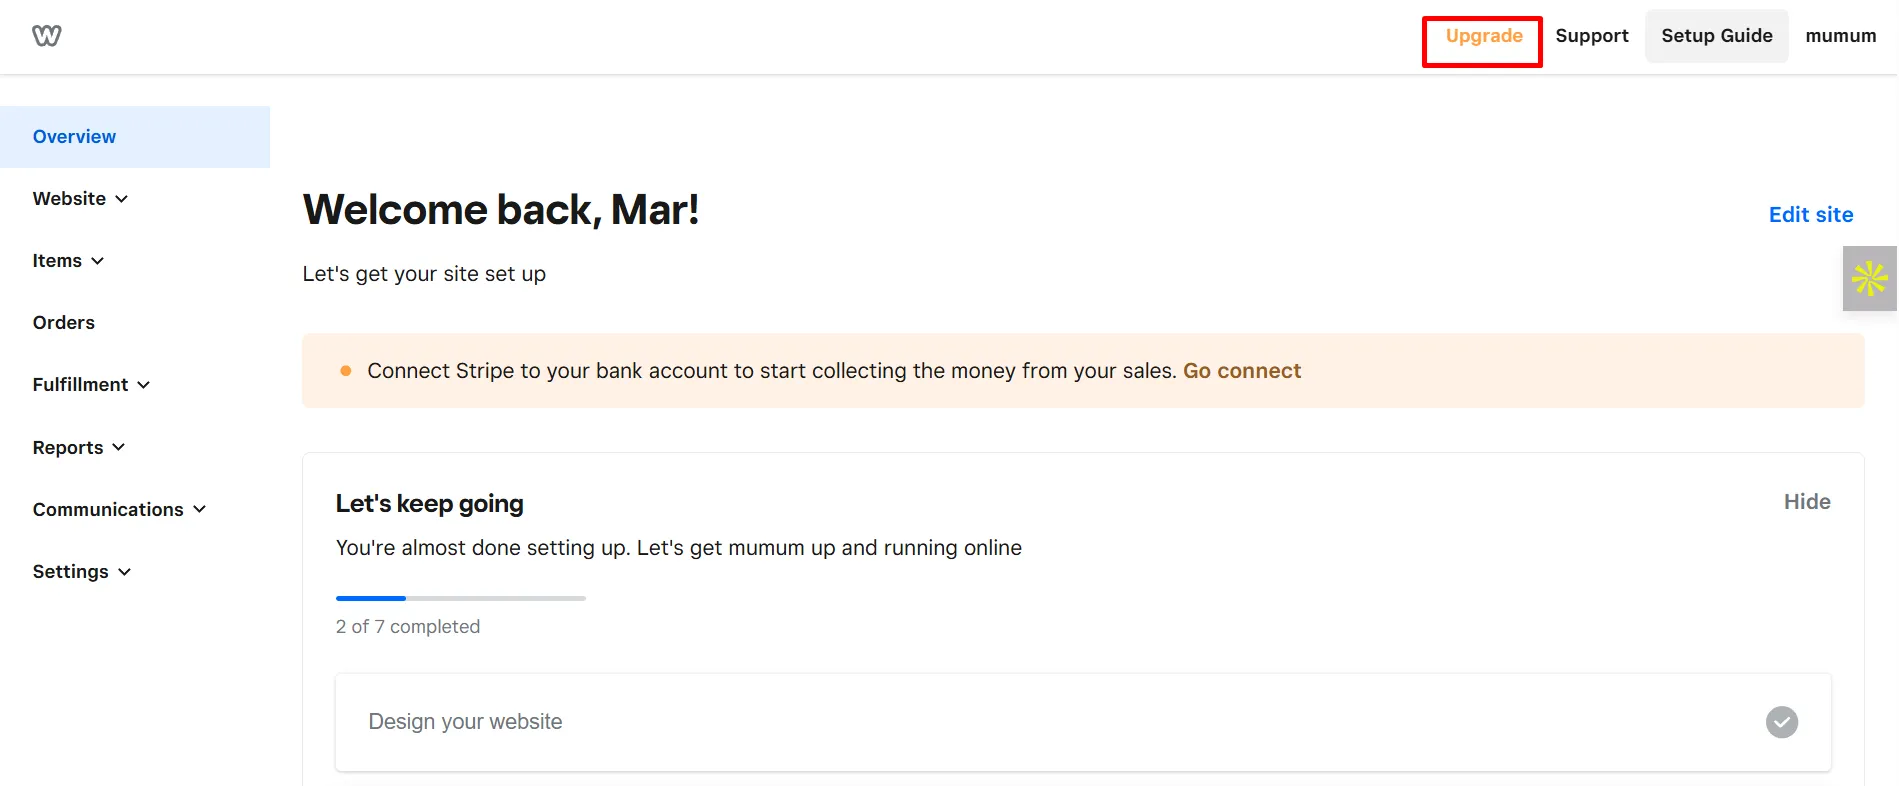
Once your payment is complete, you’ll be successfully upgraded to a paid plan, and your new features will be available right away.
Step 8. Launch Your Site
Coming to the very last step of the Weebly tutorials, when everything is in place, it’s time to go live!
Click the “Publish” button in the upper right corner of the editor. If you’re using a free plan, your site will go live at your Weebly subdomain. If you’ve set up a custom domain, it will publish there instead.
After publishing, you can still return to make edits, add new content, or update your store at any time. Congratulations, your website is now live and ready for the world to see!
Best Practices on How to Use Weebly Effectively
Now that the Weebly tutorials have helped you set up your store, we want to share a few additional tips and best practices to further maximize the platform's potential. From small fixes to helpful tricks, these insights will make managing and improving your store even easier.
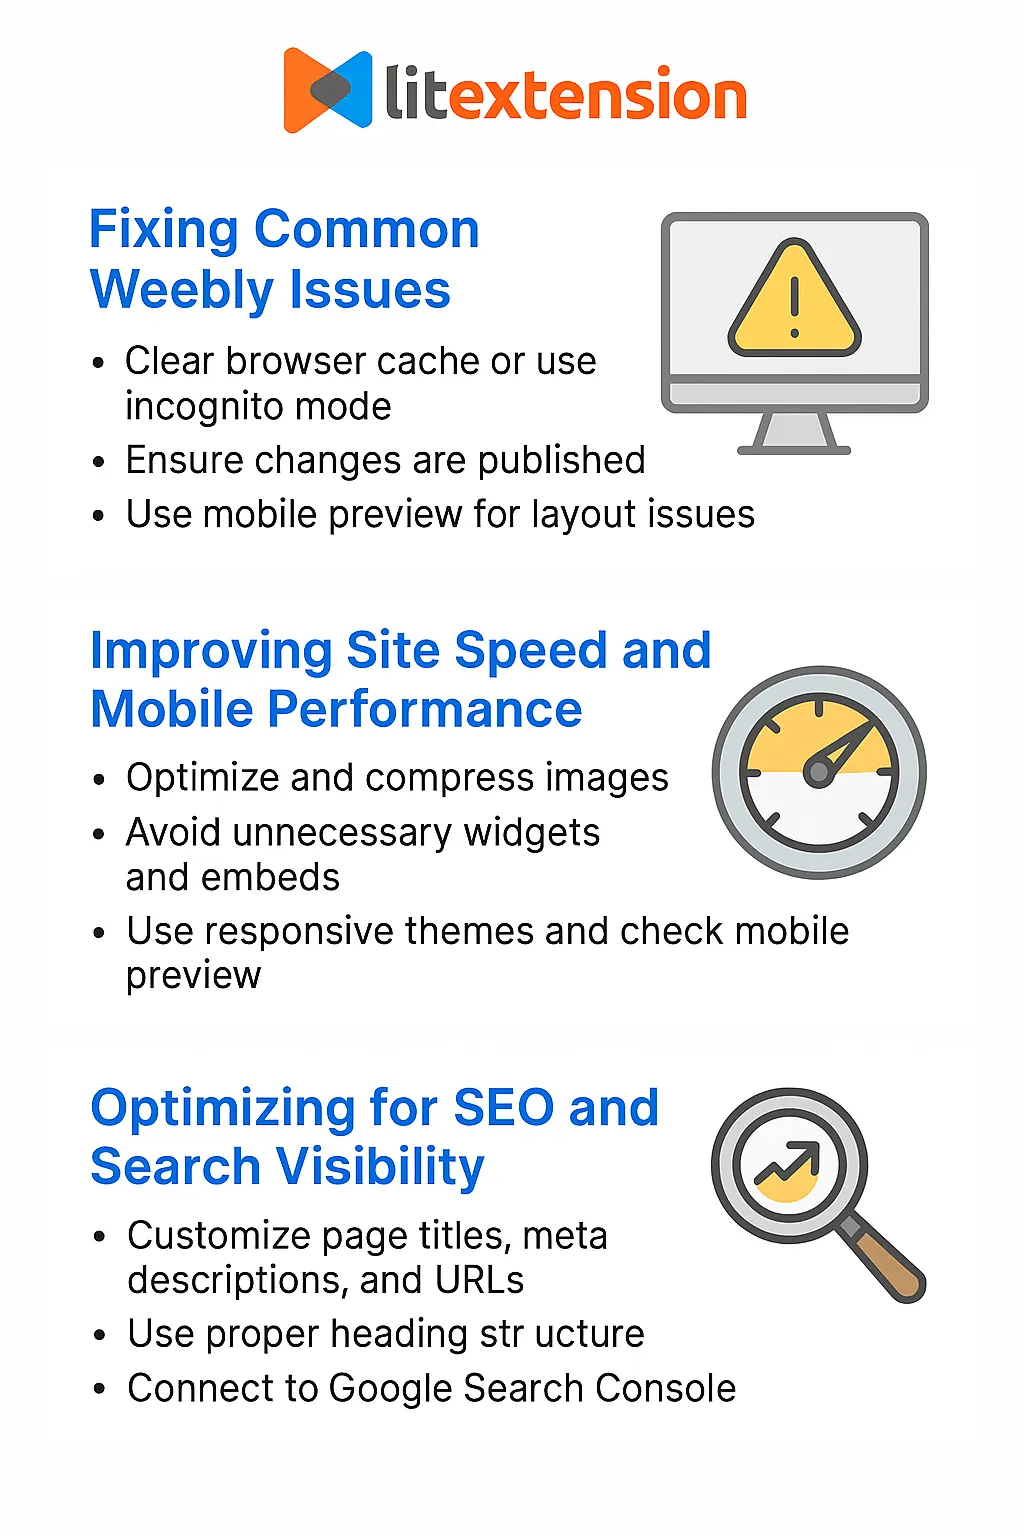
1. Fixing common Weebly issues
Weebly’s editor is simple and beginner-friendly, but you may still encounter minor bugs or publishing issues. One of the most common issues is when your site fails to display recent changes. Usually, this happens because of caching, either in your browser or on Weebly’s servers.
If this happens, try clearing your browser cache or using a different browser in incognito mode to verify if changes are live. Always ensure that you’ve hit the “Publish” button; many new users accidentally leave changes in preview mode.
Sometimes, your site might not display correctly on mobile. This often occurs when large images or certain apps rearrange elements. Use Weebly’s mobile preview before publishing to catch any layout issues early.
2. Improving Site Speed and Mobile Performance
Page speed and mobile-friendliness are more than just nice-to-haves; they directly impact user experience, bounce rates, and even your search rankings.
Start by optimizing your images. Even a few large images can significantly slow down your site speed. Use free tools like TinyPNG, Squoosh, or ImageOptim to compress images before uploading them to Weebly.
Avoid cluttering your pages with unnecessary widgets or embedded content from third-party sources unless they’re essential. For instance, too many embedded YouTube videos, Instagram feeds, or script-heavy apps can add multiple seconds to your load time.
To improve mobile performance, use Weebly’s built-in responsive themes, avoid overly wide content blocks, and always check the mobile preview tab before going live.
3. Optimizing for SEO and search visibility
Getting found online starts with basic SEO hygiene, and Weebly provides you with just enough tools to cover the essentials without requiring advanced knowledge.
Each page has its own SEO settings. From the Pages tab, click into any page and select SEO Settings to add a custom title, meta description, and URL slug. For example, change a generic slug like page-1 to something readable like about-us.
Don’t forget your headings, use a single H1 (main page title), then H2s and H3s to structure content clearly. This helps both readers and search engines understand what your page is about.
You should also connect your site to Google Search Console to monitor visibility and submit your sitemap. Weebly makes it easy to do this with a simple HTML tag or by uploading a verification file.
Weebly Tutorials: FAQs
Does Weebly have tutorials?
Yes, Weebly offers a range of tutorials and help articles through its Weebly Support Center. These cover everything from building your first site to managing online stores, customizing design, and setting up domains and payments.
Is Weebly being phased out?
Not officially, but it is being gradually absorbed into Square Online. New users, especially in most regions, are now automatically directed to Square’s newer editor instead of the classic Weebly builder. While existing Weebly sites still function, development and updates are focused on the Square platform.
Is Weebly good for beginners?
Yes, Weebly is known for its simplicity and ease of use. Its structured layout and clean interface make it a great choice for beginners who want to build a site or store without needing technical skills.
What are the disadvantages of using Weebly?
Some of the main drawbacks include:
- Limited design flexibility compared to platforms like Wix
- Fewer third-party app integrations
- Slower development since the shift toward Square Online
- Lack of drag-and-drop freedom in the newer editor
Is Weebly not free anymore?
Weebly still offers a free plan, which lets you build and publish a site using a Weebly-branded subdomain (e.g., yourname.weebly.com). However, advanced features such as connecting a custom domain, removing ads, and accepting PayPal payments require a paid plan.
Which is easier, Weebly or Wix?
Both are beginner-friendly, but Weebly is simpler and more structured, great for users who want a clean, guided setup. Wix offers more design freedom and customization, but that flexibility can be overwhelming for first-time users.
Conclusion
And that’s it, we’ve shown you all the steps to build your Weebly store from start to finish. As you’ve seen, it’s really just that simple. Hopefully, our Weebly tutorials have helped you feel more confident about using Weebly and launching your store.
For more eCommerce growth tips, we have more blog posts and a community group waiting for you. Check them out now!

