If you want to set up and improve payments on your Webflow eCommerce site, this guide is for you. In this article, we will explain everything from the basics of Webflow Payments to advanced integrations and troubleshooting. Here comes the agenda of our Webflow payment article today:
Let’s get started.
Overview of Payment Options in Webflow
Webflow is a flexible platform for creating and managing websites. It provides tools for designing responsive websites, managing content, and setting up eCommerce. You can use Webflow’s eCommerce features to build an online store, manage products, and connect payment systems, all in an easy-to-use interface.
Webflow works with 2 main payment providers: Stripe and PayPal. Both of these secure platforms support businesses of all sizes.

- Stripe lets you accept credit cards and modern payment methods like Apple Pay and Google Pay. It is a great option if you want customization and growth.
- PayPal is a well-known payment processor that allows customers to pay easily using their accounts. This adds convenience and trust for online shoppers.
With Stripe, you can use modern payment options like Apple Pay and Google Pay. These methods speed up the checkout process, especially on mobile devices, boosting user satisfaction and helping reduce cart abandonment. Once Stripe is set up, enabling these options is easy.
But you should keep in mind that some payment gateways may not be available in all regions. For example, Stripe isn't offered in certain countries, and the currency options can differ. Make sure the payment gateway you choose supports your target market and business location.
How to Enable Payments on Webflow
A seamless payment setup is essential for ensuring smooth transactions and a positive customer experience. In this section, we’ll walk you through the process of integrating payments in Webflow, from selecting a payment provider to going live with your store.
Step 1. Enable Ecommerce in your Webflow project
To enable payments for your project, log in to your Webflow account and select the specific project you want to work on.
It’s essential to ensure you are subscribed to one of the Ecommerce Plans (Standard, Plus, or Advanced) since payments and eCommerce functionality are not available on Webflow’s free or standard site plans. To upgrade, go to Settings > Plans and choose the plan that works best for you.

Once you have the appropriate plan activated, go to the Settings tab of your project. In the Ecommerce section, you will find the option to toggle the feature on, enabling it for your store. After this, head over to the Products panel to add items to your catalog. Here, you can specify crucial details such as pricing, descriptions, and images for each product.
Step 2. Choose your payment provider
Webflow supports two main payment providers, each serving different needs. Stripe is ideal for global markets. It offers secure credit card processing and popular payment options like Apple Pay and Google Pay. PayPal, on the other hand, prioritizes customer convenience and works well in areas where people trust it as a payment method.
Choose Stripe if you want to:
- Accept payments in different currencies, which is great for reaching international customers.
- Use features like subscription payments and fraud protection.
Choose PayPal if you prefer:
- A way for customers to pay without sharing their credit card details, which adds security and convenience.
- A payment option that is widely trusted in North America and Europe.
Notes: You can connect both providers to give customers a choice during checkout. Also, it's important to check the fees and regional availability for each provider so you can make the best decision for your business.
Step 3. Connect your payment provider
Now, let’s access payment settings and connect Webflow payment methods:
- Go to your Webflow project dashboard.
- Navigate to Settings > Ecommerce > Payments.
For connecting Stripe
- Click Connect Stripe.
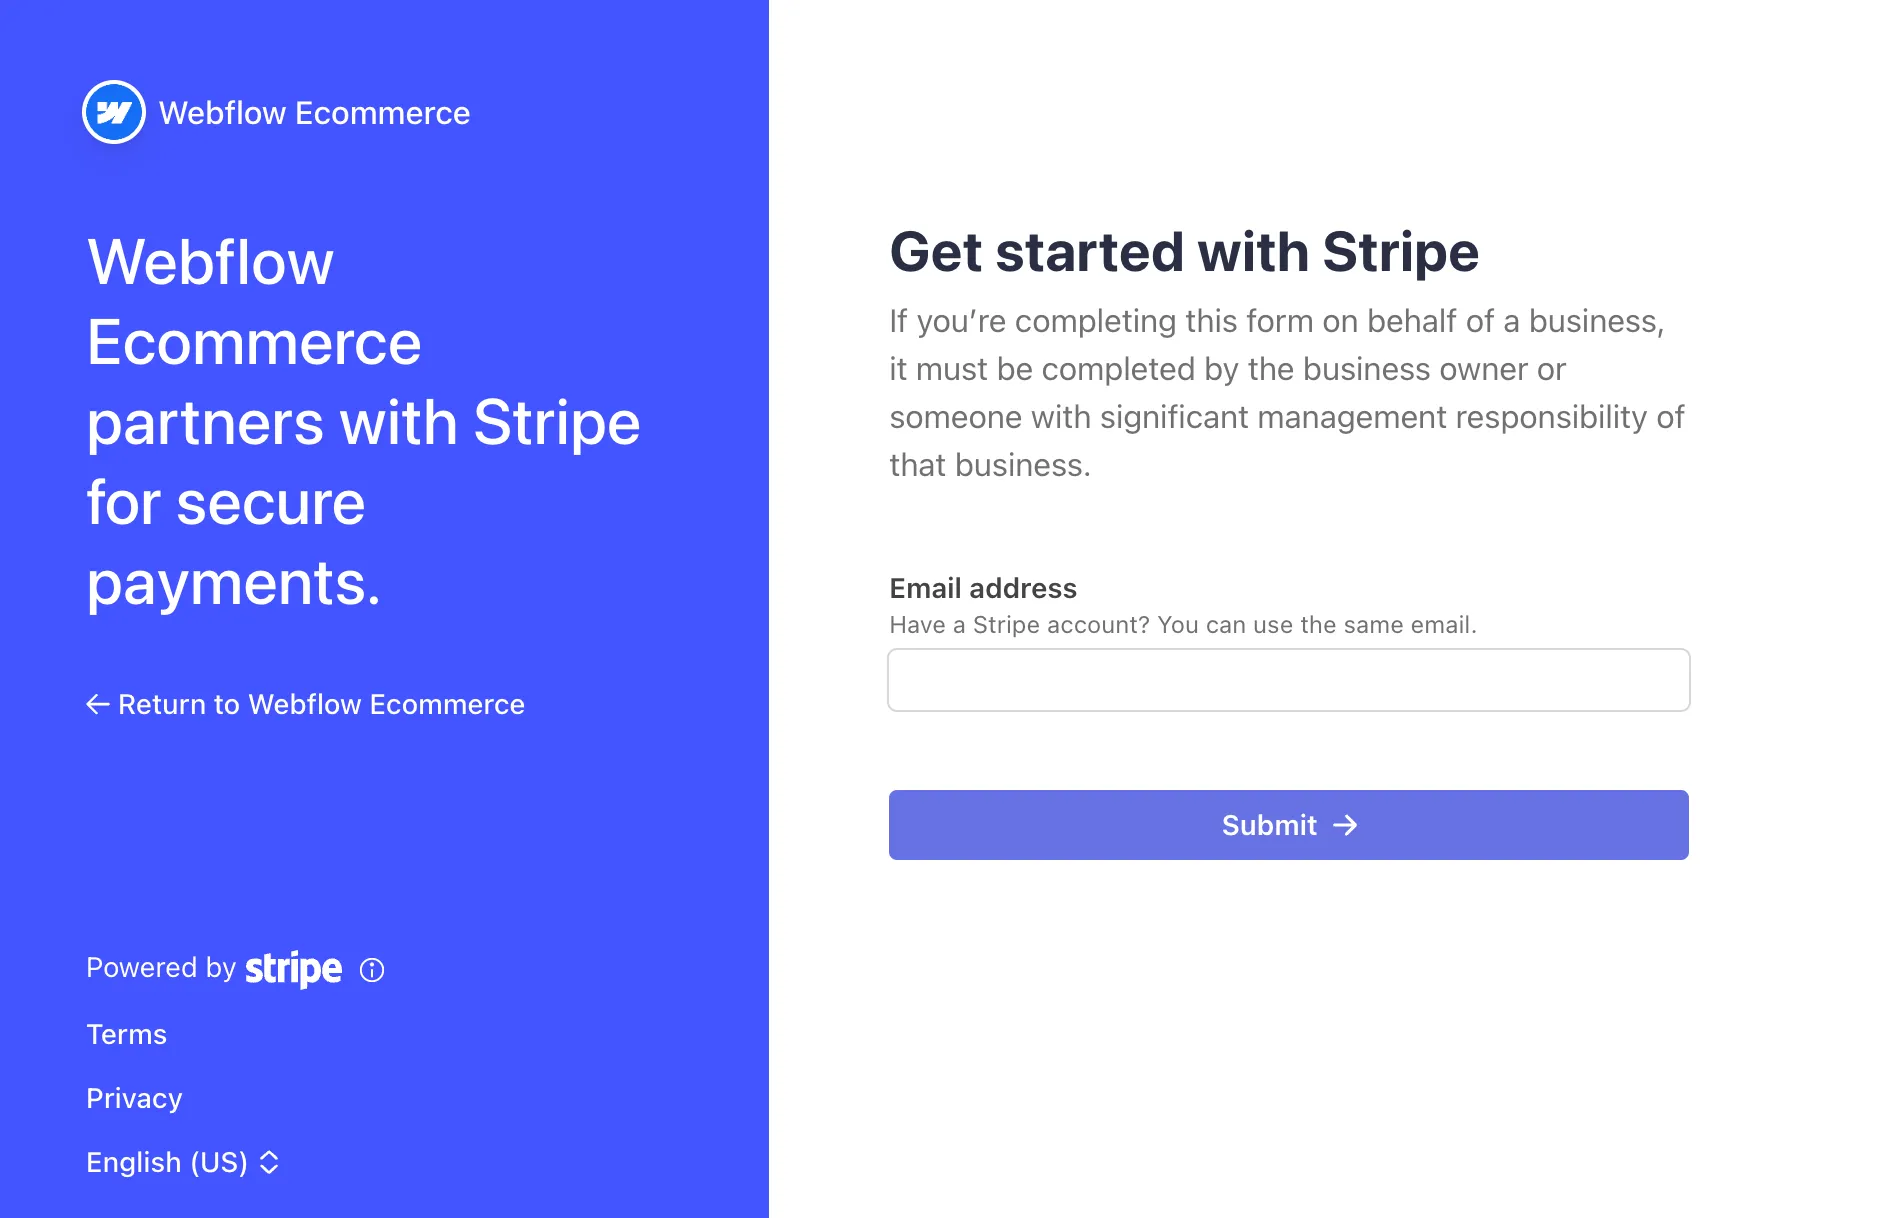
- Log in to your existing Stripe account, or create a new account.
- Follow the on-screen instructions to complete the authorization.
- Once connected, Webflow will automatically link your Stripe account to your store.
Note for Stripe: Make sure your account supports the currencies you plan to accept.
For connecting PayPal
- Scroll to the PayPal section and click Connect PayPal.
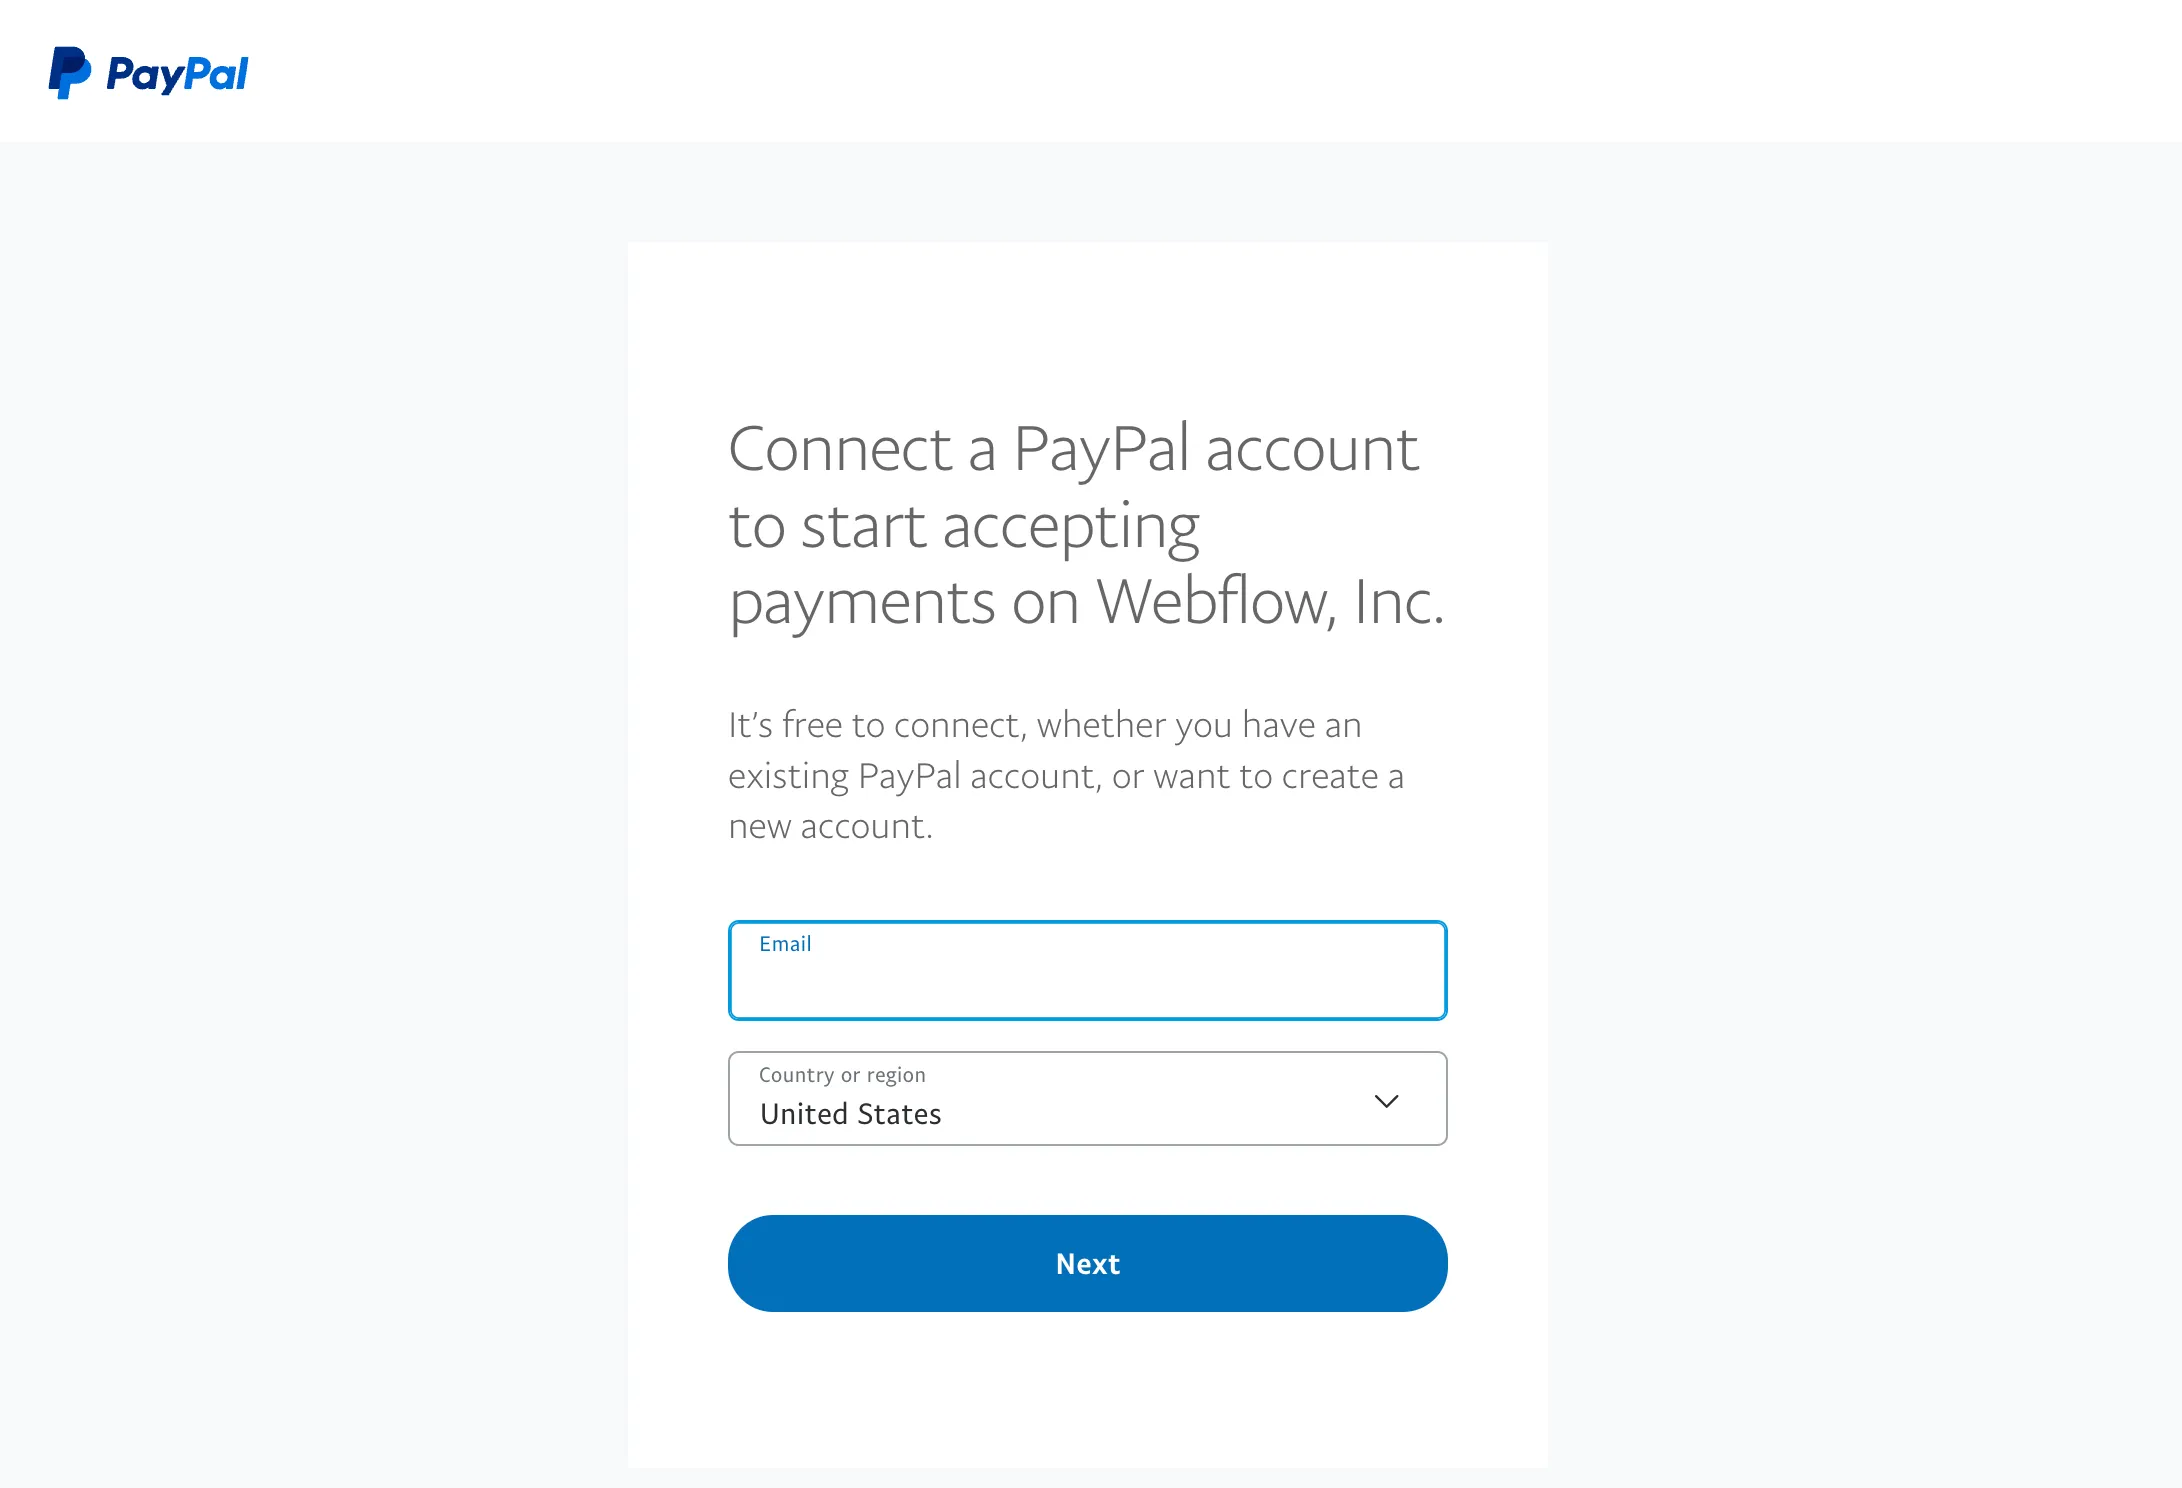
- Log in to your PayPal Business account (a personal account won’t work for Webflow eCommerce).
- Authorize Webflow’s access to enable payment processing.
Note for PayPal: When customers make a purchase, they may be taken to PayPal’s website to complete the payment. Make sure your checkout process can support this step.
Step 4. Configure payment settings
Let’s set up currency first:
- Navigate to the Ecommerce > Payments section.
- Select your store’s primary currency. Webflow will use this currency for all transactions unless a multi-currency option is configured through Stripe.
Tip: You can activate Apple Pay and Google Pay via Stripe to speed up checkout. However, to ensure these options function properly, your Webflow site must use a secure domain (SSL/HTTPS).
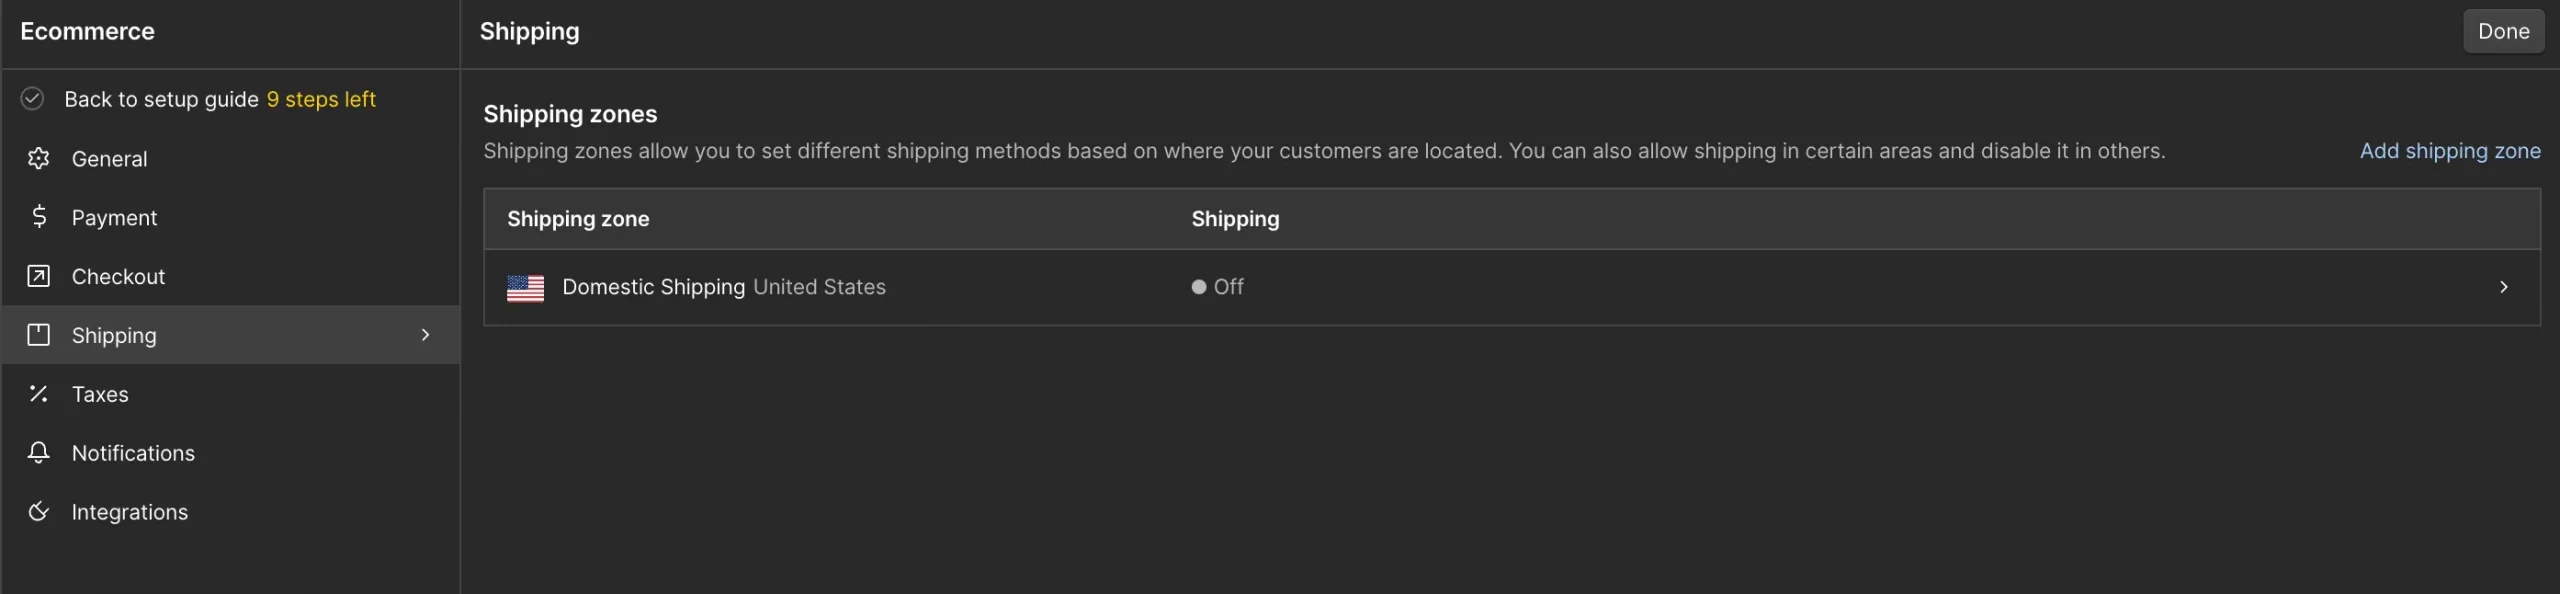
Next, coming to Tax and Shipping settings:
- Configure your store’s tax rules under Ecommerce > Taxes.
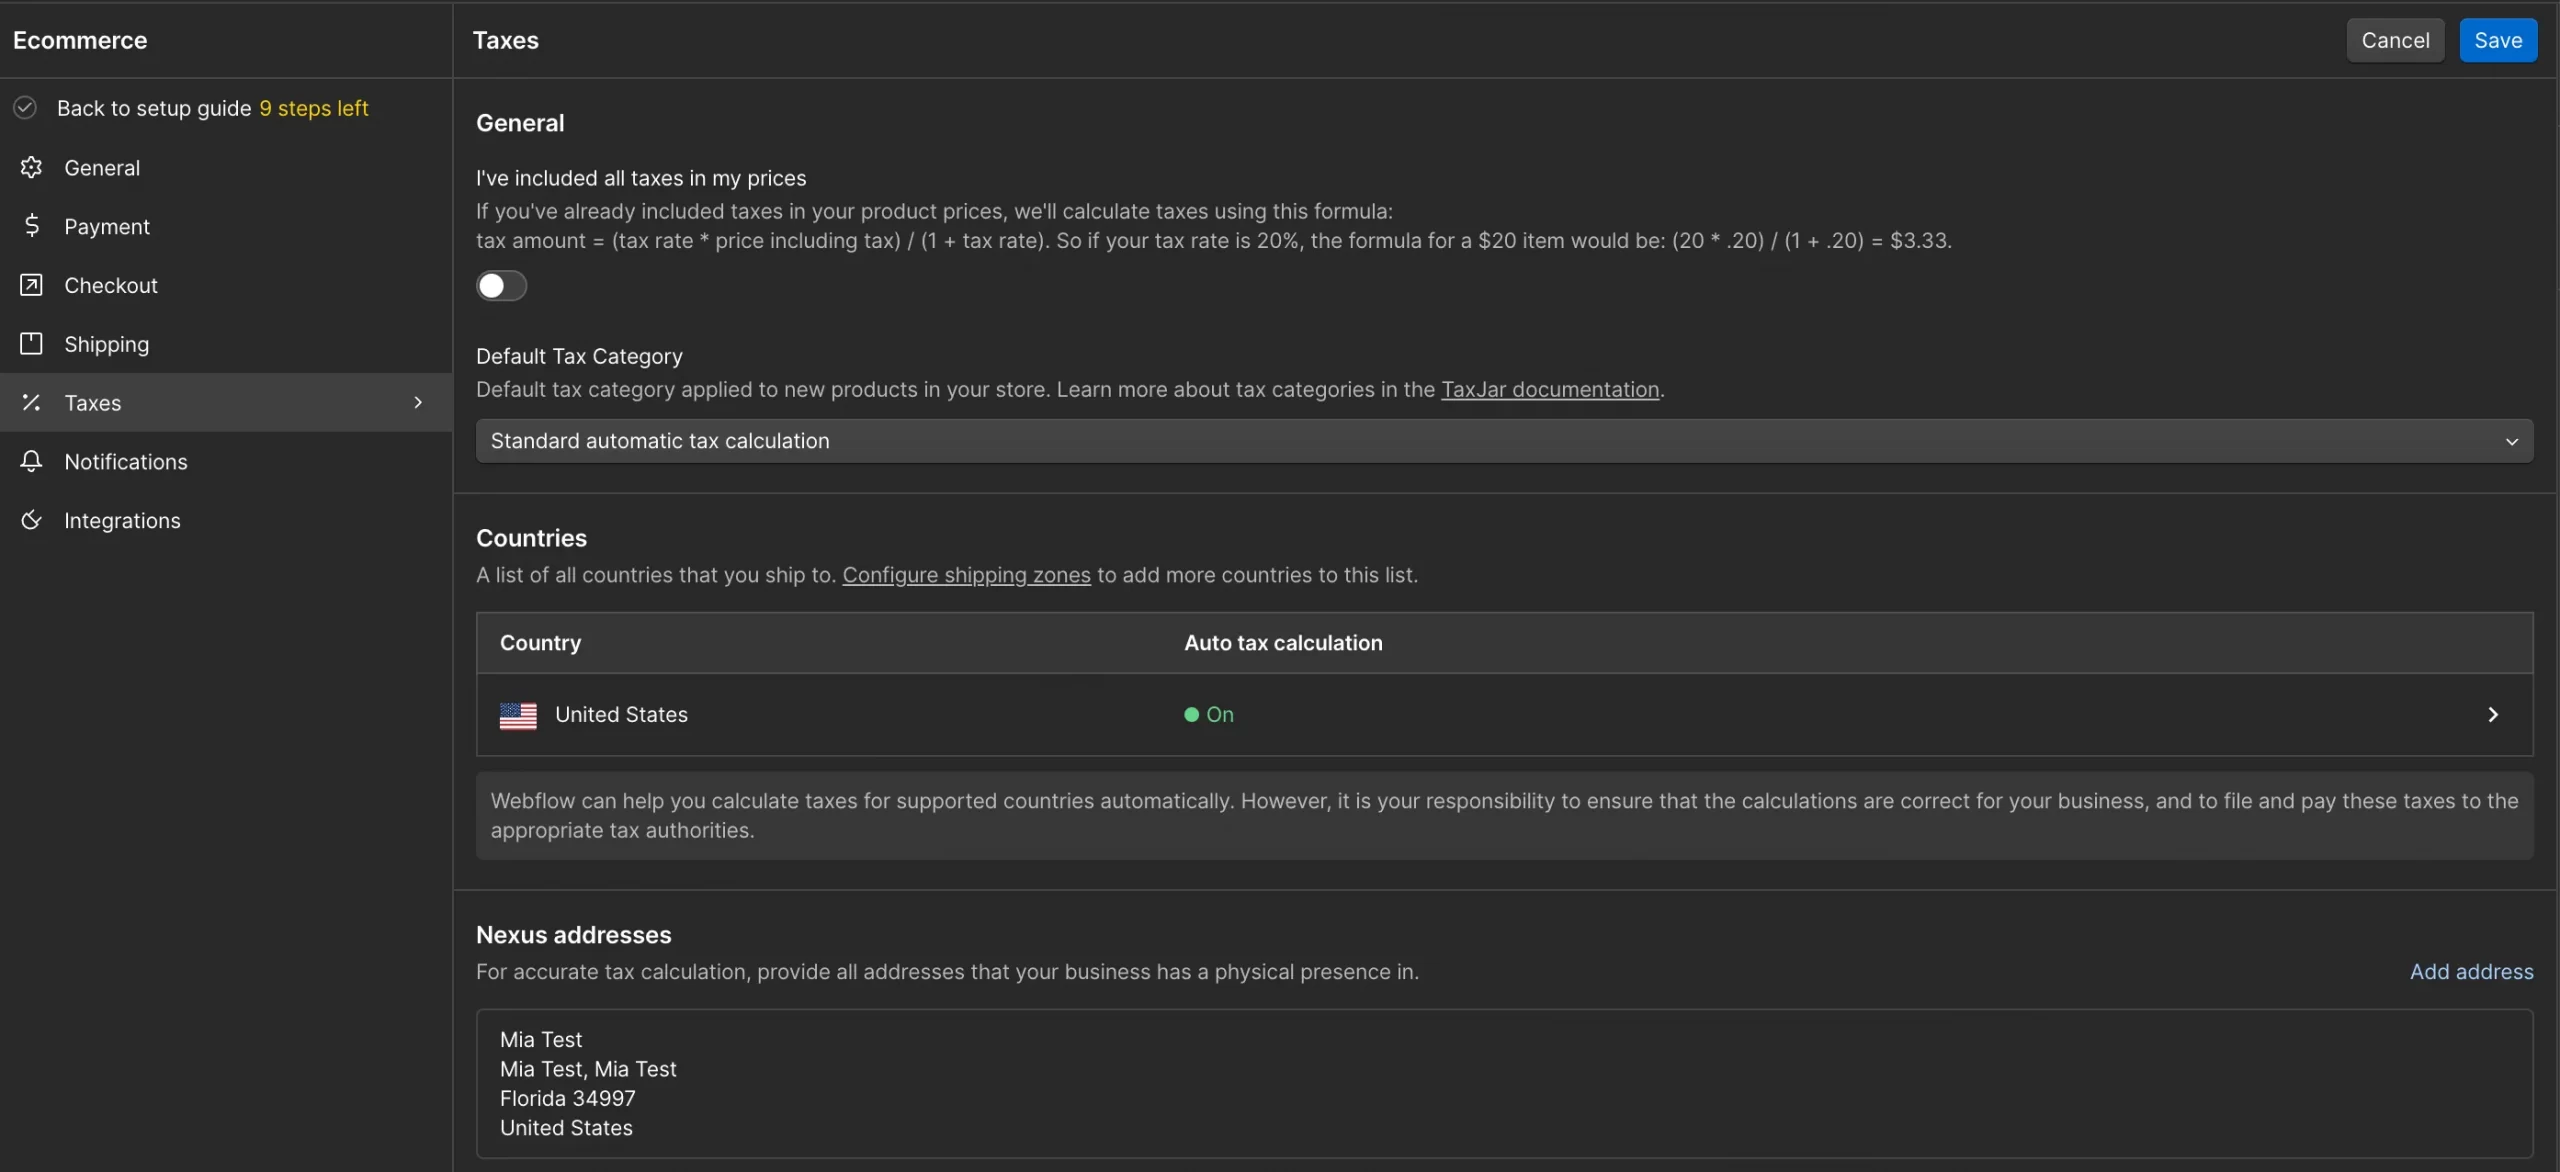
- Set up shipping zones and rates in the Ecommerce > Shipping section.
Notes: To optimize your profit margins, it's essential to regularly review the fees associated with different payment methods. Additionally, for enhanced security, you should make sure to enable any fraud detection tools provided by your payment provider.
Step 5. Customize your Checkout experience
When customizing your checkout page using Webflow Designer, match branding elements such as fonts, colors, and logos to create a cohesive look. Additionally, consider adding clear labels and instructions for each input field to guide your customers through the process.
Essential fields to include are crucial for ensuring a smooth and efficient checkout experience:
- Customer name and contact details.
- Shipping address (if applicable).
- Payment method selection (e.g., credit card, PayPal).
- Optional: Promo code or discount fields.
Step 6. Test your integration
To test your integration effectively, enable Test Mode in the Payments section. This will allow you to simulate transactions without processing real payments. To validate the integration, you should use the test credit card numbers provided by your payment provider, such as Stripe or PayPal.
Once you activate Test Mode, you can start making test purchases. This is important to ensure your system processes and records orders correctly. Also, check if payment confirmation emails are sent out properly. To improve the user experience, you should make sure the entire checkout process works smoothly on different devices and browsers.
If you encounter any errors, review your payment provider settings or consult Webflow’s troubleshooting guides for assistance.
Step 7. Go live Webflow payment
After you finish testing and confirm it is successful, turn off Test Mode to allow real transactions. To make your store look more professional, you should also ensure it uses a custom domain instead of Webflow’s default domain.
Advanced Webflow Payment Integration Options
1. Use custom code
To integrate a Webflow custom payment gateway, start by getting the API documentation or embed script from your payment gateway, like Razorpay or Authorize.net. This documentation will guide you on how to set up the payment system properly.
After you have the necessary resources, go to the Embed Element in your Webflow project. In the Project Settings, you can also find the Custom Code section, where you can enter the HTML, CSS, and JavaScript required by your payment gateway.
As you add this code to your site, customize the checkout process to match your website’s design and branding. For example, if your payment provider has a JavaScript SDK to improve security and efficiency, add it to your checkout page. This will help create a safe and easy transaction process for your customers.
2. Use middleware tools
Middleware tools like Zapier, Integromat, and Make offer easy solutions for connecting Webflow payment gateway that are not directly supported. These tools act as a link between Webflow and different payment providers. By setting up a workflow in the middleware tool, you can send customer and transaction details from Webflow forms to the payment provider's API.
You can also automate sending payment confirmations or email notifications to customers. One practical example of this is syncing payments from Webflow with a local payment processor that doesn’t have native support.
3. Integrate Foxy.io
Foxy.io is an easy-to-use eCommerce tool that enhances payment options for Webflow users. By connecting Foxy.io to Webflow, users can quickly follow a simple integration process that meets their needs.
Foxy.io supports many payment gateways, including local and niche processors, which gives users more flexibility in processing transactions. The platform also makes it easy to manage advanced payment features like subscriptions, multi-currency transactions, and special discounts.
4. Hire a developer for API integration
When using a payment gateway that requires complicated setups, such as OAuth, server-side authentication, or advanced APIs, it’s best to consult a developer. They can create custom scripts using programming languages like Python, PHP, or Node.js to meet your needs.
It's also important to use a server-side solution to handle API calls and protect sensitive data safely. This is especially important for local gateways or specific business processors that need backend development to work smoothly with platforms like Webflow.
Webflow Payment FAQs
Does Webflow take payments?
Yes, Webflow lets businesses accept payments. It has eCommerce features that work with payment systems like Stripe and PayPal.
Does Webflow support Google Pay or Apple Pay?
Yes, through Stripe integration, Webflow supports digital wallets like Google Pay and Apple Pay to enhance the checkout experience for customers.
What are Webflow’s transaction fees?
On the Ecommerce Standard plan, Webflow charges a 2% fee for each sale. The Plus and Advanced plans do not have this fee. However, you still need to pay standard fees from payment providers like Stripe or PayPal. These fees typically range around 2.9% plus $0.30 for each transaction, though they can vary by provider and region.
Is Webflow trusted?
Yes, Webflow is a reliable platform for managing payments for eCommerce businesses. It has SOC 2 Type II certification, which shows that it meets high standards for security, availability, and confidentiality. This certification makes Webflow a trustworthy choice for handling payments.
Conclusion
Webflow payment simplifies the eCommerce experience, enabling secure and user-friendly transactions. This guide covers all aspects of the process, from choosing a payment provider to advanced integrations and troubleshooting. By setting up payments correctly, you’ll create a seamless shopping experience, boosting customer trust and business growth. Explore Webflow’s full potential to take your online store to the next level.
We hope you found this article insightful and now understand Webflow payment clearly. For more content like this, be sure to visit the LitExtension blog and join our eCommerce community to gain further insights and connect with fellow business owners.

