So, you’ve created stunning designs in Figma and want to bring them to the web using Webflow. But how do you make the leap from design to development without losing the details, wasting hours, or needing a computer science degree? Whether you’re a web designer, developer, or part of a UX/UI team, this guide has you covered.
In this article, LitExtension will explore two ways to move from Figma to Webflow:
- The plugin method, for when you want a faster, automated solution.
- The manual method, for when you need total control.
We’ll also walk you through key tips, considerations, and best practices to ensure your designs shine on the web. Let’s start by understanding the tools we’re working with.
Understand Designs in Figma and Webflow in a Nutshell
Figma is a cloud-based design tool that’s loved for its simplicity, collaboration features, and ability to create pixel-perfect designs. What makes Figma designs special for Weblow?
- No need to recreate your designs pixel by pixel in Webflow.
- Build fully functional websites directly from your Figma designs.
- Keep your designs and live sites perfectly aligned.
Webflow is a no-code website builder that bridges the gap between design and development. With its powerful visual editor, you can create responsive websites without writing a single line of code. Here’s what makes Webflow a favorite:
- Save hours of manual work by translating designs faster.
- Skip repetitive coding tasks and focus on functionality.
- Prototype, iterate, and publish in record time—all while maintaining user experience standards.
With these benefits in mind, let’s dive into the how of transferring your designs, starting with the manual method.
Method 1: How to Use Figma to Webflow Plugin for Conversion
If you’re looking for a quicker way to transition your designs from Figma to Webflow, the Figma to Webflow plugin is what you need. This tool helps streamline the process by converting Figma layers into Webflow-compatible elements, saving you time and effort.
How the Figma to Webflow plugin works?
The plugin translates your Figma layers into HTML and CSS, which Webflow uses to build your site visually. Supported features include:
- Typography styles: Fonts, sizes, and weights.
- Auto layout: Responsive layouts are preserved.
- Images and backgrounds: Easily transfer visual assets.
- Shadows and borders: Styling elements are retained.
Note: However, since it’s an experimental tool, the plugin has some limitations (e.g., it only supports Chrome and the Figma Desktop App). Let’s dive into how to use it step-by-step.
Step 1: Install and authorize Figma to Webflow plugin
Before you can start using the plugin, you’ll need to set it up in Figma and Webflow.
- Open Figma and search for the “Figma to Webflow” plugin in the plugins library.
- Click “Install.”
- Log in to your Webflow account.
- Grant the plugin permission to access specific Webflow sites or Workspaces.
Step 2: Prepare your Figma file for the plugin
To get the best results, you need to optimize your Figma design for the plugin.
- The plugin only supports auto layout frames, so you should ensure all frames are set up correctly to maintain responsiveness in Webflow.
- If you’re using components, detach them to avoid issues during the transfer.
- Clean and label layers for easier navigation in Webflow.
- Complex vector layers or unsupported Figma effects might not transfer seamlessly.
Step 3: Transfer designs to Webflow
Once you have the plugin set up and your Figma file prepared, you can begin transferring your designs. Start by launching the Figma to Webflow Plugin within your Figma file. From there, select the design elements or entire layouts that you wish to transfer.
Then follow these steps:
- Choose the Webflow project you want to paste your designs into.
- Click “Copy to Webflow” in the plugin modal.
- Confirm the transfer if prompted.
- Open Webflow Designer and paste the design onto your canvas.
- Adjust placement and fine-tune as needed.
As a pro tip, it's often best to start with one section at a time. This approach keeps things manageable and allows for quick fixes along the way.
Step 4: Optimize and finalize your Webflow site
Once your design is in Webflow, you’ll need to make some adjustments to ensure it’s production-ready. Here are what you should do:
- Clean up classes: Review class names generated during the transfer. Rename or consolidate them to avoid unnecessary clutter.
- Adjust responsiveness:
- Test your design across Webflow’s breakpoints (tablet, mobile landscape, and mobile portrait).
- Fix any alignment or scaling issues that appear.
- Add interactions: Use Webflow’s interactions tool to recreate hover effects, animations, or transitions from your Figma design.
- Upload custom fonts: If your Figma design uses custom fonts, upload them to Webflow to maintain consistency.
Other: How to remove the Figma to Webflow plugin?
You might want to remove the Figma to Webflow plugin if you’ve completed your project and no longer need it, or to maintain security and reduce clutter in your authorized applications. Since it’s an experimental tool, removing it ensures your workspace stays organized if issues arise.
If you decide to stop using the plugin, here’s how to remove it:
- Go to your Webflow Dashboard.
- Select the site where the plugin is authorized.
- Navigate to Settings > Integrations.
- Revoke access for the plugin.
Method 2: How to Manually Convert Figma to Webflow
If you prefer full control over every element of your design or want to customize beyond what plugins allow, the manual method is for you. While it takes more time, it ensures a high level of precision.
Step 1: Prepare your Figma file
Before you start transferring, it’s essential to clean up and optimize your Figma design. This saves time and reduces errors later in Webflow.
- Organize your Figma elements using Auto Layout to ensure responsive designs and make it easier to replicate the structure in Webflow.
- Standardize your colors, typography, and components in Figma.
- Name your layers and groups logically (e.g., “Header,” “Hero Section”) for easier reference.
- Use a 12-column grid in Figma to match Webflow’s layout system.
Step 2: Export assets from Figma
Next, export any visual elements like images, icons, and vectors that you’ll use in Webflow.
- Export settings:
- Images: Use PNG or JPEG for raster images.
- Icons/Logos: Export as SVG for scalability and crispness.
- Optimize for the web: Compress your images to reduce load times without sacrificing quality.
- Font preparation: Check if Webflow supports your fonts. For custom fonts, upload them to Webflow’s font library.
How to export assets in Figma:
- Select the element.
- Click the export button in the right-hand panel.
- Choose your format and resolution.
- Save the file to your computer.
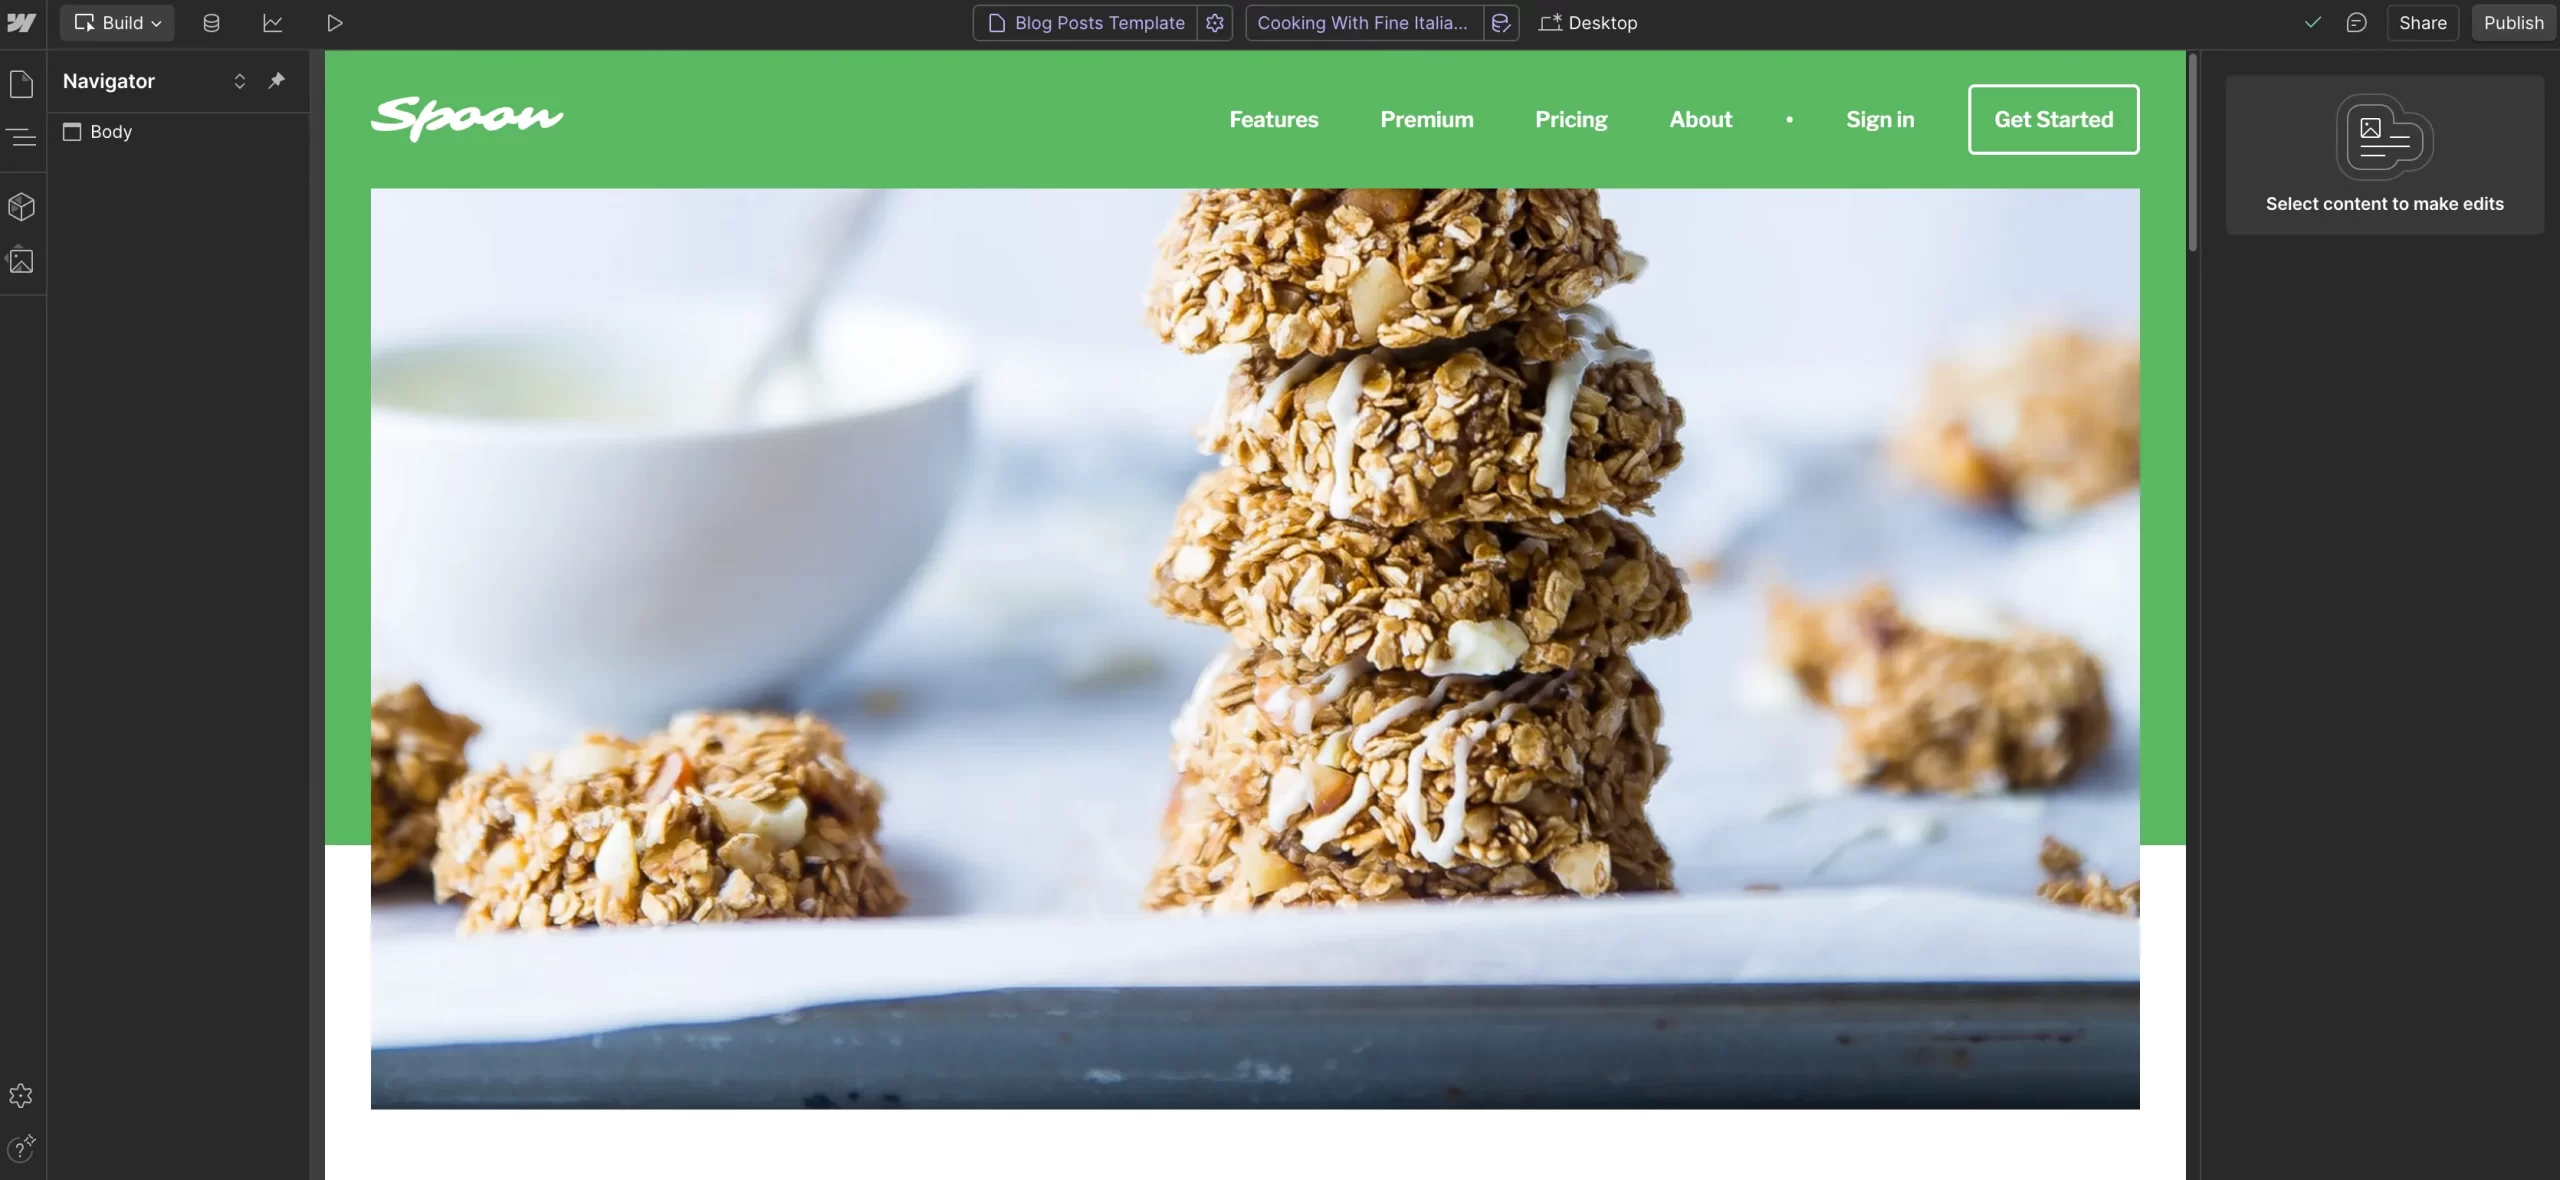
Step 3: Recreate layouts and styles in Webflow
You’ll replicate your Figma design structure using Webflow’s visual tools.
- Set up your structure:
- Start with Webflow’s container and grid elements to build your layout.
- Use div blocks for sections and group-related content.
- Apply styling:
- Match Figma’s typography, padding, margins, and colors in Webflow.
- Use Webflow’s Style Panel to fine-tune elements.
- Add visual elements:
- Upload your exported assets to Webflow’s Assets Panel.
- Place images and icons into the appropriate sections.
- Recreate interactions: Use Webflow’s Interactions Tool to mimic any animations or hover effects from Figma.
Step 4: Test responsiveness
Webflow makes it easy to adapt your designs for different devices, but it’s essential to check how your design behaves on various screen sizes.
- Use Webflow’s Breakpoints:
- Adjust layouts for tablet, mobile landscape, and mobile portrait views.
- Ensure elements resize and reflow naturally.
- Test across devices:
- Use Webflow’s Preview Mode to simulate how your design looks on different screen sizes.
- Make adjustments as needed for a responsive experience.
- Optimize content:
- Resize text and images for smaller screens.
- Stack columns vertically if necessary to improve usability.
Pros and Cons of Manual vs Plugin Methods
When deciding between the manual method and the Figma to Webflow plugin, it’s essential to weigh the advantages and disadvantages of each. Your choice will depend on your project’s complexity, time constraints, and the level of customization required.
Aspect | Manual | Figma to Webflow Plugin |
Ease of use | Requires Webflow experience | Beginner-friendly |
Time | Longer process | Fast and efficient |
Customization | High | Limited to plugin capabilities |
Learning curve | Steep | Minimal |
Design fidelity | 100% (with effort) | Strong but not perfect |
Support | Fully supported by Webflow | Community-driven (experimental) |
Which method should you choose?
Choose the manual method if:
- You need complete control and flexibility.
- Your project is complex or highly customized.
- You’re comfortable working in Webflow and have the time to build manually.
Choose the plugin method if:
- You need to save time and effort.
- Your design follows a straightforward layout with auto-layout structures.
- You’re new to Webflow and want a faster way to get started.
For most projects, a combination of both methods works best. You can use the plugin to transfer basic layouts and typography and then refine the design manually for better results.
As a Weblow user, I recommend the Figma to Webflow course from Webflow. It covers the entire design process from concept to final output using Figma, Cinema 4D, Octane, and Webflow.
Tips for a Smooth Figma to Webflow Transition
Whether you’re using the manual method, the Figma to Webflow plugin, or a combination of both, following these tips will help you streamline the process and ensure the best results.
1. Optimize images and fonts
Visual assets like images and fonts are key to creating a professional-looking website. Here are the tips:
- Use the right file formats: SVG for icons and vectors, PNG or JPEG for images.
- Compress images to reduce file sizes without compromising quality. Tools like TinyPNG can help.
- Upload custom fonts to Webflow to maintain consistency with your Figma design.
- Use Google Fonts if you prefer pre-integrated options in Webflow.
2. Use auto layout in Figma
Auto Layout in Figma ensures your designs are responsive, which translates well to Webflow’s breakpoints. Here are the tips:
- Use Auto Layout to stack elements vertically or horizontally with consistent spacing.
- Define min/max widths and alignment settings for parent frames to ensure responsiveness.
- Resize your Figma canvas to check how designs adapt before moving them to Webflow.
3. Use Webflow’s prebuilt layouts and structures
If you’re short on time, Webflow’s prebuilt layouts can give you a head start on creating common sections like navbars, hero sections, and footers. What you should focus:
- Start with a basic structure, then adjust typography, colors, and images to match your design.
- Convert reusable elements into Symbols to ensure consistency across pages.
4. Manage classes and styles carefully
Class and style management is crucial in Webflow to avoid bloated, messy code that can slow down your site. You should:
- Use descriptive and reusable class names (e.g., “Button-Primary”).
- If using the plugin, check for duplicate or unnecessary classes and remove them in Webflow’s Style Manager.
- Keep class definitions simple and specific to prevent conflicts.
5. Test across devices for responsiveness
No design is complete without ensuring it works perfectly on all screen sizes. Webflow’s responsive design tools make this process easier. You can:
- Check your site at each breakpoint: desktop, tablet, mobile landscape, and mobile portrait.
- Resize fonts, stack columns vertically, or adjust padding/margins for smaller screens.
- Use Webflow’s preview mode to experience your design the way users will.
Figma to Webflow Tutorial: FAQs
Can you export Figma to Webflow?
Yes, you can export Figma to Webflow in 2 methods:
1. Using the Figma to Webflow plugin: This plugin translates Figma layers into Webflow-compatible HTML and CSS, allowing you to copy and paste your designs.
2. Manual process: You can manually recreate your Figma design in Webflow by exporting assets (images, icons, etc.) and rebuilding the structure in Webflow.
Is it better to design in Figma or Webflow?
When deciding between Figma and Webflow, it's important to note their different uses. Figma is excellent for UI/UX design, prototyping, and team collaboration, ideal for quick iterations and precise design. In contrast, Webflow is perfect for creating functional websites without coding, managing hosting, interactions, and responsive layouts. Start your design process in Figma for its flexibility, then switch to Webflow for building and publishing the final website.
3. How do I add a Figma prototype to Webflow?
While you can’t directly embed a Figma prototype into Webflow, you can showcase it by embedding a public link. Here’s how:
In Figma, go to Share and select Copy link after enabling public access. Then, add an Embed Element in Webflow. Paste the Figma prototype link inside an iframe.
Modify the iframe’s width and height to fit your Webflow layout.
What should I do if my design doesn’t look right after transferring to Webflow?
Design doesn’t look right after transferring to Webflow is a common issue, especially for beginners. Here’s what to check:
- Typography: Ensure font sizes, weights, and line heights match between Figma and Webflow.
- Layer structure: Double-check your layer hierarchy. Misaligned layers in Figma can cause layout issues in Webflow.
- Class names: Rename or adjust class names in Webflow to better organize and correct styling.
- Responsiveness: Use Webflow’s breakpoints to fix alignment or spacing issues on smaller screens.
Can I skip Figma and design directly in Webflow?
Absolutely! Webflow’s visual editor lets you design directly on the canvas while building your site. However, if you’re confident in your design and prefer building directly in Webflow, this can save time. For larger projects, collaborating with a team, or requiring detailed prototypes, Figma offers better design capabilities.
Final Words
Every transition comes with its challenges, but armed with the right tools, knowledge, and best practices, moving from Figma to Webflow can be a seamless experience. If you’re still unsure about anything, Webflow’s community forums and tutorials are excellent resources to explore.
We hope you found this article insightful and now have a clear understanding of how to convert Figma to Webflow. For more content like this, be sure to visit the LitExtension blog and join our eCommerce community to gain further insights and connect with fellow business owners.

