Squarespace redirects are essential tools for maintaining a seamless user experience on your website. They ensure that visitors can access the correct pages without hitting the “404 Not Found” error even when a URL changes.
If you are looking for the full guide on how to set up redirects on Squarespace, welcome to the right place! In short, there are three steps you should follow for successful Squarespace redirects, including:
- Step 1. Create redirects
- Step 2. Format redirects
- Step 3. RSS feed URLs
Additionally, in this article, we'll also discover:
- Different types of Squarespace redirects
- Troubleshoot common problems when setting up redirects on Squarespace
So, let's tune right in!
Different Types of Squarespace Redirects
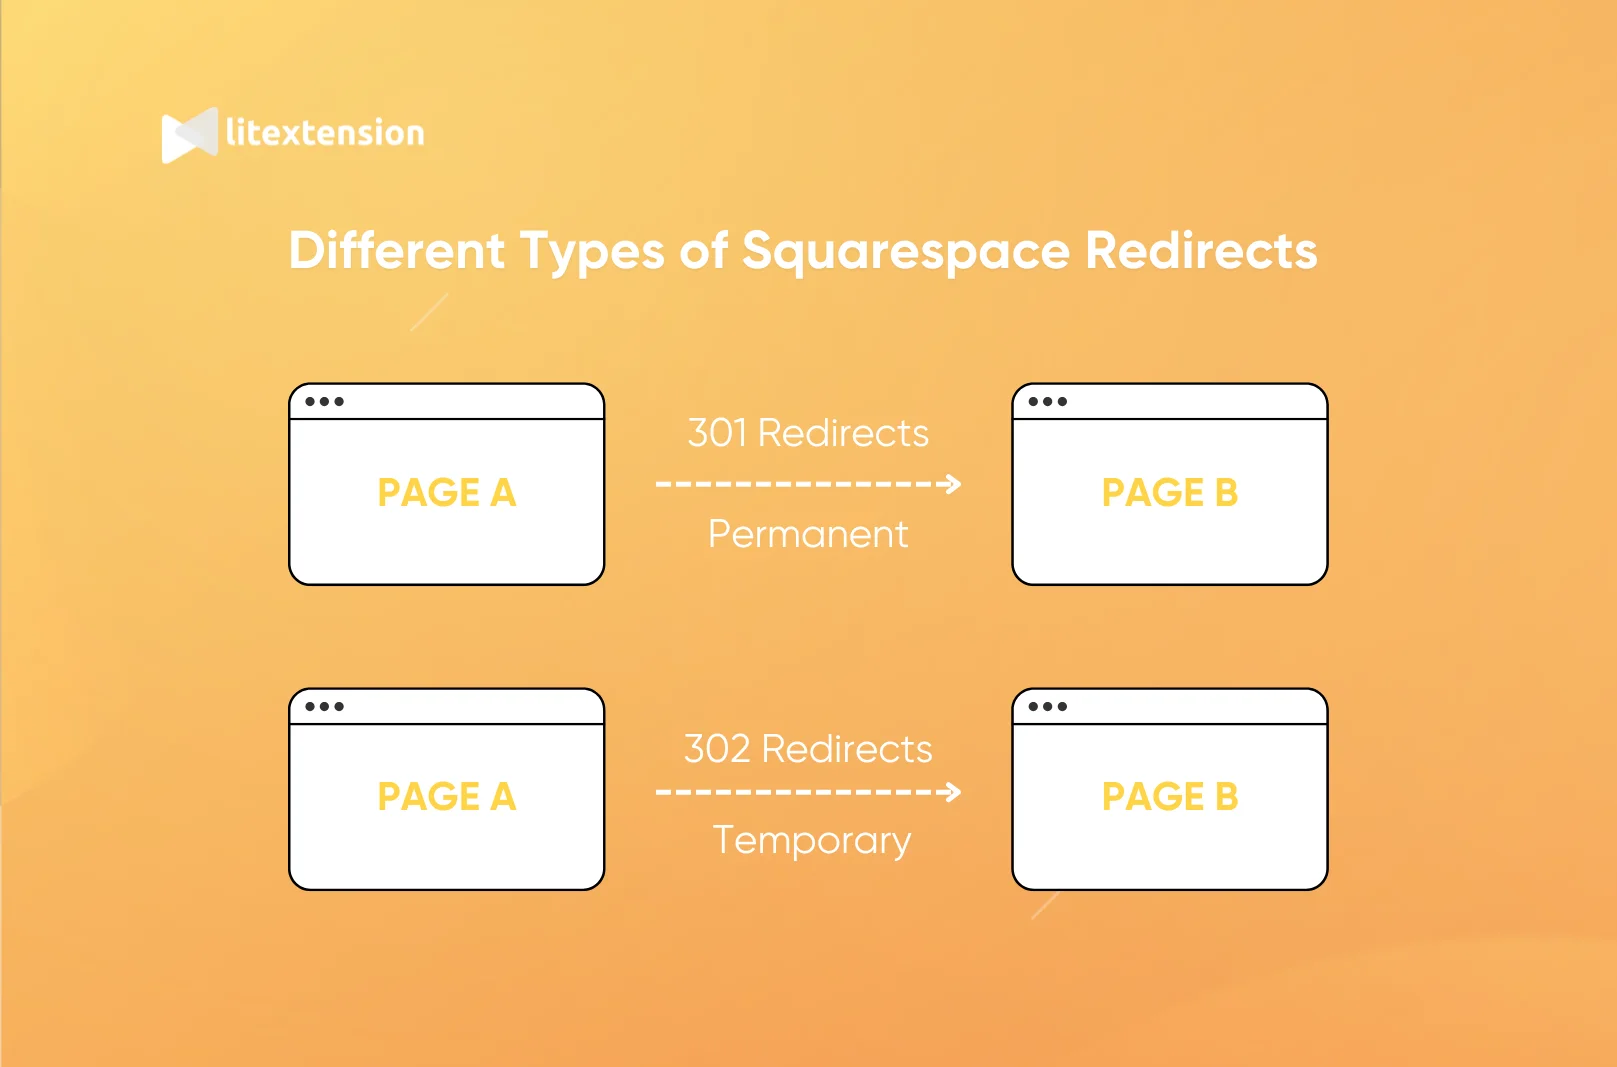
Squarespace offers two main types of redirects: 301 and 302. Each serves a specific purpose and is essential for managing your site effectively. In this following section, let's take a look at each type of Squarespace redirects and common scenarios to use them.
301 redirects
A 301 redirect is a permanent solution for directing visitors and search engines from an outdated URL to a new one. It is an essential tool for managing site changes while maintaining functionality and SEO performance.
When a page’s URL changes, users trying to access the old link would typically see a “404 Not Found” error. This not only creates a poor user experience but can also harm your search engine rankings. A 301 redirect prevents this by ensuring visitors are automatically taken to the correct page, preserving your site’s usability and credibility.
Common scenarios for using 301 redirects include:
- Restructuring your website's navigation.
- Merging similar pages into one.
- Fixing outdated or broken links.
302 redirects
302 redirects are temporary redirects used to guide visitors and search engines from one URL to another without permanently changing the original link. Unlike 301 redirects, they signal to search engines that the redirect is not final, so the original URL’s SEO value remains intact.
These redirects are particularly useful in scenarios where changes to your website are short-term or experimental. For example:
- Testing a new page design while keeping the original page intact.
- Running limited-time promotions or seasonal campaigns.
- Redirecting visitors during maintenance or updates to a specific section of your site.
Please note that while 302 redirects are beneficial for temporary situations, it’s essential to use them strategically. Misusing 302 redirects when a 301 redirect is appropriate can confuse search engines and negatively impact your site’s performance over time.
How to Set Up Squarespace Redirects
Step 1. Create redirects
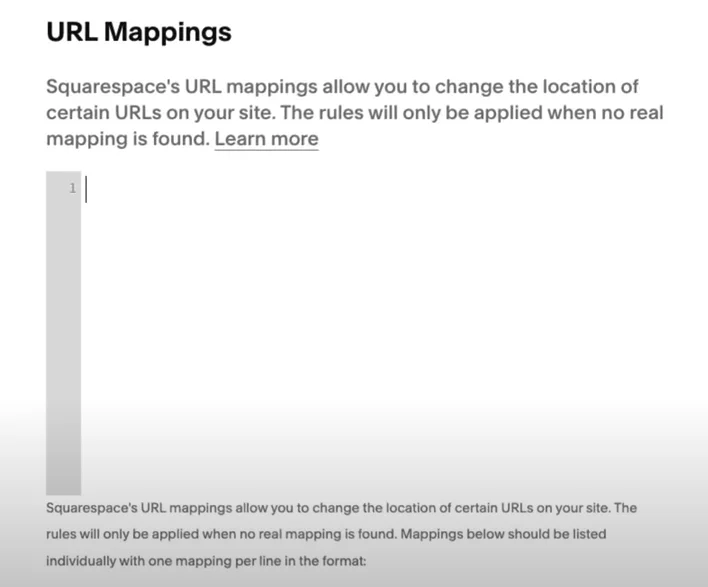
- From your Squarespace account, open the Developer tools panel.
- Then, navigate to the “URL mappings” section.

- Then, in the text field, input your redirects and click “Save”.
Please note that:
- The URL Mappings field has a size limit of 400 KB, which typically allows for approximately 2,500 redirect entries. To keep this area efficient, delete redirects that are no longer in use.
- Redirects are processed in order from top to bottom. Higher entries take priority over the conflicting ones below.
- Squarespace redirects function only when the original page or URL being redirected has been deleted or disabled. Ensure the source URL is no longer active before setting up a redirect.
- The URL Mappings field supports only correctly formatted redirect entries. Any additional text or improperly formatted entries will not be saved.
Step 2. Format redirects
To ensure your redirects work correctly, follow this formatting structure.
1. For single page redirects, please use the following format:
/old-url -> /new-url 301
Replace /old-url with the URL that no longer exists and /new-url with the URL you want to redirect to. Specify 301 for a permanent redirect or 302 for a temporary one.
2. For multiple items redirect, please use this format:
/old-collection/[name] -> /new-collection/[name] 301
This method ensures that all items under the old collection URL are redirected to their respective new URLs.
3. RSS feed URLs
When setting up redirects for RSS feed URLs, follow these steps:
- Remove query parameters: For the old RSS feed URL, eliminate everything after the question mark (?). This is important because query parameters can cause issues with redirects.
- Format your redirect as below. Make sure to replace “/old-feed-url” with the outdated feed URL and “/new-feed-url” with the updated feed URL you want users to access.
/old-feed-url -> /new-feed-url?format=rss 301
And that's how easy it is to perform Squarespace redirects on your website.
If you want to learn more Squarepsace tutorials, please don't hesitate to check out this article on our websites!
Troubleshoot Common Squarespace Redirects Issues
Even with the best setup, Squarespace redirects can occasionally run into issues that disrupt your website’s functionality or user experience. Understanding common problems and how to resolve them ensures that your redirects work smoothly.
Issues | Solutions |
Redirect loops | Locate conflicting URLs in Settings > Advanced > URL Mappings and update them to break the loop. Test the redirects to confirm the fix. |
Incorrect redirect paths | Review your URL mappings to ensure the old and new URLs are correctly typed. Test the redirect to verify it points to the right destination. |
Redirects not working | Double-check that changes in URL Mappings are saved. Resolve conflicts with existing redirects or third-party integrations. |
Cached redirect issues | Clear your browser cache to load the latest version of the site and test the redirect again. |
Other complex problems | Contact Squarespace support for advanced issues, such as server-side conflicts or platform-specific bugs. |
If you want to avoid any potential Squarespace redirects problems, here are some proactive tips for you:
- Always plan for Squarespace redirects in advance to avoid conflicts.
- Maintain a centralized spreadsheet to record your redirect mappings.
- Immediately test redirects after every update.
- Ensure that your new URLs are clear and descriptive to minimize confusion and improve user experience while making redirects easier to manage.
- Periodically review all active redirects to identify and remove outdated or unnecessary ones
- In case of missed redirects, create a custom 404 error page that includes helpful navigation links or a search bar to guide users to the content they’re looking for.
By following these proactive tips, you can minimize potential redirect issues, enhance user experience, and maintain the technical health of your Squarespace site.
Squarespace Redirects – FAQs
How many redirects can I set up in Squarespace?
Squarespace allows up to 400 KB of data in the URL Mappings field, which equates to around 2,500 redirect entries. Regularly review and delete inactive redirects to optimize space.
Do redirects affect SEO?
Yes, redirects can impact SEO, depending on how they are used. A 301 redirect passes most of the original URL's link equity to the new URL, preserving your rankings. A 302 redirect, being temporary, does not transfer link equity and should only be used for short-term purposes.
Can I redirect an entire domain in Squarespace?
No, Squarespace does not offer the option to redirect an entire domain through the URL Mappings field. For domain-wide redirects, you’ll need to configure them through your domain registrar or a third-party tool.
Can I set up redirects for unpublished pages?
No, redirects only work if the source page has been deleted or disabled. Squarespace requires the original page or URL to be inactive for the redirect to take effect.
Final Words
To conclude, Squarespace redirects are a powerful tool for maintaining a seamless user experience and preserving your website’s performance during changes. Whether you’re restructuring your site, fixing broken links, or running temporary campaigns, understanding how to use redirects effectively is crucial.
If you like this article, please don't forget to check out other blog posts on LitExtension website for more expert tips and insights!


