A backup is truly important for any eCommerce platform, and that case also applies to Joomla. Setting up a regular Joomla backup is essential since it keeps your content safe in case something goes wrong.
If you are looking for a complete guide to Joomla backup, you've come to the right place! In this article, we'll walk you through:
- How to backup Joomla manually
- Alternative way to perform Joomla backup
- Best backup Joomla extensions for your consideration
- How to restore a Joomla backup
Without further ado, let's get started!
How to Perform Joomla Backup Manually
The first method we want to introduce today is the manual backup method, allowing you to save both your site files and your database without relying on third-party tools. Though this approach requires lots of technical skill, it gives you full management of your backup process. So if you prefer control over ease of use, this method is just the right fit.
In this section, let's learn how to back up each part of your Joomla site step by step.
Backup database
Backing up your Joomla database is one of the most important steps in protecting your website. Before you begin the process, it's a good idea to close your site to the public. This prevents changes while the backup is in progress.
To do this:
- Log into your Joomla Administrator panel (or the backend of your Joomla website).
- Under the “Global” category, select “Configuration”, then go to the “Site” tab.
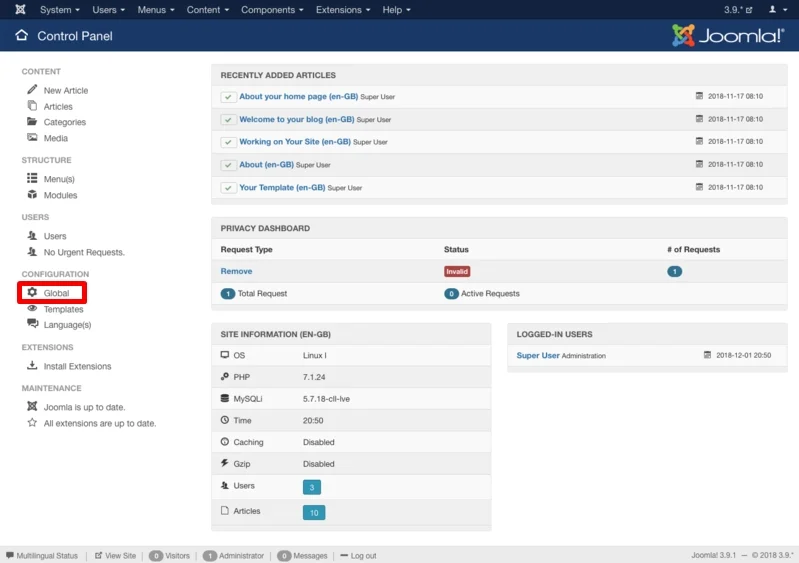
- Then, in the “Site Offline” setting, select “Yes” and save.
This action updates the configuration.php file located in your Joomla root directory. You can view or download this file through your hosting control panel or an FTP client. Inside the file, look for the line var $db = 'x1234'; or public $db = 'x1234';. Here, the “x1234” will be the name of your database. You’ll need this name to find the correct database in your hosting tools.
Now, use your hosting login details to access phpMyAdmin.
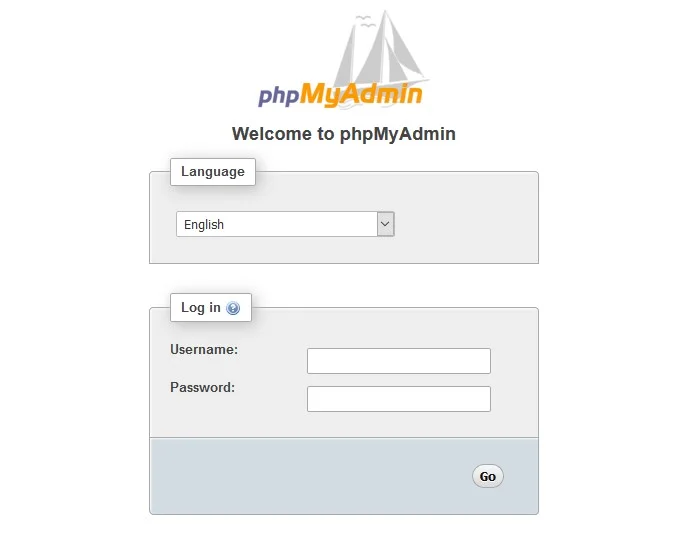
Once you're in, please follow these steps to download the Joomla backup for your database:
- Find and open the database that matches the name from your configuration file.
- Now, click the “Export” tab at the top menu
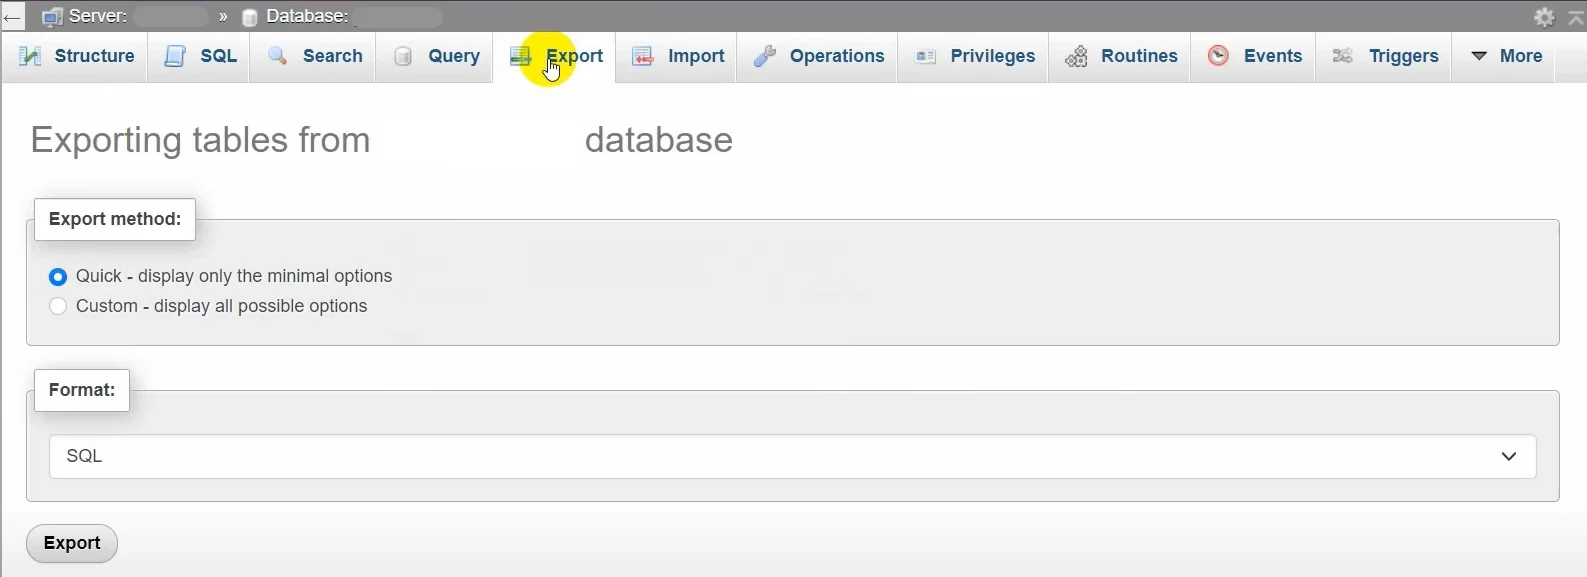
- Under the “Export method” category, select either “Quick ” to display only the minimal options or “Custom” to display all possible options.
- Next, choose your desired format from the drop-down list, then click “Export”. Your browser will then download a .sql file containing your entire Joomla database.
- After downloading the file, locate it on your computer, then move it to a secure storage location, such as an external hard drive or a cloud backup folder. Avoid leaving it in the default “Downloads” folder for too long to minimize the chance of accidental deletion.
To keep your site safe, it’s best to perform a Joomla backup for your database at least twice per week, or even daily if your website is active and frequently updated.
Backup file system
These files include your website’s core code, templates, extensions, media, and configuration files. Therefore, Joomla backup for your file system is just as important as backing up your database.
In this section, we'll guide you through two different approaches to backing up the file system, either through your hosting file manager or through an FTP client. Let's get cracking!
Option 1. Use your hosting file manager
Most web hosts provide a control panel with a built-in file manager. This tool allows you to quickly compress your entire Joomla directory into a single ZIP file, which speeds up the backup process and reduces downtime.
Here’s what to do:
- Log in to your hosting account and open the File Manager.
- Navigate to the main Joomla folder (usually named
public_html) and select all files and folders inside that directory.
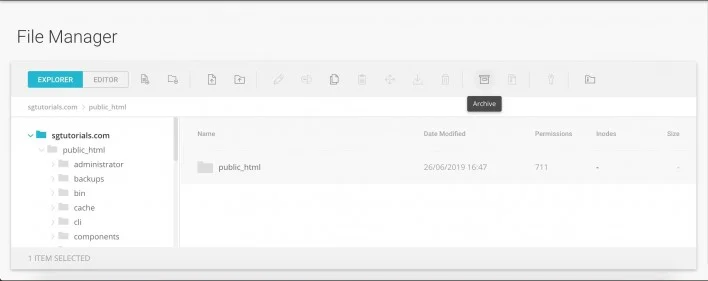
- Use the file manager's “Compress” feature to create a .zip archive, then download it to your local computer.
- After downloading, extract it locally to check that all files are intact.
This method creates one file for storage, makes the site offline for less time, and is useful for restoring the site later, especially to a staging environment.
Option 2: Use an FPT client
If you prefer using FPT, here's how to perform a Joomla backup with this approach.
- Connect to your server using an FTP client, such as FileZilla or Cyberduck.
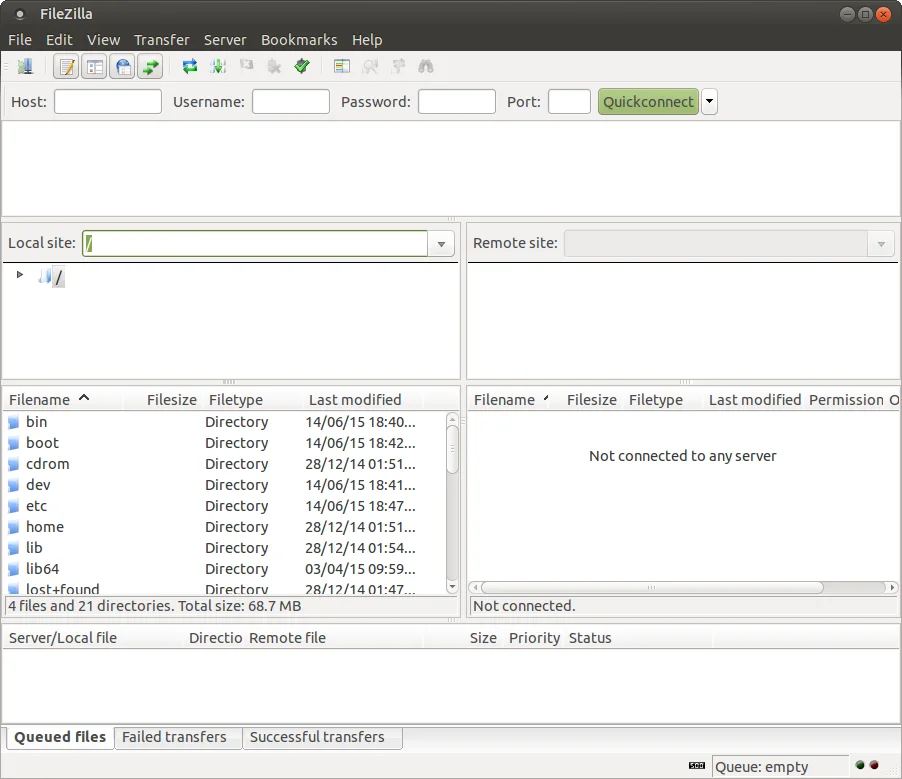
- Navigate to the root Joomla folder.
- Download all files and folders to a folder on your local machine.
Please keep in mind to:
- Set your site back to “Online” after the Joomla backup is completed.
- Make sure the folder and file structure remains exactly the same as it is on your live site.
While manual backups give you full control, they also require significant time, effort, and technical knowledge. Missing a single step or downloading incomplete files can lead to errors or even data loss during restoration. For this reason, many Joomla users prefer to use third-party backup extensions. These tools simplify the entire process, reduce the risk of mistakes, and offer added features like automated scheduling and cloud storage.
Hence, if you want a more reliable and user-friendly solution, consider performing your Joomla backup with a plugin instead.
Alternative Way to Backup Joomla Website
If you're looking for an easier and safer way to back up your Joomla website, Akeeba Backup is one of the best tools available. It’s a powerful and trusted extension that allows you to perform full backups with just a few clicks, no extensive technical skills required.
On top of that, this Joomla backup extension backs up both your files and database in one step and allows you to automate backups with scheduling features. It helps you avoid the complexity and risks of manual backups. It’s a smart choice for keeping your site safe and always ready to restore.
Step 1. Download and install Akeeba Backup for Joomla
- First, go to the Akeeba website and download the Joomla backup extension.

- Then, log in to your Joomla Administration dashboard and navigate to “Extensions” > “Manage” > “Install Extensions”.
- After that, drag and drop the downloaded file into the corresponding field, or select “Or browse for file” to find the location of your Akeeba extension. It will be installed automatically right after.
Step 2. Configure the Akeeba Backup settings
- Now, navigate to the “Components” in the top menu and select “Akeeba Backup”.
- If this is your first time using this extension, you'll then be redirected to the Configuration Wizard screen. It will auto-detect your server and determine the best settings for your site. To ensure a smooth implementation, make sure to stay on this screen until the wizard is completed.
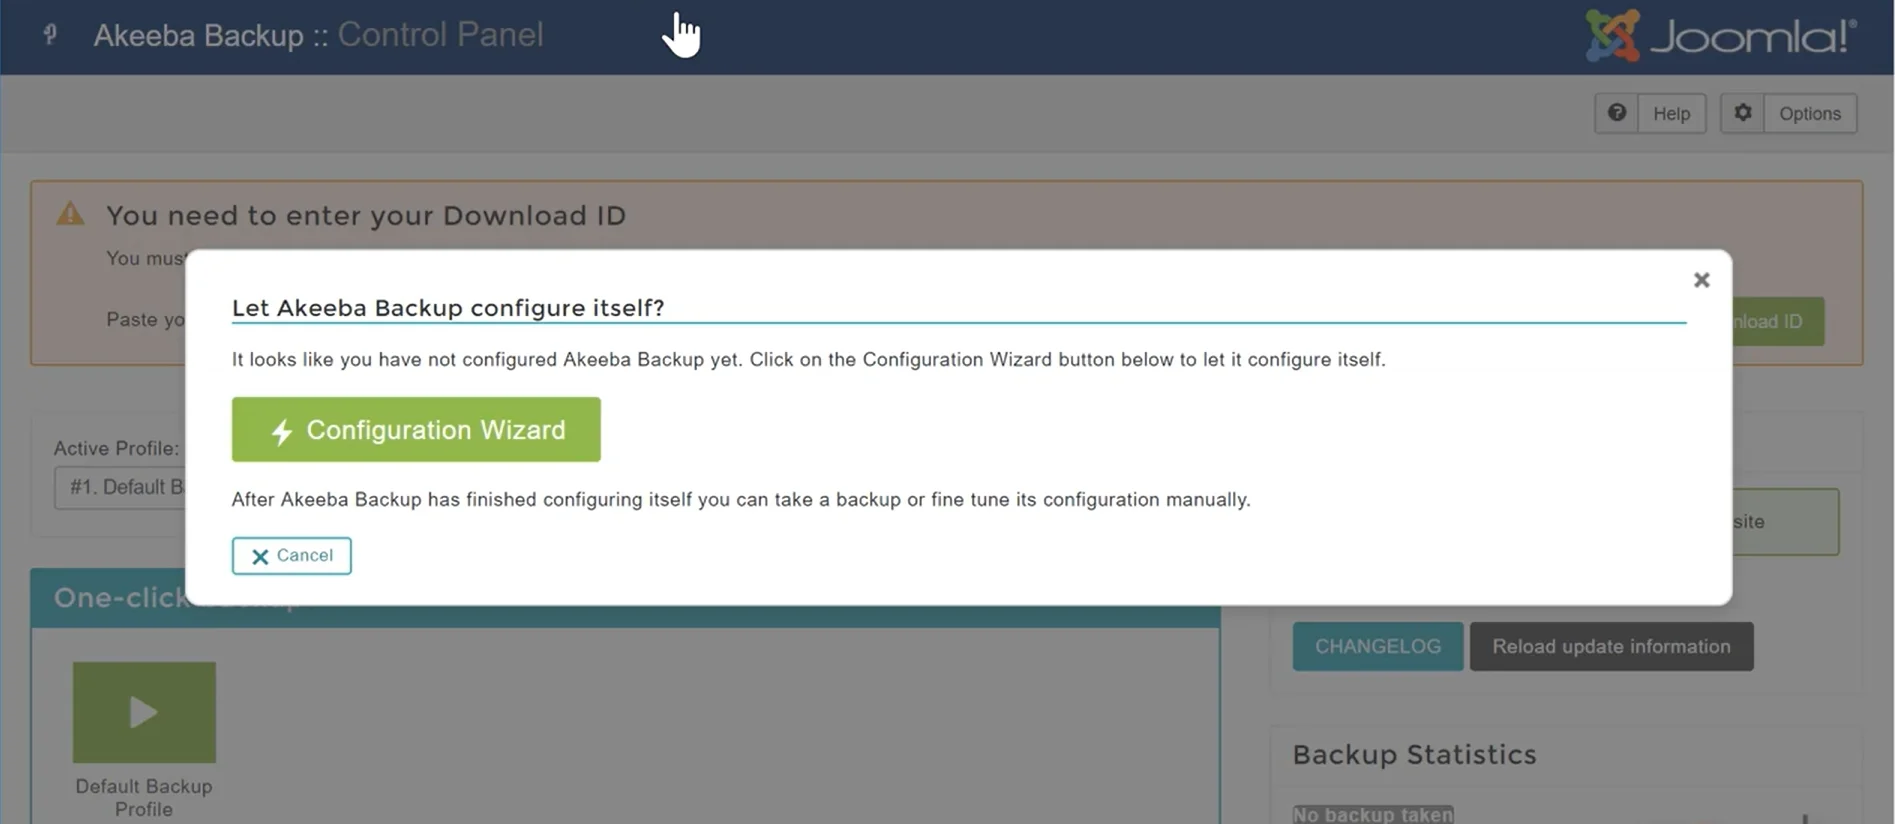
- Once the process is done, you are ready to perform the first backup.
Step 3. Run your Joomla backup
- Now, click on the “Backup Now” button.
- Then, fill in the fields with your corresponding information.
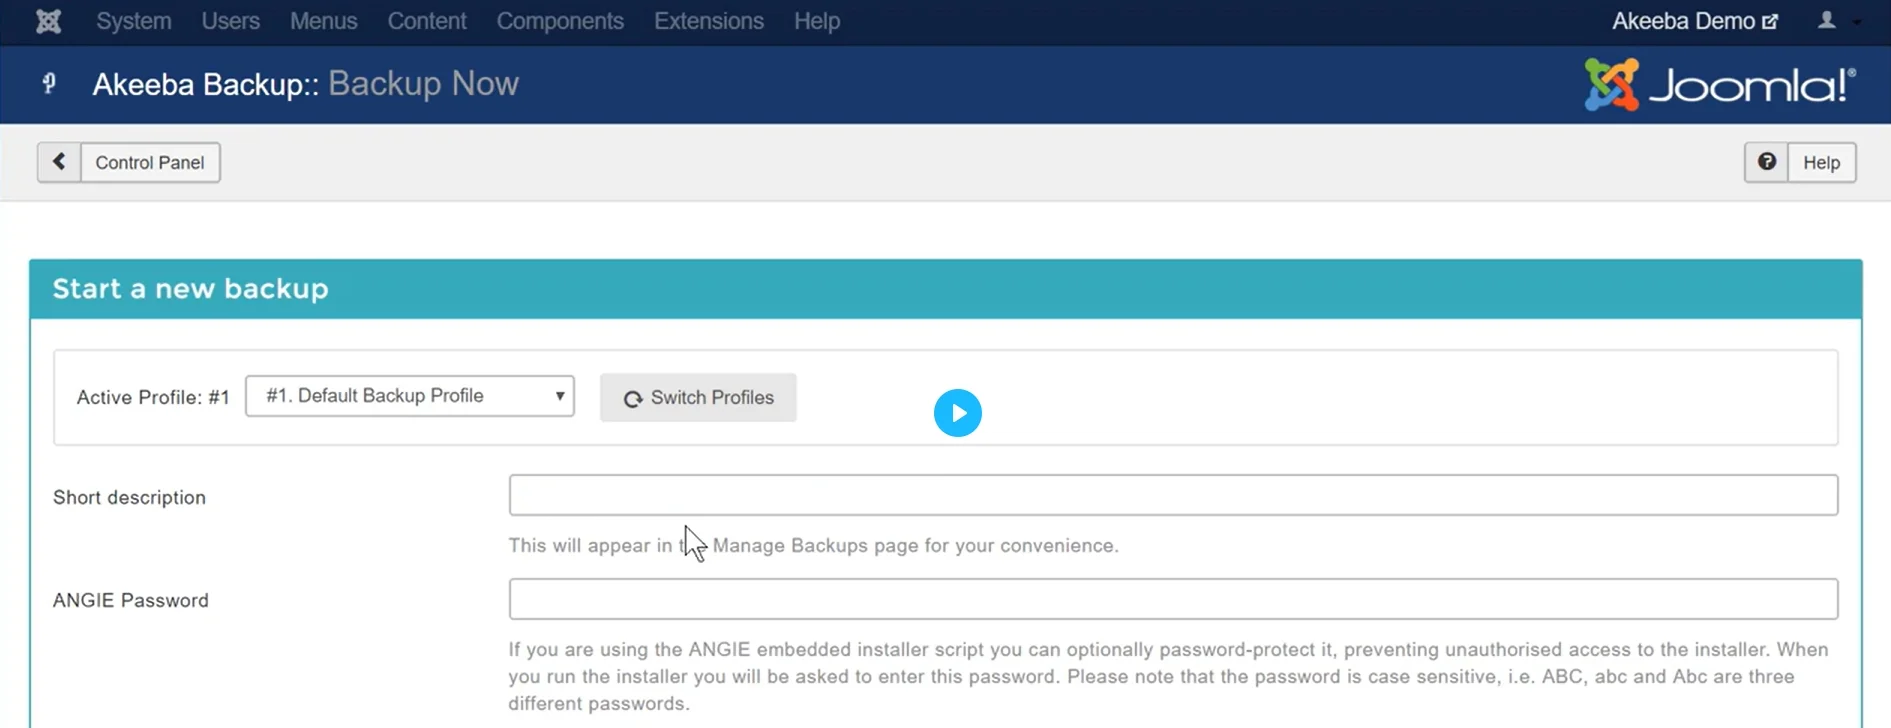
- Click “Start Backup” and wait for the process to complete. This usually takes a few minutes, depending on your site size.
- Once finished, you’ll see a confirmation message and access to download the backup file.
Step 4. Download and store your backup file
- Go to Manage Backups under the Akeeba dashboard.
- Find your backup and click “Download” to save it to your local computer or external drive. For added security, you can also upload the file to a cloud storage service like Dropbox, Google Drive, or OneDrive.
Best Joomla Backup Extensions
#1. EJB – Easy Joomla Backup
EJB – Easy Joomla Backup is a lightweight and user-friendly extension designed for Joomla users who want a simple way to back up their website without dealing with complex settings. It’s a great choice for beginners or site owners who need a quick and basic backup solution.
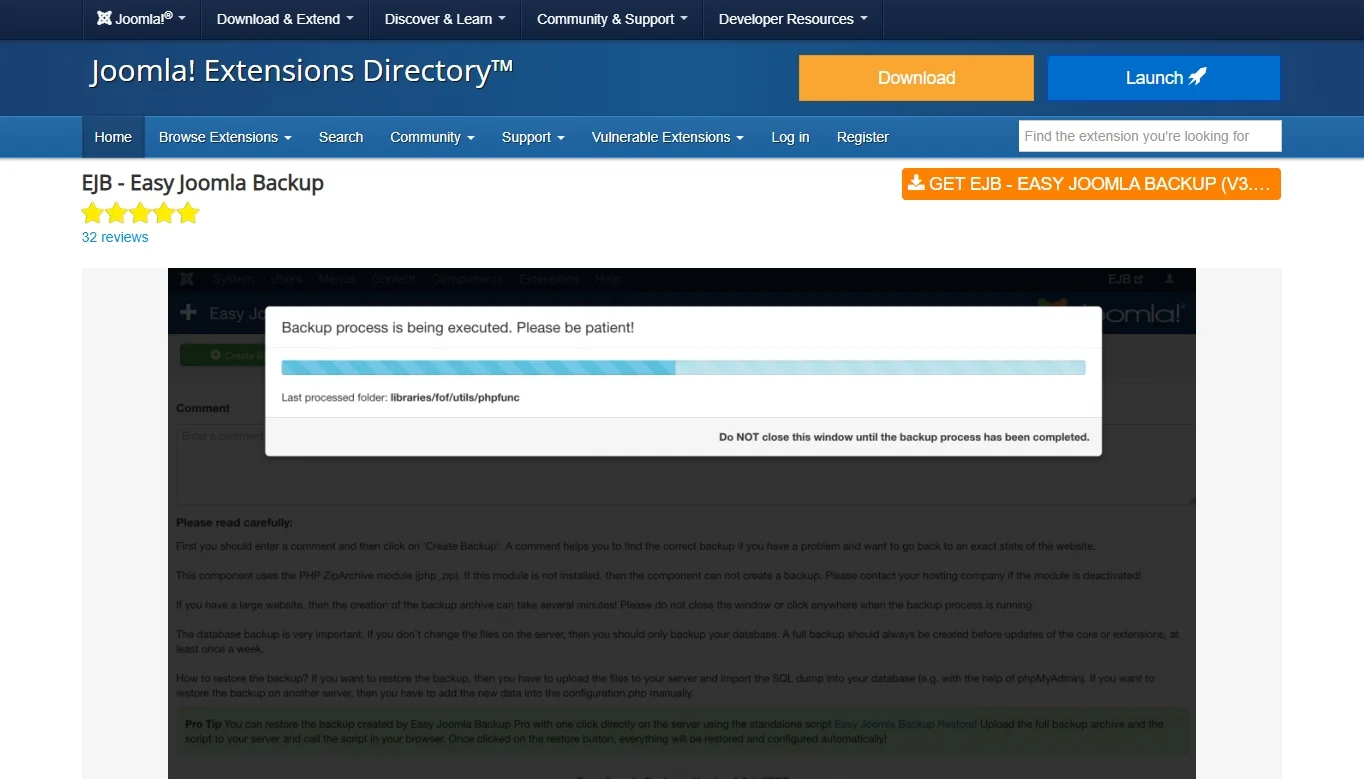
Highlight features:
- One-click full site backup, including database and files.
- Simple interface with minimal configuration required.
- Option to download backup files directly from the Joomla backend.
- Backup status notifications for peace of mind.
- Lightweight and efficient, ideal for smaller Joomla sites.
Pricing: Free
Compatible version: Joomla 3
#2. DataSafe Pro
DataSafe Pro is designed for Joomla users who prioritize database protection. While it does not back up your full file system, it excels at managing your Joomla database with features like email delivery, scheduling, and encryption, making it especially useful for sites with frequently changing content. It is ideal for users who want scheduled, encrypted database backups and prefer more flexibility than simpler tools offer.
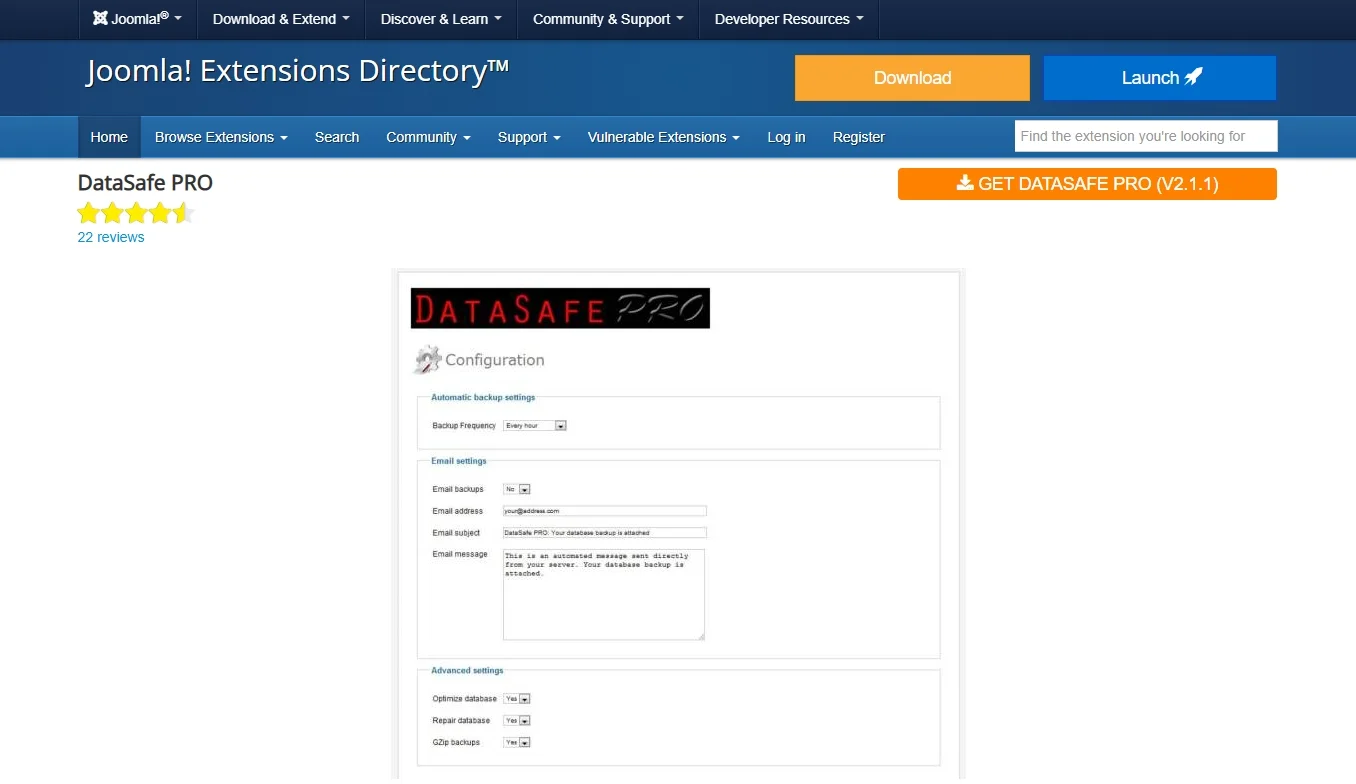
Highlight features:
- Scheduled automatic database backups.
- Encryption support for secure backup files.
- Backup delivery via email or server download.
- Option to create multiple backup profiles.
- User-friendly interface with detailed logs and alerts.
Pricing: Free
Compatible version: Joomla 3.x
#3. LazyDbBackup
As the name suggests, LazyDbBackup is a “set it and forget it” tool. It automatically creates and sends database backups to your email inbox. There’s no need to log in or click buttons; just configure it once and let it handle your database safety quietly in the background. It’s perfect for users who need a quick and lightweight solution without the complexity of full-site backup systems.
Highlight features:
- Automatic daily or weekly database backups.
- Email delivery of .sql backup files.
- Simple setup with no complex settings.
- Minimal system resource usage.
- Compatible with multi-language Joomla sites.
Pricing: Free
Compatible version: Joomla 4 and Joomla 5
Bonus Reading: How to Restore Joomla Backup
Creating a Joomla backup is only half the job, knowing how to restore it is just as important. Whether you're recovering from a crash, fixing a failed update, or migrating your site to a new server, restoring your backup properly ensures your website goes live again with minimal downtime.
There are two main ways to restore a Joomla site: manual restoration and restoration using a plugin like Akeeba Kickstart. Let’s go through both methods step by step.
Method 1. Manual restoration
1. Step 1. Upload site files
- Connect to your web server using FTP or your hosting file manager.
- Upload your backup files (unzipped) to the root folder of your Joomla site.
2. Step 2. Restore the database
- Open phpMyAdmin in your hosting control panel and choose the database you want to restore.
- Click on the “Import” tab.
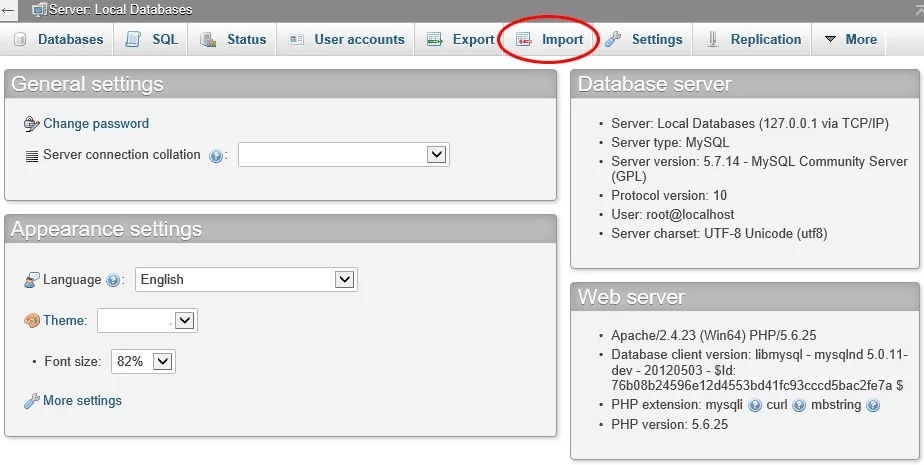
- Select your .sql backup file and click the “Go” button.
- After the import process, your database content will be restored automatically.
3. Step 3. Update configuration settings
- Open your Joomla
configuration.phpfile. - Make sure the database settings (host, user, password, database name) match your restored database.
- Save and close the file.
Now, refresh your site. If everything was done correctly, it should load as expected.
Method 2: Restore using Akeeba Kickstart
If you used Akeeba Backup for your backup, use Akeeba Kickstart for a smoother restoration process.
Step 1. Upload backup files and select an extraction method
- Upload the Akeeba backup archive (JPA or ZIP) and the Kickstart.php file to your web server.
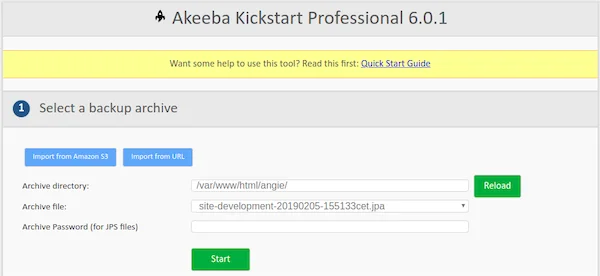
- Then, you'll need to choose an extraction method as follows:
- Directly: Is the fastest option and works on all local most live hosts.
- Use FTP: Is an alternative method if you get error messages about unwritable files.
- Hybrid: Automatically detects the best option between the “Directly” and “Use FTP” methods and switches between them.
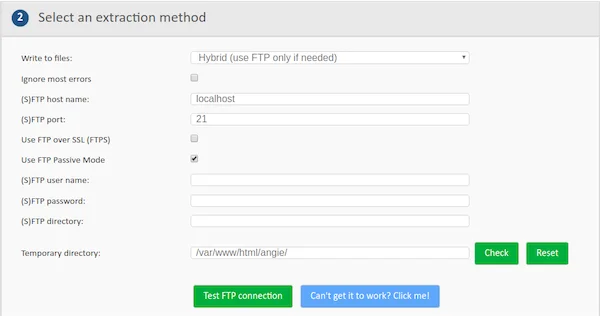
- Then, you'll need to configure the settings by filling in the blanks with the corresponding information.
- When everything is ready, click on the “Test FTP connection” button before proceeding to make sure that Kickstart can connect to your site through FTP.
Step 2. Extract and restore Joomla backup files
- Then, please click on the “Start” button and follow the on-screen instructions to extract the archive and begin the restoration.
- Once you're done with the restoration process, continue by clicking the “Clean Up” button. This will remove the installation directory which holds the restoration script, Kickstart's files, the backup archive (and all its part files), and rename the file mentioned above back to its normal name.
And that's how to restore Joomla backup in two methods.
Joomla Backup – FAQs
How do I back up my Joomla website?
You can back up your Joomla website either manually or using a third-party extension.
A manual backup involves:
- Exporting your database using tools like phpMyAdmin.
- Downloading your site files using FTP or your hosting file manager.
For a faster and more reliable process, many users prefer backup extensions like Akeeba Backup, which allow you to create full site backups with just a few clicks.
Where are backup files stored in Joomla?
Joomla itself does not create or store backups by default. However, if you use a plugin like Akeeba Backup, the backup files are usually saved in a directory on your server such as: "/administrator/components/com_akeeba/backup/"
It’s recommended to download these backup files and store them in a secure external location, such as your local drive or a cloud storage service.
Where does Joomla store data?
Joomla stores its data in a MySQL database. This includes:
- Articles and categories
- Menu items
- User accounts
- Extension settings and site configurations
The database name and connection settings can be found in the configuration.php file in the root of your Joomla site.
Final Words
In short, performing a Joomla backup is one of the smartest steps you can take to protect your hard work. Whether you choose the manual method or use a third-party extension like Akeeba Backup, having a backup means you’re prepared for the unexpected, be it a hack, a failed update, or accidental data loss.
No matter which method you choose, the key is to back up regularly and store your backups in a safe location. This simple habit can save you hours of frustration and help you get your site back online quickly when problems arise.
If you like this article, please check out other posts on our LitExtension website for more expert tips and insights.
Stay proactive, stay protected, and let your Joomla site thrive with confidence.

