If you’ve designed a website in Figma and want to make it live, Squarespace can help. This user-friendly platform allows you to turn your Figma designs into a live site without any coding—though a bit of creativity helps. In this guide, I’ll explain how to convert the design in Figma to Squarespace website. You’ll learn how to choose the right template and ensure your design is responsive, with a clear step-by-step process to realize your vision.
Why Convert Figma to Squarespace?
Converting your Figma designs into a Squarespace site is a valuable move for your brand. Here’s why:
- Figma excels in design, but it doesn’t build functional websites. Squarespace fills this gap seamlessly.
- Using Figma for layouts allows you to create polished designs, and Squarespace makes implementation easy without a steep learning curve.
- DIY conversion means you can execute your vision without relying on developers or third parties.
Many other designers, business owners, and creatives did consider other platforms but choosing Squarespace stands out in 2025:
- Its drag-and-drop editor simplifies site building and allows pixel-perfect customization without coding.
- Over 180 free templates available, along with premium options for unique designs.
- Features like clean URLs, image alt text, and sitemap generation improve your site’s search engine ranking.
With cutting-edge tools and a user-friendly interface, Squarespace is ideal for transforming creative ideas from Figma into functional websites in Squarespace.
Understanding the Squarespace Template Structure in 2025
Squarespace 7.0 vs Squarespace 7.1
Before diving into the step-by-step process, let’s take a closer look at Squarespace templates—the foundation of your website. When working in Squarespace, you’ll come across two main versions: Squarespace 7.1 (default for new sites) and Squarespace 7.0 (legacy support).
Squarespace 7.0: Still supported but no longer the default for new sites. Key features:
- Templates are grouped into “families” (e.g., Brine, Bedford), each with unique features and limitations.
- Template switching is allowed, but flexibility is more limited compared to 7.1.
Editor’s note: These templates are ideal for existing users who prefer the older system or have an established workflow on 7.0.
Squarespace 7.1: As of 2025, all new Squarespace websites automatically use version 7.1 templates. Key features:
- A single responsive template system with universal design capabilities.
- The Fluid Engine is an intuitive drag-and-drop editor for pixel-perfect layouts.
- Extensive customization options, including fonts, colors, and section layouts.
However, once you create a site, you cannot switch templates. If you want a different look, you must start a new site and manually transfer your content.
How does template structure affect Figma to Squarespace conversion?
If you're creating a new Squarespace site with your Figma design, you'll be using the 7.1 system. The Fluid Engine editor allows for flexible design implementation with fewer limitations. Although you can't swap 7.1 templates, their customization tools make it easy to replicate your Figma layout, as long as you choose a template that suits your design's structure from the start.
For those on an older Squarespace site using 7.0, let’s adjust your Figma design to fit the unique features and limitations of the templates. You should always check which Squarespace version you're using before converting the Figma to Squarespace.
I recommend starting with 7.1, as future updates and features from Squarespace will focus on this version, keeping it the most up-to-date option.
Step-by-Step Process of Converting Figma to Squarespace
Step 1: Finalize and prepare your Figma design
Before you jump into Squarespace, spend a little time preparing your Figma file. Trust me, a little prep work will save you hours later!
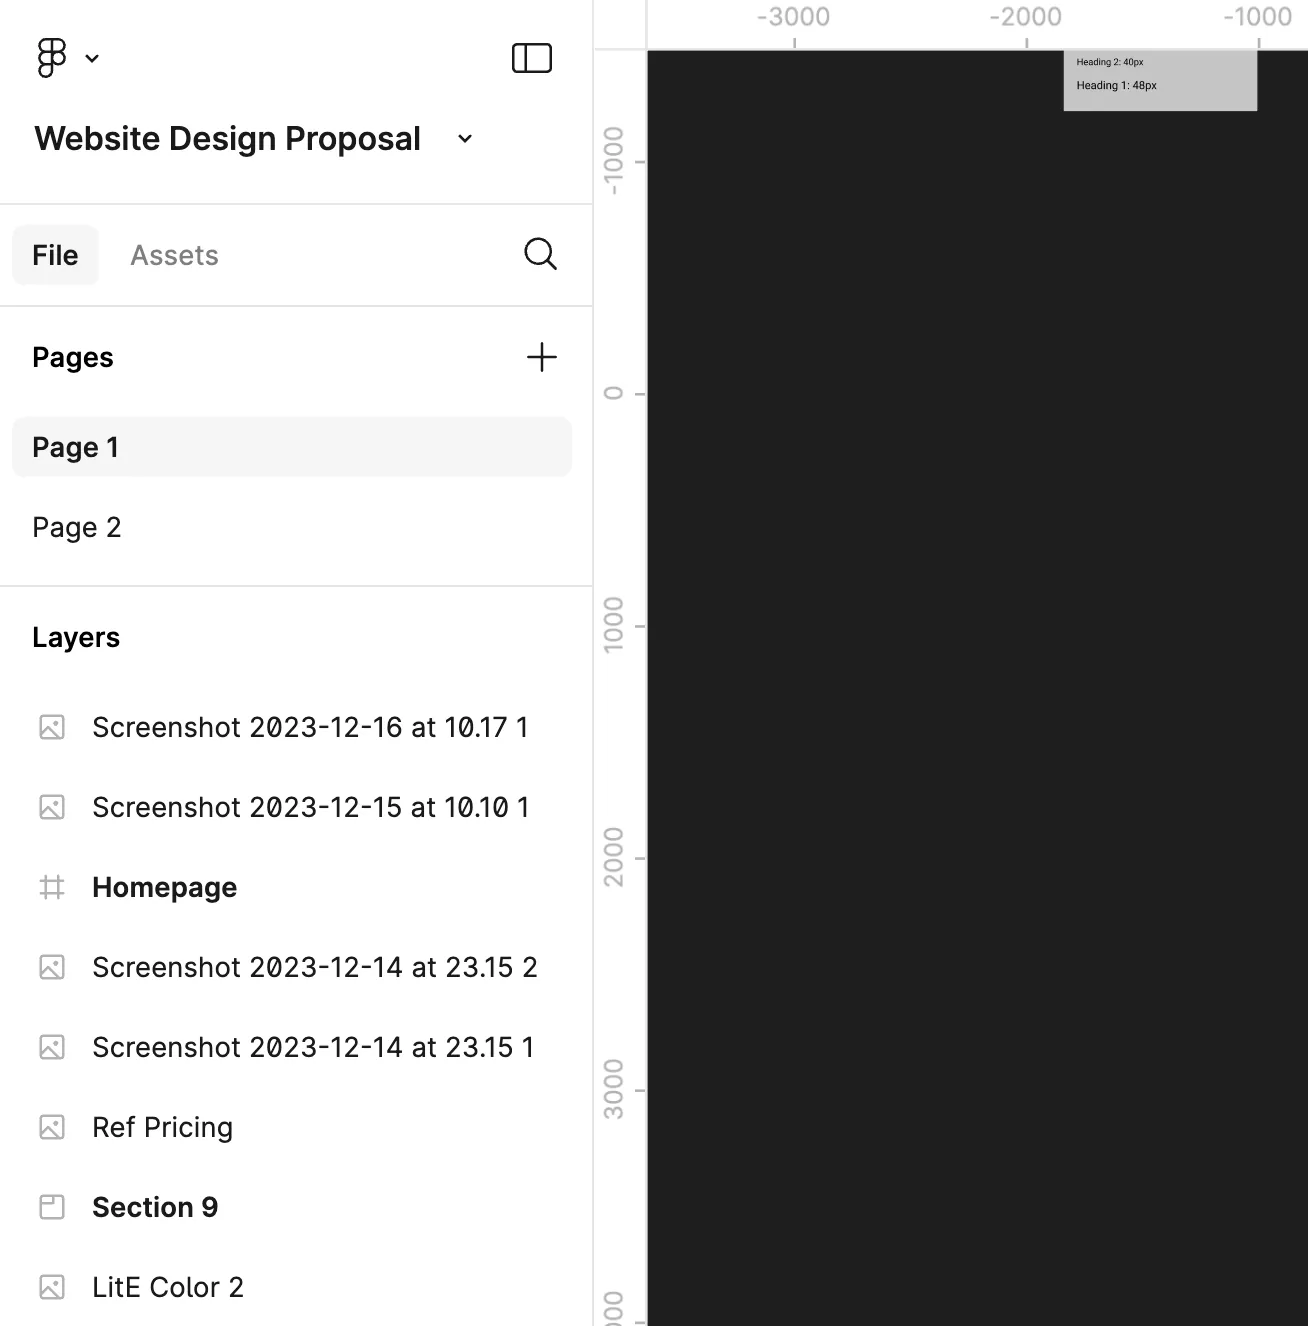
1. Organize your layers and components
Group similar elements (like buttons or icons) and name your layers logically. A clean file makes it easier to identify what goes where. For example, rename layers like “Header Logo” or “Hero Image” instead of keeping default names like “Rectangle 1.”

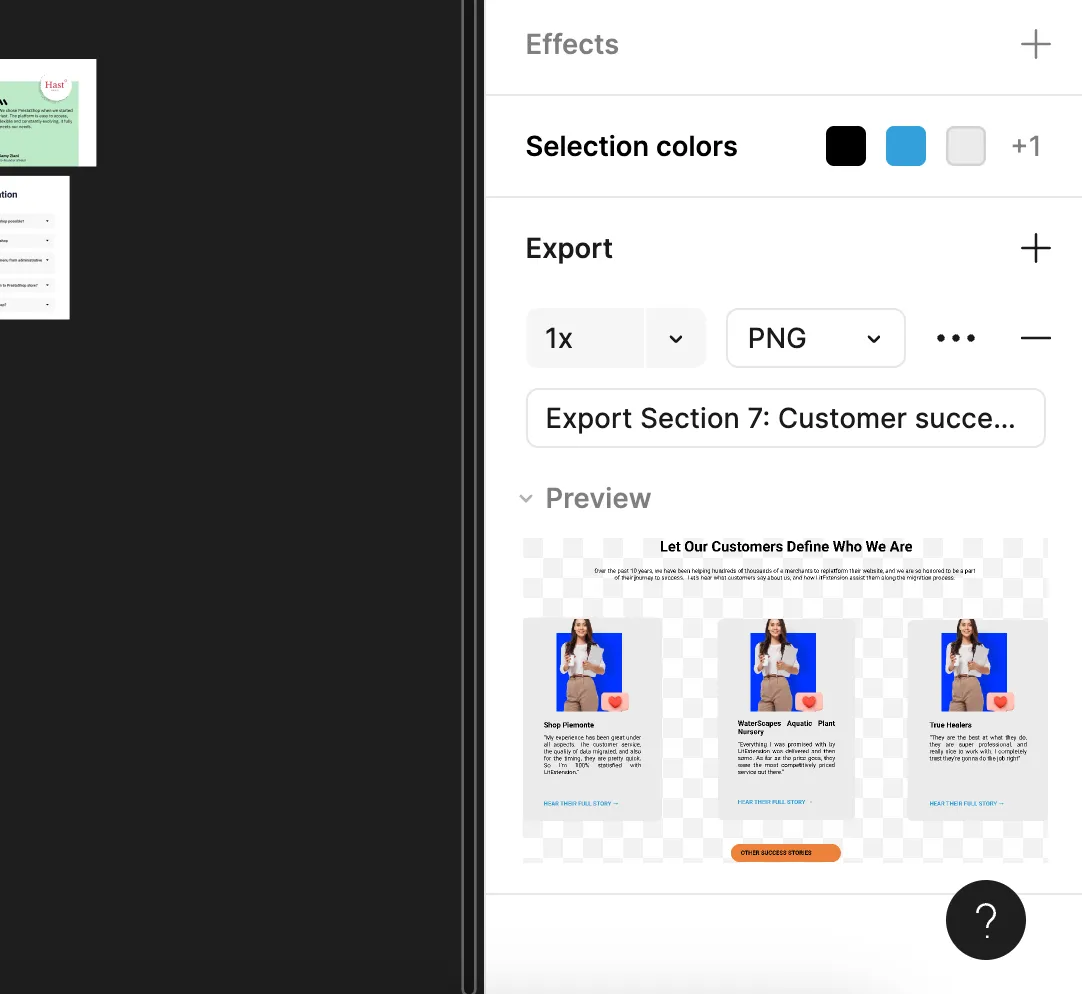
2. Export your assets
Save images, icons, and graphics in web-friendly formats like PNG or SVG for scalability and faster loading times. You should keep an eye on file sizes, compressed assets make for quicker load speeds.

3. Plan for responsiveness
You should make sure to consider your design's appearance on mobile and tablet devices. Squarespace templates are responsive, but testing layouts in Figma beforehand can help you avoid surprises.
Tip: Test your Figma design with a responsive preview plugin to see how it behaves across devices.
Step 2: Choose the right Squarespace template
Your Squarespace template sets the stage for the entire website, and picking the right one is key to a smooth conversion process.
If you're using Squarespace template 7.0, you can select a template that matches your Figma layout, especially if it features a bold hero image.

But if you haven’t had a Squarespace, let’s create a new one. For new users or those on Squarespace template 7.1, the Fluid Engine editor simplifies the recreation of custom Figma layouts with its drag-and-drop functionality, allowing for easier alignment and spacing.
Step 3: Recreate the design in Squarespace
1. Rebuild layouts
The process of recreating your Figma design in Squarespace involves using sections and blocks, which are the building units of the platform.
Each part of your website—header, hero image, about section, gallery—is built as a separate section. You can add a section by clicking the “+” icon and selecting the appropriate layout (e.g., full-width image, split text, or blank).
Within each section, add specific blocks for text, images, buttons, videos, and more. For example, if your Figma hero section has a headline, a button, and a background image:
- Use a text block for the headline.
- Add a button block for the call-to-action.
- Use the background settings of the section for the hero image.
2. Fine-tune layouts
You can adjust spacing, alignment, and section height using the Fluid Engine drag-and-drop editor. Also, you should snap elements to a grid for precision, ensuring your layout mirrors your Figma design.
Tip: Group similar sections in Figma (e.g., testimonials, services) and replicate them one at a time in Squarespace for smoother organization.
3. Customize fonts, colors, and spacing
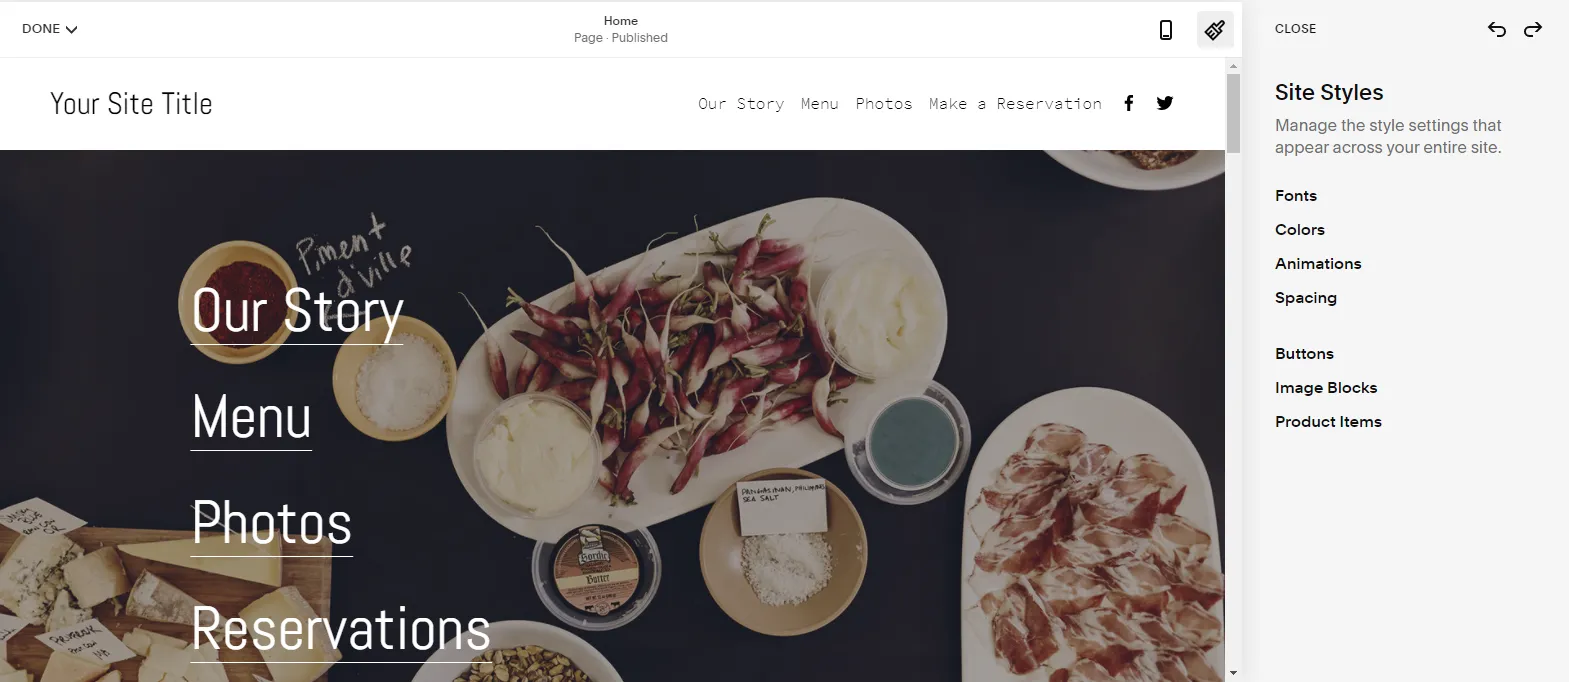
Open the Style Editor (accessible under Design > Site Styles) and adjust:
- Fonts: Match Figma fonts with Squarespace’s options or upload custom fonts if needed.
- Colors: Use your Figma color palette to customize the site's color theme.
- Spacing: Control margins, paddings, and line spacing for better alignment with your design.

Style consistency is important because it ensures your site appears professional and cohesive across all pages, creating a seamless user experience.
Tip: Use global style settings to apply fonts and colors site-wide, saving time and ensuring consistency.
Step 4: Add and customize assets
1. Upload Images and Graphics
Now, you can use the Media Library to upload all images, icons, and other visuals you exported from Figma into Squarespace’s media manager.
To optimize the placement:
- Add images to their respective sections (e.g., hero banners, portfolio grids) using image blocks.
- Adjust image cropping, scaling, and alignment directly in Squarespace.
Tip: Use responsive image sizes to ensure visuals look sharp across all devices without slowing load times.
2. Place assets in the right sections
For the icons and illustrations, you can add icons or SVG files using image blocks and position them with the drag-and-drop editor. For the background images, let’s apply background visuals to sections via the style settings, ensuring alignment with your Figma design.
Step 5: Advanced customization
1. Use custom CSS
First, open the CSS Editor under Design > Custom CSS. Then you can write CSS for styling adjustments that the visual editor doesn’t support.
For example, with custom button styles, you can have a code looked as below:
.sqs-block-button-element {
background-color: #f27a54;
border-radius: 10px;
color: #ffffff;
}
2. Add code for unique features
For more advanced and unique features you can use Code Injection (Settings > Advanced > Code Injection) to add HTML or JavaScript for animations or integrations. If custom coding feels overwhelming, Squarespace’s developer community or hiring a freelancer can help.
3. Embed a Figma prototype
If you want to showcase a live Figma prototype within your Squarespace site, you can embed it directly. Follow these steps:
- In Figma, publish your prototype by clicking the “Share” button and enable the “Anyone with the link can view” option.
- Copy the embed code provided (click on the “</> Embed Code” link in the share dialog).
- In Squarespace, navigate to the page or section where you want to embed the prototype.
- Add a Code Block and paste the Figma embed code. Customize the block size to ensure the prototype fits well within your page layout.
Step 6: Ensure responsiveness
Squarespace templates are responsive by default, but testing ensures everything looks great on all devices. You can use Squarespace’s Device View to preview your site on desktop, tablet, and mobile. The keys you should focus on are:
- Text readability on small screens.
- Proper alignment of images and blocks.
Tip: Avoid overcrowding mobile layouts; focus on delivering key information clearly.
Step 7: Final testing and launch
Before you publish, double-check that your site meets your expectations. Here are what to follow:
- Click through all buttons, forms, and navigation links to ensure everything works smoothly.
- Add descriptive alt text to images.
- Use clear, keyword-friendly URLs and page titles for better search rankings.
Finally, connect your domain via Settings > Domains and hit Publish to go live!
Looking to build more than just a beautifully designed website? While you can import your designs from Figma to Squarespace, you can also use LitExtension to migrate from other platforms to Squarespace with your eCommerce data—like products, customers, and orders. Build a stunning, fully functional online store today with ease!
Common Myths About Converting Figma to Squarespace
Myth 1: The process is simple and quick
The truth: Preparation is key
While Squarespace is user-friendly, converting a Figma design isn’t as simple as dragging and dropping everything into place. Here’s why:
- You’ll need to organize layers, export assets, and choose the right template.
- Even with the right tools, tweaking layouts, styles, and responsiveness can take longer than expected.
Myth 2: Figma designs will look exactly the same on Squarespace
The truth: Expect slight adjustments
Squarespace templates are built with flexibility in mind, but they may not perfectly replicate every nuance of your Figma design:
- Layouts may shift slightly on mobile or tablet views.
- Fonts might look different depending on what’s available in Squarespace or on users’ devices.
Myth 3: Optimization isn’t necessary
The truth: Optimization is essential
Skipping optimization can result in slow load times and poor user experience. Common mistakes include:
- Uncompressed assets like oversized images can bog down your site’s performance.
- Forgetting to add alt text or descriptive titles can hurt search engine rankings.
Tip: Use tools like TinyPNG or ImageOptim to compress images and double-check SEO settings in Squarespace.
Myth 4: Direct building in Squarespace is better than designing in Figma
The truth: Figma is a valuable planning tool
Starting with a Figma design helps you visualize your site before building it:
- Figma allows you to experiment and perfect your layout without constraints.
- You can spot and fix design issues early, saving time during the Squarespace build.
Myth 5: Squarespace guarantees responsiveness automatically
The truth: Testing is always necessary
While Squarespace templates are designed to be responsive, every design is unique:
- Custom designs may require adjustments to ensure readability on smaller screens.
- Elements like buttons and text need to be optimized for touch interactions.
Tip: Test your site on multiple devices and adjust margins, padding, and font sizes for a professional look.
Figma to Squarespace: FAQs
Can I transfer Figma to Squarespace?
Yes, you can transfer Figma designs to Squarespace, but it involves a multi-step process that includes preparing your design, exporting assets, and implementing them within a Squarespace template.
How do I transfer my Figma design to my Squarespace website?
To transfer your Figma design to your website on Squarespace, follow these steps:
1. Export your assets from Figma (images, icons, etc.).
2. Choose a Squarespace template that matches your design.
3. Recreate your layout using Squarespace’s sections and blocks.
4. Customize fonts, colors, and styles to align with your Figma design.
How do I embed a Figma prototype in Squarespace?
To embed a Figma prototype in Squarespace:
1. In Figma, go to the "Prototype" tab, connect frames, and click "Share" to get the embed code.
2. Navigate to the desired page, click the "+" button, select "Embed," and paste the embed code from Figma.
3. Customize the embed block settings for optimal display.
4. Check how it looks on your site and publish when ready.
Key Takeaways
By now, I hope you can feel confident about the process of converting Figma to Squarespace website. Let’s recap:
- Review your site for consistency with your Figma design.
- Test links, forms, and interactive elements.
- Optimize for speed and SEO.
- Preview on various devices to ensure responsiveness.
- Connect your domain and go live!
Now it’s your turn! Start building your Squarespace site today and bring your Figma designs to life. And remember, the journey doesn’t stop here—explore Squarespace’s advanced features to keep improving and evolving your site.
We hope you found this article insightful and now have a clear understanding of how to convert Figma to Squarespace. For more content like this, visit the LitExtension blog and join our eCommerce community to gain further insights and connect with fellow bu

